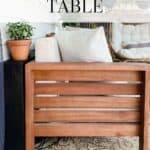
DIY Outdoor Sofa Table
Last updated on June 13th, 2024 at 10:07 am
Over the last few weeks, I’ve been working on making a few changes to our back patio. It was fine before, but wanted a little more than fine. I explained in this post why I wanted to make some changes and what I was planning on doing!
Well, we’re almost done with the updates! But today, I wanted to share the incredibly simple and quick DIY outdoor sofa table that I built to help hide some of the cords back here and provide an extra surface for drinks.
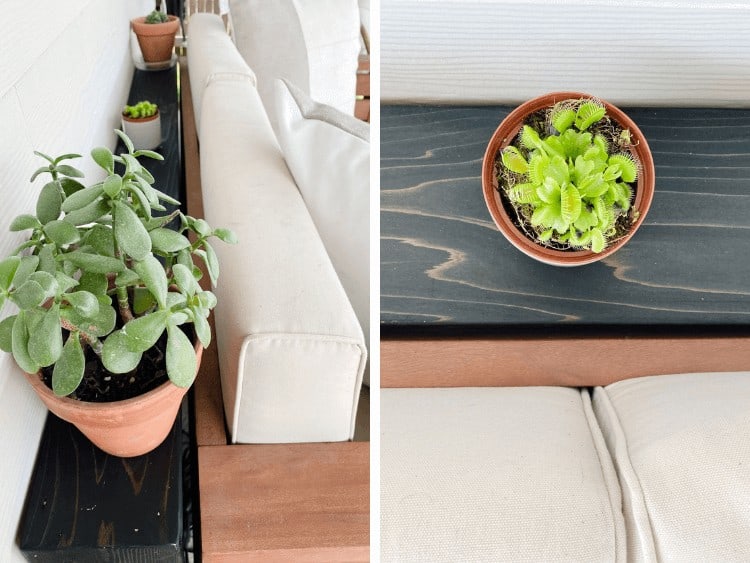
And plants. Let’s be honest. I also wanted an extra surface for plants.
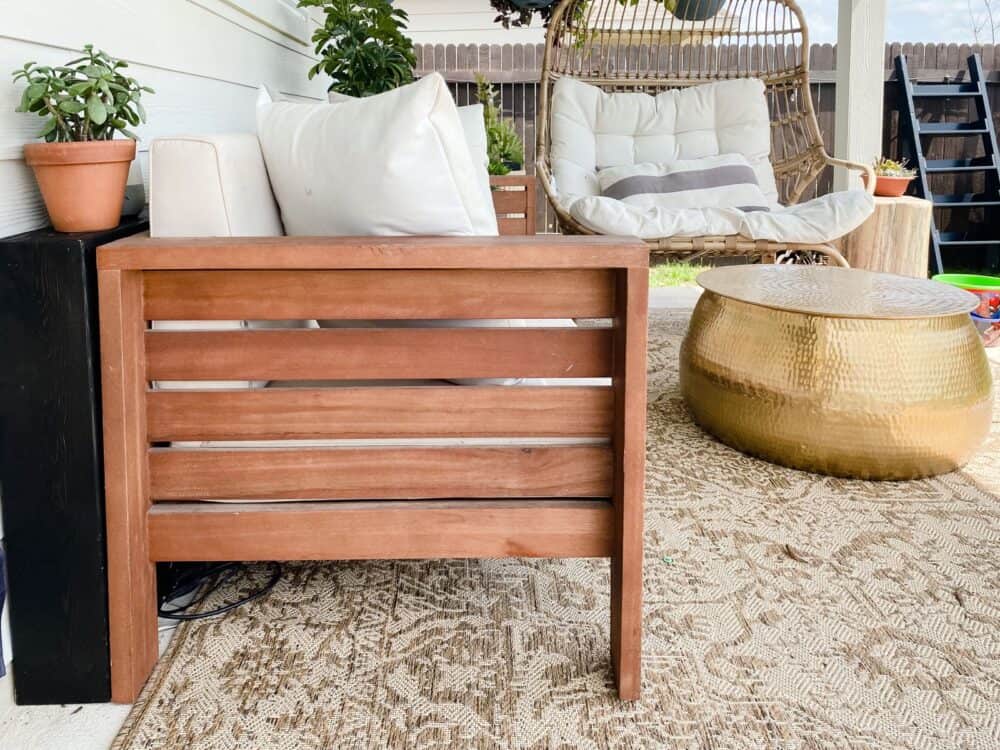
The main reason I wanted to build this simple waterfall-style sofa table is that when we moved the couch over to this part of the patio, the outlet was immediately very in the way. Outdoor outlets can be annoying to deal with. They’re so large and clunky! But, I knew with a little creativity I could hide it – while still keeping it easy to access.
This little table only took me about an hour and a half or so to build, and another hour or two to wood putty, sand, and stain. It cost $40 in cedar wood, and it’s the best $40 I’ve spent in a while!
Before I dive into the details on how to build this simple little sofa table, I want to give a quick disclaimer. Because I know this table will see very light use (I plan to rest our bluetooth speaker on it, maybe a couple of small plants, and the occasional drink), I went with a building method that was faster and easier – but maybe not as sturdy.
This method should work just fine if you’re also building a sofa table to rest between the sofa and a wall. However, if you are building your outdoor sofa table for a spot where it might see more use, or possibly get bumped or leaned on often, you’ll want to use a slightly different method. I’ll outline that below, too!
DIY Outdoor Sofa Table
Tools & Materials
- (2) 8′ Cedar 1×6 boards
- Wood glue
- 18-gauge brad nailer
- 1.5″ 18-gauge nails
- Wood filler
- Sander (or sandpaper, if you’d prefer to work by hand!)
- Stain (I used Ebony by Varathane)
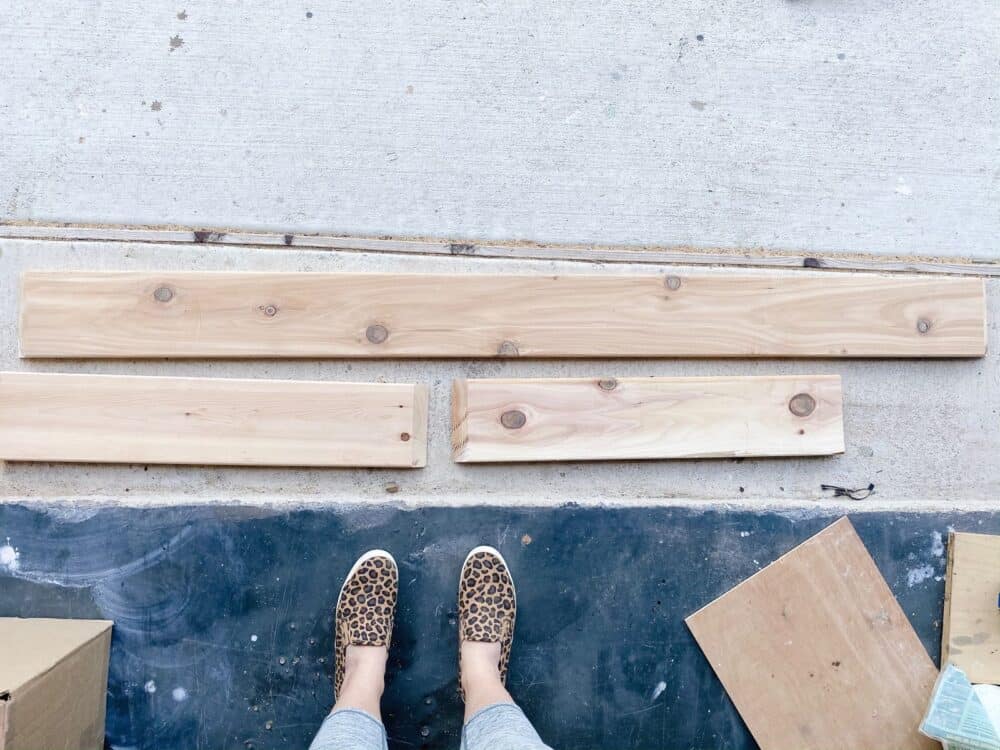
Step One: Measure Wood + Cut to Size
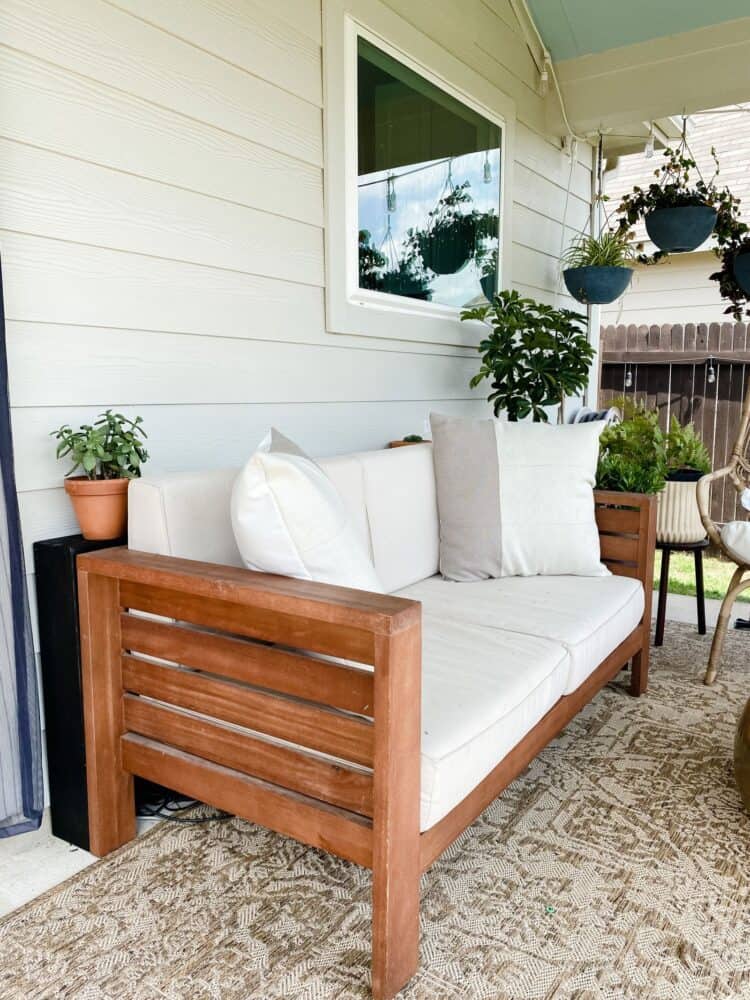
I wanted the table to be exactly the same length and height as the outdoor sofa I was placing it behind. So, I measured the length and height of the frame of my sofa and used those measurements for my table. You’ll obviously have slightly different measurements for your own table, depending on your needs!
Once you’ve determined the best size for your table, cut one piece of 1×6 cedar to the appropriate length, with 45-degree mitered edges on either side. If you don’t know how to use your miter saw, here’s a full tutorial! Be sure when you’re measuring for the mitered edges, you measure from the longest part of the edge (or, the top of the wood piece).
Then, cut two leg pieces to the desired height. The legs should have one flat edge and one mitered edge.
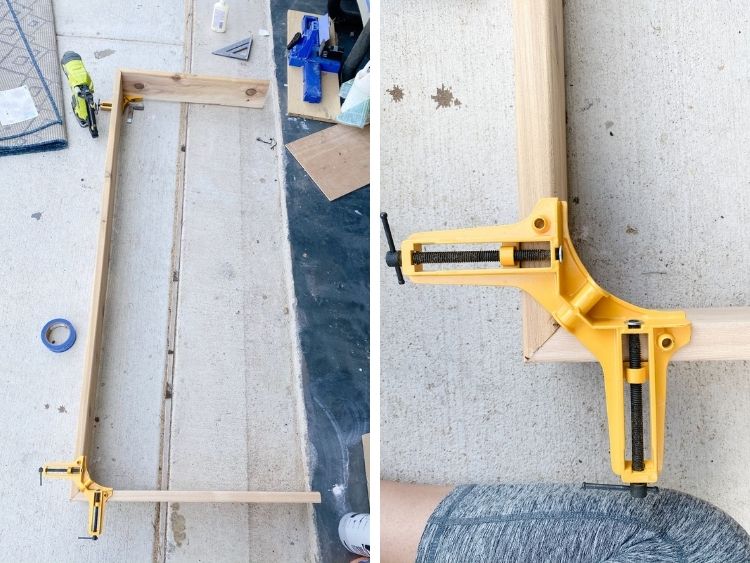
Step Two: Assemble Table
Now, it’s time to put it all together!
To assemble, you’ll use wood glue on the mitered ends and then clamp it into place (I like to use a corner clamp). Once you’ve checked that it’s square, add two or three 18-gauge nails.
Attach both of the legs using the same method, being sure to double check that you’re installing them square. I like to use a speed square to help with this.
Allow the wood glue to dry for at least an hour before you move on to the next step!
ALTERNATE METHOD: If your table will see a lot of heavy use or is in a spot where there’s a lot of traffic, you can use biscuit joints to assemble the table.
This is an assembly method that sounds much more challenging than it is, I promise! You’ll just use a biscuit joiner to cut holes for two biscuits. They’re small pieces of wood used to join wood together. Place them at the same spots along both the top and leg pieces of the table. Then, you’ll insert a biscuit into one side with some wood glue, and fit the two pieces together like a puzzle! This is a really strong assembly method and should hold up great for a more heavily-used console table!
Step Three: Add Support Piece
At this point, my table was feeling really stable and sturdy. But, I wanted to ensure it stayed sturdy for as long as possible! So, I decided to add an additional support piece along the back.
For my support piece, I just took a scrap piece of the 1×6 and attached it directly under the top of the table. I nailed it in along the top and on each side.
Step Four: Putty, Sand, & Stain
Now, for the finishing touches! Apply wood filler to the mitered edges where the wood meets to help make it look a little more seamless. You can also apply wood filler to all of the nail holes, if you’d like!
Once it’s dry, you can sand it down until smooth, and stain in the color of your choice.
I went with Ebony by Varathane, largely because it was what I had on hand, but I love the look here and it’s a great way to bring some black out to the patio (and I think every space needs some black!)
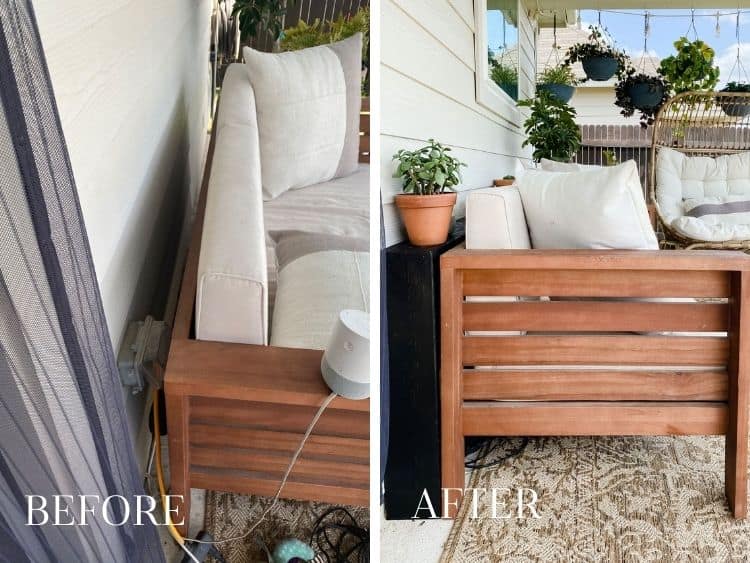
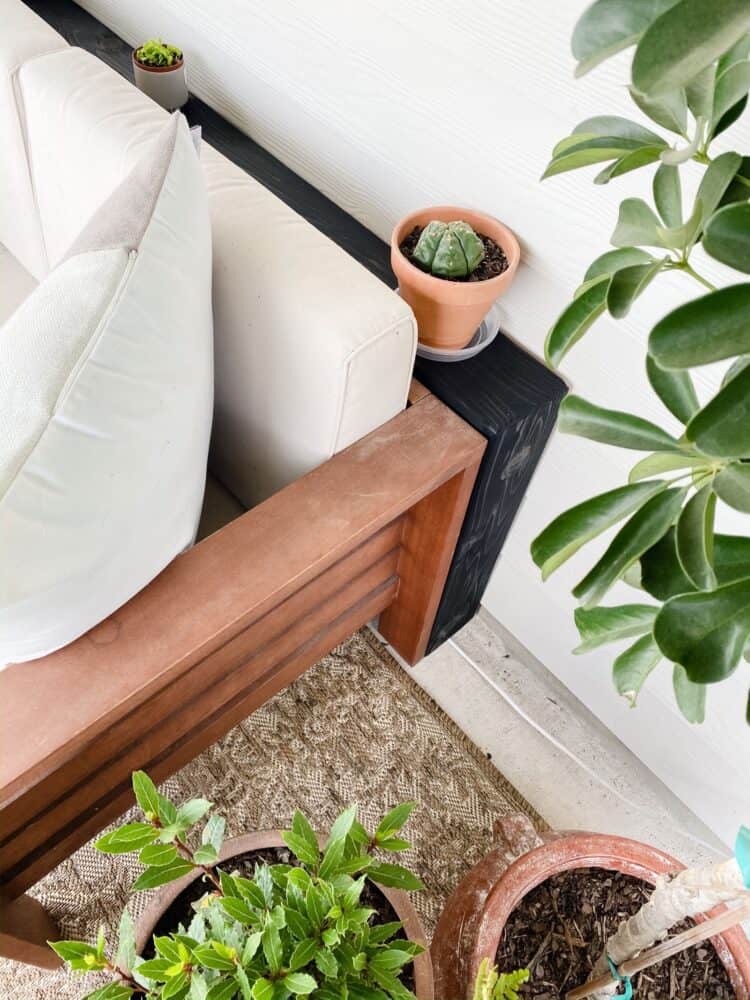
And that’s it! It’s the simplest little outdoor sofa table ever, but it does exactly what I was hoping it would – covers up all of the cords and the outlet and provides a nice little spot for a drink!
My remaining to do list back here is very short, so I’ll hopefully have some final photos of the patio transformation soon – it’s coming together really nicely, and we’ve been spending a ton of time back here.