Summer Budget Makeover: Let’s Get Started!
Today, we’re kicking off the summer budget makeover with the first round of voting!
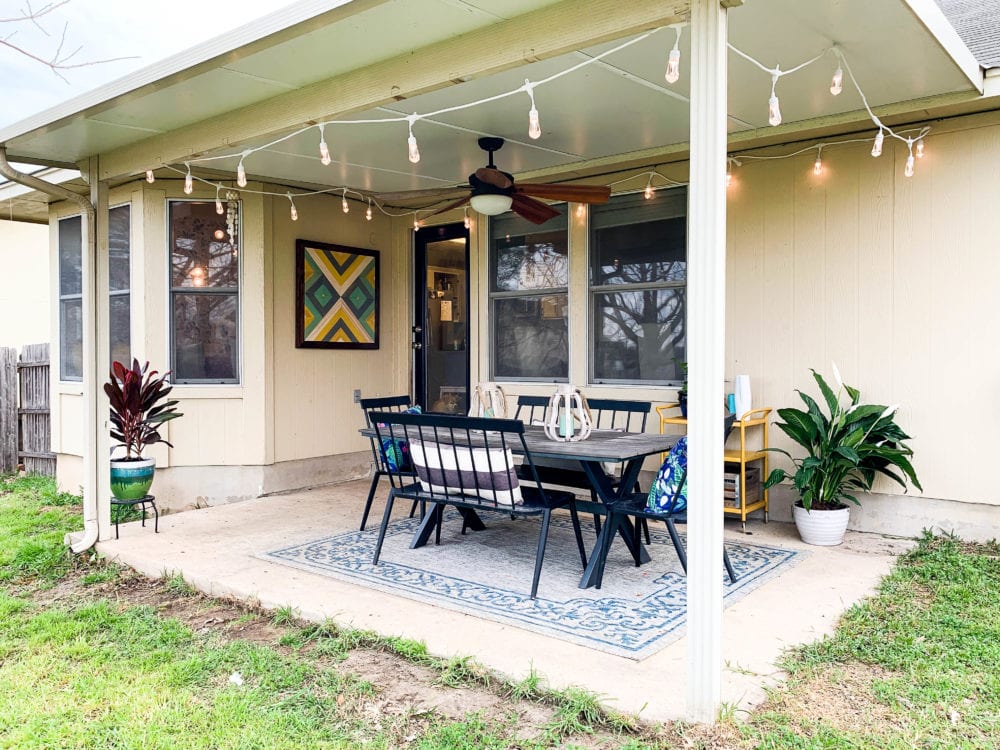
If you missed the big announcement over on YouTube, the next space in our home that Corey and I will be renovating is our patio.
Eeek!
Last week, I let y’all know that I’m involving you heavily in our next big makeover project, and we kicked it off by voting on the space we’ll be focusing on. There was a ton of excitement, lots of opinions, and a few questions about how it will all work. I’m here today to kick off the fun and answer all of your questions – including how I’m going to console all of you who were desperately rooting for the laundry room to be the space we tackled.
But first, let’s chat about the plans for the patio.
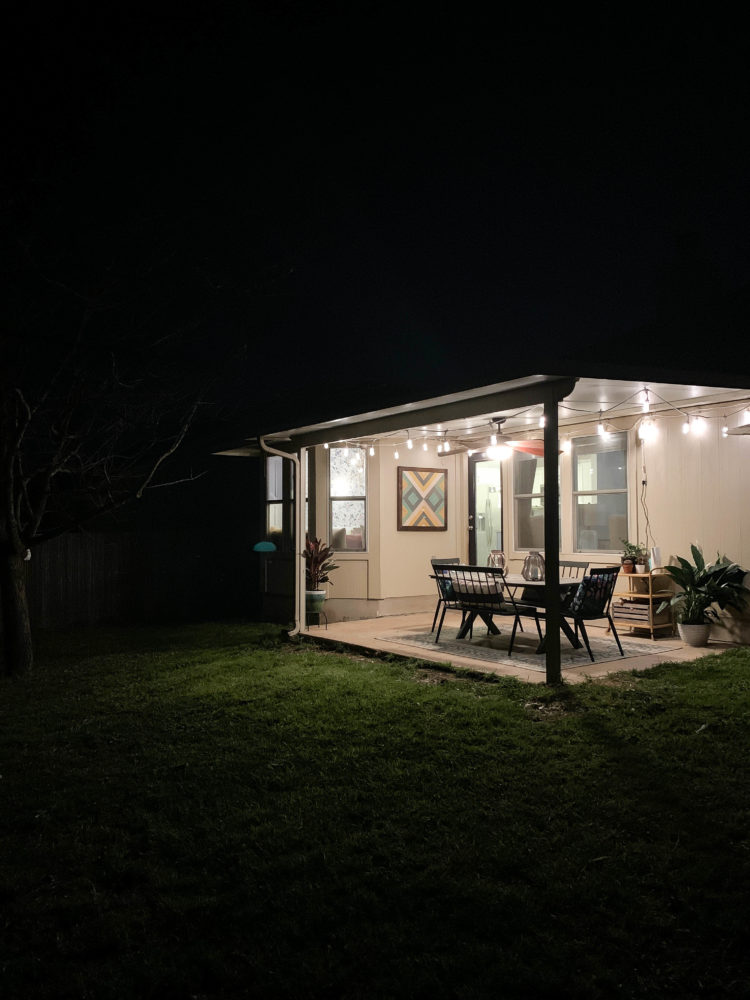
Here’s what I know for sure:
- We want to move the dining table and chairs to a casual (DIY) patio area near the back shed.
- We’re going to build a sectional for the existing patio and fill the space with cozy lounge furniture.
- I’ll be painting the house within the next month or so, which will drastically improve the look of the space.
- We considered painting or tiling the concrete, but since we only plan on being in this house for another year or so, we figured it’s best to leave it alone.
Other than that? It’s going to be a lot of input from you, fun DIY projects and creativity, and basically making it up as we go. As per usual.
The first step of the process is going to be creating a patio area in the back of our yard. We can’t get started on the patio itself until we move the existing furniture, so we’ve gotta knock out the new patio before we can do anything else.
And, of course, that’s where you come in.
what type of patio should we do?
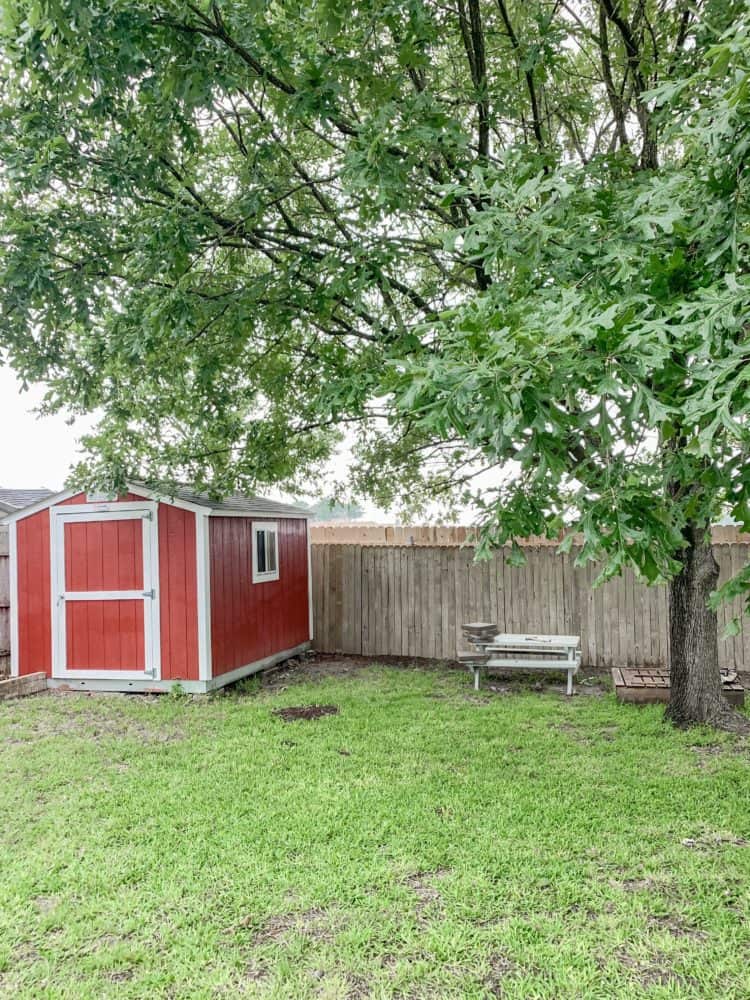
We’ve gone back and forth on a lot of different options for this space, and we’ve narrowed it down to two possible options. We don’t want to do anything really labor-intensive like installing a full paver patio – we’d much rather keep it to a casual and simple space that’s easy to install and maintain.
The patio will stretch from the shed to the tree, and will go from the front of the shed back to the fence. We haven’t settled on exact dimensions yet, and it will depend in part on which option you vote for. You ready to see what we’re looking at?
Option One: Pavers + Pea Gravel
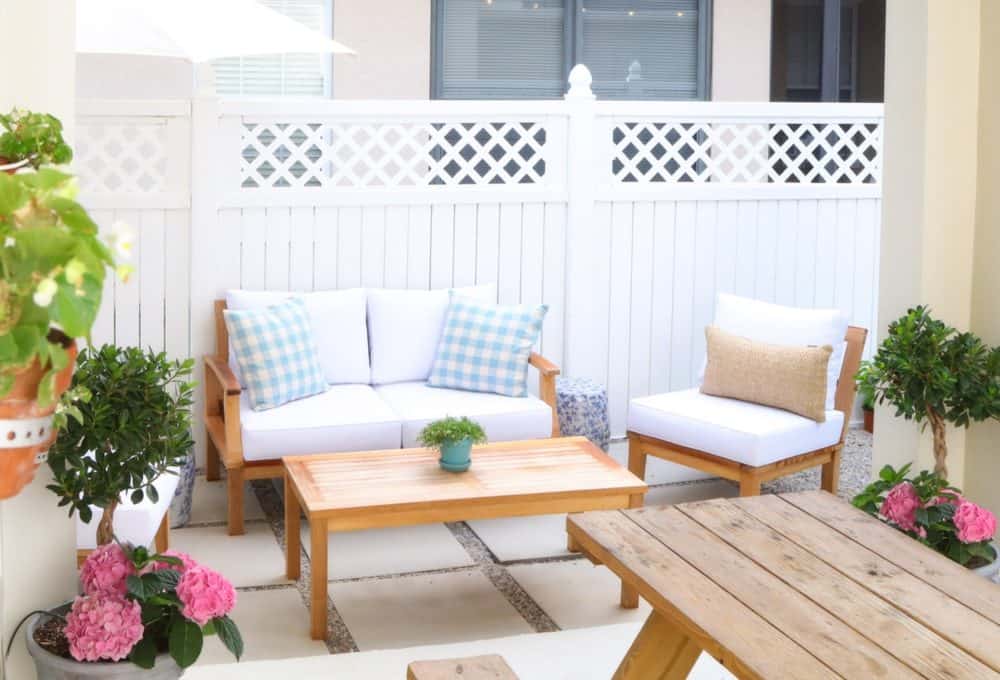
The first option is to create a patio with large pavers spaced about 6-8 inches apart, with pea gravel between the pavers. This is kind of the middle ground between an all-paver patio and an all-pea-gravel patio. I love the modern look of it, and if we plan the spacing of the pavers appropriately, it could eliminate any possible issues with the table being wobbly (like it might on pea gravel only). It’s slightly more work than option 2, because we’d need to individually level each paver, but still much easier to do than a full paver patio.
Option two: pea gravel only
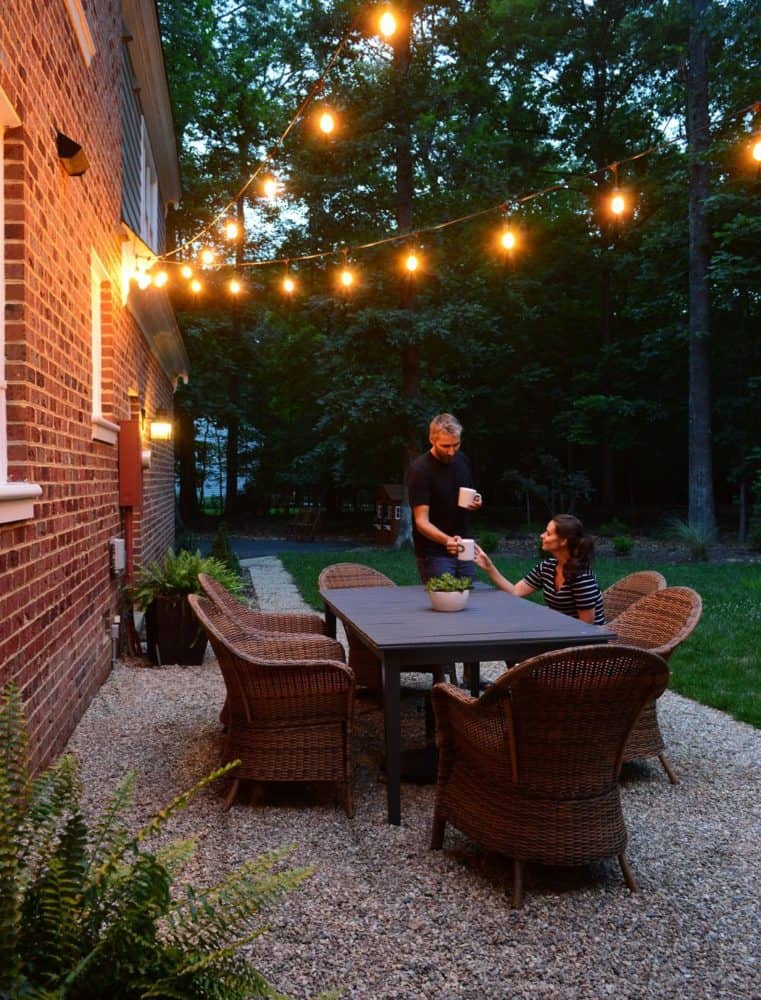
Via Young House Love
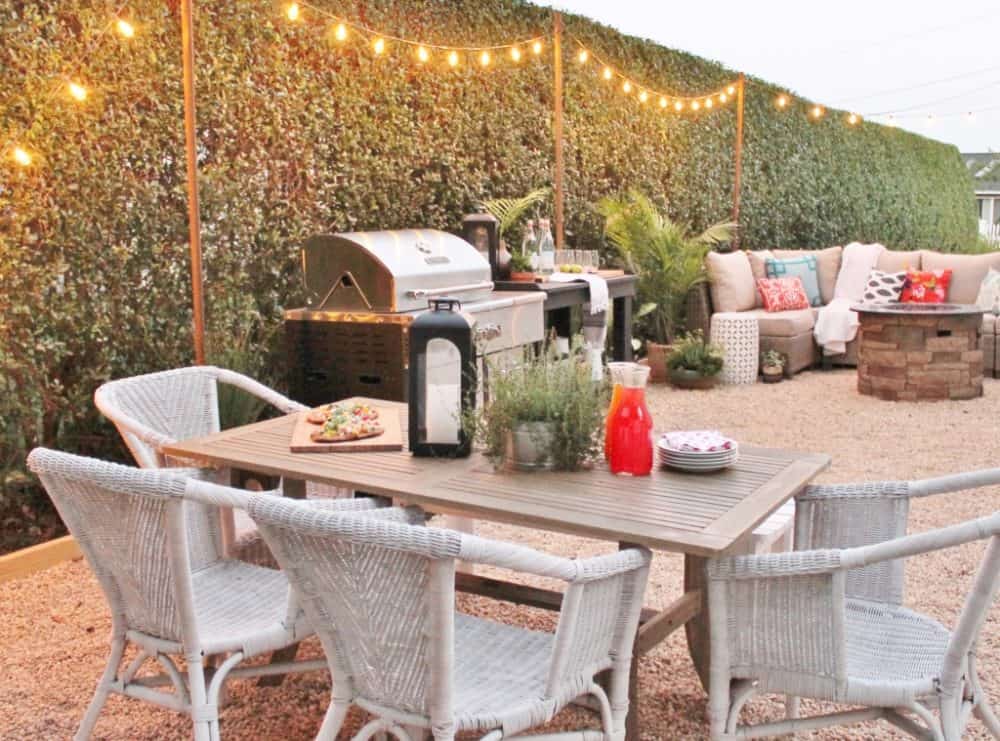
Via City Farmhouse
The other option is to create a patio area with just pea gravel. It’s the more casual (and easier to install) option, and it’s also more affordable – since we wouldn’t need to purchase pavers. Of course, the potential con of this choice is that it could be slightly annoying to sit at a table that’s on pea gravel. We feel confident that it wouldn’t be too bothersome – we’ve been to tons of restaurants that have eating areas like this and it’s not all that bad, but it’s something to consider.
No matter what option we go with, we’ll be taking the pea gravel all the way behind the shed and on the fence side of it. There really isn’t any grass growing back there right now anyways, and we think it would just look a lot cleaner if we toss some rock back there while we’re at it.
I’m also hoping to find a way to string some pretty lights out above the table, but there isn’t an outlet anywhere near it, so I’m still brainstorming exactly how we’d make the layout work. That’s a problem for future Amanda, though – the patio comes first!
Ready to vote? You can leave a comment below with your vote, or you can head over to my Instagram page to leave your input. If you don’t follow me over there yet, be sure to do so because I’ll be sharing aaaaaall the behind the scenes stuff in my stories as I work!
I can’t wait to see what you choose.
But what about the laundry room?!
I know, I know. A lot of you were really excited to see me tackle the laundry room.
Enough of you cared, in fact, that Corey and I have decided that we’re also going to be giving the laundry room a quick makeover in the next few months. It’s going to be on a much smaller scale, but there were so many of you itching for some ideas for how to make a tiny laundry room work that we figured we have to do something!
So, be on the lookout for a super-quick, super-affordable mini makeover for the laundry room soon! I’m not sure when exactly we’ll tackle it, but we’re thinking we might do something along the lines of a $100 weekend makeover. I’ll keep you posted!
No, go forth and vote!

Option 1 , please!
Hi, I would rather you have gone for creating a patio area with just pea gravel. Generally, it’s simple, quick to arrange, comfortable, and not expensive.
pavers and pea gravel… for sure
Another vote for pavers and pea gravel!
Pavers and pea gravel!
Pea gravel with pavers, even though I think it would be a pain in the butt because your chair is going to catch on the pea gravel all the time. Actually, if you are dead set on pea gravel, I’d leave the dining table by the house and put the conversational area at the back, since chairs wouldn’t be pushed back and forth all the time. Also, just look into solar lights for the new patio. I think Ikea has some. No electrical required. 🙂