How to Paint Your Bathroom Vanity (WITHOUT Sanding!)
Welcome to the very first post in our Power of Paint series! I’m tackling a quick makeover of our master bathroom using just paint, and I’m so, so (SO!) excited to dive in. You can see the “before” photos and get all of the details on this renovation right here. Today? We’re chatting all about how I painted the bathroom vanity without needing to even touch a single piece of sandpaper.
This post is sponsored by Rust-Oleum and contains affiliate links. Click here to read my full disclosure policy.
Over the years, I’ve written quite a few different posts about painting cabinets – it’s always been a go-to project for me because I love how much of an impact it makes with so little effort.
Of course, no matter how easy it is to paint cabinets, there has always been that pesky step of sanding. I don’t know about you, but sanding is my least favorite part of any project – it takes forever, it always leaves my shoulders sore the next day, and I just plain don’t wanna do it.
So, it only makes sense that I’d be over the moon excited to try out Rust-Oleum’s Cabinet Transformations kit for our bathroom – it promises a professional painted finish on your vanity or cabinets with zero sanding required. Oh, and did I mention you don’t need to prime, either?
Can I get an amen?!
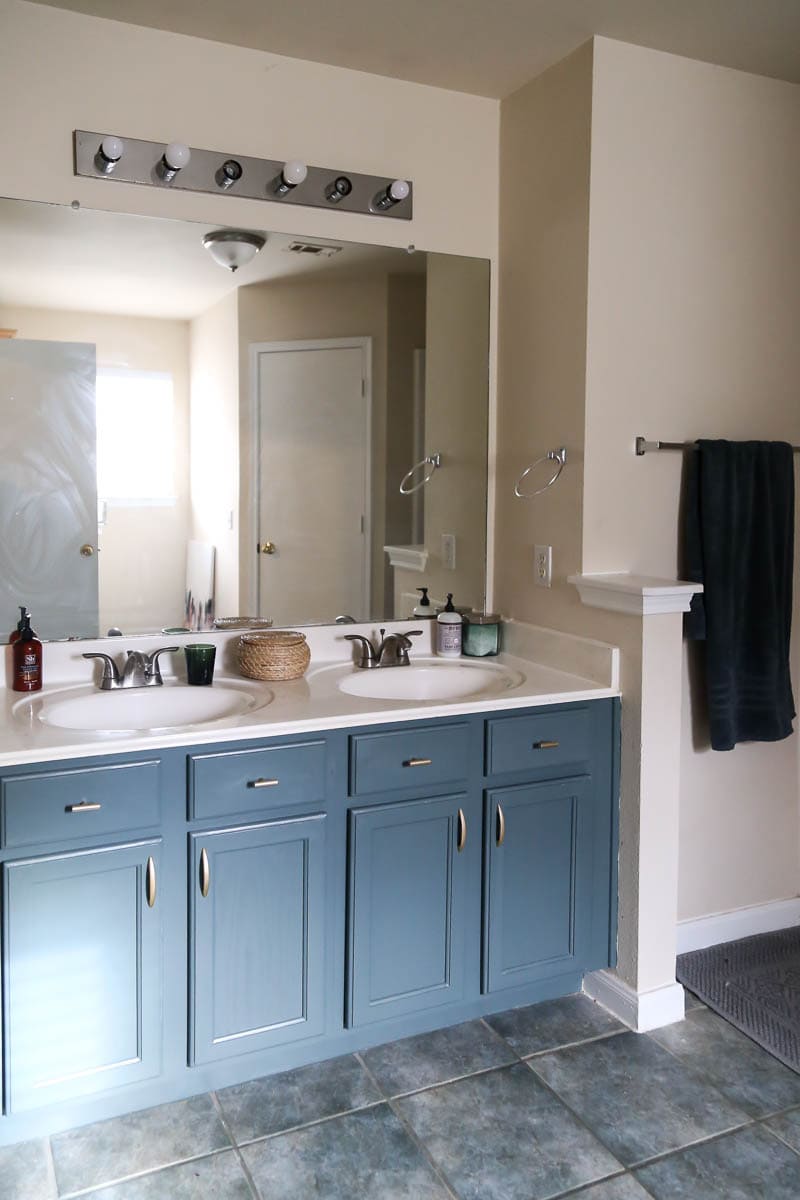
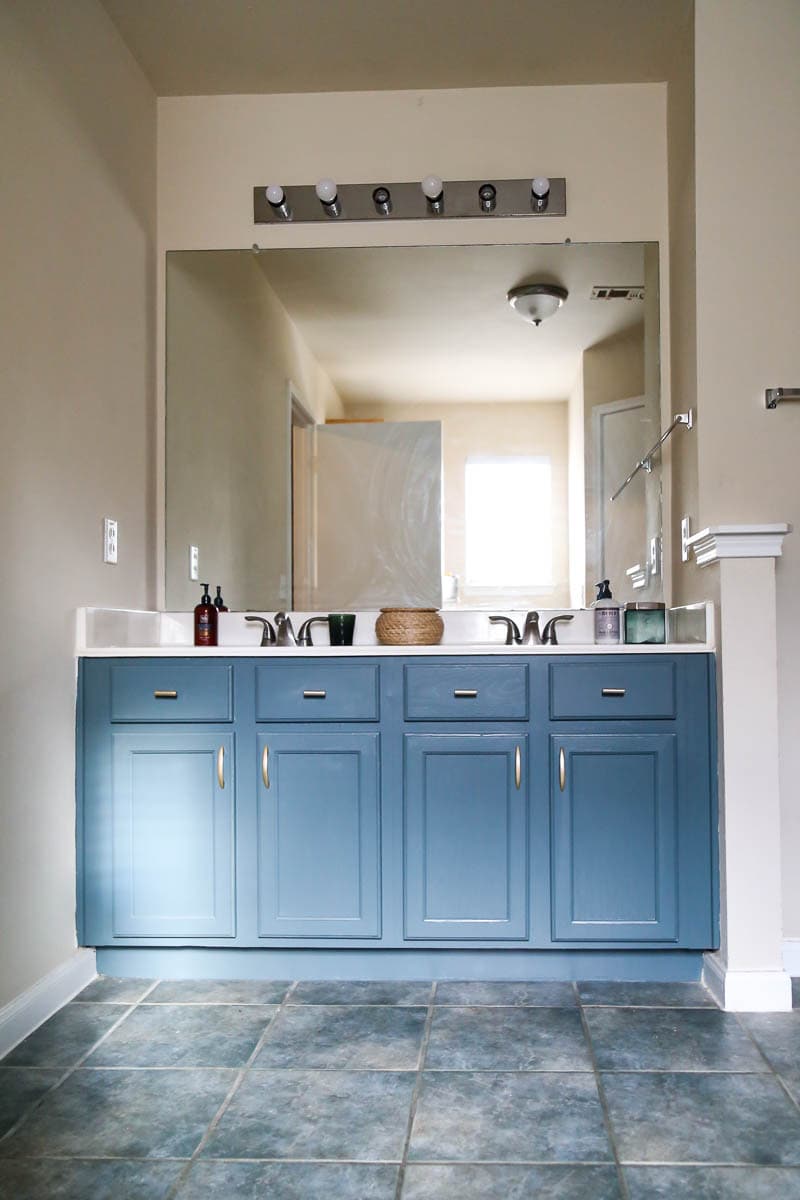
I knocked this project out last week during a few of Grant’s naps, and I’m really excited about how it turned out, and how much of a difference it’s already making in the bathroom (although, can you please just ignore the green tile? And the terribly vanity light? They’ll be fixed soon).
I wanted to share a full tutorial on how to use the Cabinet Transformations kit, because I had a lot of questions about it from y’all and from my friends and family who have been curious about it over the years. I know I personally see it in the hardware store every time I have to buy paint and I always look at it, ponder over if I want to try it, and ultimately decide on regular paint. WHY, though?! I’m thrilled to finally have tried it out, and I can report back with confidence that this is the way to go if you’re painting any vanities or cabinets in your home.
Let’s dive in.
Painting Our Bathroom Vanity: Rust-Oleum Cabinet Transformations Review
Here’s what you’ll need:
In addition to the kit, you’ll need to be sure you have:
- A screwdriver (for removing cabinet doors and hardware)
- Multi-purpose cleaner (this is what I used)
- A lint-free cloth
- Gloves
- A clean, quality paintbrush
Please note: This review is just an overview of the process for using the Cabinet Transformations kit. The kit comes with full instructions that are much more thorough, and you should always listen to those first!
Step 1: Remove Doors, Drawers, and Hardware
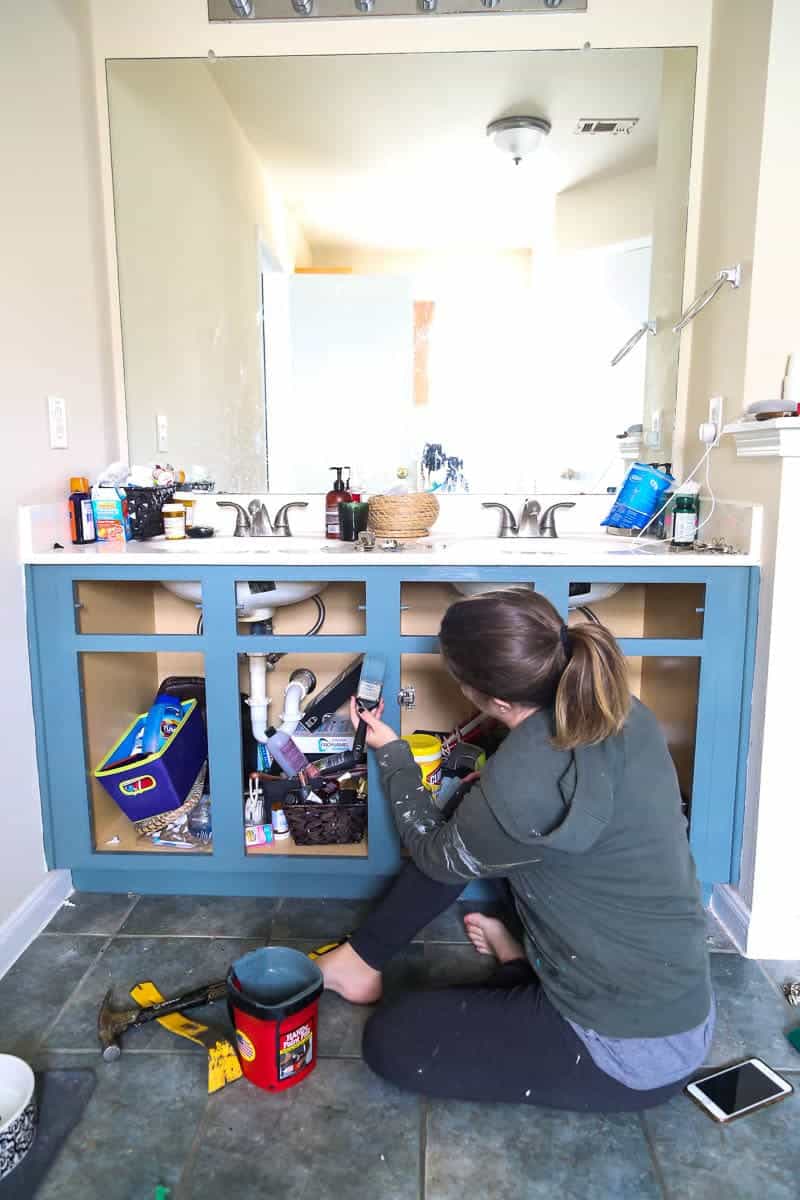
Your first step in painting any cabinets should be to remove all of the doors, drawer fronts, hardware, and hinges. It might be tempting to leave them on, but I promise your life will be much easier if you just go ahead and take it all of. Nobody wants to have to clean paint off all of that hardware!
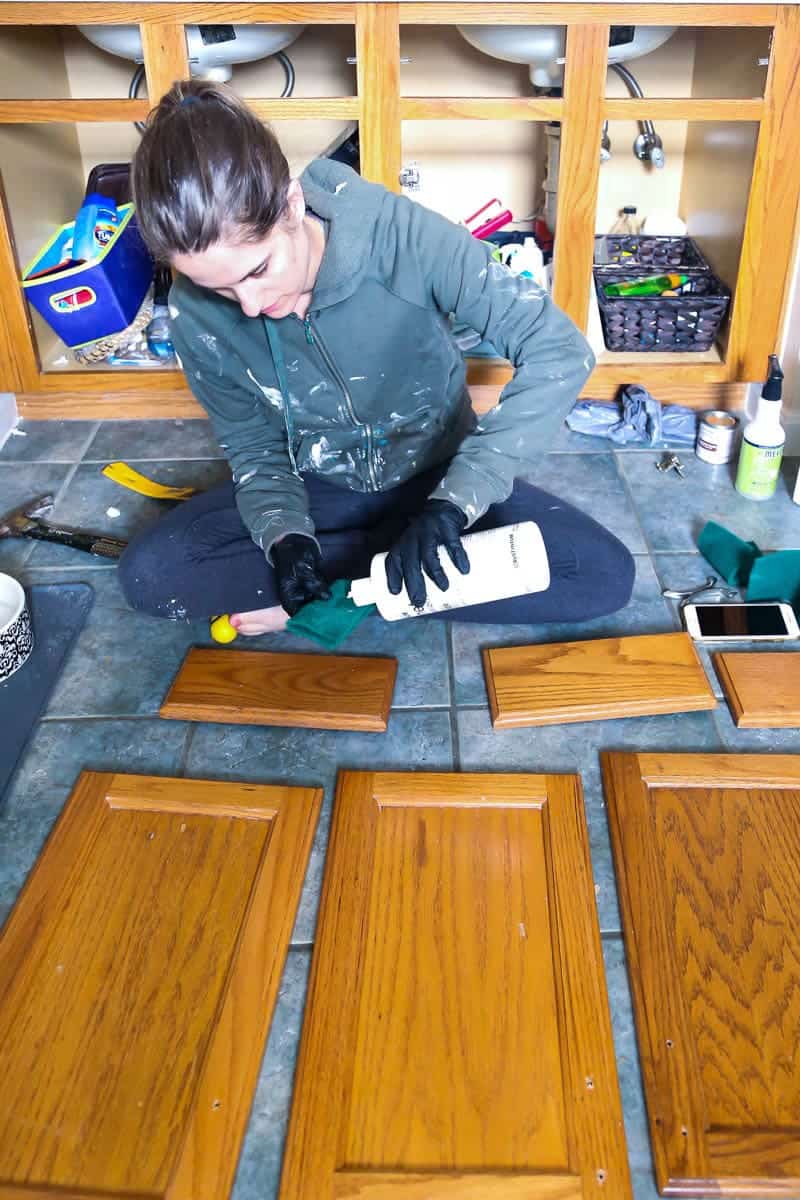
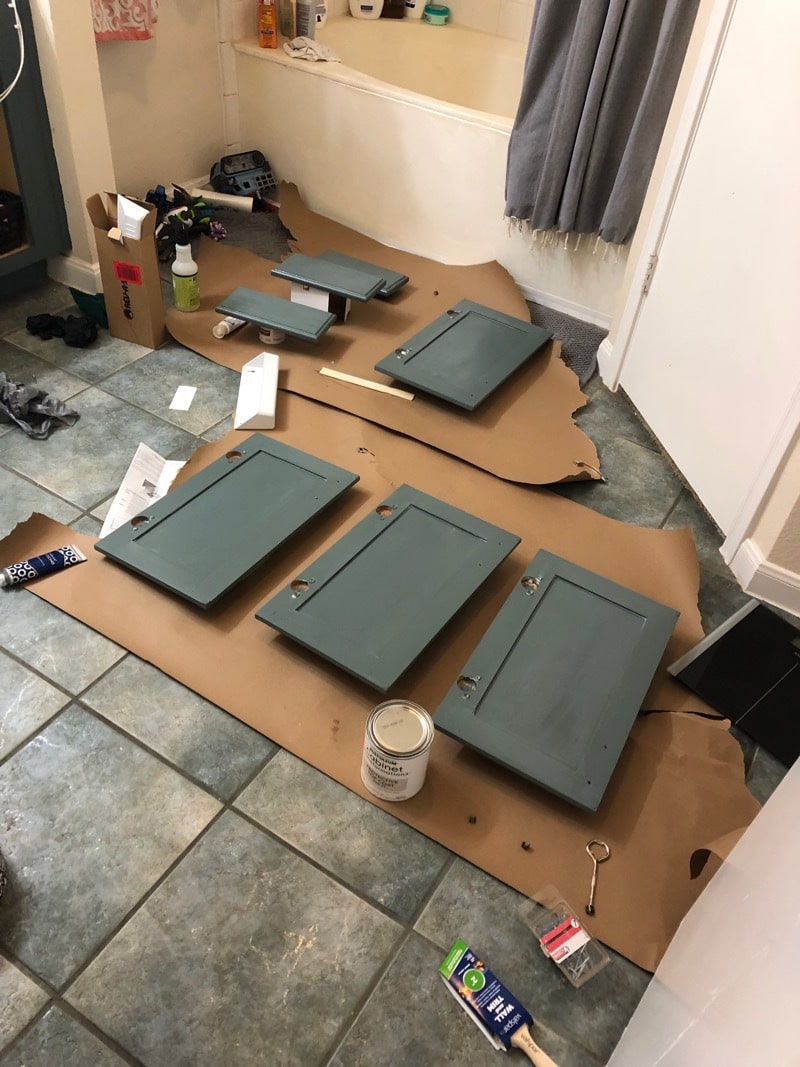
Simply use your screwdriver to remove all of the doors and hardware, then lay them out so it will be easy to clean them. I just spread ours out on the bathroom floor for cleaning, then brought them outside later to paint.
As you can see, we also removed the faux drawer fronts on our vanity. I’ll chat more about it later (I have a full post planned all about how we’re organizing the inside of our vanity!), but we’re adding hinges to allow them to actually function as a storage space instead of just being useless.
Step 2: Clean and De-gloss the Vanity
Now it’s time to clean all of the grime and grossness from your bathroom off of the vanity. I started by just using some Mrs. Meyer’s cleaner and a dish cloth to give them an initial clean. This isn’t as big of a deal in a bathroom where cabinets don’t have much of a chance to get too dirty, but if you’re painting kitchen cabinets you’ll want to be sure to get any food particles or grease off of them!
Once you’ve gotten any visible dirt or grime off of the cabinets, you’re ready to de-gloss using the provided de-glosser. Put your gloves on (this stuff can be harsh on your skin!), and use the scrubbing pads from the kit to thoroughly clean and de-gloss the cabinets. Put some elbow grease into it! This is one of the most important steps in the entire process – the more clean your vanity is when you start painting, the more long-lasting your final finish will be.
Step 3: Apply the Bond Coat
Now, it’s time for the fun part – the paint (which the kit refers to as the “bond coat”). The instruction manual is super thorough on exactly how to apply it – right down to telling you what direction your brush strokes should go! There’s even an instructional DVD included if you’re a visual learner, or you can check out their website for more info so you’re sure to know exactly what to do.
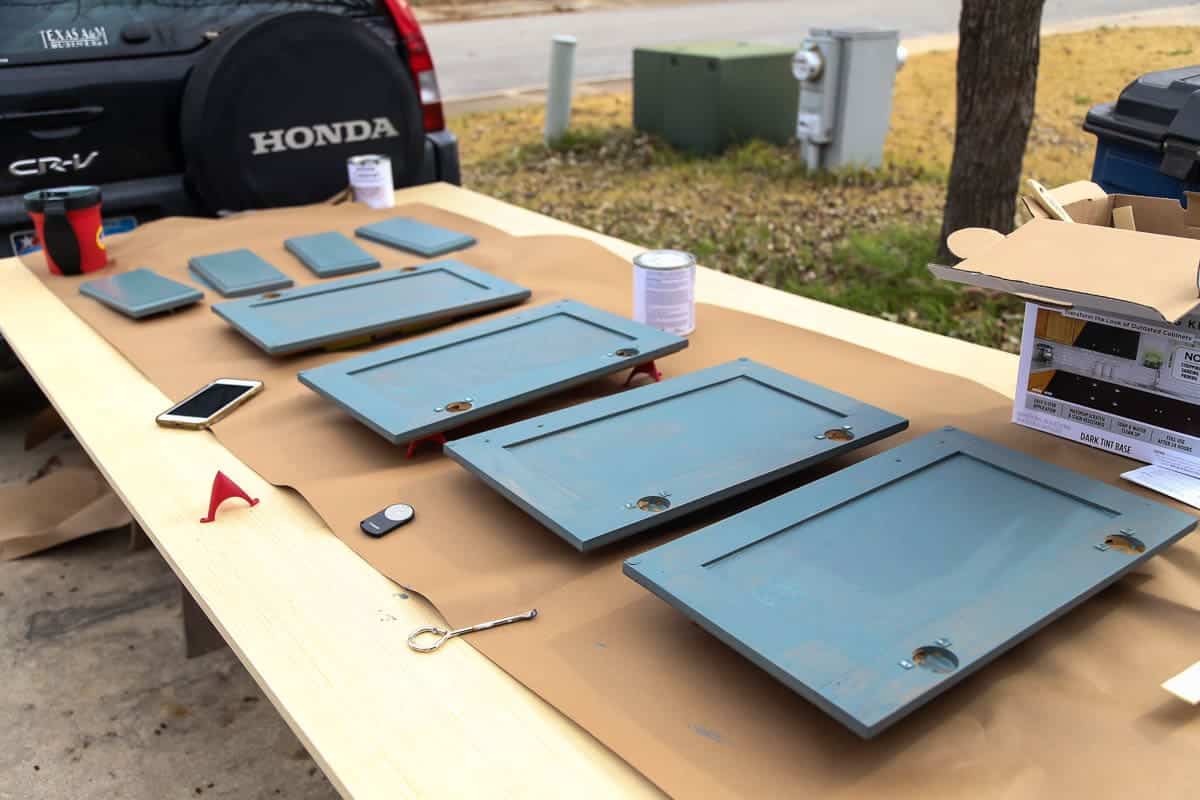
I took all of my doors and drawer fronts outside to paint them, and I was sure to use these painting pyramids to help hold everything up and prevent any dripping or sticking. This is the part of the process that feels the most tedious, because you need to allow everything to dry for 2-3 hours between coats. So, I started with the backs of the doors and did two coats, waiting two hours between each one. Then, I flipped them to the front and did the same. I ended up splitting this over a couple of days, simply because it’s hard to squeeze in the time to paint when you’ve got an infant in the house, but you could easily knock out all of the painting in one day if you’re dedicated!
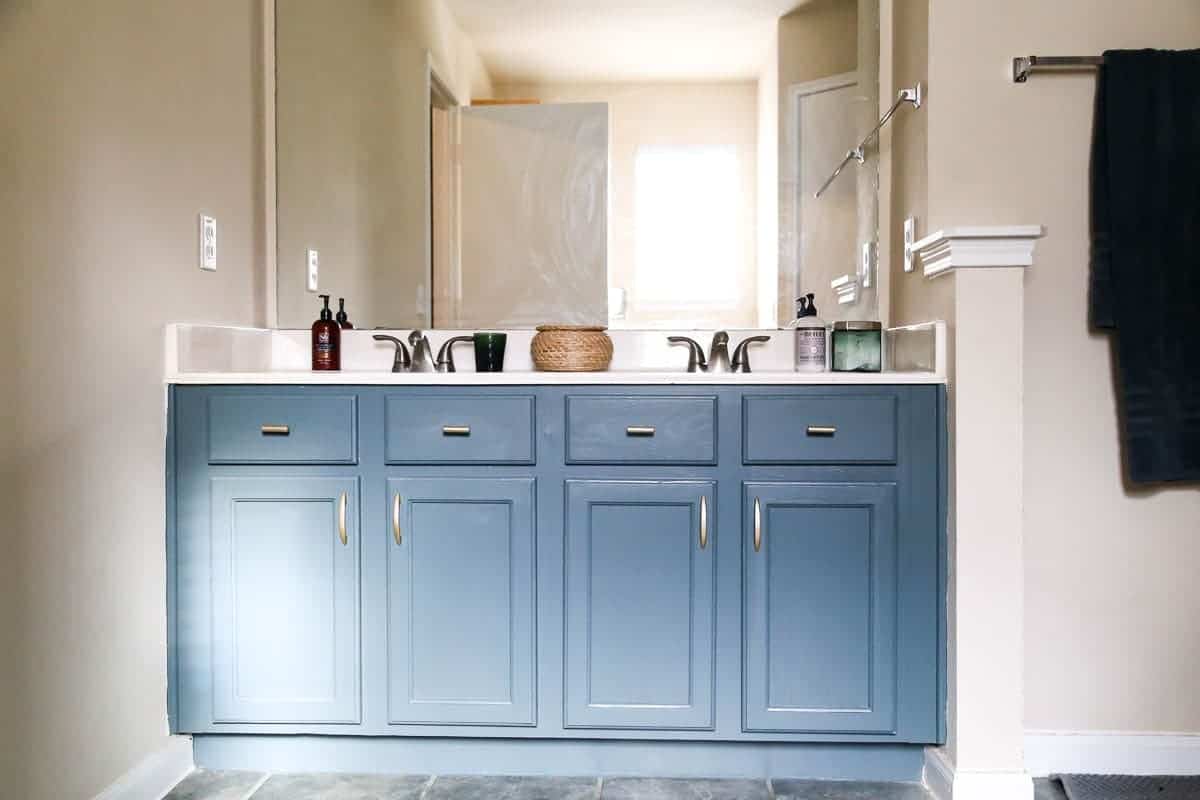
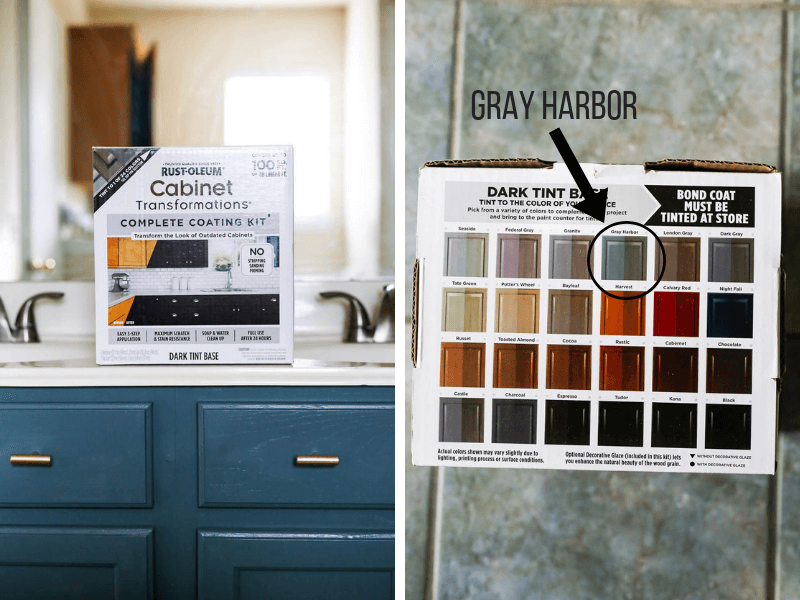
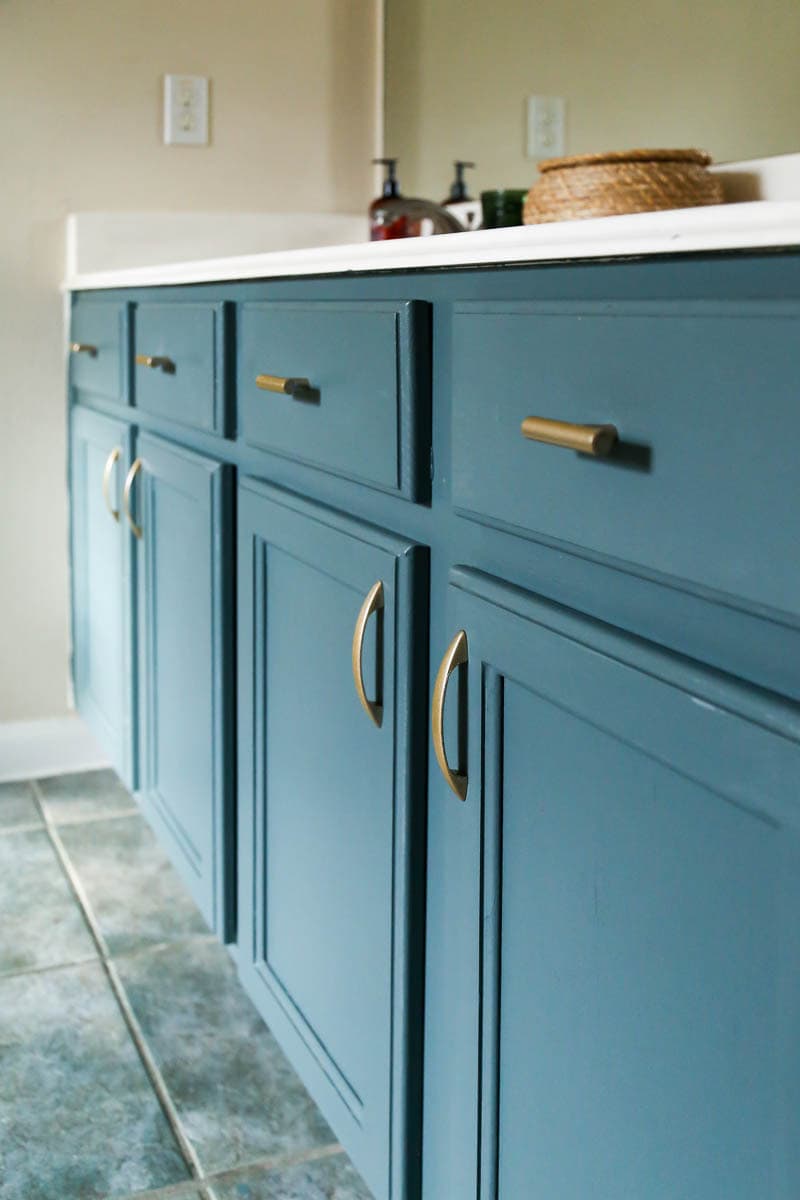
The color we chose for our vanity is Gray Harbor. It reads very blue in these photographs, but in person it’s much greener, with heavy gray tones. It’s a really beautiful color that shifts throughout the day, and I love how versatile it is! Rust-Oleum recently updated their Cabinet Transformation tint base colors, so there are a ton of new options – including bright pops of color or more neutral tones like a gray or greige. Basically, they’re sure to have a color that works perfectly for your space.
Step 4: Apply the Protective Top Coat
Next, it’s time to apply the protective top coat. This is what will ensure that your paint is long-lasting and has a professional-looking finish! You only need to allow your bond coat to dry for 2-3 hours before applying the top coat, but since I was squeezing this into nap time, I let it dry overnight. I learned that the bond coat isn’t very durable without the top coat, so be sure that if you have to store it at all, you are careful with how you do! I had to do a couple of touch ups on some of the drawer fronts after stacking them on top of each other, but it only took a couple of minutes to touch them up. The top coat is incredibly durable and provides a scratch and stain-resistant finish. It’s perfect for homes with little ones or pets (we have both!), and means that once you’re done painting you don’t have to worry about maintenance at all – it should look fabulous for years.
You only need to apply one coat of the protective top coat (using a regular paint brush, just like before), then allow it to dry for at least 12 hours before re-assembling everything.
Step 5: Re-Assemble Your Cabinets
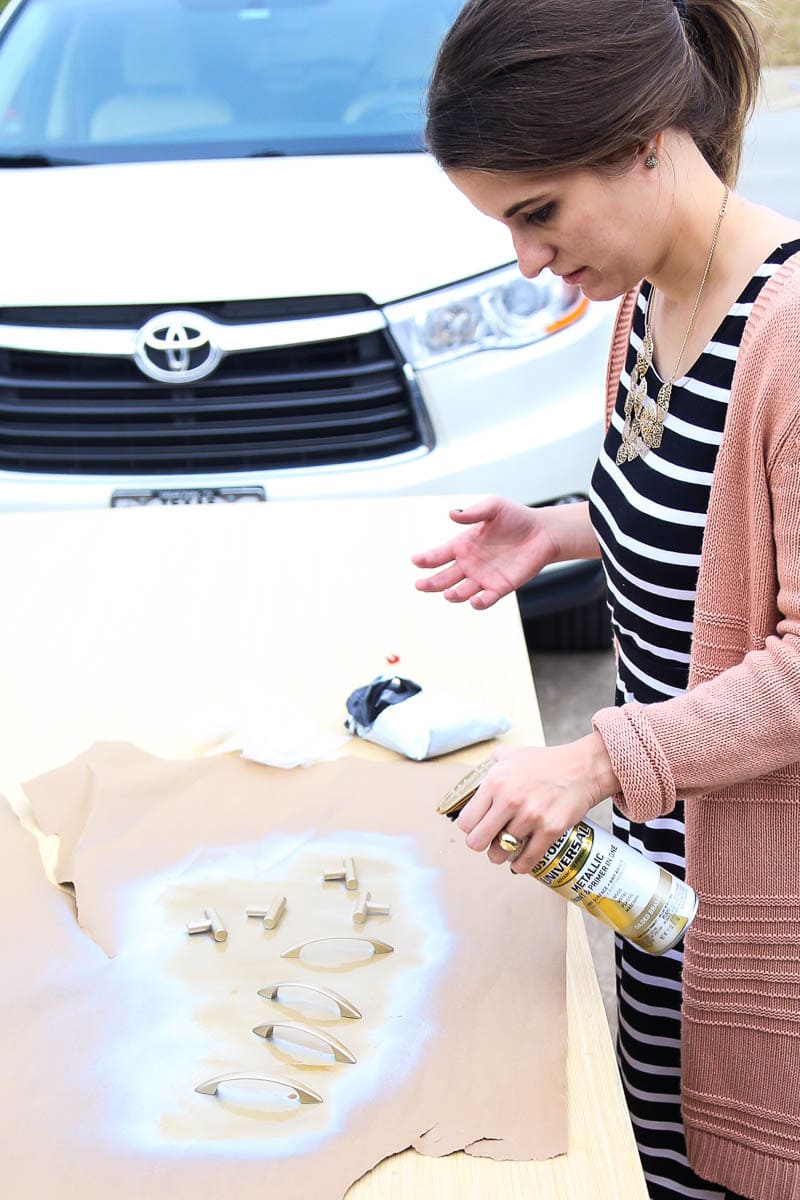
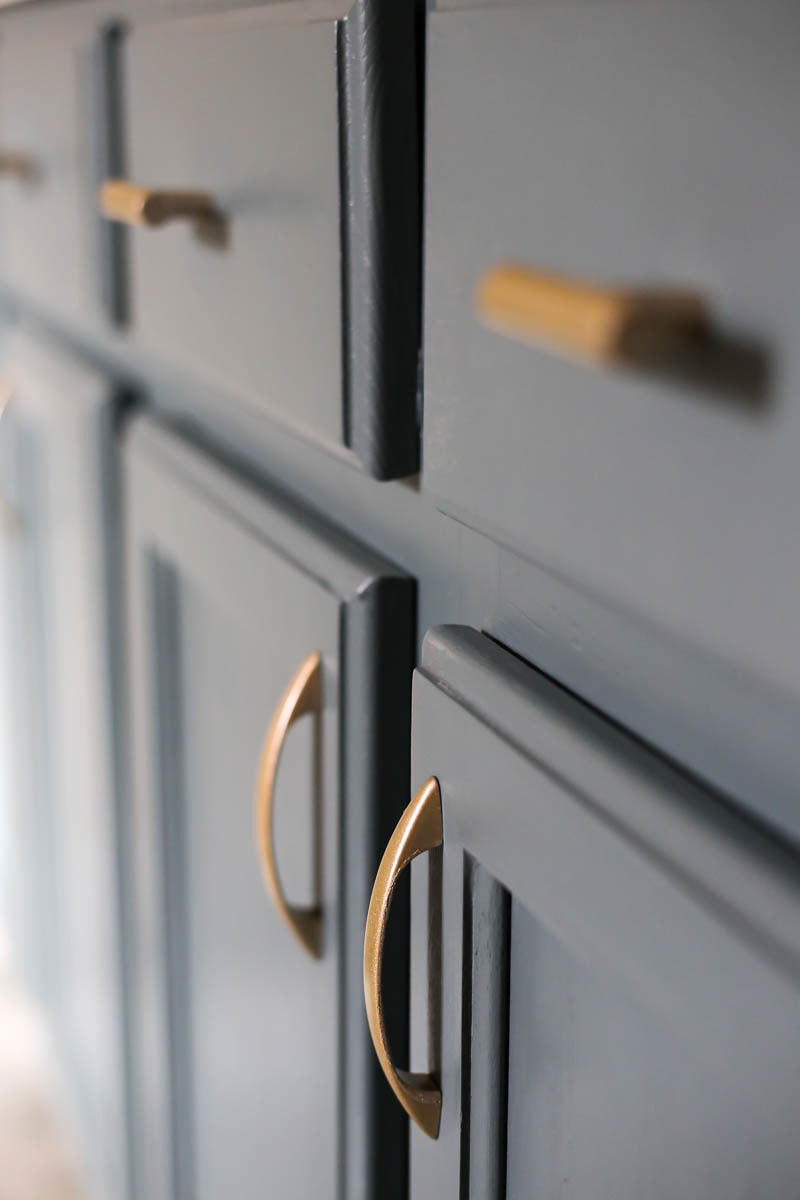
Before I re-assembled everything, I pulled out my Rust-Oleum Universal Metallic spray paint (in gilded brass) and gave our cabinet pulls a new look as well. We purchased some cheap drawer pulls to add to the drawer fronts (since they’re hinged for some storage, they needed something – plus, it looks nicer to have something on them even if they’re fake!) and coated everything with the spray paint so it all matches.
I love how the gold looks against the blue-gray paint of the vanity, and it never fails to amaze me how just a plain ol’ can of spray paint can completely transform some boring cabinet pulls into something I actually like! I had originally planned on buying new ones, but I don’t even want to any more.
Once the cabinet and drawer pulls were dry, I put everything back on, cleaned things up a little, and the vanity area is complete!
Well, except for a new light. And maaaaaybe a new mirror (we haven’t decided yet). And, of course, all of the other projects we have planned in this room like new wall paint, floor paint, etc. But the vanity itself is done, and that counts for something, right?!
When I announced this bathroom makeover, I heard from so many of you who have similar situations – bathrooms or kitchens that you don’t love at all, but they’re in good enough shape that it just doesn’t make sense to completely renovate them yet. We’ve all got rooms like this in our house! But, in just a few hours of work I was able to take this bathroom one major leap forward – and it’s got me so excited about the rest of this makeover!
Hopefully this inspires you to try out one of these kits if you’ve got some boring cabinetry that needs some love in your house. It works on furniture, too, so you could even paint that old piece of furniture that you’ve been putting off working on. You can learn more about the Cabinet Transformations Kit here, and be sure to stay tuned – in January we’ve got some more projects that we’re tackling in here and the big reveal of the full makeover should happen by the end of February!

Thank you for such great details! It looks beautiful.
Did you use the glaze or just the paint with the top cover? I love the deeper blue finish you were able to achieve!
Just the paint and top coat – no glaze!!
Hello,
I found your blog through HomeTalk and I’m fascinated about no sanding. I am wondering, how does someone know how far a paint kit will go? In other words, does the paint kit come with approximate square footage of how much it will cover? Thanks!
Hi Denise! There are two sizes for the kits. The small one should cover 100 square feet, and the large one can cover up to 200 square feet.
OMG, that looks awesome! Found this through Pinterest and was drawn to it by the “no sanding” after drooling over the cabinet color! You’re right about looking very blue. I love that color if that was accurate, however, in your more closeup pics I see what you mean about it being more green undertones, and I really like how that turned out as well. These are the shades I’m planning for my bathroom, so now I’m excited to plan that project! Thanks for helping me to see the vision I was thinking put into reality😀. I’m so glad to have “stumbled” across this! 👍
Thanks so much, Elizabeth! They’ve got multiple different options! Ours is definitely a blue-ish green, but there are lots of colors.
Hey! Followed you from HB!! Would this work on laminate cabinets?
Hi Tiffanie! Thanks for coming over here! 🙂 This would absolutely work on laminate cabinets! Their website says it’s good for wood, laminate, and melamine.
Great work, Amanda! Thanks for sharing the detailed process with images! Really helpful. I’d apply the same approach to kitchen cabinets as well.
Blue tape is your friend, I mean as far as painting goes you did a great job and they turned out fantastic. However in your photos I feel like the jagged lines next to your walls detracts from the overall effect.
Haha, you’re not wrong! The project is still far from finished – I still need to paint the walls, so I wasn’t terribly careful with the lines on the vanity. It’ll all be a lot more crisp once it’s complete!
That looks great! I will keep this product in mind! Can you use it on anything? Dressers, china cabinets, etc?
Yes, ma’am! It would be perfect for both cabinets AND furniture!