
How to Shingle a Playhouse Roof
Last updated on June 28th, 2018 at 04:02 pm
We recently finished up a DIY backyard playhouse for our son, and we got to learn a new skill – how to shingle a roof! This was much easier than I expected, and I’m so happy with how it turned out! If you want to learn how to install roof shingles, this post will walk you through the steps! This is a sponsored post on behalf of Collective Bias, Inc. and its advertiser.
Y’all. Did you read that title? We shingled something. Is shingled a verb? Should it be roofed? Should I be allowed to do something if I don’t even know how to verbalize what I did?
Oh well.
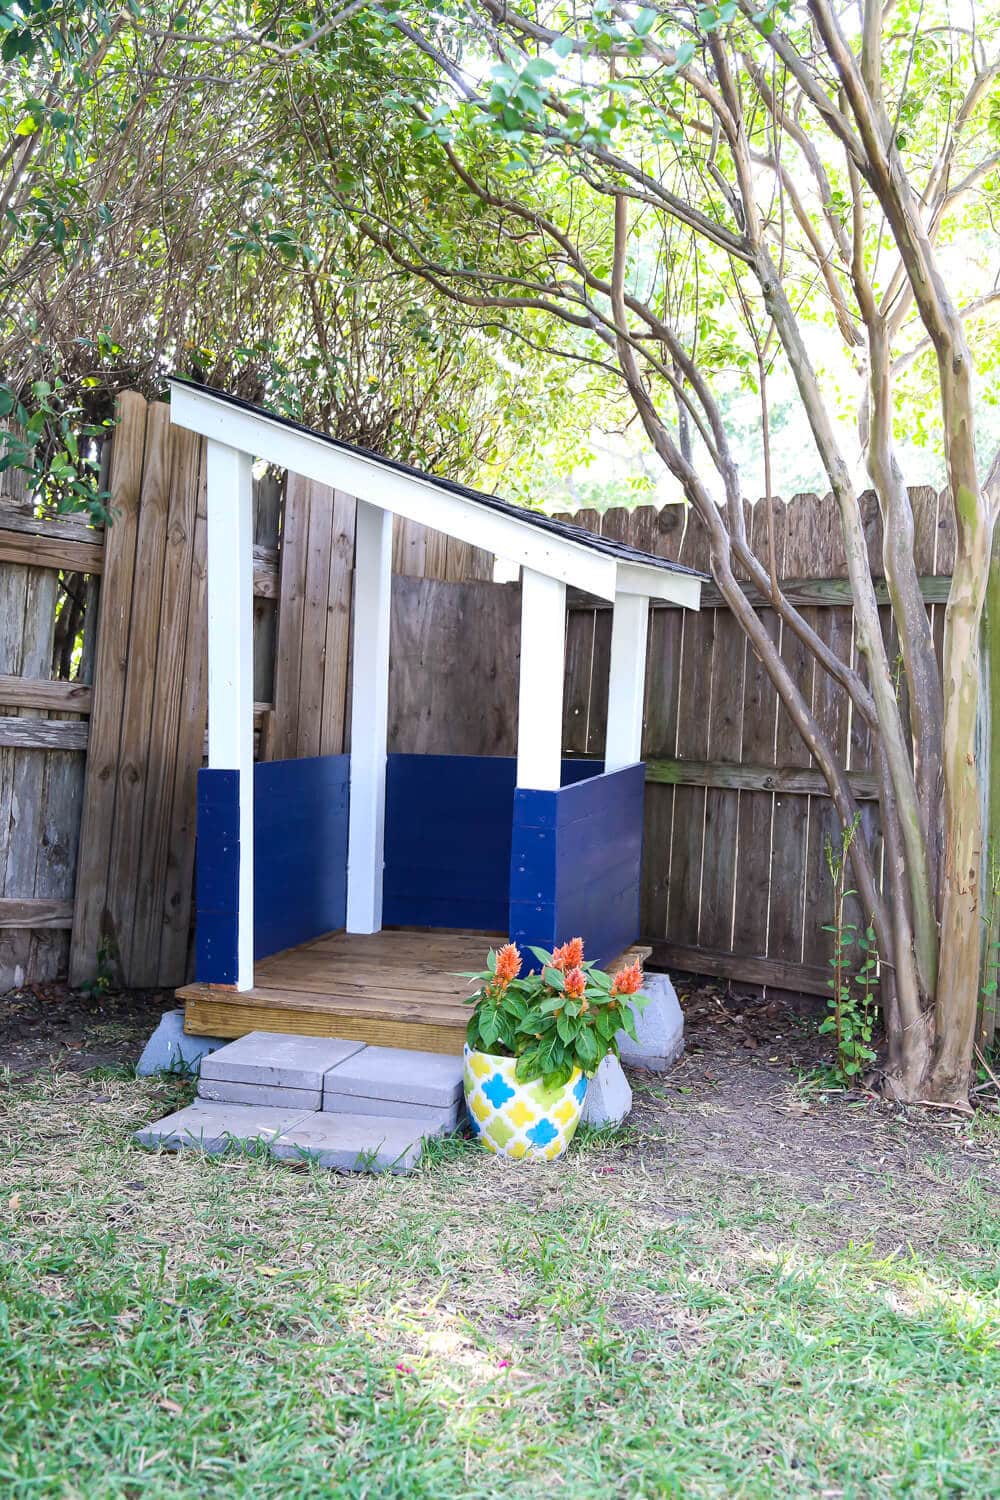
Let’s put it this way: Jackson’s playhouse has a straight up roof, just like our house. Shingles and everything. And we did it. All by ourselves. Can you even believe it? Because I kind of still can’t.
I’ve been teasing this playhouse for a long time, and we finally finished it this weekend. We still have a few things on the ol’ to-do list like fixing the fence, adding some accessories to the playhouse, and adding a little kid-sized table to kind of round out this corner of the yard for Jackson.
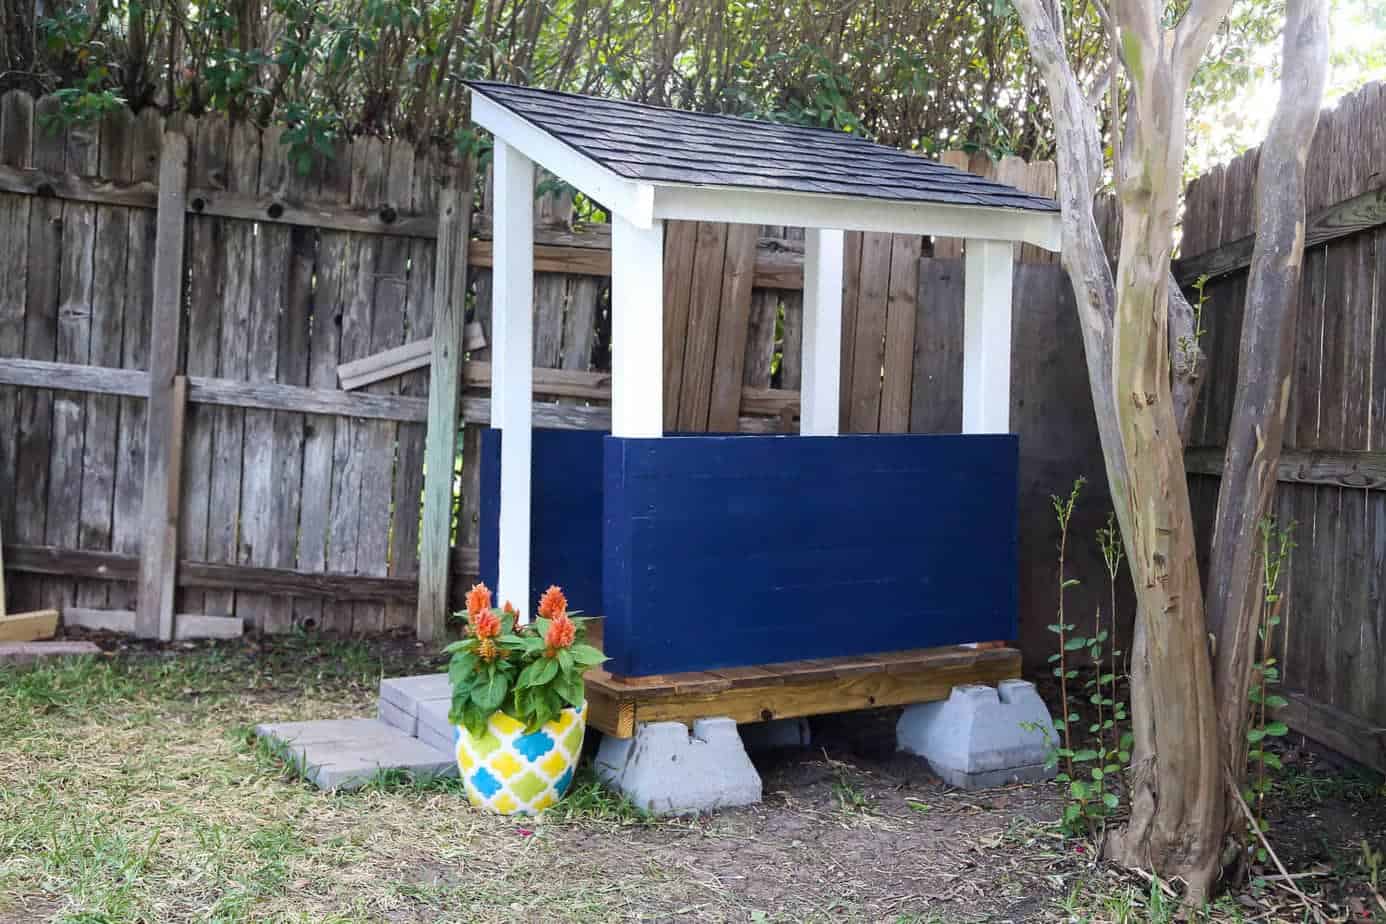
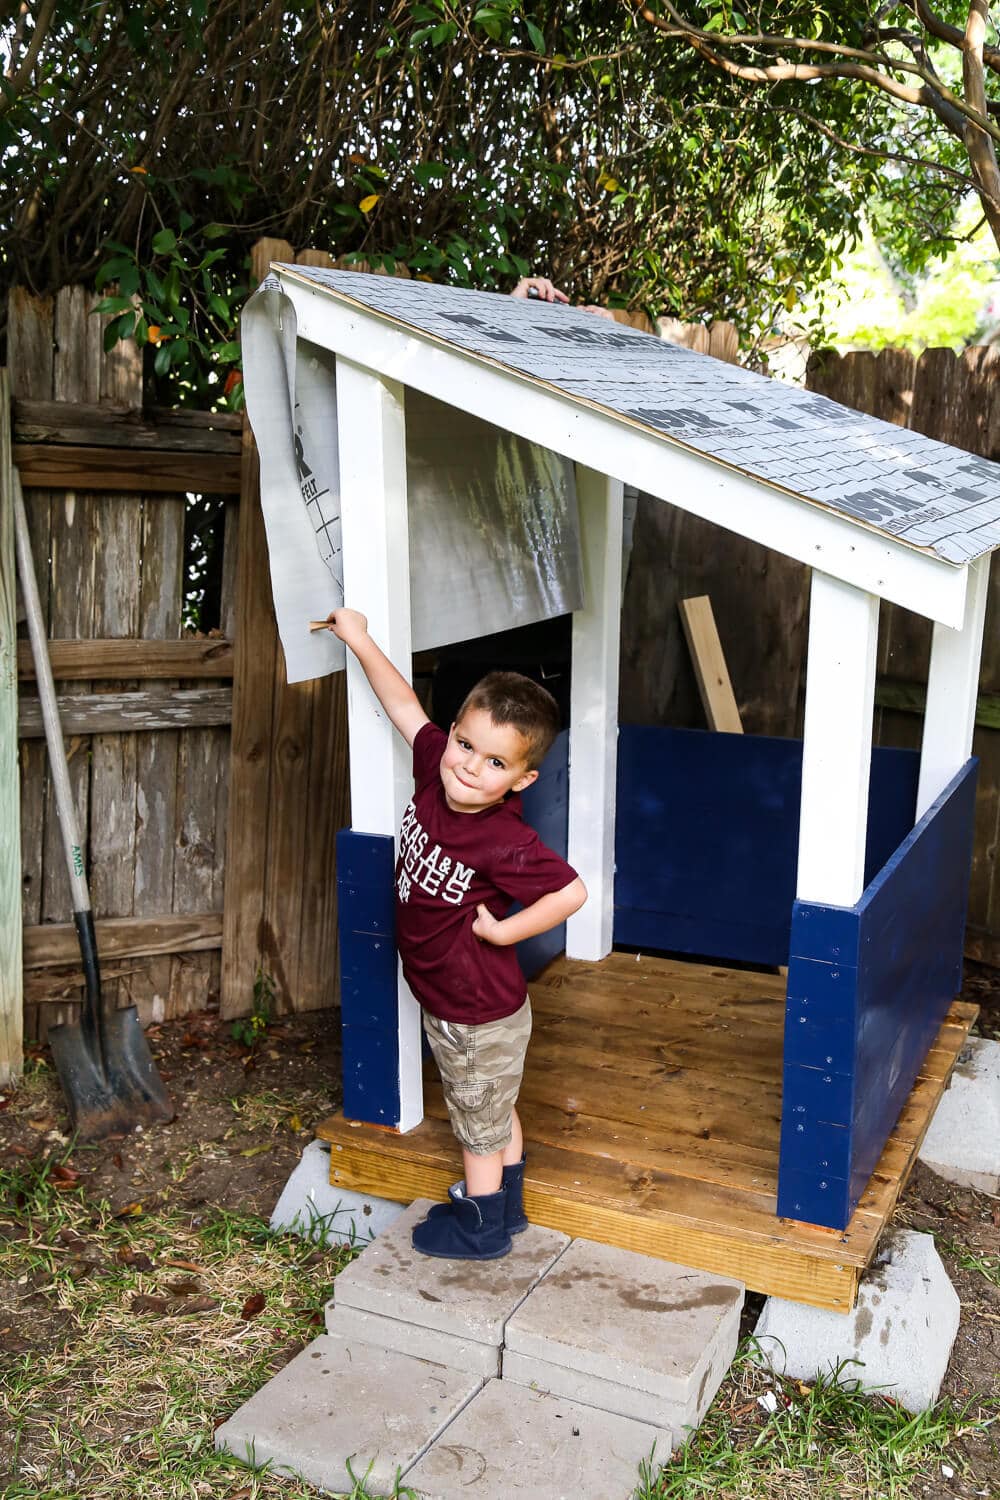
But bottom line? The playhouse is done, and we’re loving it.
I have the full tutorial with alllllllll the details on how to build a backyard playhouse right here, but for today I’m just gonna show you a few “after” photos and chat about the roof.
Because, did I mention we did that?!
SO CUTE, RIGHT?!
If you would have told me a year ago (heck, even a few months ago) that I would be involved in actual roofing work on a project, I would have laughed in your face. But I was really shocked at how simple this project actually is, and now I’m totally confident that we could handle this in the future if we have another similar project come up. We’ve been talking about building a little lean-to shed to store our lawnmower and other garden tools, and now I know we could add a real roof to it if we want to! (Update: We did it, and it has a real roof!)
So, are you ready to learn how to do it? I see you cringing over there. You think this is gonna be complicated.
It’s not. Promise. It’s so simple, it’s gonna blow your mind a little.
How to Shingle a Roof on a Playhouse
Let’s chat. We went with GAF for our roofing products – they’re considered a professional brand and product and are used by a lot of contractors, but they’re totally DIY-friendly. And I think we all know I love DIY-friendly brands.
Here’s what the playhouse looked like before we got started on the roofing. Just a plywood roof, nothing fancy.
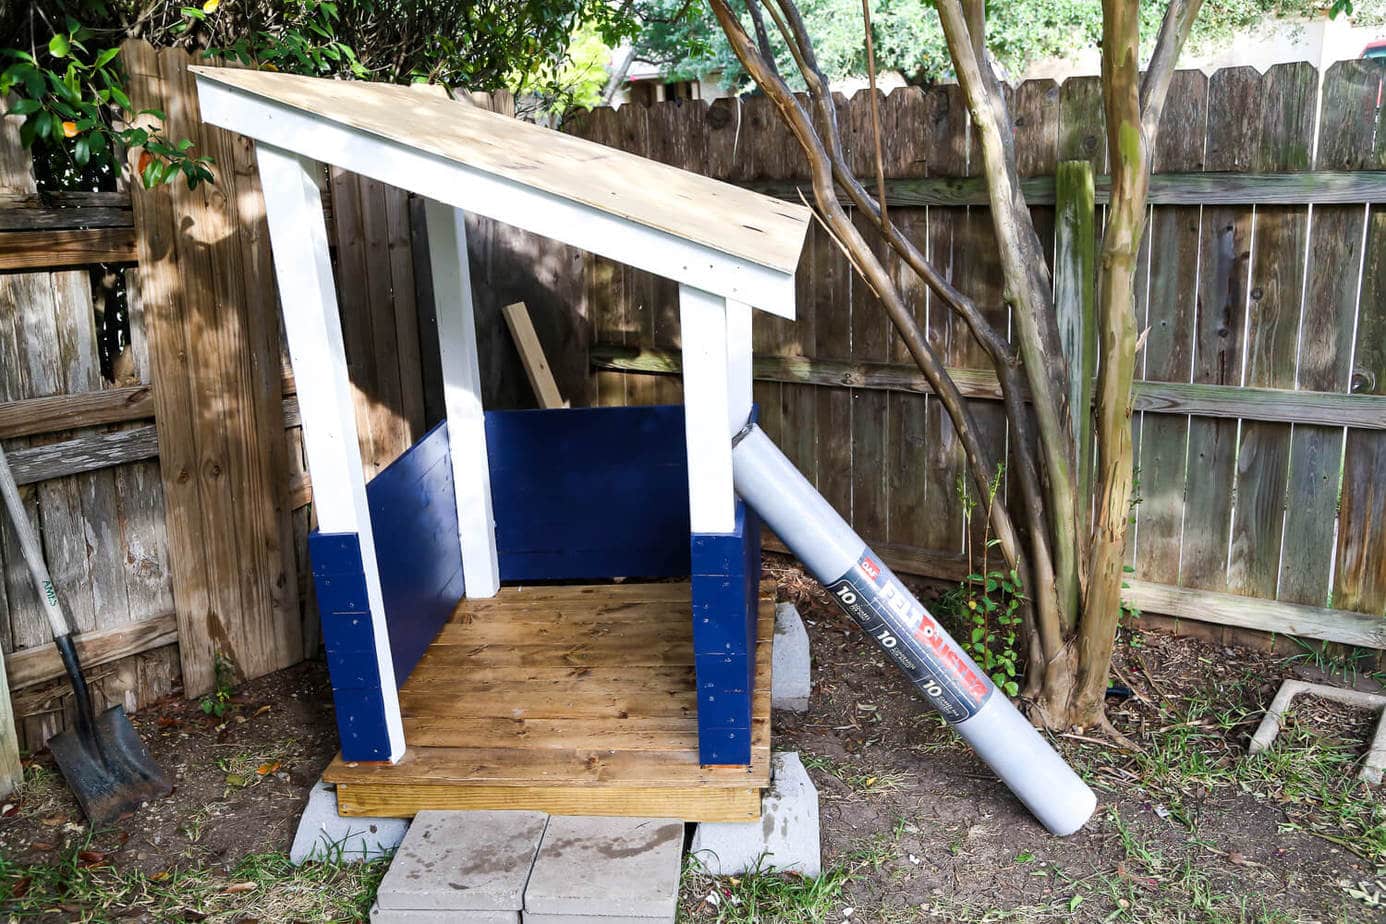
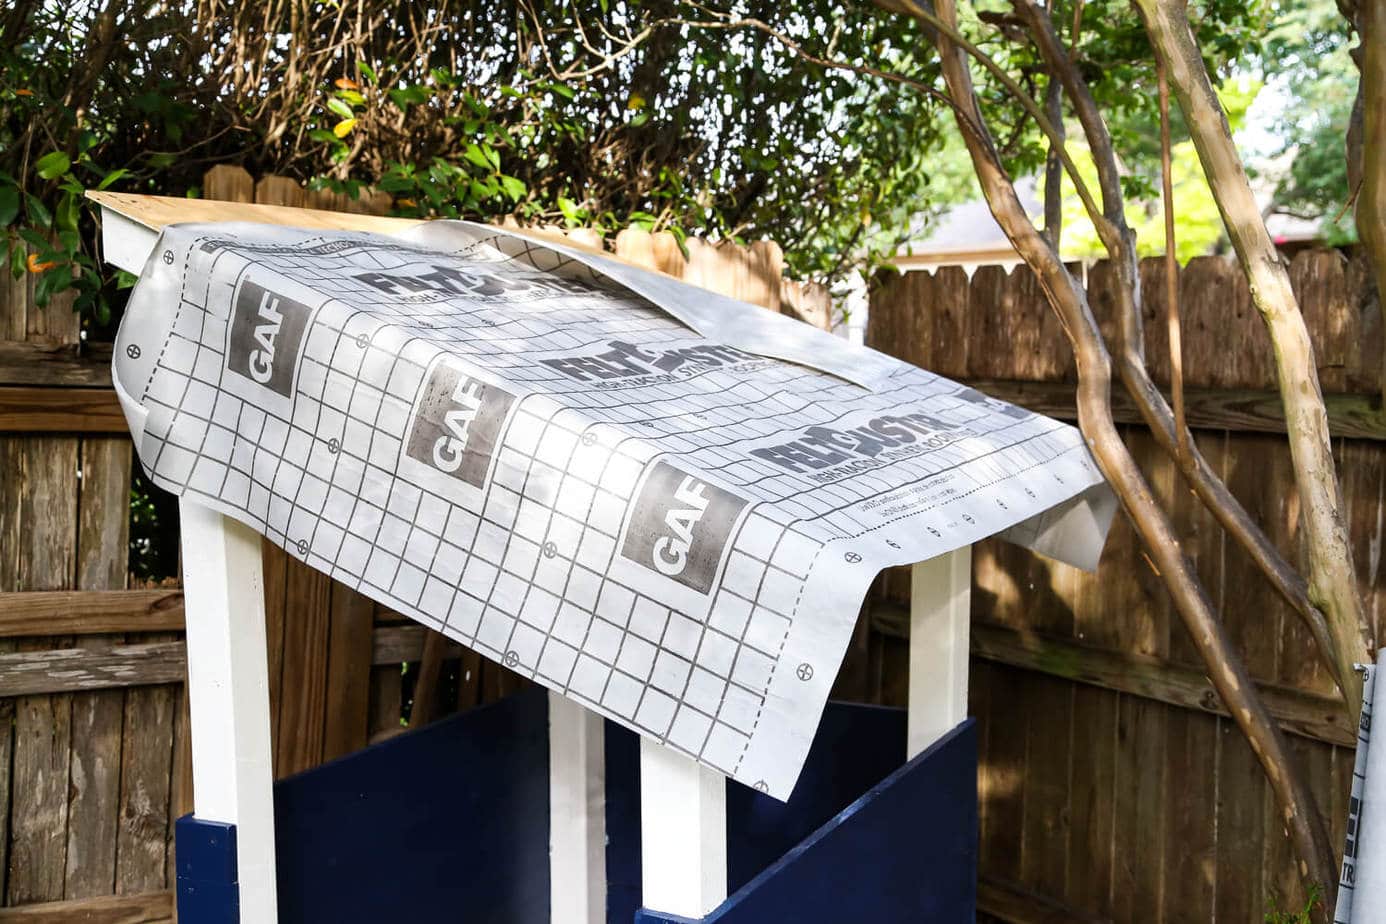
STEP 1: Underlayment
We started off with the FeltBuster® High Traction Synthetic Roofing Felt, also known as the underlayment. It’s just a thin synthetic substance that’s practically impossible to tear and helps provide a moisture barrier and a good base layer for the whole roof. It’s really important to protect the roof from wind-driven rain and keep everything underneath nice and dry. It’s simple to install – there are marks on it where you’re supposed to nail it in, and you just cover the whole roof with one layer. Easy peasy.
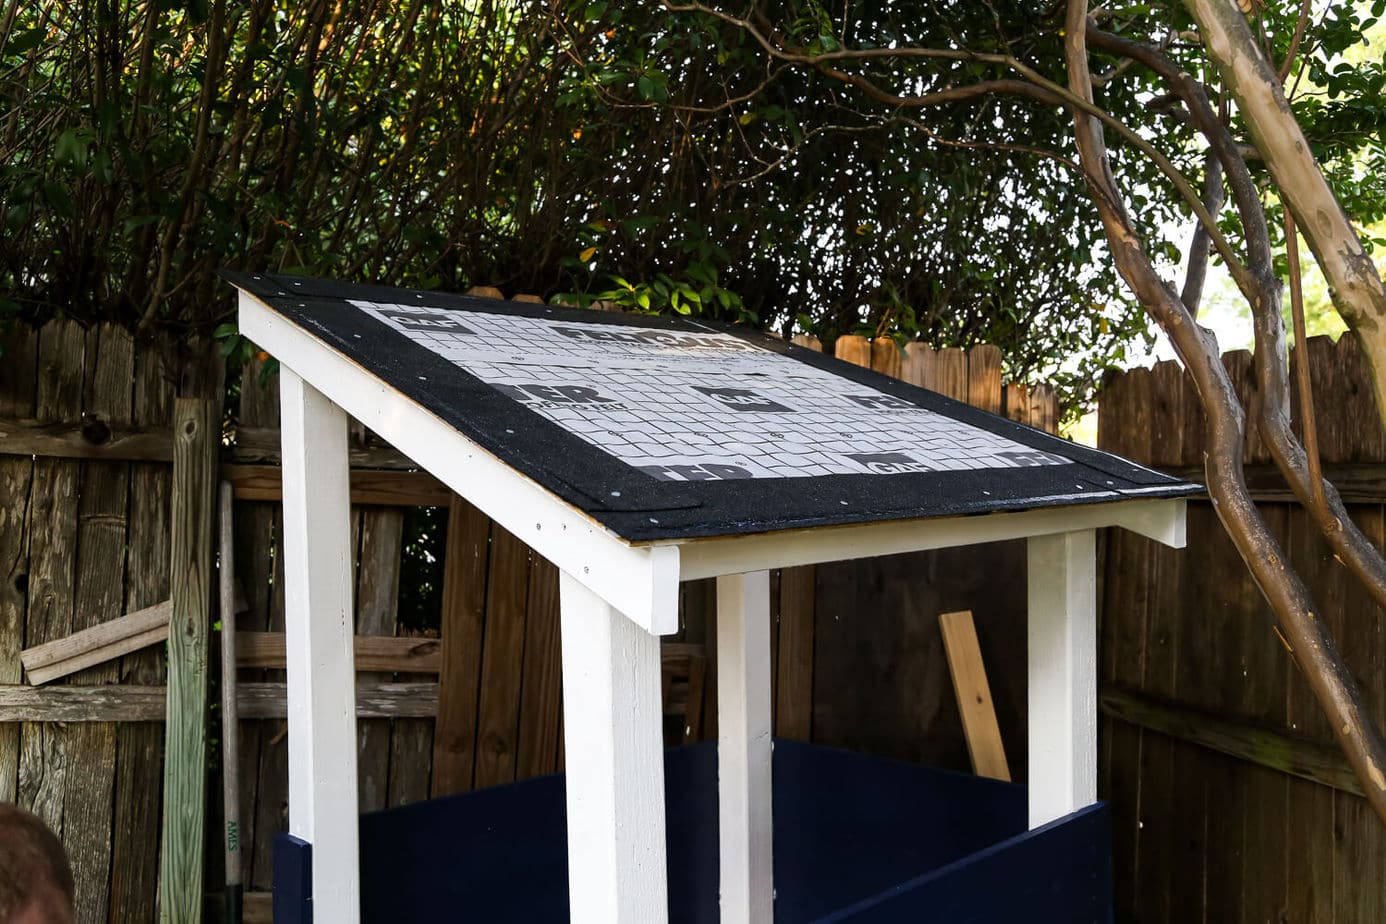
STEP 2: Starter Shingle
Next up, we laid the Starter Strip: Pro-Start™ Starter Strip Shingles. The starter shingles help add an extra barrier for the edges of the roof – they just go along the edges of your roof. Technically, if you’re doing a peaked roof (like most houses have), you don’t need a starter shingle along the top, as there’s a special piece you’d use for it called a ridge cap (here’s a link to GAF’s TimberTex® Premium Ridge Cap Shingles, if you’re curious what they look like) But since we just had a slanted roof, we decided to go ahead and add one up here just to be on the safe side.
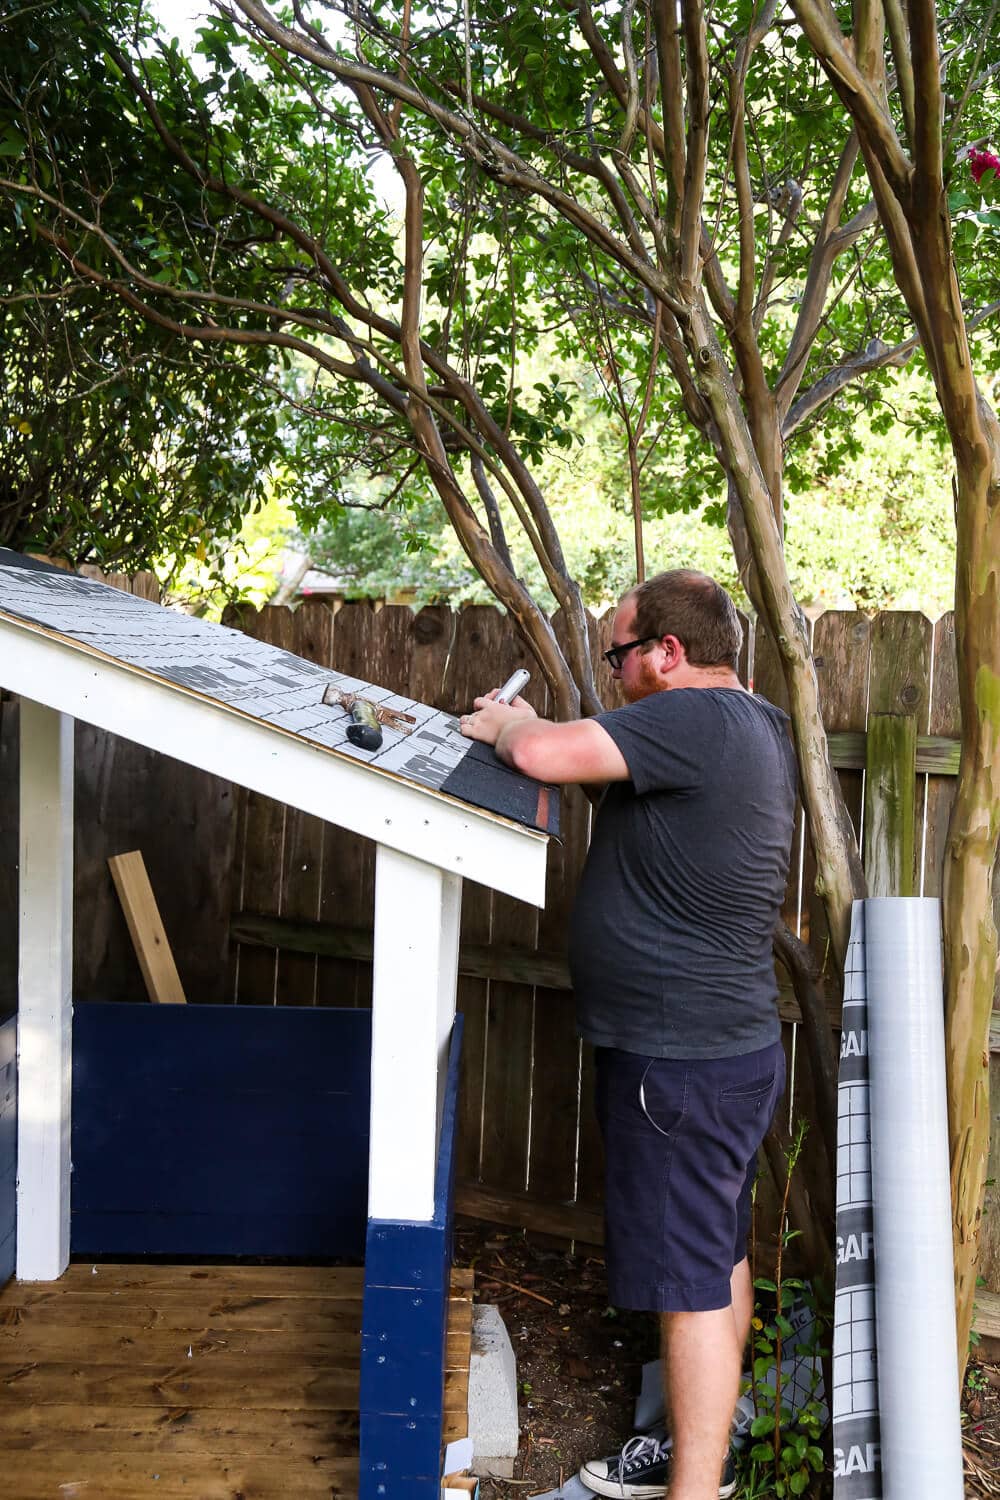
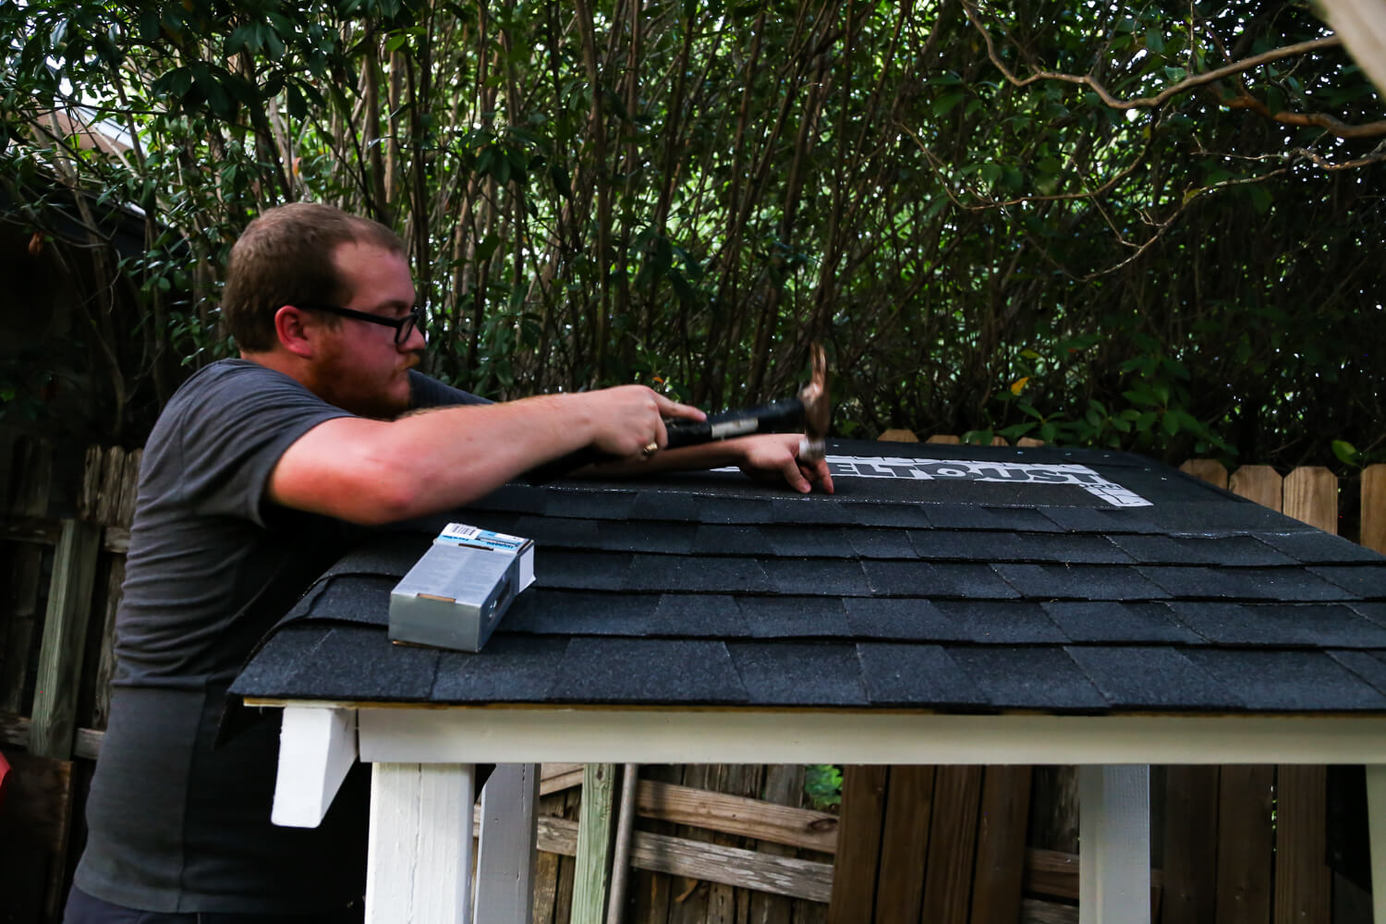
STEP 3: Shingles!
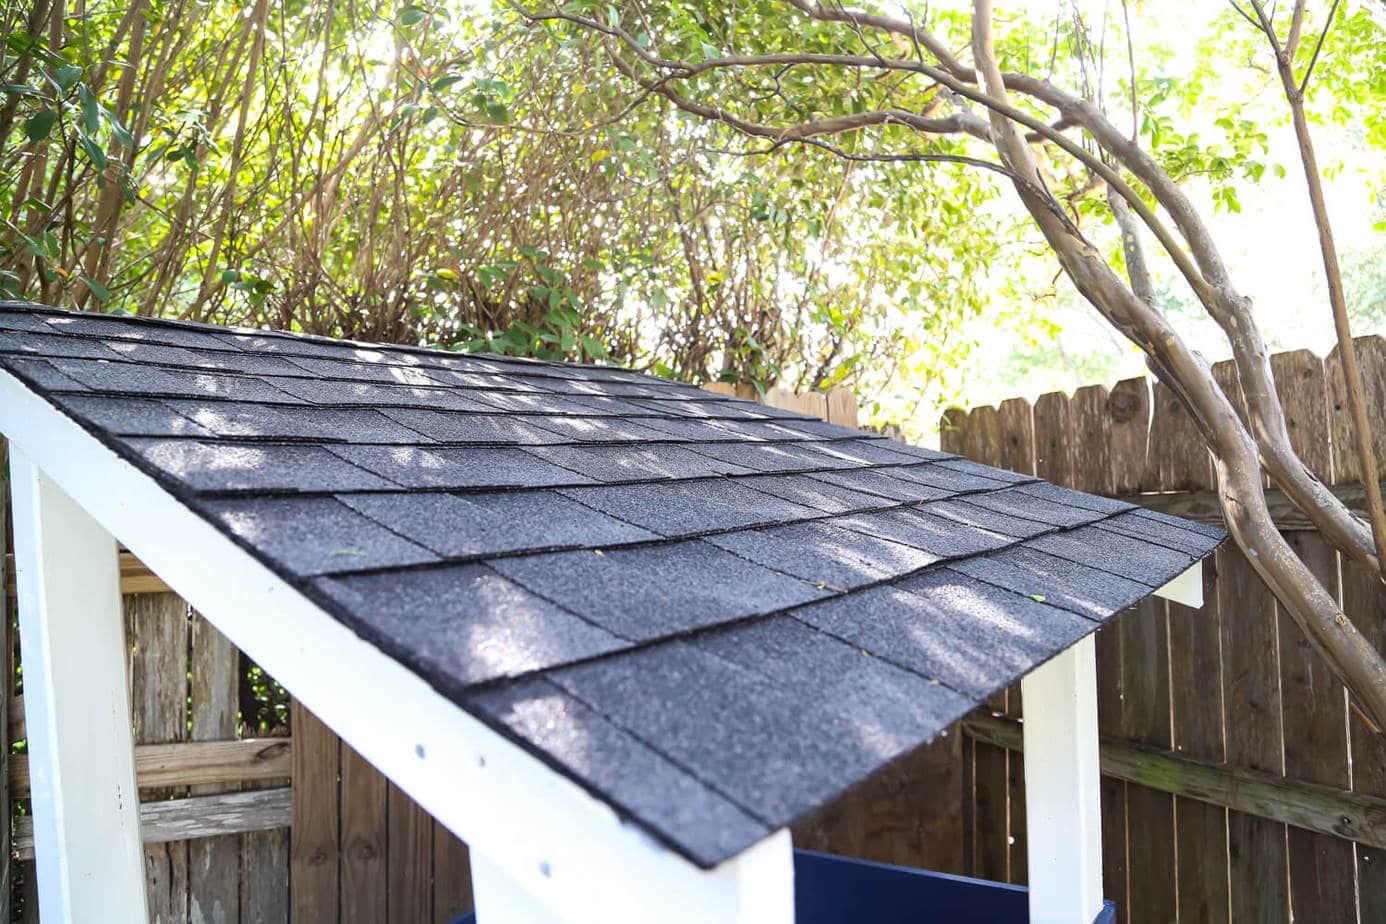
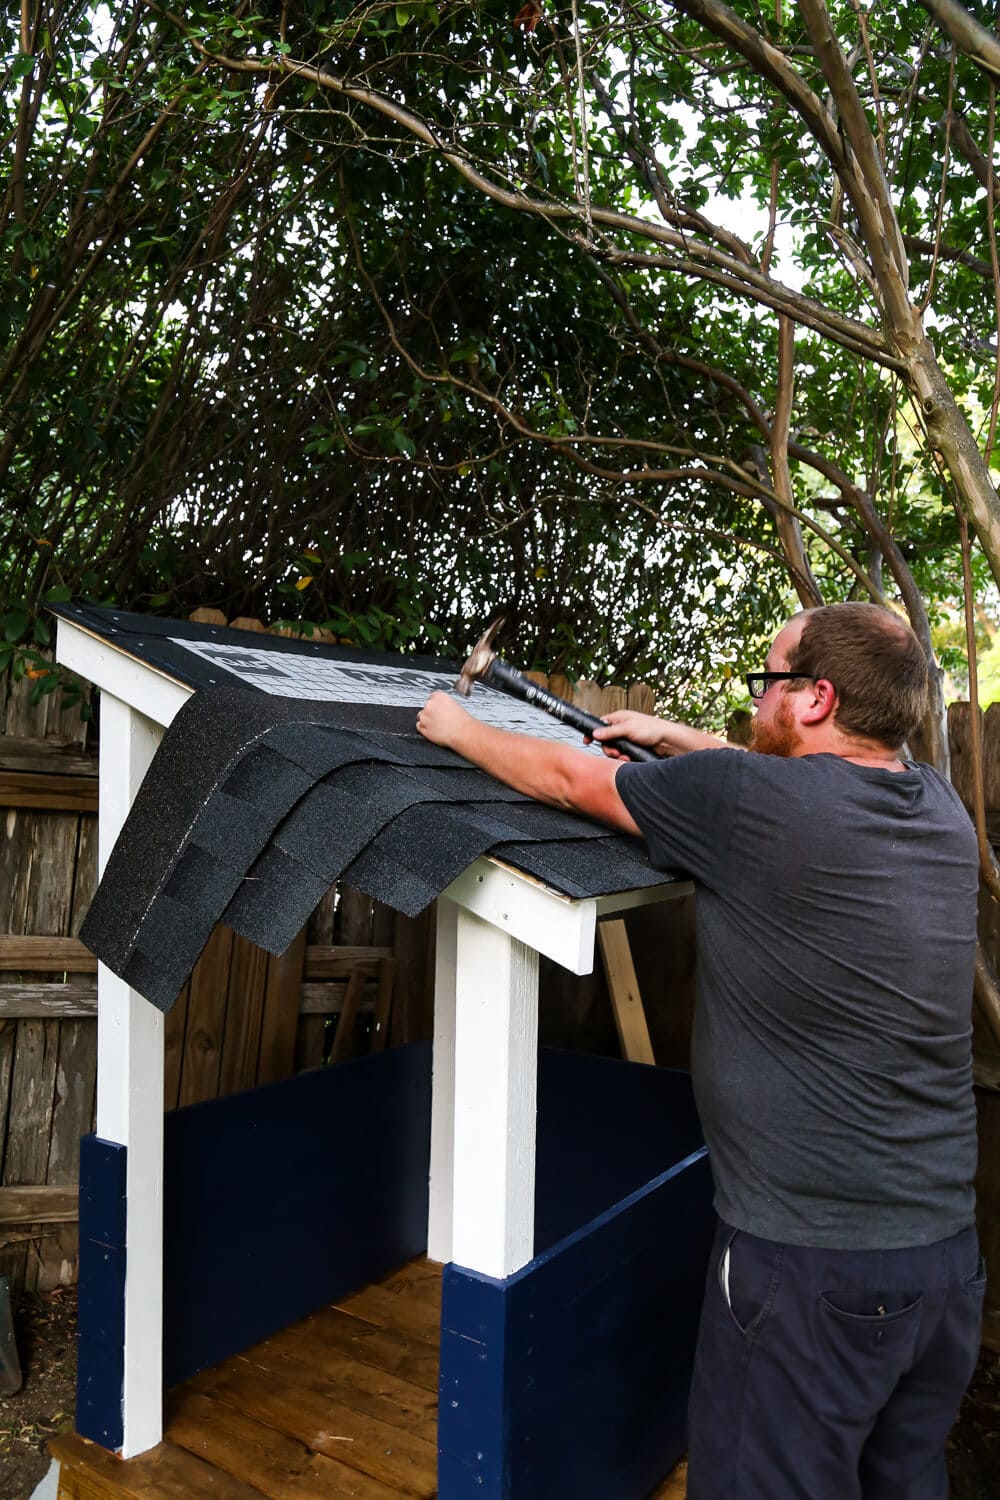
Once that’s all done, it’s time for the shingles! We used the Timberline® Natural Shadow® shingles, which are basically just black. There’s a line that goes all along the middle of the shingle that indicates where you should nail it in (using roofing nails), so it’s really a no-brainer. The package even tells you how you should stagger the shingles to ensure the optimum barrier against water and to keep everything nice and sealed, so there’s no guesswork. Just measure, put them in place, and nail ’em in.
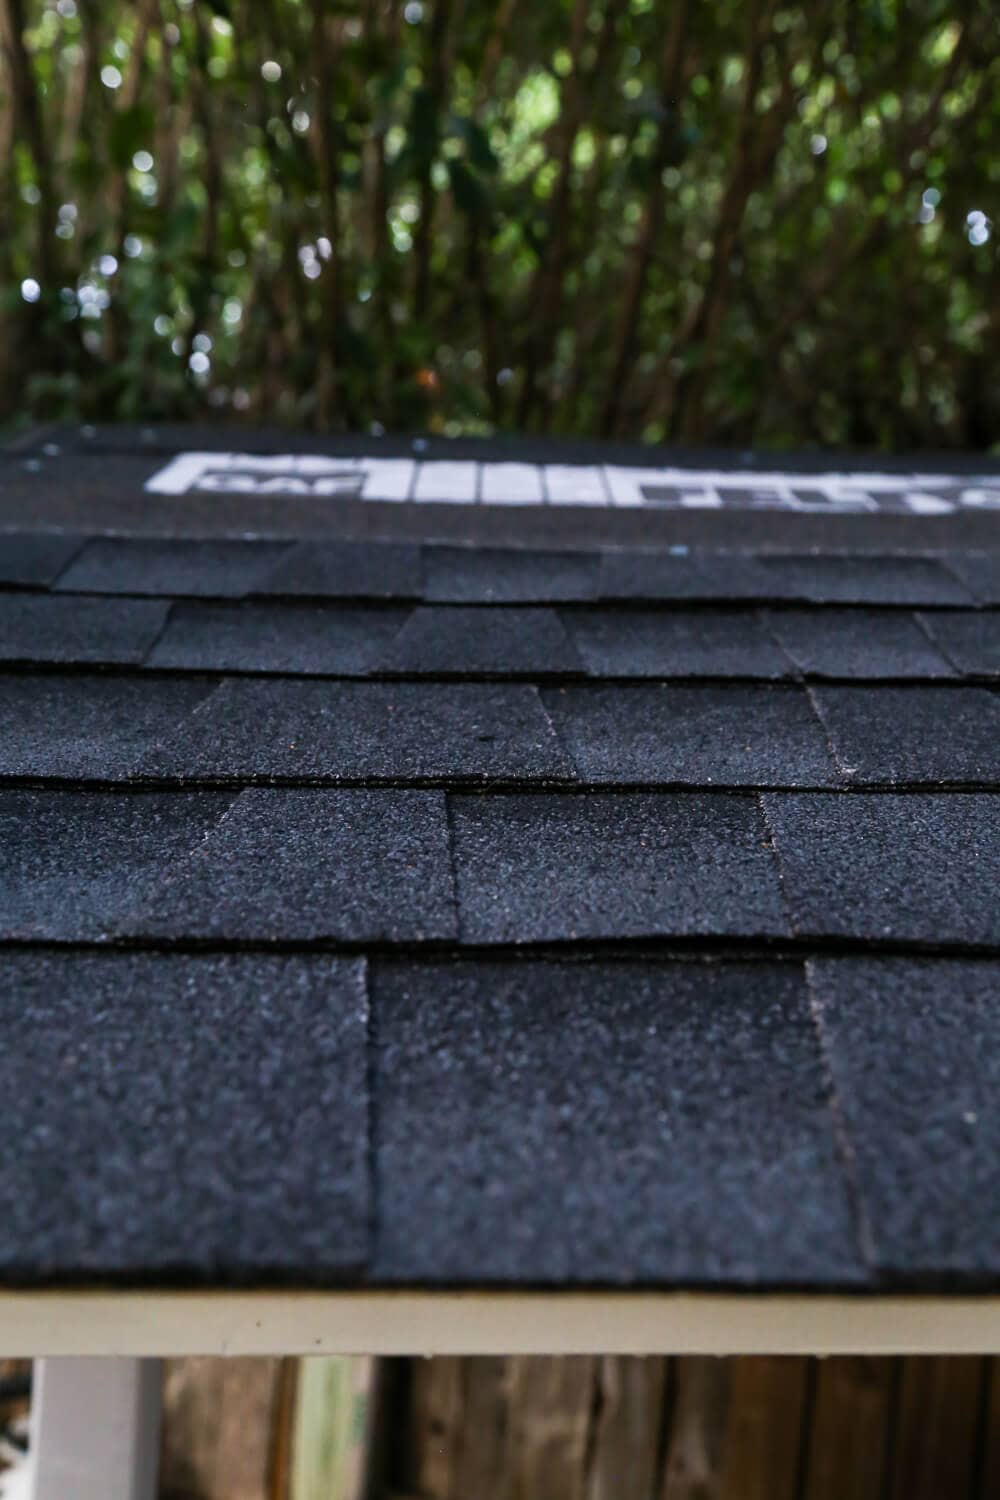
You’ll have some shingles hanging off either end when all is said and done, so you’ll need to trim it down. We used a straight edge along the edge of the playhouse to help us make a straight cut as we used a blade to cut the excess shingles off.
Note: We used 1.25″ nails – if you do the math, you’ll notice that means the nails were longer than the materials for the roof and poked through. From what I understand, this is normal (and actually desirable) when roofing. You have a few options here – you can saw off the excess nail (not recommended on a normal roofing project at all, but okay for a playhouse), you can hammer the ends of the nails to be a 90-degree angle (so the excess lays flush against the ceiling of the playhouse), or you can add another layer of plywood inside the playhouse (an inch or so down) to act as a “drop ceiling” of sorts.
And then, um, you’re basically done. That’s it. The entire roofing process took us less than two hours from start to finish, and I think that the next time we do it it’ll go faster since we know what we’re doing now. We watched the videos that GAF offers to help us make sure we were doing everything right, and they were really helpful! I highly recommend checking them out if you’re going to take on a roofing project of any kind – it gave us a lot of confidence to give it a shot ourselves, and helped reassure us that it wasn’t nearly as complicated as we had built it up to be in our minds.
Originally, we weren’t sure if we wanted to add shingles to the roof of the playhouse, but I’m so glad we did. It adds an extra touch that makes the whole thing look just a little bit nicer, and Jackson was so excited that his playhouse had shingles just like the real house. Plus, it provides a great peace of mind to know that the shingles provide some extra protection from rain for this thing we worked so hard on!
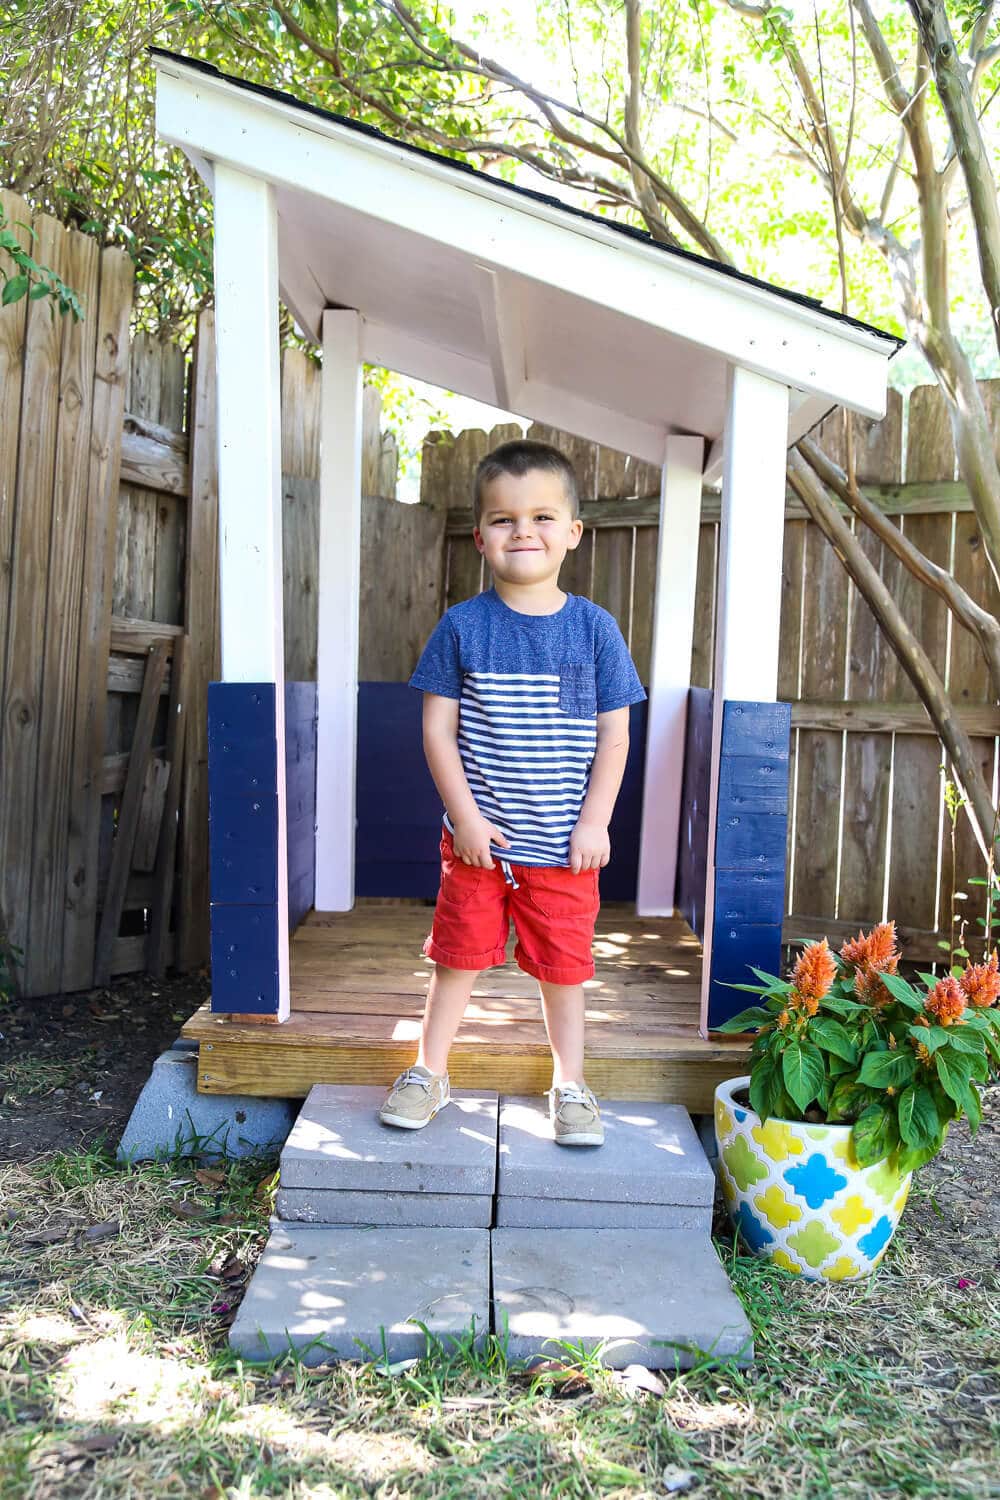
Jackson is thrilled with the whole thing, and I think he’d play out there all day every day if I let him. You can see way more details on the playhouse right here, including why we went with the design we did, what we still want to do to it, and how to build one yourself (it’s genuinely surprisingly easy, y’all).
I love this. The roof is very cute.
I love this, it’s so cute. Seems easy enough, thanks for sharing! 🙂
Why aren’t there roofing nails showing through the plywood? Were you able to get roofing nails that are short enough that they don’t go all the way through?
Same question – I don’t see nails showing through in this pic. Thanks!
The Roof is really cute! I might try this one at home too!
Silvercreek Homes Inc
This is so adorable! Who knew installing shingles was this easy??
SO easy! Blew my mind!
I love it. You guy’s did a great job! It looks like Jackson thinks so too.
I’ve used the grocery pickup. I really like it especially if I’m having a bad week.
Hope you have a great one!
Thanks, Vicky! I definitely need to try the grocery pickup thing, haha.
That is the most adorable playhouse for a child that i have seen constructed and so easy to do.
Maria
Thanks so much, Maria!
Super cute!! I once helped my dad re-shingle the roof of their house (and by “helped” I mean “stood on the roof and handed him shingles”) – my only shingling experience! I so hoped to see you at Lowe’s this weekend and then couldn’t go after all! I’ll just have to see the plant post later on 🙂
Haha, it was so much easier than I anticipated! I’m sad you missed it! The posts will be up soon, though. 🙂