
Small Pantry Organization Ideas
Looking for some super simple solutions for your tiny pantry? I’ve got you covered! Today I’m sharing all of my best small pantry organization ideas, tips, and tricks.
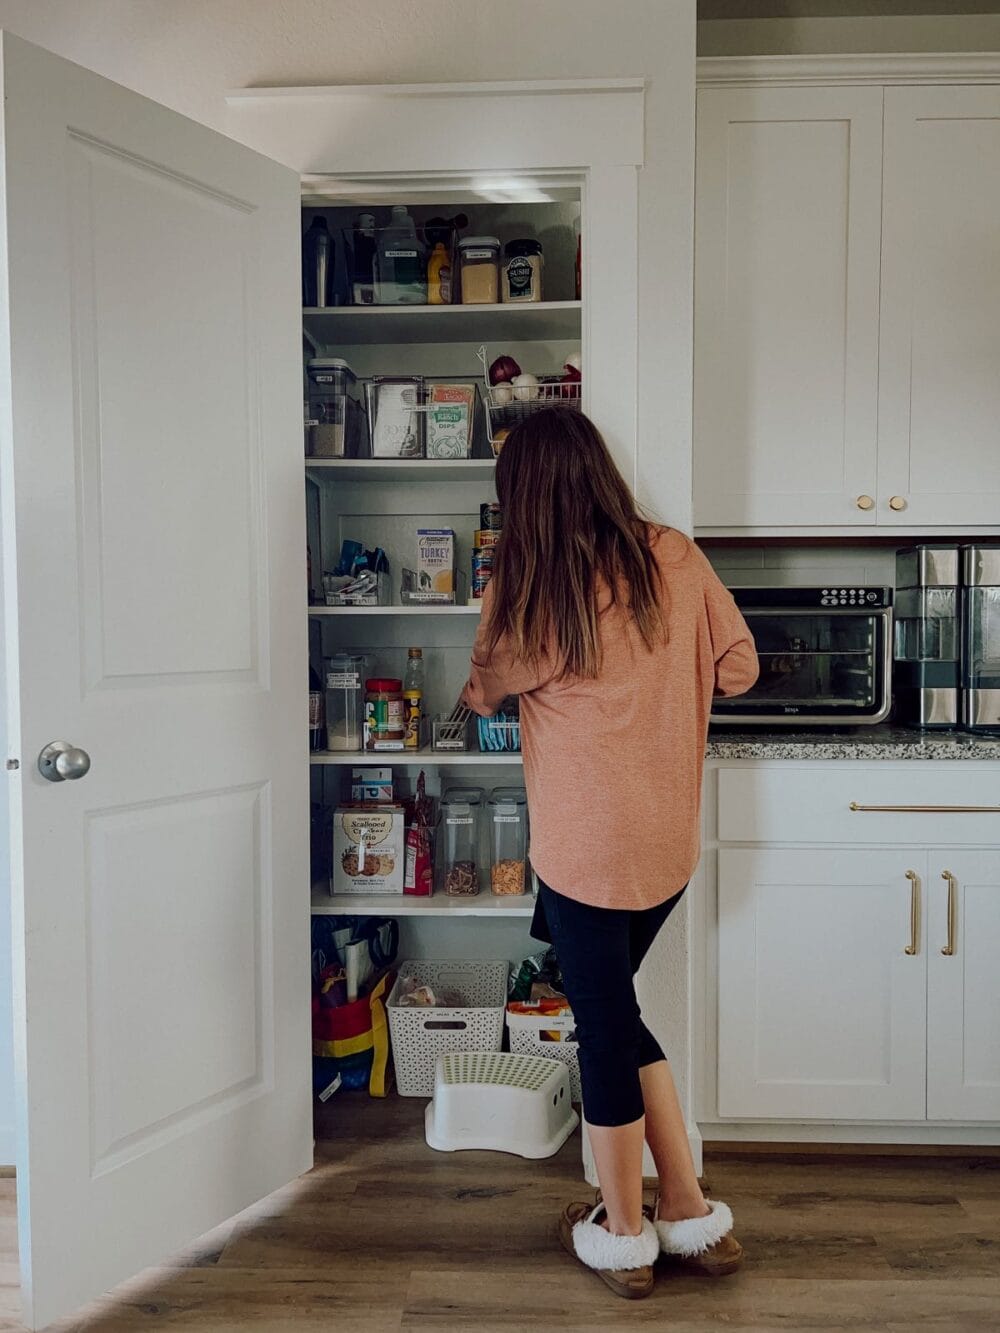
I have a pretty terrible pantry. It’s awkwardly-shaped, about 1/3 of it is completely hidden by a wall, and it’s much smaller than I’d like. For the first couple of years that we lived here, I tried to spread my food out among the cabinets instead of using the pantry, but it wasn’t a solution that worked for us. Everything was chaos and I finally decided I had to hunker down and get things under control. And, thankfully, it has worked. It has been almost three years since I first reorganized our small pantry, and things are still looking great.
So today, I’m spilling everything I’ve learned about small pantry organization over the last few years. Because it’s been a journey. And, of course, I’ll spill all the details on the tools we’re using to keep our small pantry perfectly organized on a day-to-day basis.
Small Pantry Organization Tips
I’m going to share five simple (but vital) tips for any small pantry organization project, then we’ll take a look at all of the baskets, bins, and other organizational tools I used in here! Before you start organizing, be sure to do some prep work: check the expiration date on anything in your pantry and purge things that are expired. Take a trip to the grocery store any make sure you have all of the pantry items you normally would. Consider creating some “zones” for different categories in your pantry. Some mental planning and prepping ahead of time will go a long way!
Now, let’s get to the tips.
Tip #1: Keep the Food in One Place

Now, obviously, if you don’t have a pantry closet, this might not be possible. But, I learned an important lesson by keeping our food in the cabinets instead of a closet. The lesson? If your food is spread out in multiple places, you’re probably gonna forget about it.
We originally started out with all of our pantry food in just the two cabinets by the fridge. But, over time we realized we couldn’t really see everything so the kids snacks ended up moving over to a cabinet in the island.
No big deal, it’s just the kids snacks, right?
Well, then we bought a Costco-sized container of ramen and that didn’t really fit in our existing system so it ended up in another island cabinet.
Along with a few other things.
And then we’d buy bags of potatoes or onions and realize we couldn’t really squeeze them in anywhere so we’d toss them in the appliance closet.
Before we knew it we had food in a million places and we kept re-purchasing things we already had. Meanwhile, we had potatoes and onions growing roots in the closet because we forgot they were in there.
Bottom line? If your food is spread out, you don’t know what you have. Try to pick one spot for all the food and keep it there.
Tip #2: Have a Place for Everything
On that same note, when you choose your spot and get to organizing, it’s key to make sure you designate a spot for everything. I’d recommend doing your small pantry organization project right after a grocery shopping trip so that your kitchen is as full as it’s gonna be and you don’t accidentally forget to make room for anything.
Make sure aaaaaaall of the things you regularly have in your pantry have a home, and make sure the things you use more often are easier to access!
For example, I placed all of the kids’ snacks on the bottom shelf within easy reach of both children. But, the specialty baking supplies that we only use at Christmas or on special occasions? That went in a back corner that is a bit of a pain to reach!
Think through how you use the food in your pantry and what you’ll be accessing most often, and be sure to place that front and center. And be sure to designate a specific spot for everything you ever might want to have in the pantry!
Tip #3: Label, Label, Label
Do not skip this step!!!
Listen. You might think to yourself, I got this space organized. I know where everything goes. I’m not going to let it get messed up again. I probably don’t need labels.
Hear me out: your family? They don’t know the system.
You might think they’ll pay close attention to where they grabbed something from and put it back in the right spot. They won’t.
Labels aren’t for you. They’re for the people you live with that don’t care about the system.
Labels will also cut down on the number of times your partner or children will call out “I can’t find the…..”
Maybe. I don’t make any promises. But it doesn’t hurt.
Taking the time to label everything in your pantry will make a huge difference in the longevity of your organization project and will ensure you don’t have to do this again.
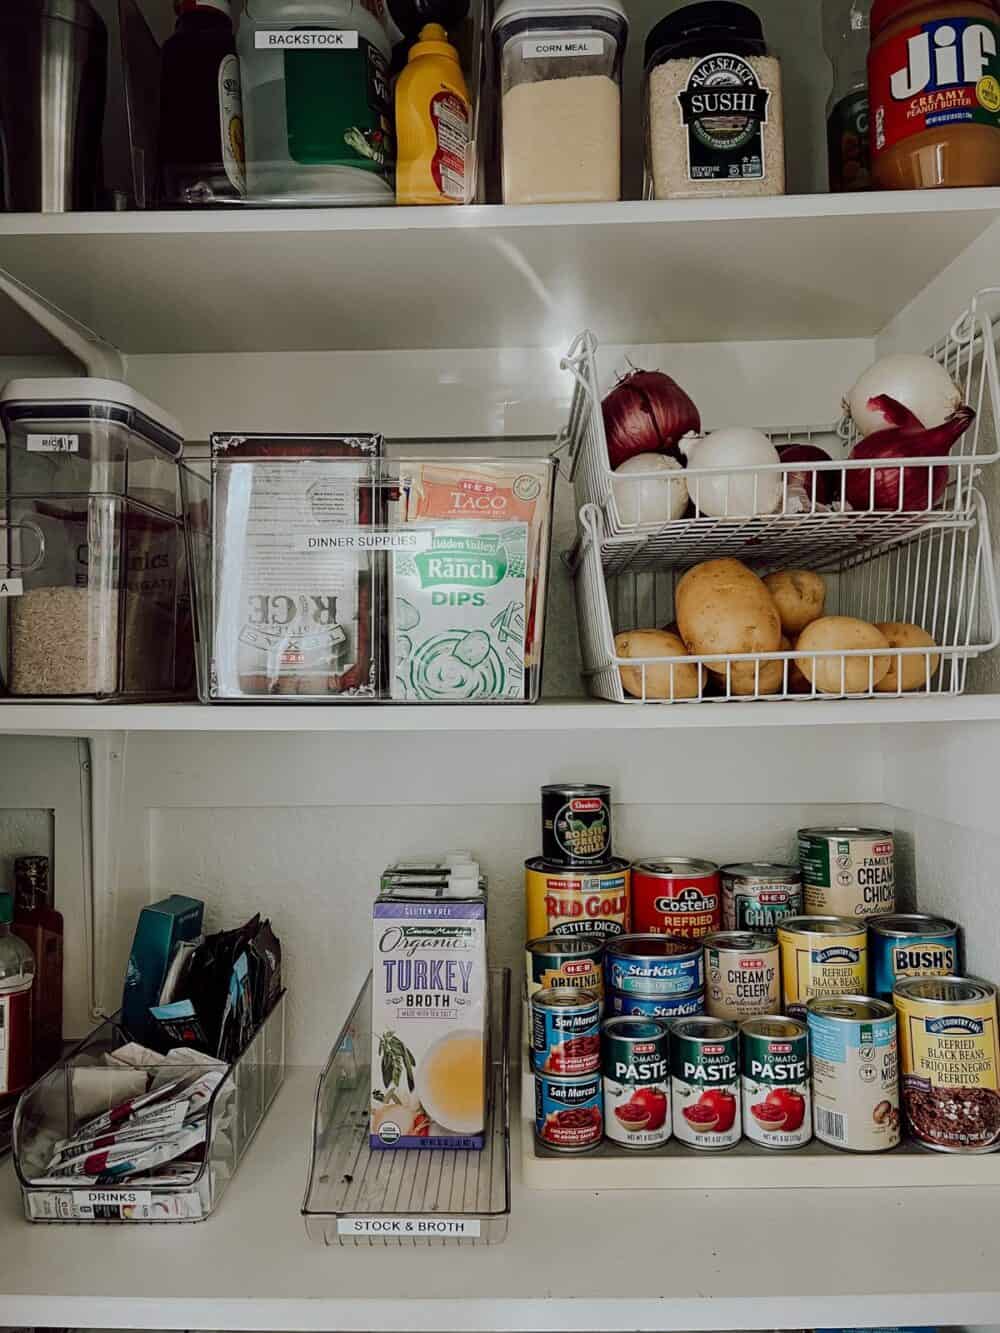
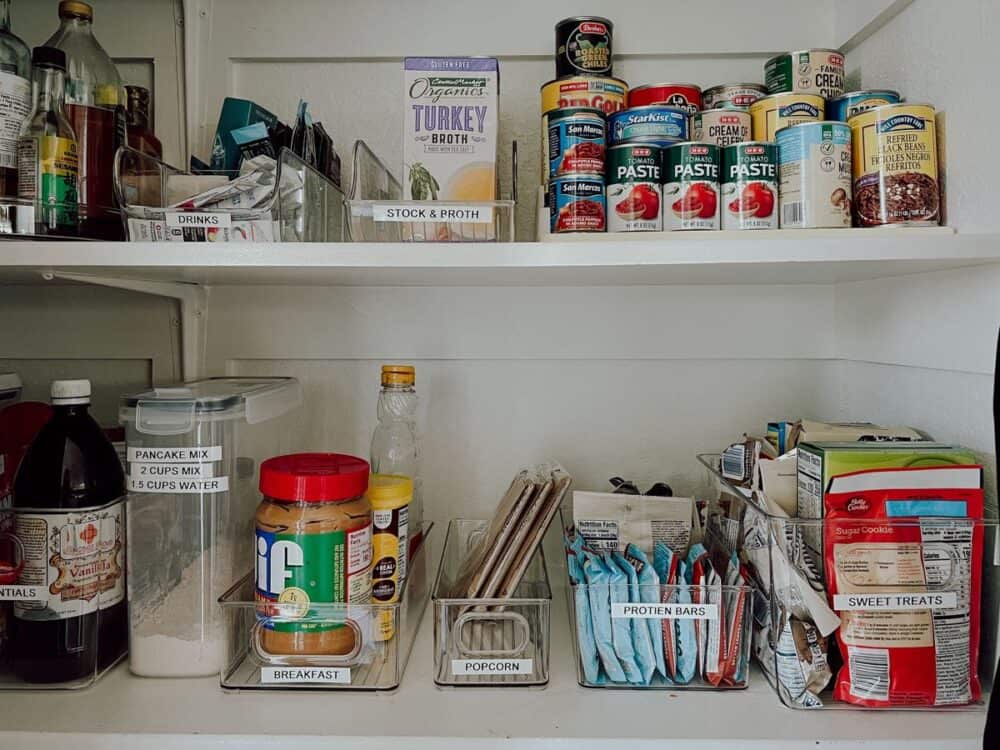
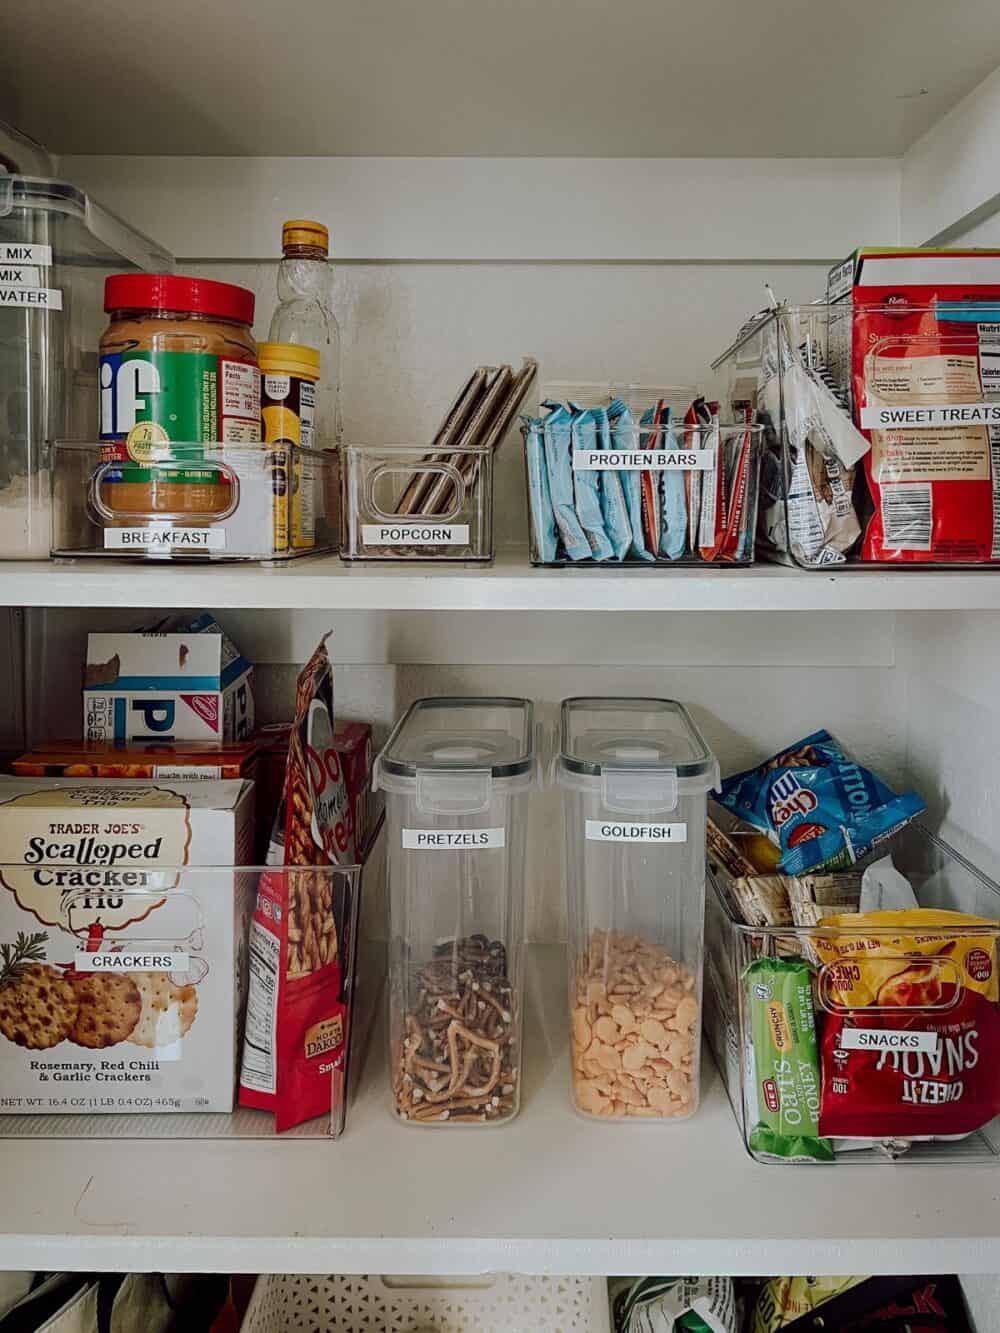
I made a label for each category of food that was in a bin. So, we have things like “snacks,” “sweet treats,” and “dinner ingredients”. Just think about how you are grouping the items and come up with a label that fits. I even labeled the canisters that I decanted things like pretzels and goldfish into, so when my husband brings home a new container he can’t tell me he didn’t know where to put them!
And, they don’t even have to be fancy labels. I used this simple little label maker that I’ve had for years. I gave my 8-year-old the job of printing out the labels I needed – he was thrilled to help and I was thrilled the job went by quicker.
Labels are your best friend. Don’t forget it.
Tip #4: Take the Time to Decant (Some Things)
I don’t think a pantry organization project necessarily needs to be anything fancy. But, I do think it’s worth taking the time to decant (some of) your food from the container it comes in into a clear plastic (labeled) container.
Why? It cuts down on some of the visual stimulus from packaging. That makes your pantry feel more organized, with minimal effort. It also takes up less space – the goldfish container is huge, but when I empty it out into a skinny cereal container, it takes up half the space! I also like to pull out things like snack bars and individual chip bags. I can fit four or five different types of snacks into one basket (labeled “snacks”). The kids don’t mind digging through to find what they want and it takes up so much less space in the pantry.
Of course, you should only decant things that you’ll always have in your pantry. It’s not worth taking the time for something that’s going to be empty most of the time! Here’s a quick list of the things I always take the time to decant or move into a separate bin:
- Flour
- Sugar
- Brown sugar
- Powdered sugar
- Goldfish
- Pretzels
- Rice
- Snack bars and protein bars (I put them all in one plastic bin)
- Drink powders (like hot chocolate, tea bags, and water additives)
- Popcorn
A lot of people will also decant things like cereal, pasta, beans, or other dry goods – we don’t always have those on hand so we just leave those in their original packaging.
Tip #5: Corral Glass Jars with a Lazy Susan
This tip is a little more specific than the rest, but for good reason: lazy Susans are the MVP of an awkward pantry like mine!
I grabbed two acrylic lazy Susans to set in the dead space of my pantry, and suddenly the space is completely usable. It’s like magic!
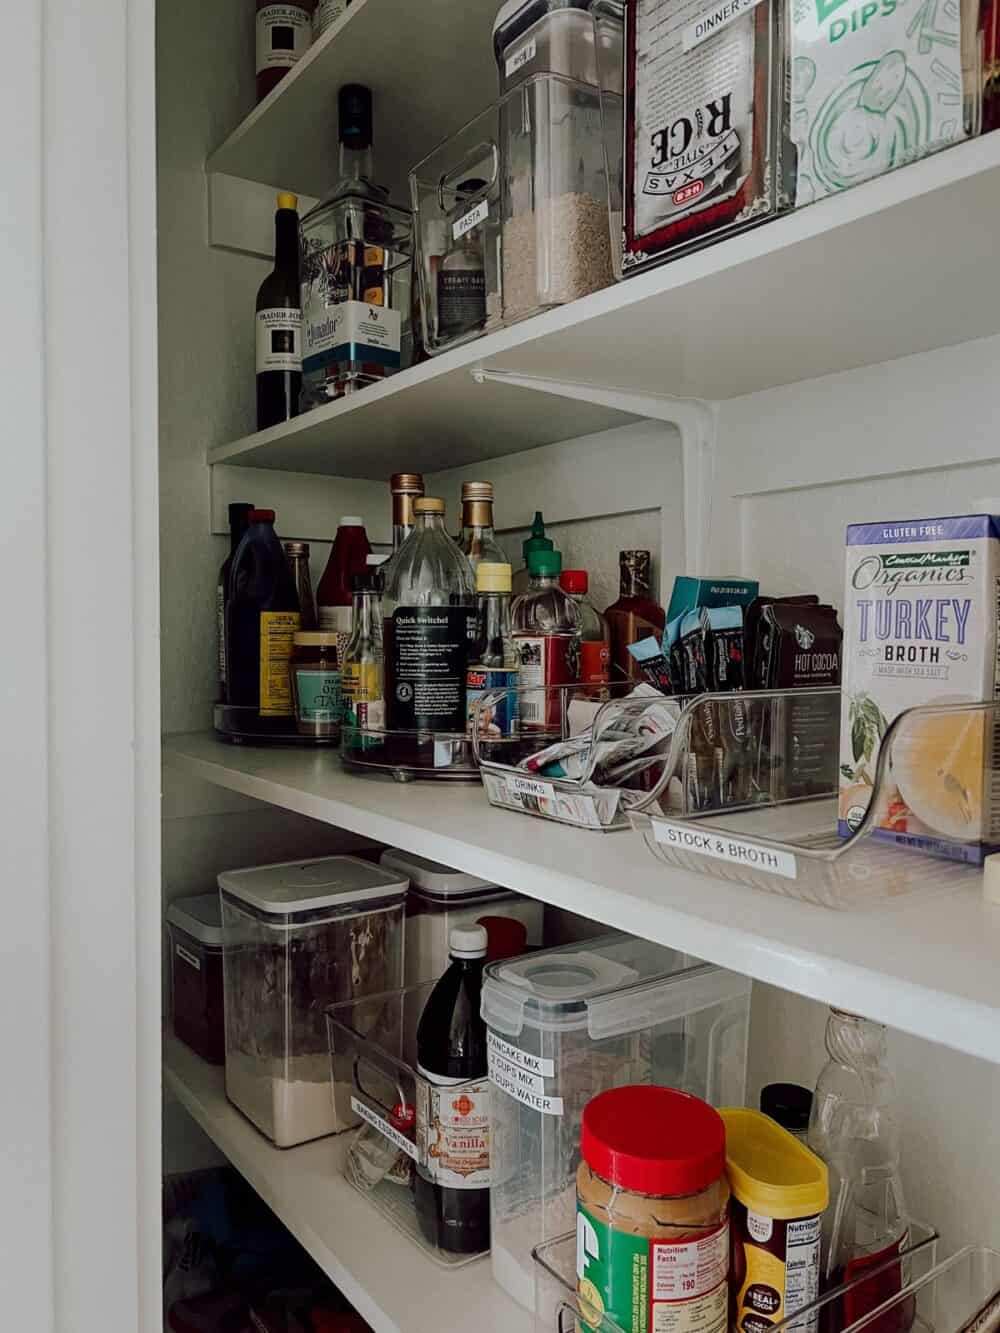
These little guys are perfect for things like vinegar, sauces, and other glass jars. When they’re just set on a shelf it can be hard to see them, but the lazy Susan allows you to see everything at once. I was able to set two 12″ turntables next to each other on the shelf and they contain a ton of stuff that would feel like clutter otherwise. It’s easy to reach both of them and turns this dead space into something I can use.
If you have any awkward, hard-to-reach spots on our pantry shelves, be sure to grab a couple!
Small Pantry Organization Tools
Now let’s get into the fun part: what I purchased for this space!
I have mentioned this a few times, but it bears repeating. I used to think I could fully organize spaces in my home without buying organization bins or tools. But, I’ve learned that if I really want to keep a space organized, I need to invest a little. Buying some food storage containers, baskets, and bins not only helps things look nicer, it’s intentional and makes the organizing job easier!
Here’s a list of everything I grabbed for this project:
Pantry Organization Sources
- 4-Compartment Bins (I use these for protein bars)
- Food packet organizer bins
- Acrylic turntables (this pack of two Lazy Susans was perfect!)
- Stacking bins
- Set of 6 organizer bins
- 4 large bins
- Set of 4 extra large bins
- Cereal container storage set
All of this ended up being slightly more than I needed – I have a stash of extra clear bins in one of my upper kitchen cabinets now! And, I purchased even more than this and ended up returning a few things. I’d always rather have way more on hand than I need than not have enough!
Final Thoughts
As I’ve really honed in on organizing small spaces in our house this year, I’ve learned the value it can bring to our day-to-day life. It sounds cheesy, but eliminating this one small pain point from my daily routine has helped so much. And, with every small space I get organized, I find myself feeling more and more at peace in my daily routines!
Want some more organization inspiration? Here are a few other small spaces I’ve knocked out in our home:
Hello,
What are the dimensions of your pantry?
Also interested in the dimensions! Thanks!