
Easy Sit Stand Desk Makeover {DIY Desk Skirt}
I took my cheap sit stand desk and gave it a full makeover without spending a dime. Here’s a peek at how I made my simple DIY desk skirt happen!
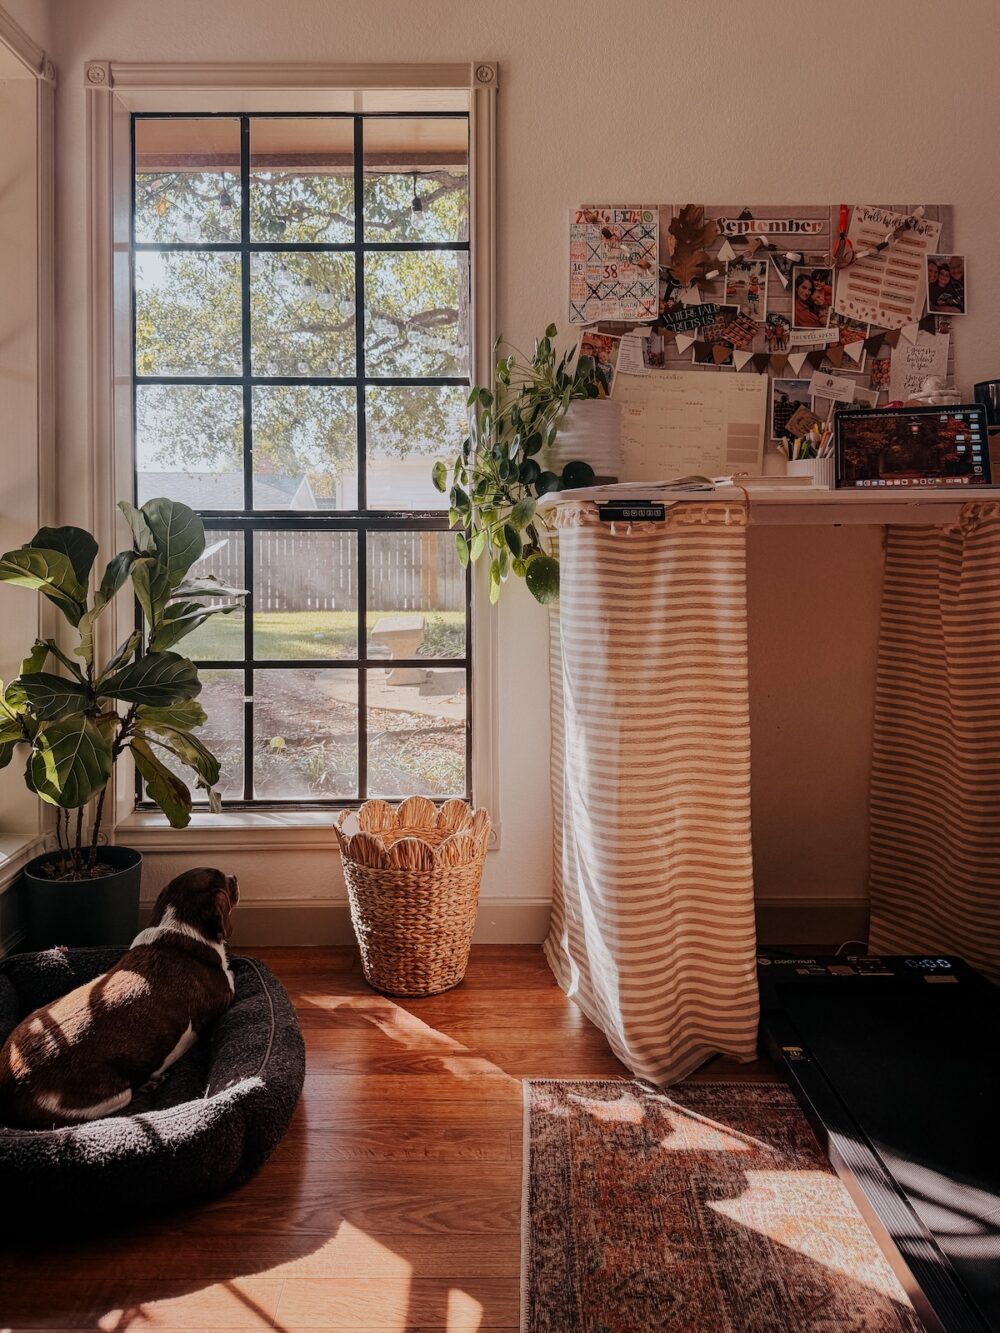
I absolutely love having a sit stand desk in my office. I have a hard time sitting still for long and being able to stand up and use my walking pad midday is so helpful for keeping my body (and my brain, honestly) happy. The only problem with motorized sit-stand desks is that they’re typically either really expensive or kinda ugly. You can find affordable ones (mine cost about $100!) but then they’re a bit of an eyesore. If you want one that actually looks good, you’re looking at spending upwards of $1,000.
It’s a bit of a pickle.
I’m very cheap when it comes to this sort of thing, so when I was shopping for my office, I chose to keep the desk simple and affordable and figure out the rest later. I picked this really affordable and super simple desk, and I told myself that eventually I’d figure out a way to make it look nicer. It checked every box I needed it to (simple, neutral, motorized, and cheap), and it’s been great for the last year.
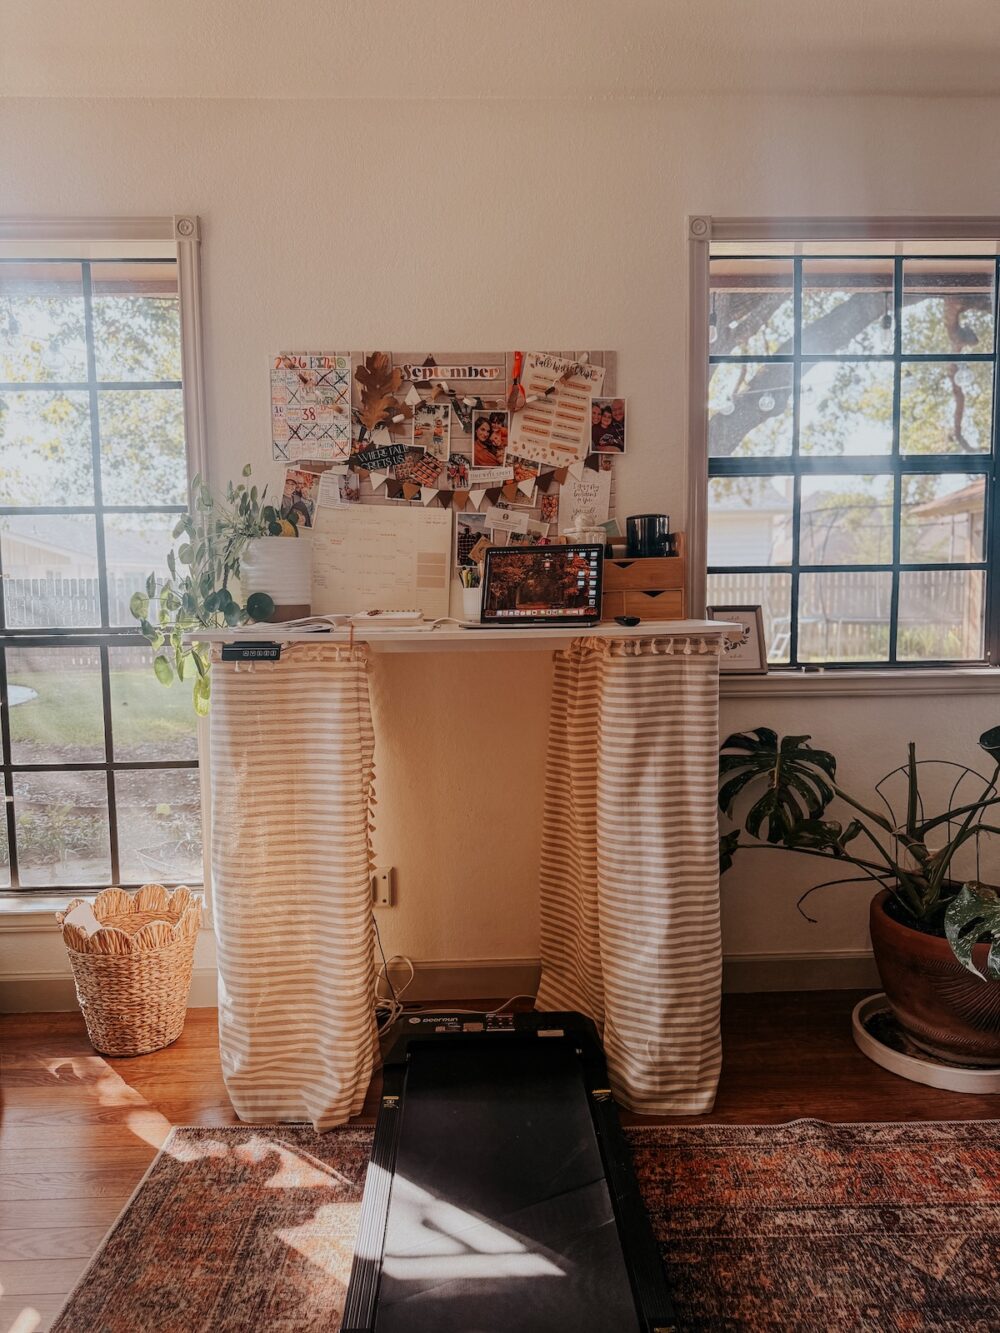
I’ve been thinking on and off for the past year about what I want to do to spruce it up. I considered a lot of different options but in the end I kept struggling to figure out what would look good both when the desk is in sit mode and in stand mode. I’ve seen some really gorgeous wood makeovers for motorized desks, but most of them only look good when the desk is all the way lowered. If you raise it (which is where mine spends most of the time), you can see the metal legs!
I’d been considering a fabric skirt for the desk for a few months now but I kept putting it off. Then, a few weekends ago I got a wild hair and decided to go for it. I had a striped tablecloth that I wasn’t using anymore so it felt like a no-risk solution. And, well, it worked out beautifully.
My (Free!) One-Hour Sit Stand Desk Makeover
All you need for this project is:
- A large tablecloth (or some scrap fabric)
- Scissors
- A hot glue gun
Cut + Prep Fabric
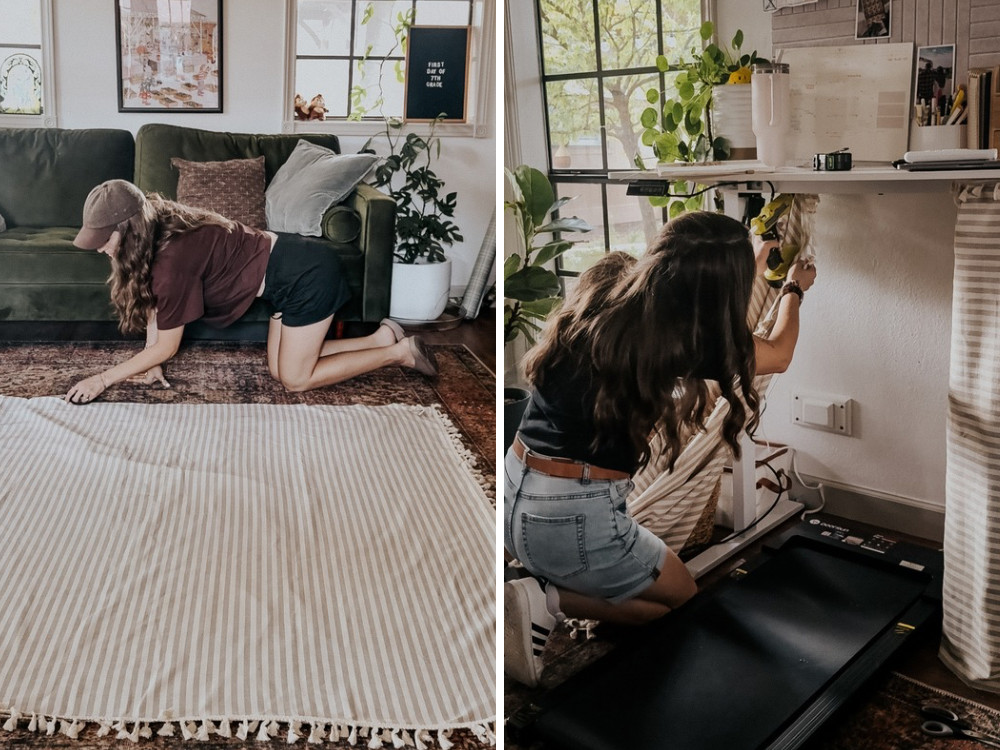
This is an incredibly low-effort project. If you’re inclined, you can do fancy things like sewing the edges or, I don’t know, measuring. But, I did not. I simply folded the tablecloth in half widthwise (hamburger style!), then I cut along the seam. I left the edges raw, but you could use hem tape if you like to clean it up!
Attach to the Desk
While I was cutting, I had the hot glue gun heating up. I grabbed one half of my tablecloth and hot glued it to the underside of my desk, following the area around one leg. Again – I didn’t measure at all! I just eyeballed it. My tablecloth has tassels on each side, so I did the tablecloths on the top side, because I didn’t want to cut them off!
I chose to cover each leg separately, but if you’d prefer to go all the way across, you can. Just consider how the fabric will affect how you use the desk. With my method, I can comfortably sit and use my walking pad on my desk without the fabric getting in the way!
Cut off Excess
Finally, raise the desk to the highest level you plan to use it at. Grab your scissors and cut off any excess at the bottom. When you lower the desk to the seated position, the fabric will pool a bit. But, it doesn’t get in the way and still looks cute – so I’m happy!
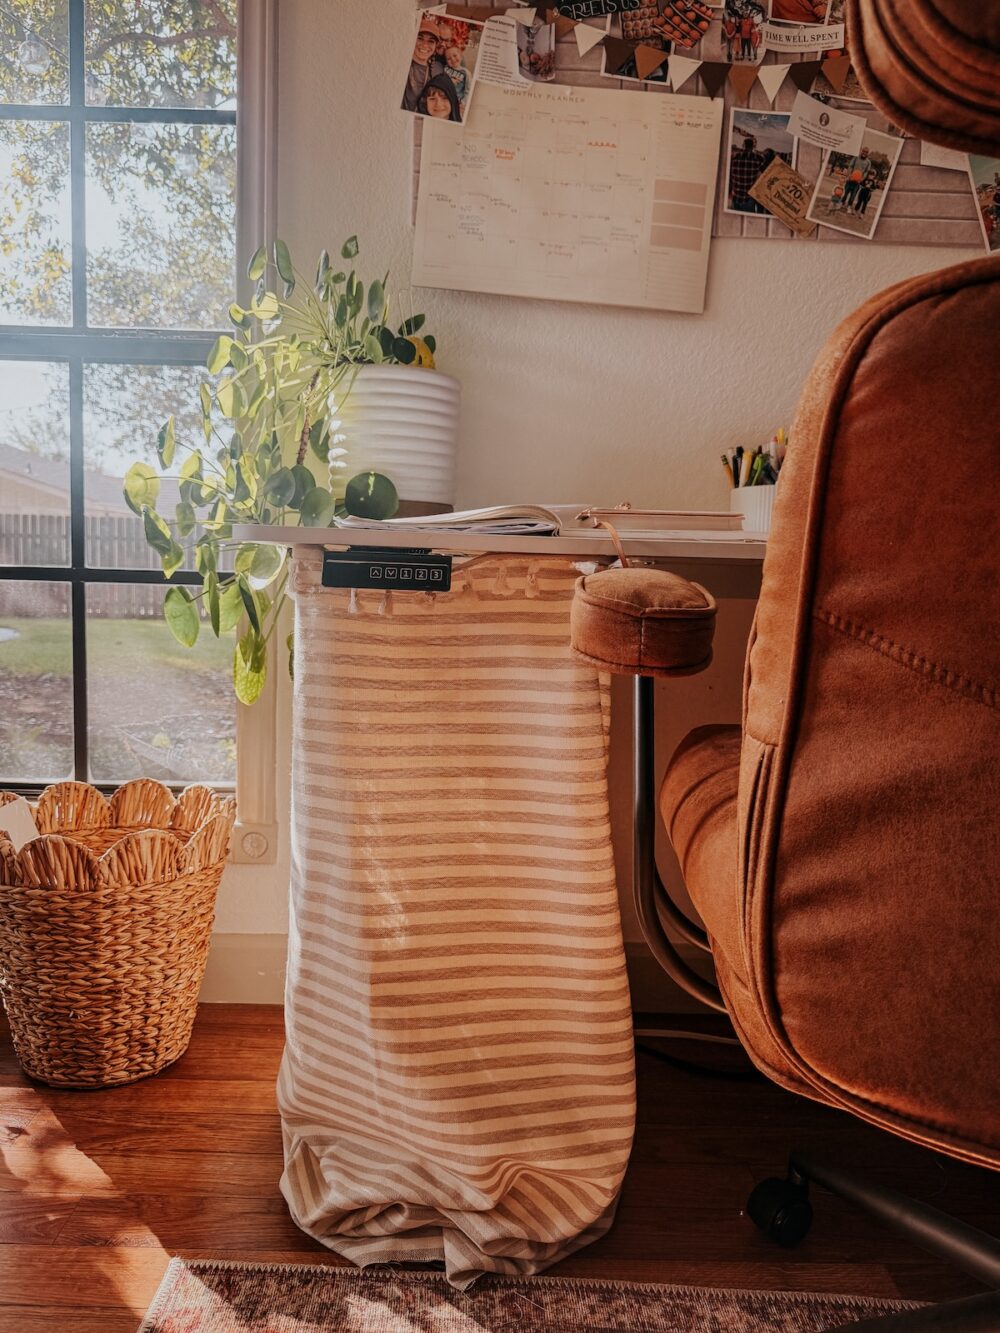
This was such an easy project and I didn’t spend a single dime on it. My favorite kind of project! I’m thrilled it worked out this way and I’m so glad I decided to give it a go rather than building something more elaborate. It adds such a charming detail to the office and I love that it hides the cords and keeps things looking cohesive!
Other Desk Must-Haves + Desk Tour
I did a detailed video tour of my desk and everything around it, if you are curious about how I use it and to see all the closer details. You can watch below!
And, here are a few other things on and around my desk that have become essentials for me in the last year!
- Desk
- Desk chair
- Walking pad
- Tablecloth
- Wood drawers
- Bulletin board
- My current favorite candle
- Pen holder