
How to Patch Holes in a Metal Door
If you’re dealing with some nail holes or other small holes in your metal exterior door, this guide will show you exactly how to patch them!

One of my very favorite features of my office is all the windows – it’s basically a little sun room in the back of our house, and I love it. But, when we moved in every single one of those windows (and the doors!) had blinds on them. I never (everrrrr) closed them, so I decided to pull them down. It immediately opened up the room and made things feel less cluttered, but it also left behind a lot of holes in the trim and doors!
Patching holes in trim + drywall is super easy – you can read all about how to do that here. But, I hadn’t ever patched a hole in an metal exterior door before! Thankfully, it ended up being really easy, and things are looking so much better.
How to Patch a Small Hole in a Metal Door
Let me start by saying this isn’t a tutorial for how to patch large holes or big damage in an exterior door. We’re talking small dings or screw holes here – nothing major! But, if you’ve got some of those and are looking to make your door look brand new, this quick little tutorial will give you exactly the answers you need.
Here’s What You Need:
Step One: Smooth the Edges of Your Hole
Your first step is to grab your sanding block and smooth out the edges of your holes. Holes in metal doors can be really rough and sharp. If you have any areas where the metal has bulged out, you can use a hammer to help smooth it out.
This part is important and the more time you spend on making sure the hole has been smoothed out and leveled, the better your patch will look. I spent a little time with a hammer and a nail set pushing some of the bowed edges of my holes back in.

Once the holes are mostly smooth to the touch and not visibly bulging out, you’re ready to patch them!
Step Two: Patch Screw Holes!
For this project I used DAP’s Weatherproof Patching Compound. It’s perfect for exterior doors because it can hold up to the elements, and it’s good on both wood and metal.
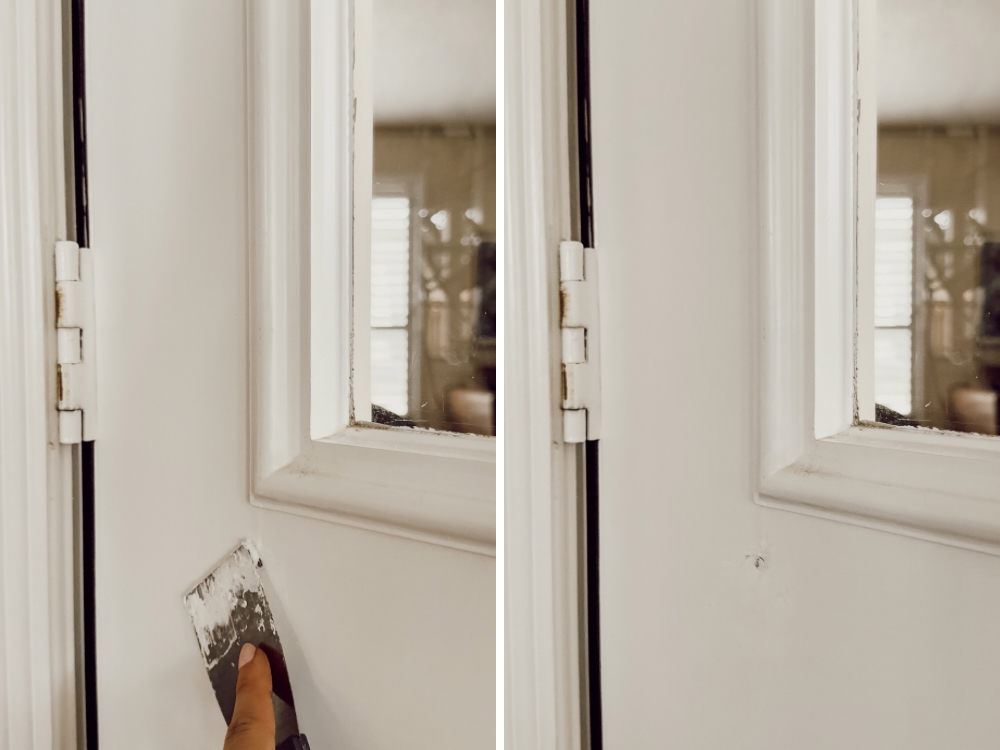
To apply it, I simply got a small amount on my putty knife and pressed it into the hole, then smoothed it out. This particular patching compound can’t be sanded as easily as some other ones, so I don’t recommend overfilling it. Instead, fill just the hole and scrape off any excess!
Step Three: Sand and Paint!
Once your patching compound has dried (about 2 hours!), you can sand it down a bit until it’s smooth to the touch, then paint! You’ll want to start sanding with a lower grit sanding block, then move to a higher one until it’s smooth!
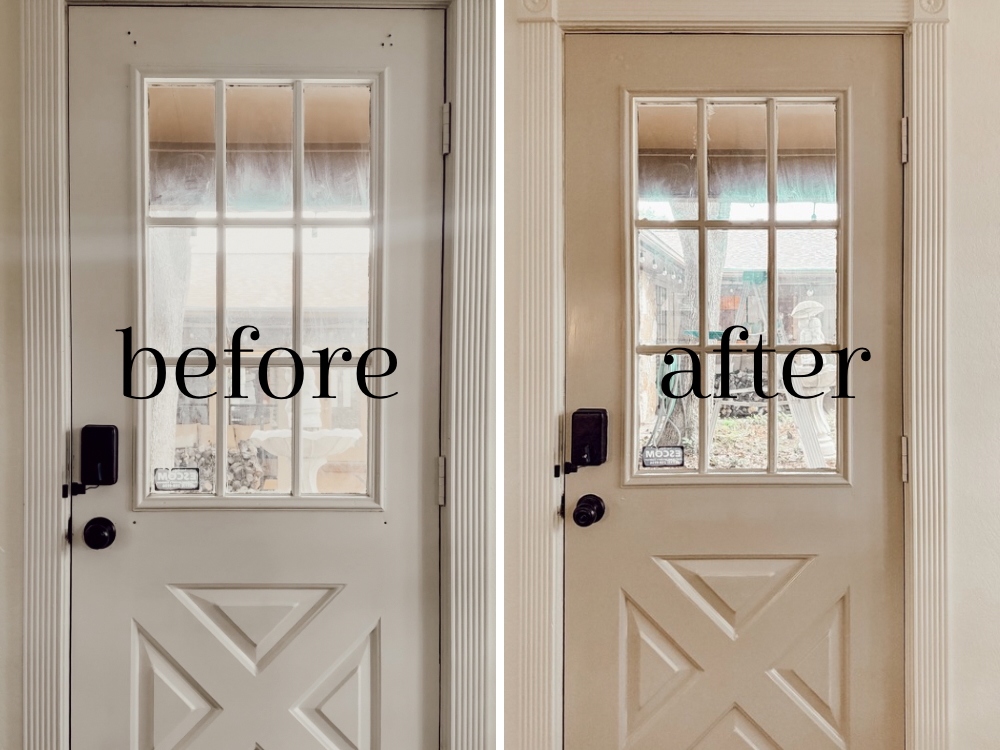
For my door, I went with Vintage Pewter by Behr – I’m thinking about doing contrast trim on all of the trim and doors in this office, and I wanted to test out this color. I love the look and I think I’m definitely going to keep going with it on the other trim in the room!
I was really impressed with how easy this patching job was, and how much better the door looks. I’ve been avoiding patching the holes in these metal doors for a while, because it felt intimidating. Turns out, it was really simple and totally worth the 10 minutes it took to knock it out!
Next up, I guess it’s gonna be time to patch that window trim and get painting!