
I Installed a Peel & Stick Tile Backsplash In Our Kitchen!
I’ve been looking for a way to make my kitchen feel a little more updated without spending a lot of money. I landed on peel and stick backsplash tiles and I’m here today to share my experience with them!
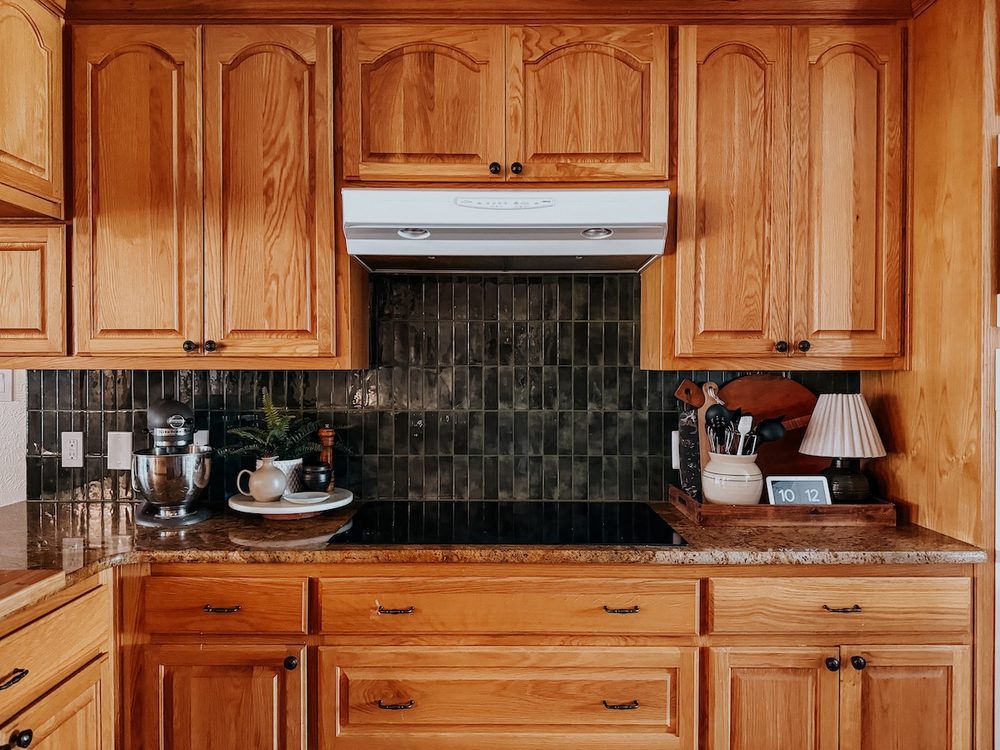
Shortly after we moved in, I casually mentioned to my husband that I was considering peel and stick backsplash tiles in our kitchen. He immediately told me I was insane. He said he’s never seen them look good, and he felt like it would just be a waste of time and money. I was inclined to agree with him, based on my experience. But, I kept hearing from people who had great experience with them. After sitting on it for months, I found some I liked that were under $30 for a 10-pack. So, after much debate I decided to just go for it and see what happens.
Worst case, I’d learn a lesson and be able to report back to you that it was a terrible idea, right?!
Instead….well, I’m obsessed.
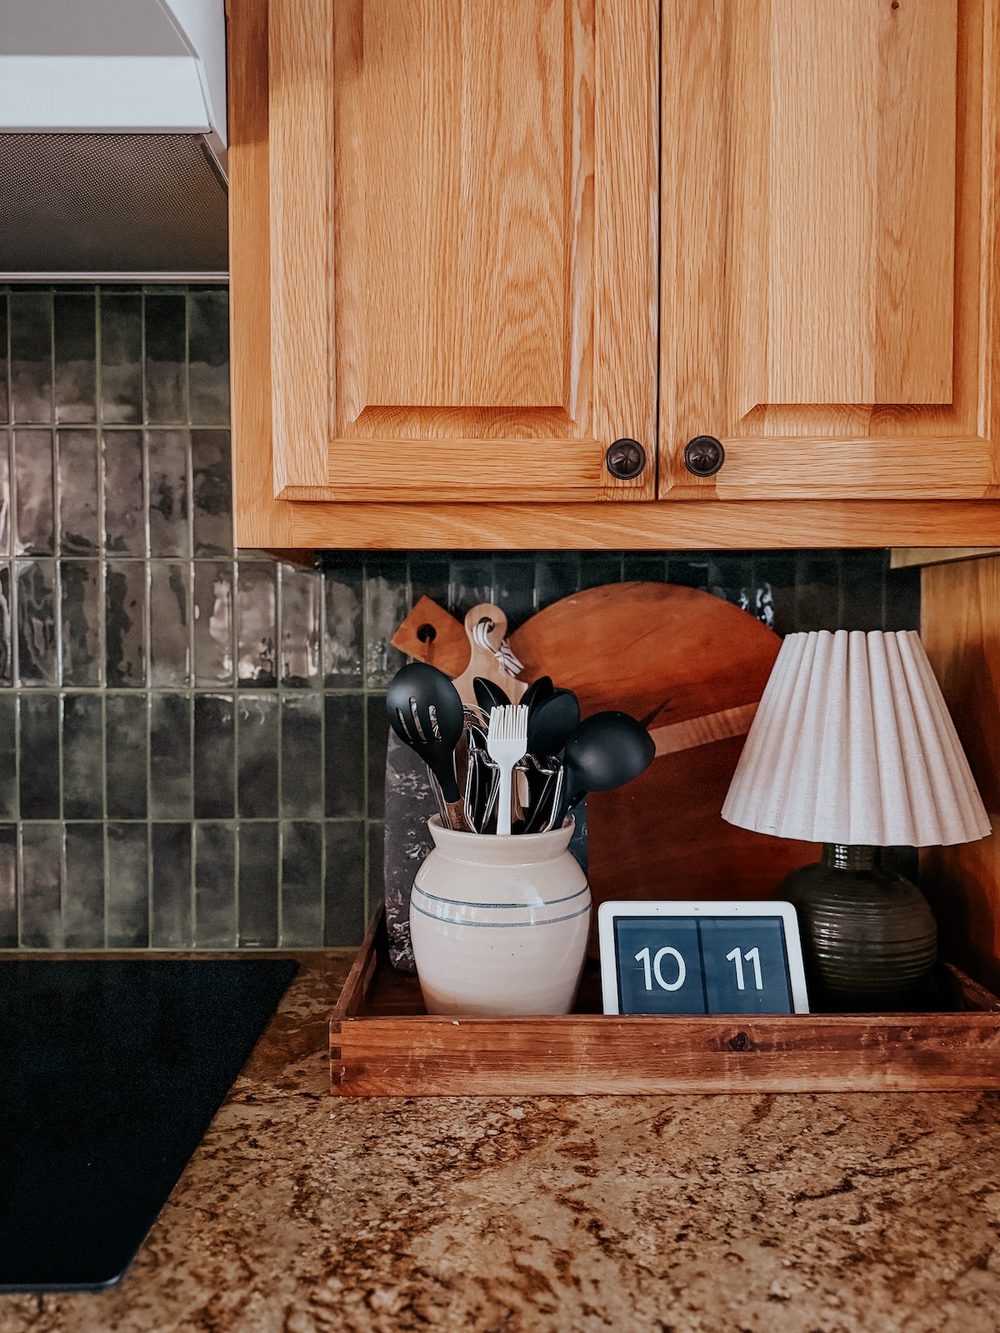
Why I Chose Peel & Stick Backsplash Tile (and the Ones I Used!)
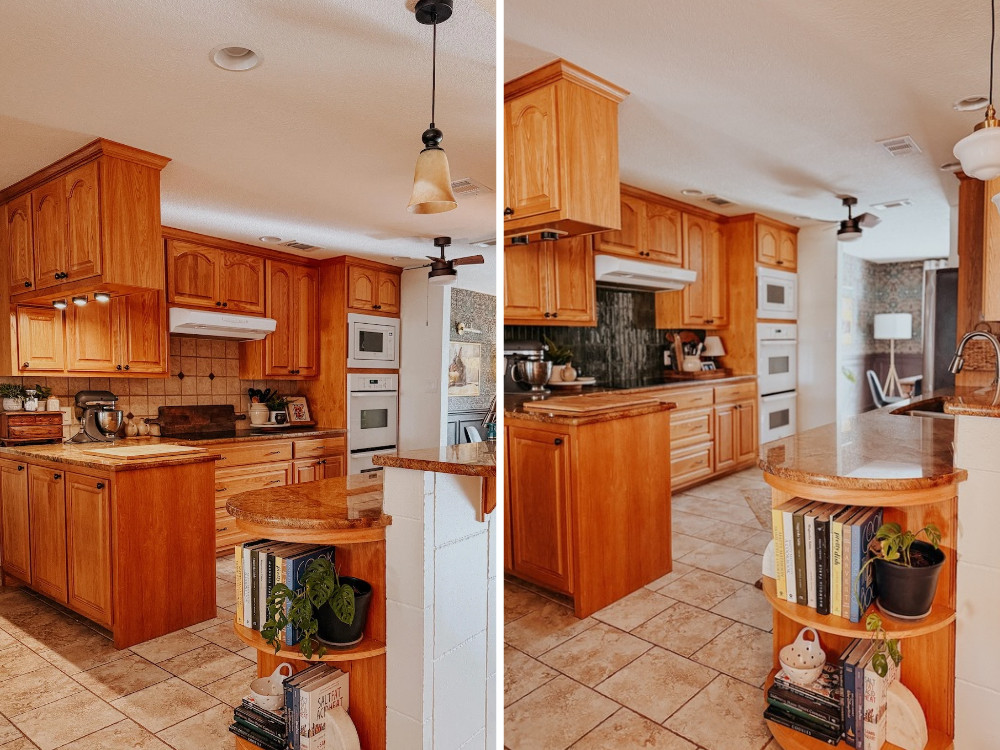
I love our kitchen. I love that we have wood cabinets, the layout really works for us, and overall it’s a fantastic space. But it’s dated. And very orange-y brown. And just generally not my style, visually. Eventually I’m sure we’ll do a full kitchen renovation, but for now everything is in perfect working order. There’s no reason to spend the money! But, I do want to make some small changes to make it feel a little more us.
I knew that swapping out the backsplash tile would go a long way. But actually demoing the old tile, replacing the drywall, and installing new tile felt like a lot more work than I wanted to put in right now. Instead, I just wanted a simple, affordable solution.
In the end, I decided I had two options: peel and stick tile or painting the existing tile. I think both options would have been fine. And, for a long time, I actually planned on painting the tile! But I couldn’t get past the idea of wanting a tile that felt a tad more modern. I decided to try peel and stick tile first, and if it was a total flop, I’d just paint them and call it a day.
Choosing the Tiles
I did a ton of browsing for the right peel and stick tile. My number one priority was budget, because some peel and stick tiles can be as expensive as real tile! My goal was to keep this project under $100, because I had no idea how well it would work or if I’d even like it. I landed on these peel and stick tiles from Amazon. Each pack of $10 is under $30 (and I grabbed them when they were a few dollars off), so it ended up costing around $80 for me to grab 3 packs of tiles. I don’t have a ton of backsplash surface area, so this was exactly what I needed.
Peel & Stick Tile Backsplash Video Tutorial
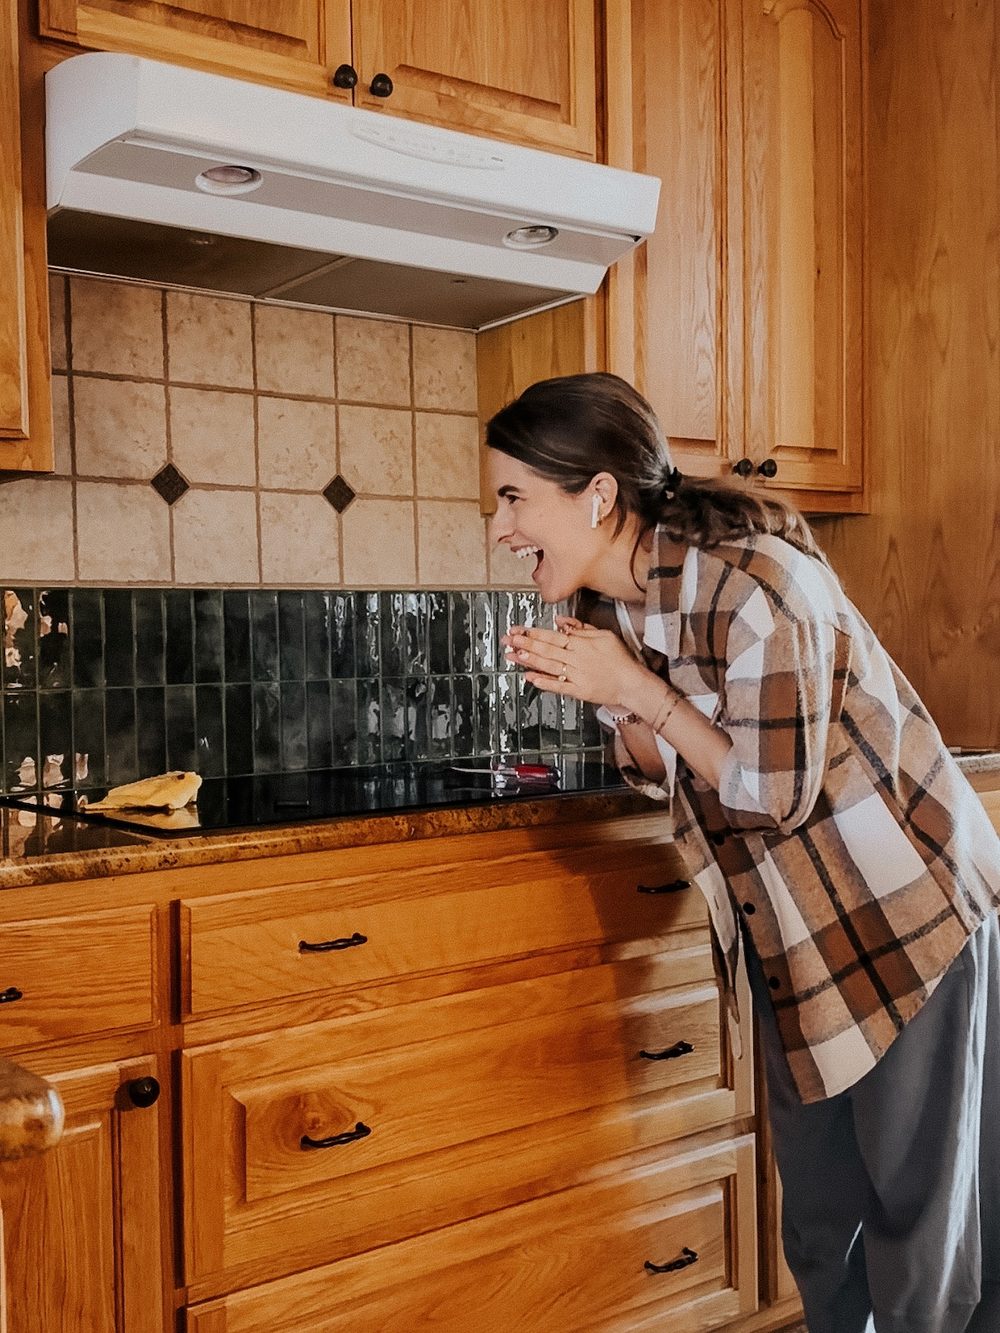
This is definitely one of those things that’s better if you can see it in person so you can see how they really look. But, to get you as close as possible I put together a video tutorial! It shows every step of the installation process, including a look at how easy it is to cut the tiles with scissors! It’s also got a close up of the finished wall where you can see how invisible the seams are and how realistic the tiles look! Click play below to watch!
How to Install Peel & Stick Backsplash Tile
Let’s do a breakdown of how to do this project. I was honestly surprised at how simple it was. I’ve worked with various peel and stick tiles before, and it can be a challenge. This was shockingly easy and only took me about 3 hours from start to finish.
Materials Needed
- Peel and stick tile
- Krud Kutter + microfiber cloth
- Utility knife
- Speed square or ruler (for marking where to cut)
- Scissors
Step One: Clean Your Existing Backsplash
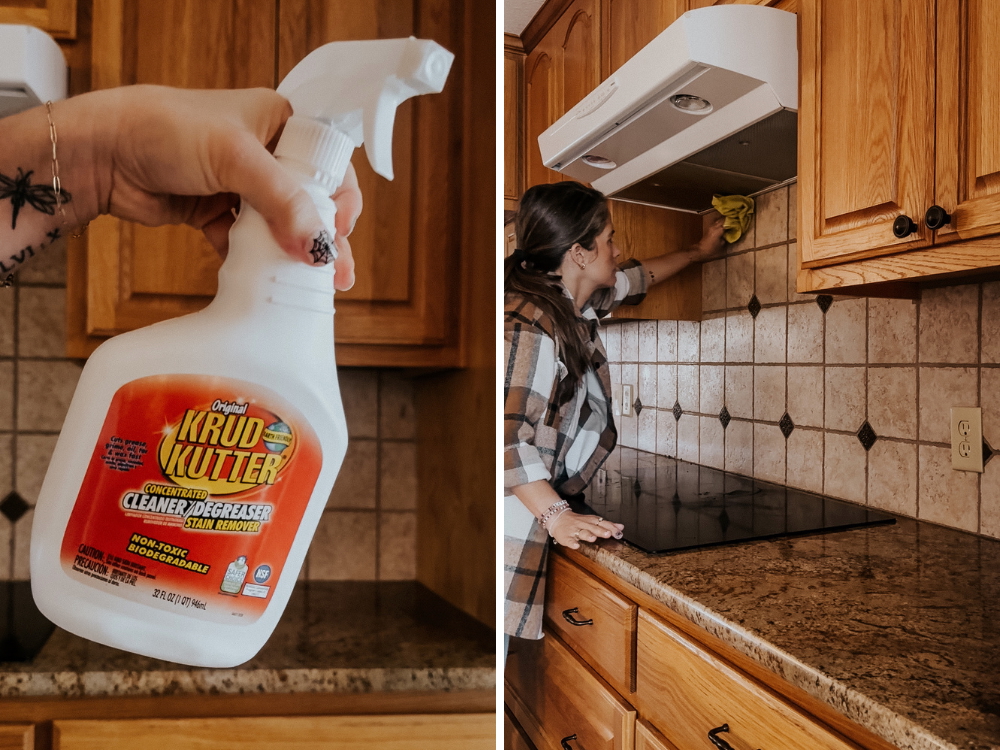
Like with any project, the prep work possibly the most important step. You need to get your existing tile very clean for proper adhesion! I used Krud Kutter, which is my go-to for a deep clean of just about any surface. Spray it on, wipe down the surface with a microfiber cloth, and then let it dry fully before you start installing tiles.
Step Two: Choose a Starting Point
Once your tiles are clean, it’s time to plan where you want to begin. The instructions recommend working from bottom to top, so I recommend choosing a corner of the kitchen that will allow you to lay one row as uninterrupted as possible. This will let you get a feel for the process! I started on the side of my kitchen that’s open to the rest of the house. The backsplash ends on that wall and it was important to me to make sure the end was a full tile, not a cut. Starting on this side allowed the partial tile to be on the side that ends in the cabinet, hiding any imperfect cuts better.
Step Three: Install Tiles
Installing the tiles really is as easy as it sounds – you literally just peel off the backing and stick it into place. There are “grout” lines that go all the way around the tile. You want to overlap those so that where the tile meets the grout line isn’t doubled. If you do it properly, the seams essentially disappear. Unless you get really close and start inspecting, you can’t tell where one tile ends and the next begins!
Press each tile firmly onto the surface, and then remove the top film that protects the tile. Most of the time, I found it easier to leave that film on until after I installed the tile. But, for some areas where I needed the tile to be more pliable, it helped to take the film off both sides first.
How to Cut Your Peel and Stick Tiles
Now, let’s talk about the part I’m sure everyone is curious about – how do you cut the peel and stick tiles?!
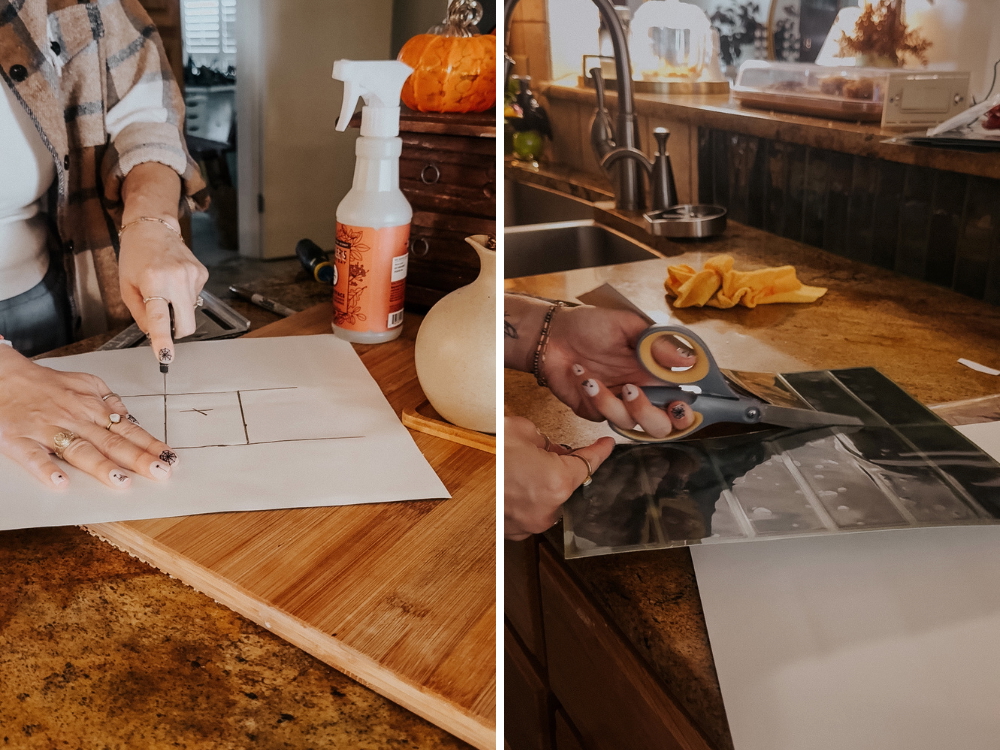
I’m here to tell you, it’s so (so!) easy. If you need to work around outlets, simply mark on the back of the tile where you’ll need to cut. You can do this by:
- Using a measuring tape to measure and mark on your tiles (this is what I did)
- Put a dab of caulk or lip gloss on all four corners of the outlet cover and press the tile against it to transfer it
- Place a looped piece of painter’s tape on the outlet and then press the tile against it so that it grabs the outlet and you can then trace it
- Press the tile up against the outlet hole and peel it back, using a pen to mark (I show this method in the video!)
.No matter what method you use, I recommend using a straight edge (like a speed square or ruler) to help you mark straight lines. Once you’ve got the place for your outlet or light switch marked on the back of your tile, you can use a utility knife to cut through the tile. Just make sure to do it on a surface that won’t get damaged! I used my wood cutting board. Then, pop the cut out and you’re good to go.
If you have straight cuts, or outlets that land on the edge of your tile, you can just use a good pair of scissors to cut right through the tile.
Peel & Stick Backsplash Before & After
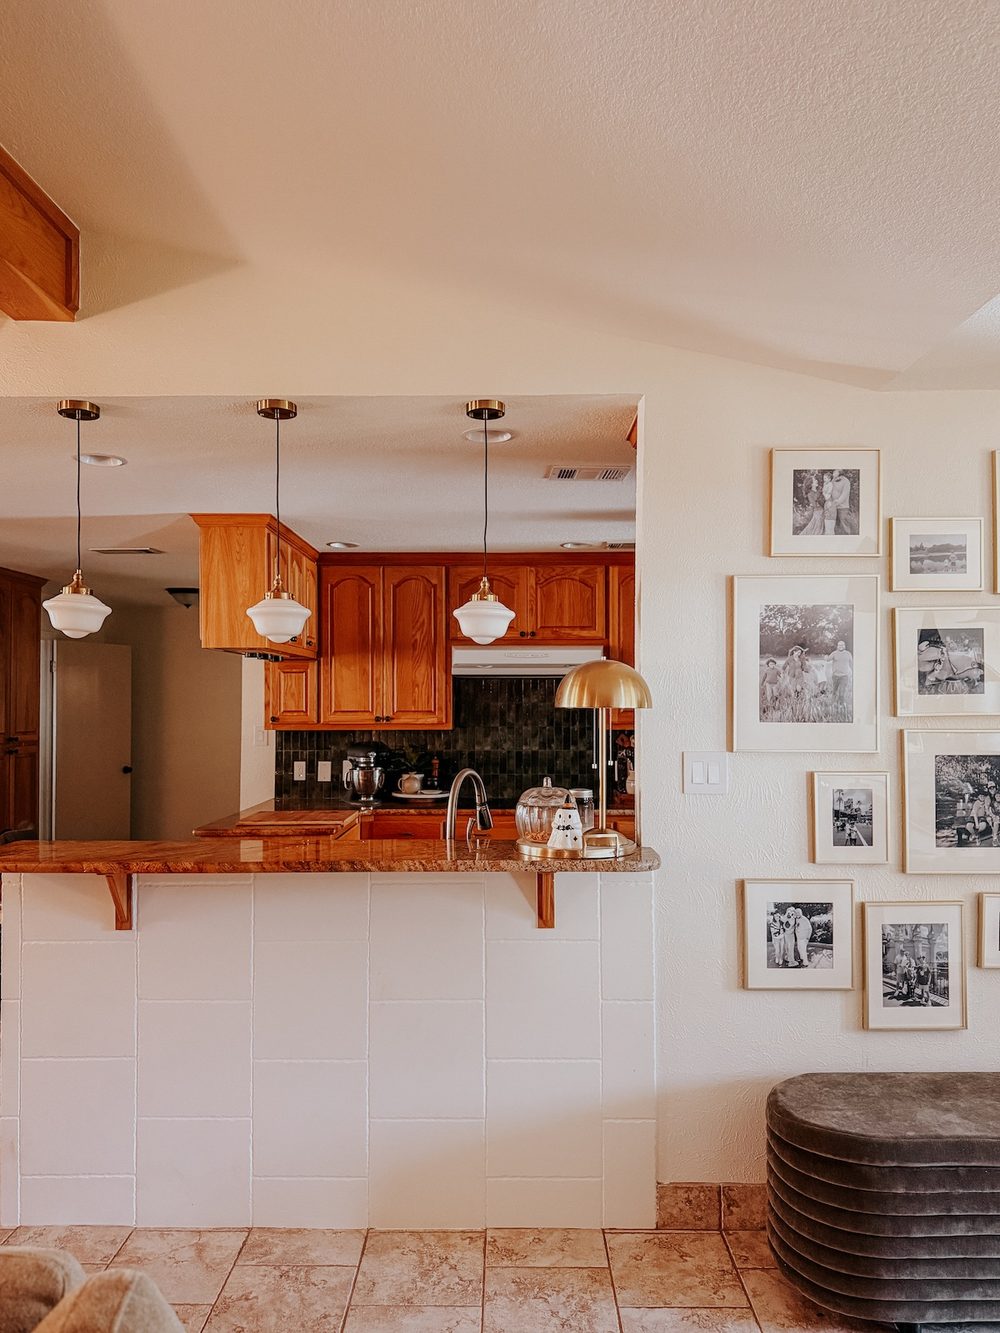
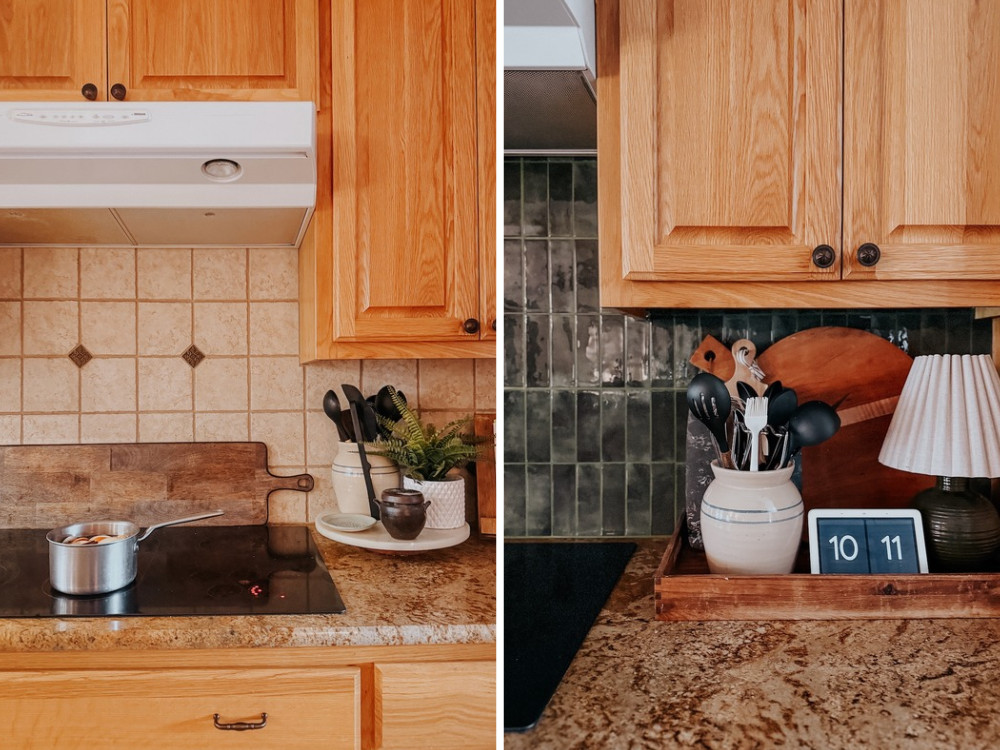
Overall, I can say that I’m wildly impressed with how these peel and stick tiles turned out. They’re gorgeous, and you’d never know how cheap and easy they were to install. I am so glad I decided to go this route. It’s wild how much more updated my kitchen feels already!
Now that this is taken care of, I’m starting to brainstorm a few other small changes I can make in here. I”m thinking next, I’ll:
- Swap out the cabinet hardware
- Add a display bar behind the stovetop
- Add a bit of art
- Get a larger rug to help cover the floor
Eventually I may also decide to stain the cabinets (using the same gel stain method I used in the bathroom), but for now I’m embracing the 90’s honey oak!
Related Posts
Love this simple and affordable kitchen upgrade? Here are a few other posts you might enjoy!