
Our Weekend Closet Overhaul
Last updated on March 4th, 2023 at 05:52 pm
We recently gave our master closet a quick closet makeover and I’m in love with how it looks! I wanted to share some closet ideas to help you get started on your own master closet renovation. This post is sponsored by Rubbermaid, but all opinions and wild enthusiasm for my new closet are 100% mine.
We’ve been trucking along for the last couple of months on getting our whole home organized using the KonMari method – it’s been equal parts thrilling, exhausting, and challenging. We’re nearing the end of the challenge (only two posts left!), but I want to take a few steps back today and talk about clothing organization again. I shared how we were keeping our clothes organized back when we did this part of the project, but then we got the opportunity to give our closet a giant makeover so now it’s even MORE organized.
You have no idea how happy this makes me.
So, settle in, grab a snack, and get ready to feast your eyes on my beautiful new master bedroom closet!
This closet is my love language, y’all.
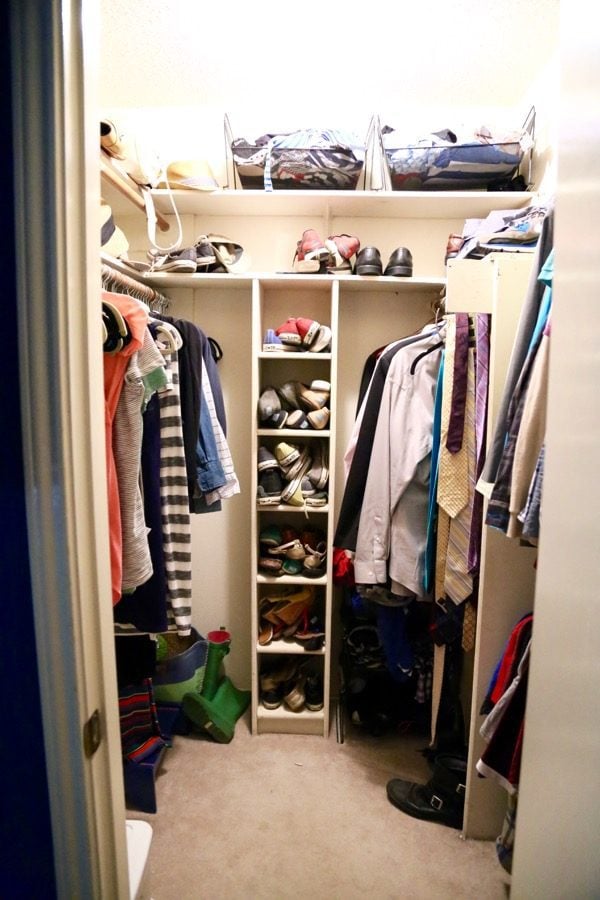
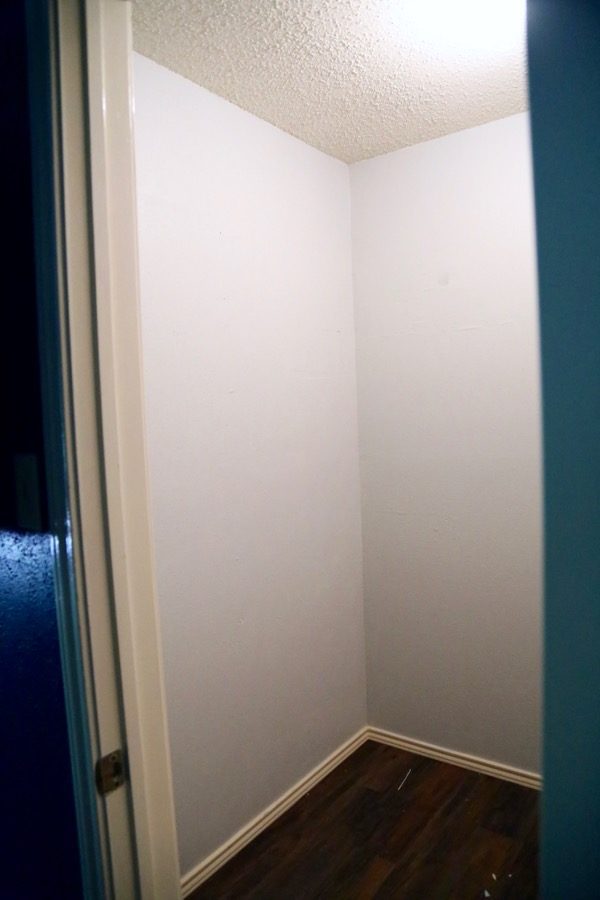
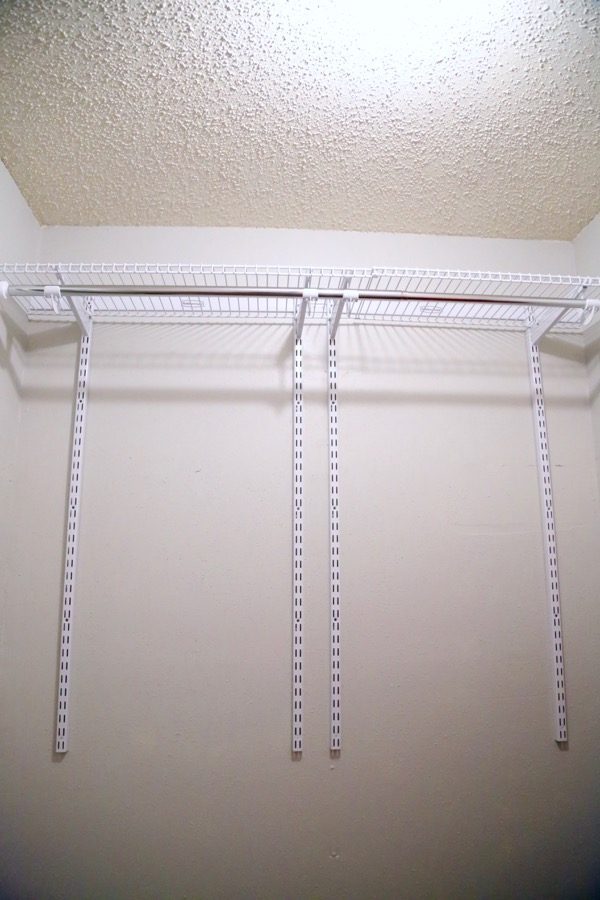
Our Master Closet Makeover: The Before
Corey and I have always been less than thrilled with the closet in our master bedroom. It’s a pretty good size, but the organization system in there was clearly homemade (and not made very well) and it wasn’t super functional. It wasn’t super pretty either.
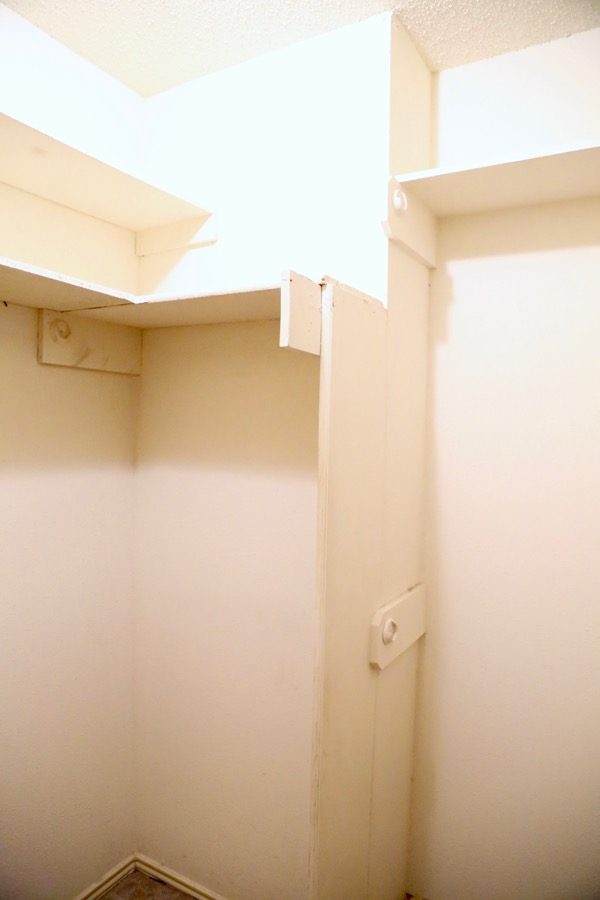
So needless to say, we were so excited to have the opportunity to go crazy on this closet, and I was doing little happy dances as I watched the old, ridiculous closet system slowly coming out. We couldn’t stop laughing at how poorly it was installed – one small piece of wood might have 7 nails in it! Because of the less-than-professional methods used to install the closet, we ended up with quite a few spaces in the closet that we had to patch before we could move on.
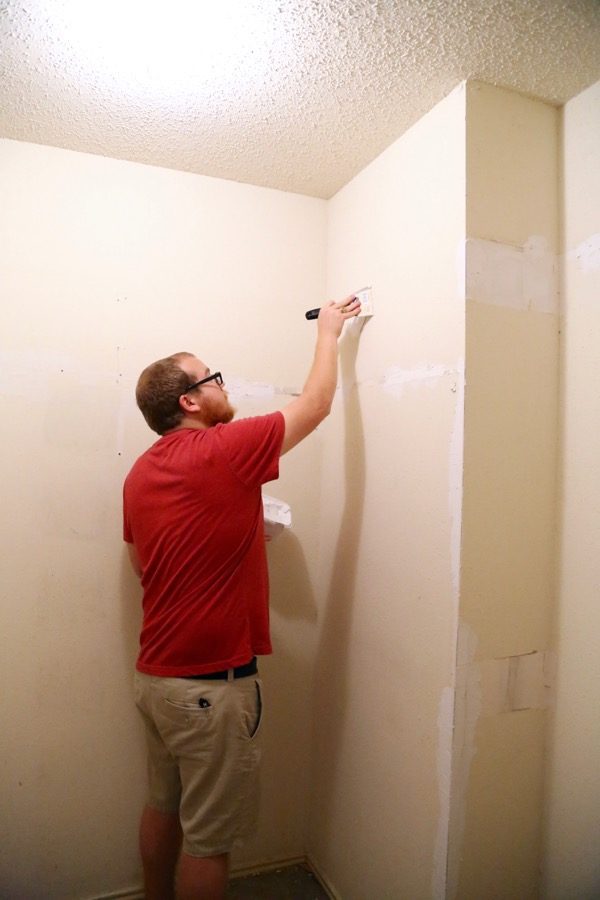
Once everything was removed, patched, and cleaned up, we got to start the fun part. I painted the closet with some leftover paint we had in the workshop – it’s part paint from our guest bedroom and part paint from Jackson’s room. At first, I was a little nervous about the color combination – without anything else in the room it was looking very “little girl’s nursery,” but I pushed through and I’m glad I did!
After I got the room painted, it was time to rip up the carpet. I originally hadn’t planned on changing the flooring in the closet, but as we got going with the demo, we realized that part of the closet system had been built into the flooring (which meant there was an odd hole with no carpet once the shelving came out) and part of it had the original “Ocean Blue” carpet underneath it! So, leaving the carpet was definitely not an option.
We used the same flooring that we’re slowly but surely installing throughout the rest of the house – I detailed the process for installing it here (and gave an update on how it’s holding up after two years here). It never fails to amaze me how much cleaner and cooler a room feels after getting rid of the carpet! It got me antsy to get going on the rest of our house!
Next up? The shelving system!
(This post contains affiliate links. Click here to see my full disclosure policy.)
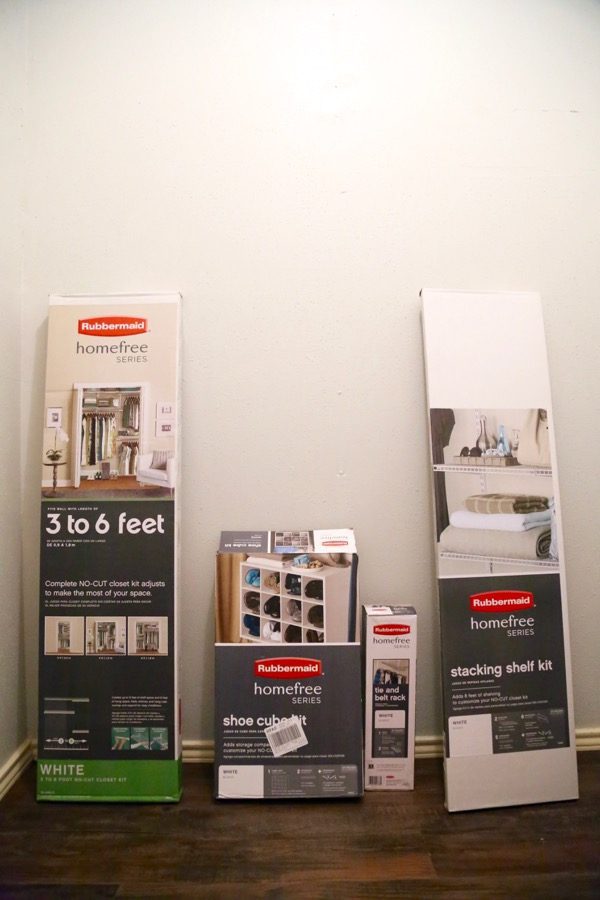
Here’s what we used for our master closet:
- 3-6 ft adjustable mount wire shelving kit
- White wood shoe cubbies
- Tie & belt rack
- 8-ft white wire shelf
We used the Rubbermaid® HomeFree Series™ Closet Kit in this closet. It’s a practically fool-proof system that is completely customizable, requires zero cutting, and has a ton of different accessories so you can organize exactly how you want to. My favorite part is that all of the shelves are expandable and the rods are telescoping so you can make sure the system fits perfectly within your exact closet – this is not your generic, standard shelving system!
We planned to use the system on just one wall of our closet since it’s such an awkward shape, so it functions more like a reach-in closet. However, if you’ve got a bigger closet you could do it on multiple walls for even more organized goodness. Our closet is about five feet deep, so we went with the smaller 3-6 foot base kit, but they have kits that go all the way up to 10 feet!
My favorite part of the whole process was the planning part. I’m a sucker for a good design-planning app or website, and the Rubbermaid® Storage Planner didn’t disappoint. I realized pretty quickly that there were about a zillion and a half different combinations that I could do with my closet, so I sent a few different screenshots to Corey of what I was thinking, and he sent back his thoughts. Since we were doing it on his side of the closet, I let him make most of the decisions, and here’s where we landed for our plan for the closet:
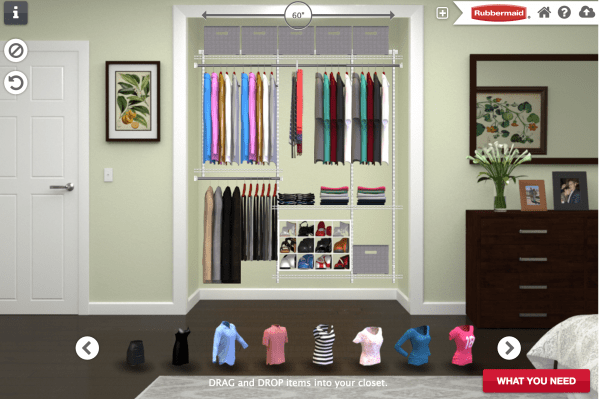
We ended up with a slightly different setup in reality because the planner only allows certain measurements (so we were planning for a 60″ closet when we actually have a 62″ closet), but we like the way it turned out even better than the plans so we aren’t complaining!
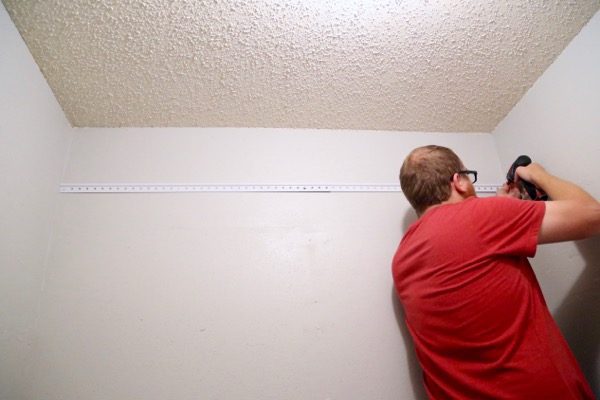
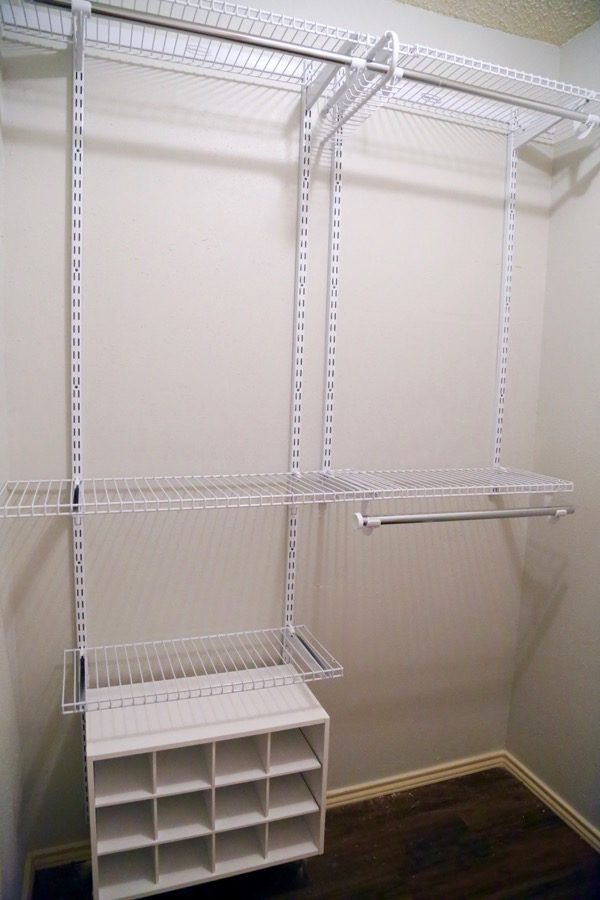
Installing Our Closet Organization System
Once we got it home, it was beyond simple to install – we started with the top hanging rail…
Added the vertical supports…
And then customized it with the accessories that we got! We realized about halfway through that we bought the large shelves when we meant to buy the smaller shelves (unfortunately the handy little shopping list still doesn’t completely eliminate human error!), but we decided to hang onto them in case we ever decide to switch things up down the line…it’s really nice to know that we can re-arrange this whole thing to fit our needs anytime we want!
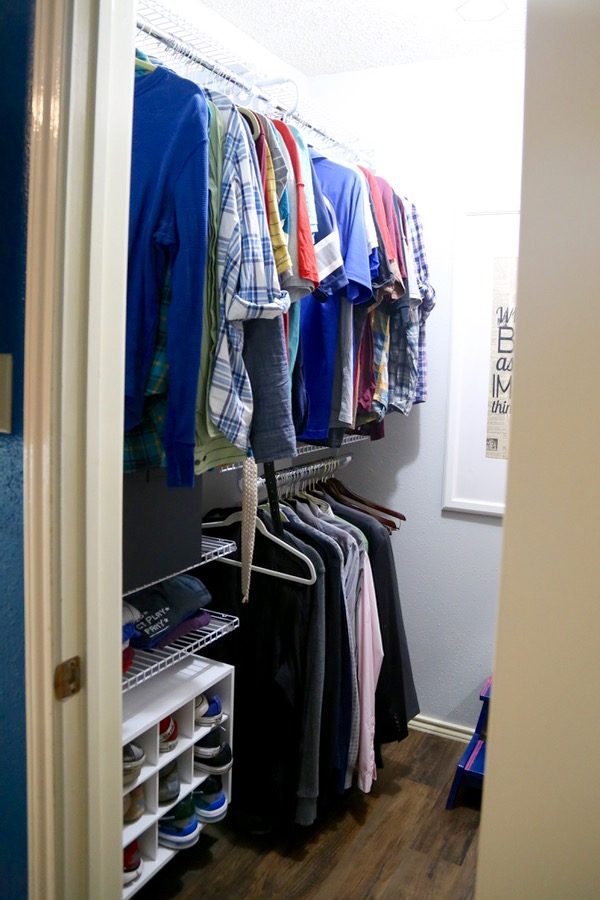
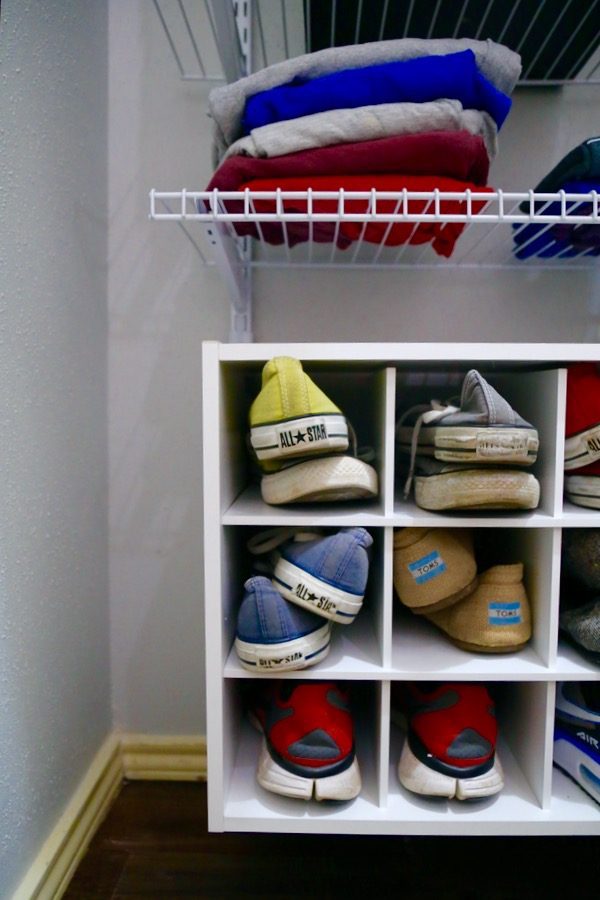
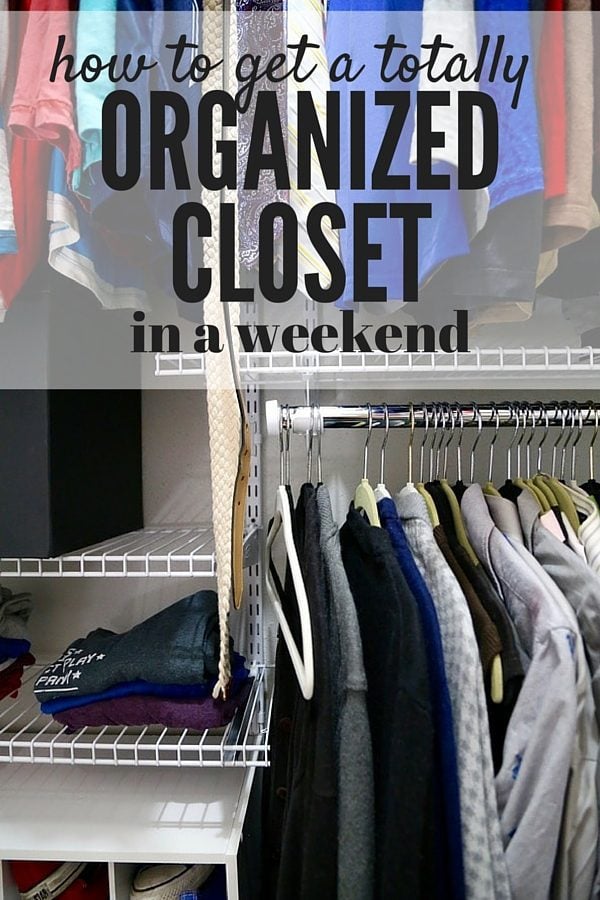
I’m more than a little bit in love with how organized this little guy makes our closet now. As we’ve discussed before, Corey has way more clothing than me, and with our old shelving system his stuff always seemed to spill out into the rest of the bedroom and it was impossible to contain it all. Now he has no excuse to not keep it organized because it’s so easy! My favorite part is the shoe cubby – Corey’s shoes often end up all over our room and it makes me more than a little bit crazy. But now that he has the shoe cubby I feel pretty confident that his shoes will stay contained (fingers crossed!).
You know it’s love if this organization-loving girl is willing to give her husband this glorious closet system instead of stealing it to use on my side of the closet!
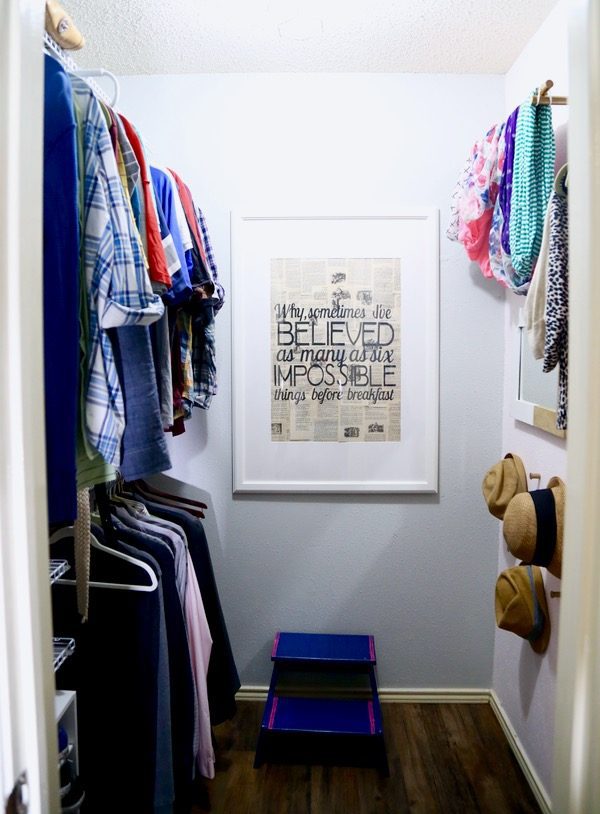
With the shelving system all installed and organized, it was time to turn our attention to my side of the closet. I have very simple needs when it comes to keeping my closet organized – just a short rod to hang most of my clothes, and a few shelves for shoes and accessories. Easy peasy!
Our Other Closet Ideas: Organization
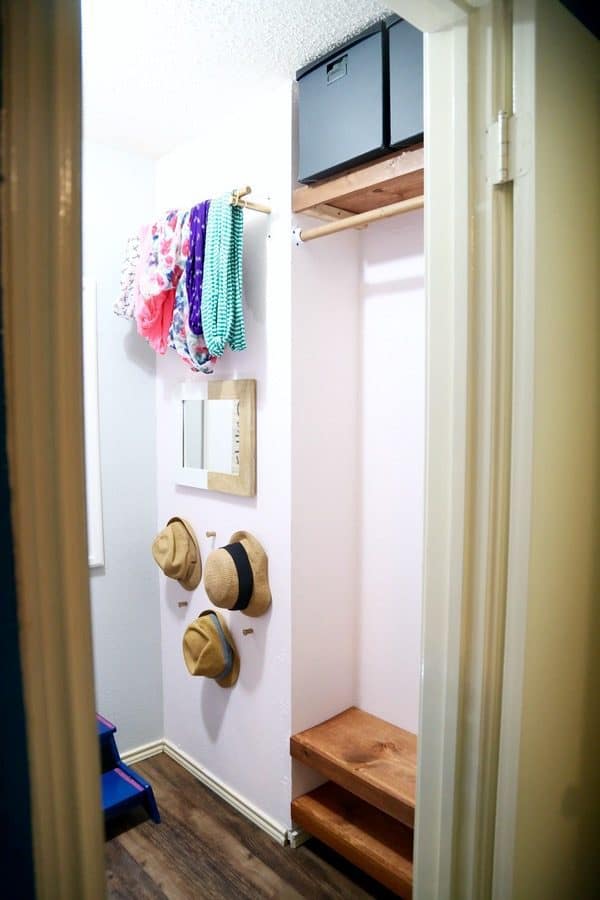
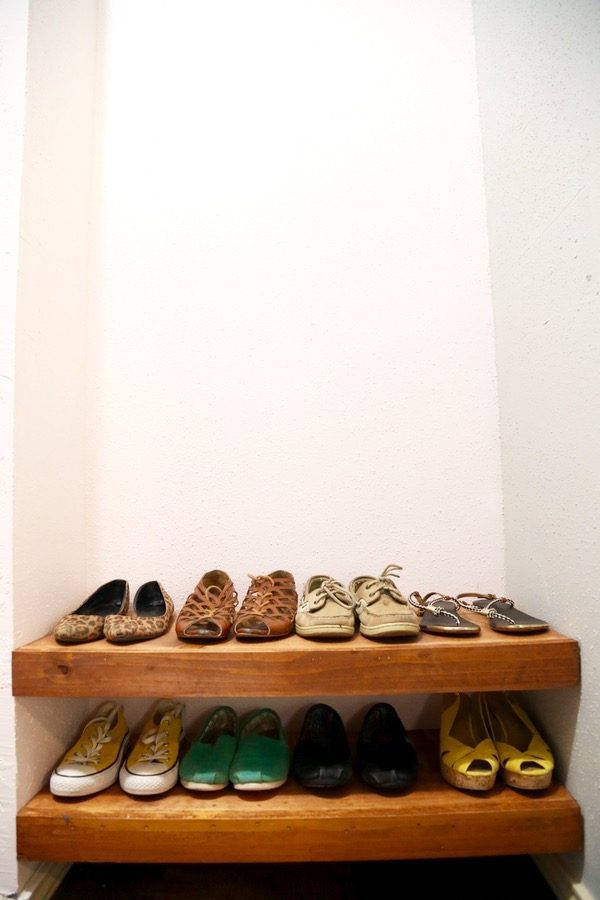
We created these DIY floating shelves for my shoes and for the boxes that hold things like our swimsuits and cold weather gear. You can see the full tutorial for how to build the shelves in that post!
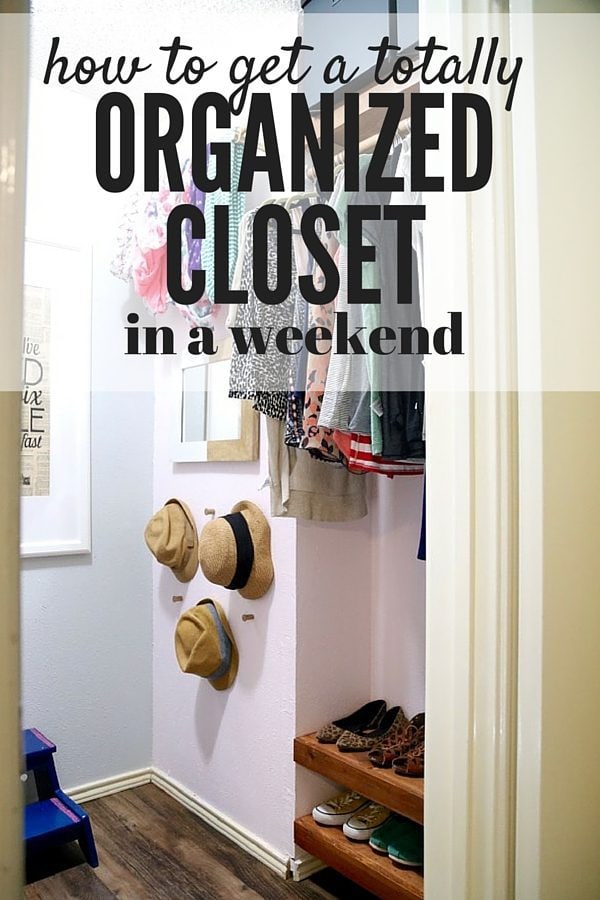
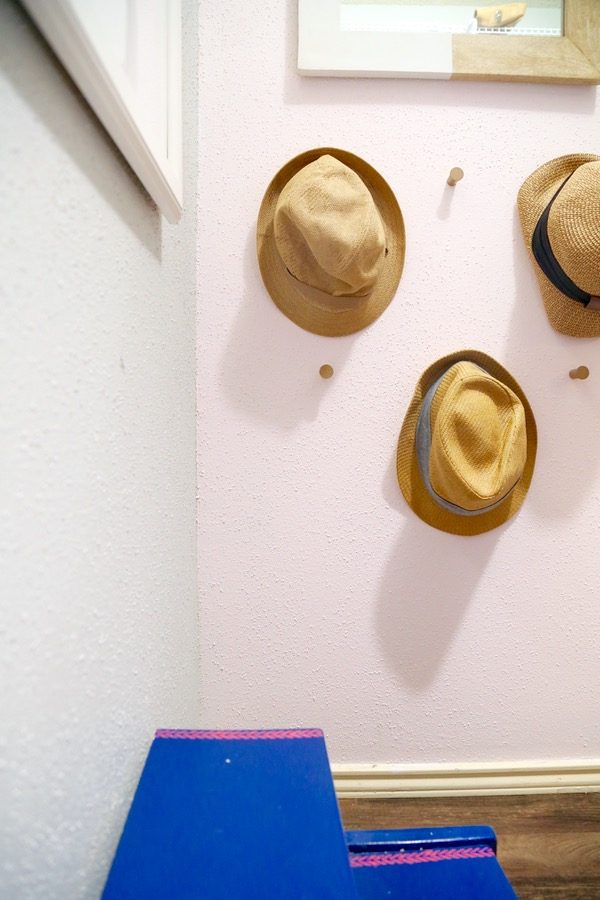
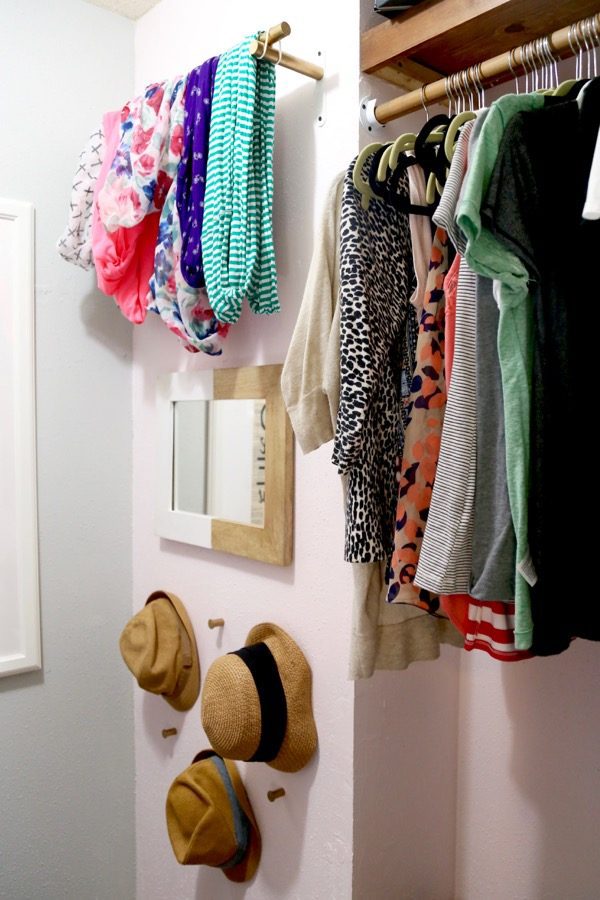
Aside from the shelves and the hanging rod, we also used this odd little area on my side of the closet to create an accessory wall for hats and scarves. These are both things we have a hard time figuring out the best way to store, so we figured putting them on display was the way to go. I bought the SANNOLIKT wooden curtain rod from IKEA to hang our scarves – we simply spray-painted it gold and cut it down to the size we wanted. It’s the perfect place to hang them so they’re out of the way but still easy to access!
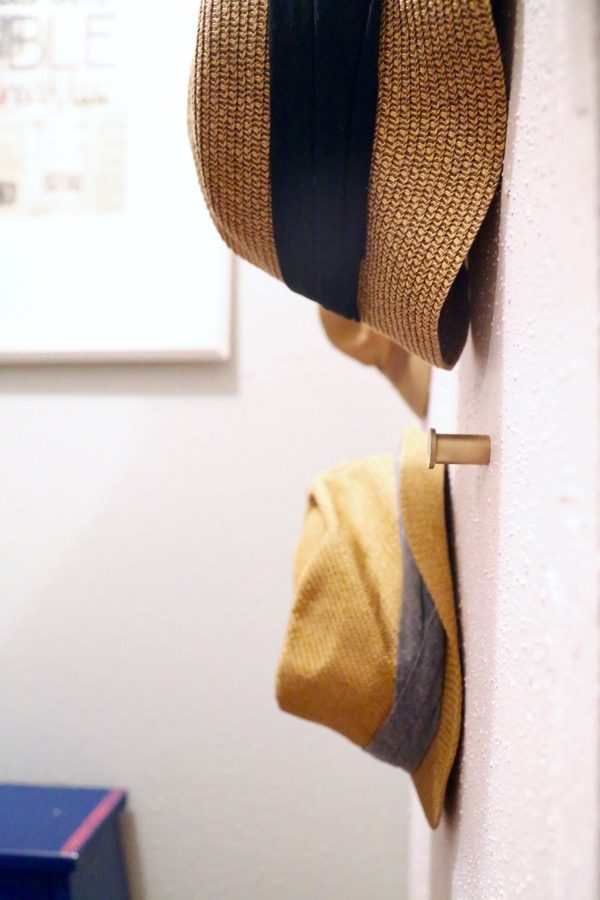
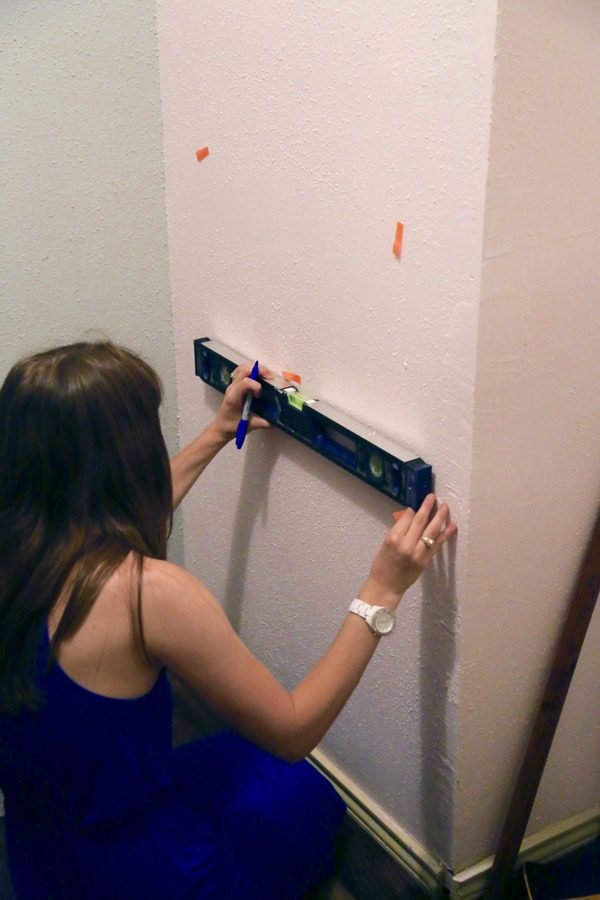
Then, I bought these little IKEA ATTEST knobs (I think they’re technically drawer pulls) – I spray-painted them gold as well and then we hung them up all along the wall to hang our hats on! I used little Post-It flags to test out where we wanted to hang them. Once we found a configuration we liked, we screwed ’em in and hung our hats!
I am so incredibly excited that we were finally able to tackle this makeover that we’ve been dreaming of since the day we moved into this house. Our closet is so much more functional now, and it makes me smile every time I walk in! I have a feeling we’ll be using this system again in other closets in our house and I’m pretty thrilled to finally have a master closet that doesn’t make me cringe when I walk into it.
What would your dream closet look like?
I saw this post on http://www.hometalk.com/17270571/master-closet-makeover?se=fol_new-20160609-1&date=20160609&slg=e2186637d8dee650a0894db758e30992-6982910
There were many people discussing the change in the numbers of shoes. They say there were 40 pairs of shoes in the first before shot, but only 20 in the after. Where did all the shoes go?
Thanks for coming over to ask, I hadn’t checked over there in a couple of days! My husband cleared out some shoes in the process of reorganizing our closet, so there are definitely fewer shoes in the after photos! But, had he kept them, we probably would have put the less-used shoes up on the top shelf…it’s completely empty right now!
I love how functional and organized this makes your closet! Our closet is the builder made built-in’s and could definitely be better than it is. I’ll have to check this out! #client
Thanks! We’re pretty happy with it so far!
I love it! I’ve been stuck with a half-finished closet for (seriously self?!?) a year now and its pathetic. I just can’t figure out how to set it up! Maybe I’ll finally figure out what to do with mine.
Girl, I’ve been there. There are an embarrassing amount of half-finished projects at my house at any given time!
One of the things that I love most about your blog is how practical and real the upgrades that you make to your home are! I love the changes you made to your closet, and is someone who has been giving hers the stink eye for quite some time, you’ve given me some great, and seemingly affordable options! 🙂
Cinny, your comment made my day! Thanks so much for your sweet words! We are super happy with the closet so far…Corey even told me today that it’s inspiring him to want to clean his clothes out, so this closet system may just be able to work miracles! 😉
I love how this turned out! It’s so much more efficient and better organized than before. We are also redoing our closets, because one rod and a shelf just aren’t cutting it for us. Way to make great use of the space you have!
Thanks Celeste, we love it too!