
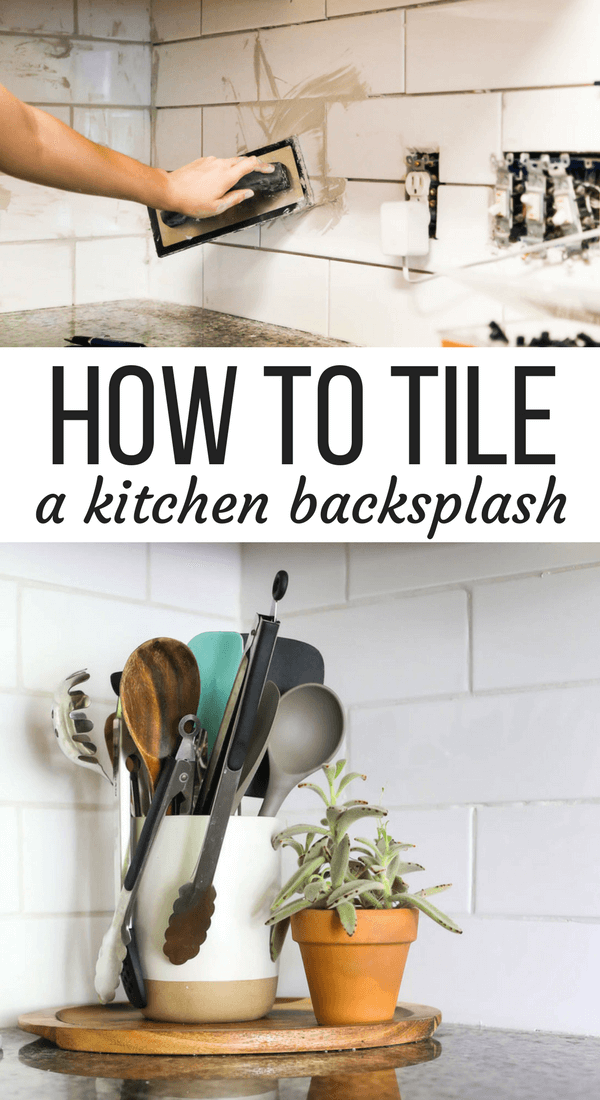
How to Tile a Kitchen Backsplash
Last updated on April 19th, 2023 at 10:25 am
Do you have a kitchen in need of a new backsplash? This post will walk you step-by-step through how to tile a backsplash – even if you’ve never tiled before! These tiling tips for beginners will give you the confidence you need to tackle tiling your own kitchen backsplash.
One of the most impactful projects you can do in your kitchen is tiling the backsplash. Many of us live in homes with old or outdated tile backsplashes, and you might be surprised to know that it’s pretty affordable to take on this project! And, it’s 100% a project that anyone with some basic DIY knowledge can tackle.
Ask me how I know.
This was my first time tiling a kitchen backsplash, and I think it turned out pretty amazing. It’s a slightly labor intensive project that requires some patience and willingness to make mistakes, but the effort is so worth it!
I mean…come on.
That looks so much better, right?!
Today is the big, bulky, beefy post all about how to tile a backsplash. Don’t have a kitchen renovation on the agenda at the moment? Then be sure to pin this post for later to help you find it when you’re ready!
Let’s do this.
How to Tile a Backsplash
Tools You’ll Need
This is a great place to list items used in your recipe and use an affiliate link to amazon for the items. This little box is a great space to disclose that the below links are affiliate links.
Demolition
If you need to demolish old tile, you’ll also need the following:
- Hammer
- Pry bar
- Gloves (vital to prevent blisters!)
- Eye protection
- Fresh drywall
- Drywall tape
- Joint compound
Step 1: Remove the Old Tile
Obviously, the first step is to remove your old tile and prep your drywall for fresh tile. Before I even chat about it, I’ll give the disclaimer that I am not a pro when it comes to this (or, let’s be real, any project I do), so I always end up replacing the drywall when I’m removing old tile.
If you’re careful and good at what you do, you can preserve the old drywall. Or, you know, if you hire professional installers. However, it’s almost impossible to remove old tile without needing to do some sort of repair to your drywall – in the end, I find it’s easier (and more effective) to just remove the old drywall rather than try to repair it.
Before you start, I highly recommend covering your countertops to protect them. Obviously, I didn’t do this – but I should have!
Here’s my method:
Use a hammer to break up the old tile.
Basically, just go to town on the tile until it starts falling off the wall. If you know ahead of time that you’re removing the drywall as well, you don’t need to be too careful about messing it up. I found that the best strategy for me was to hit a tile until all of the pieces started to loosen up, then I used the back of my hammer (or my pry bar) to peel the tile off.
This is exhausting and no fun and it will suck. That’s really just the bottom line. Sorry.
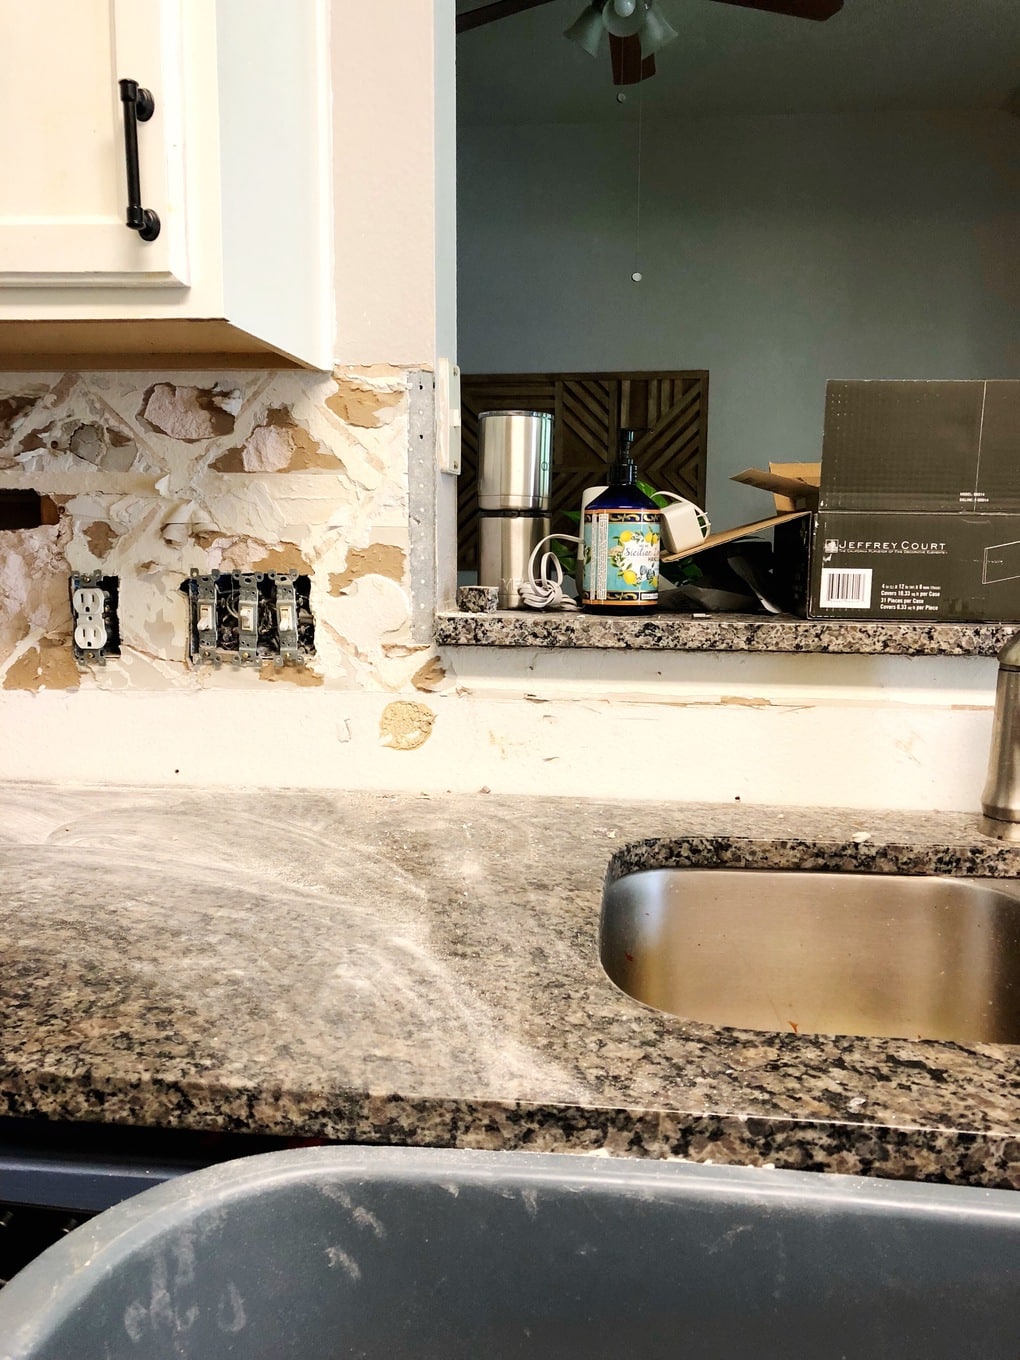
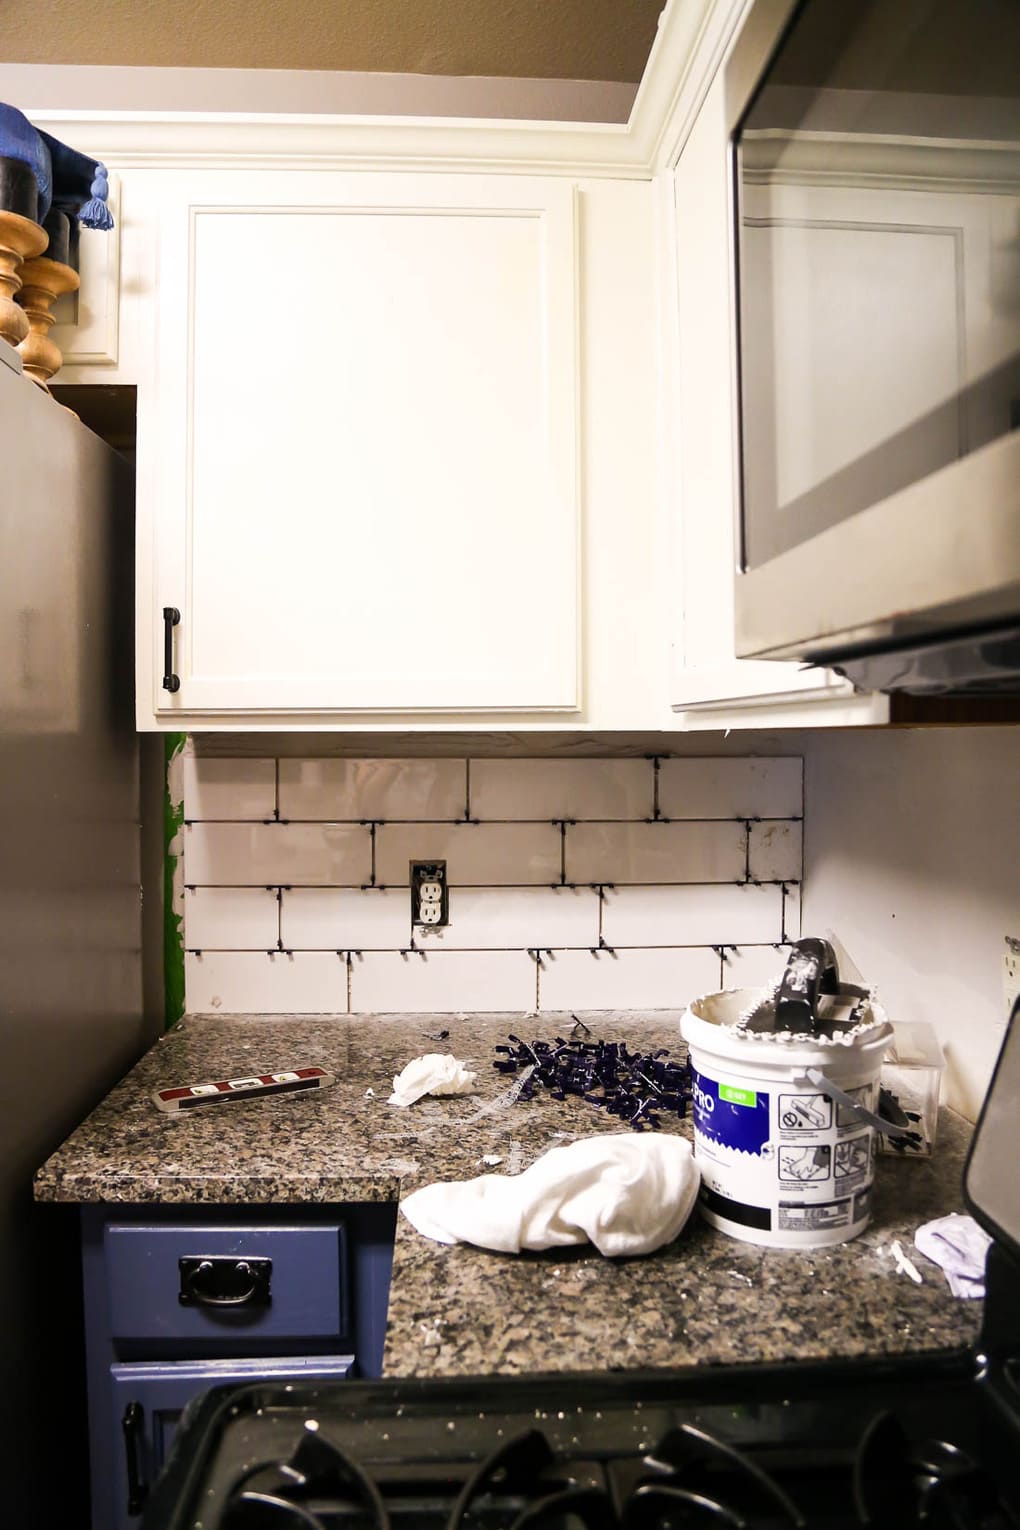
After some backbreaking work, your backsplash will look like a tornado went through it.
Now it’s time to fix it.
Remove the old drywall
Once all (or most of) the tile is off, you can remove the old drywall to prep for some fresh stuff. I used this multi-tool to cut all around the damaged drywall and pull it off the wall. You can also just use a sharp blade to cut around it if you don’t have a similar tool.
Be sure to remove the outlet covers from the electrical outlets, as well as the switch plates. Set them aside somewhere to keep them safe, if you plan to re-use them.
I removed everything from the top of the counters all the way to the upper cabinets. Obviously, you may have more or less depending on what kind of demo you needed to do.
Clean up and prep
Once you’ve removed all of the drywall, it’s time to get it fully ready for the new drywall. Vacuum up as much of the dust as you can and make sure you have some straight and clean lines for installing the new drywall.
Step 2: Repair (or Replace) the Drywall
At this point, my kitchen looked like this:
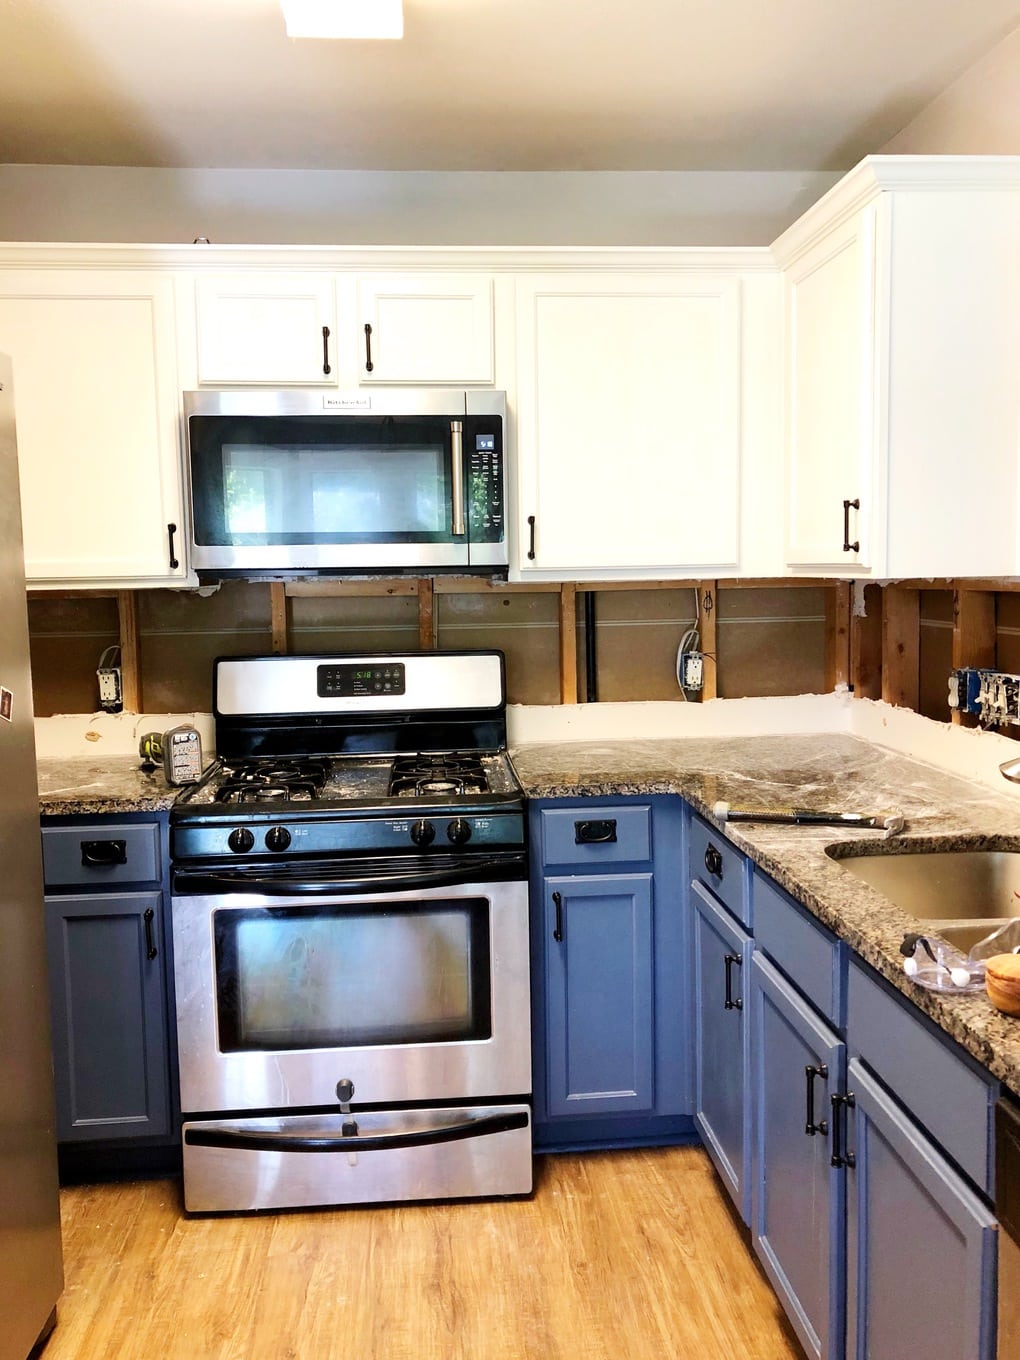
Cute, no?
Thankfully, putting up fresh drywall is very easy. Start by measuring your area and cuting a piece of drywall to fit. I use a utility knife to score the drywall, then just break it off. Then, screw the piece of drywall into the studs. Once your area is full of drywall, apply drywall tape on all of the seams, and then mud the seams and screw holes with drywall compound.
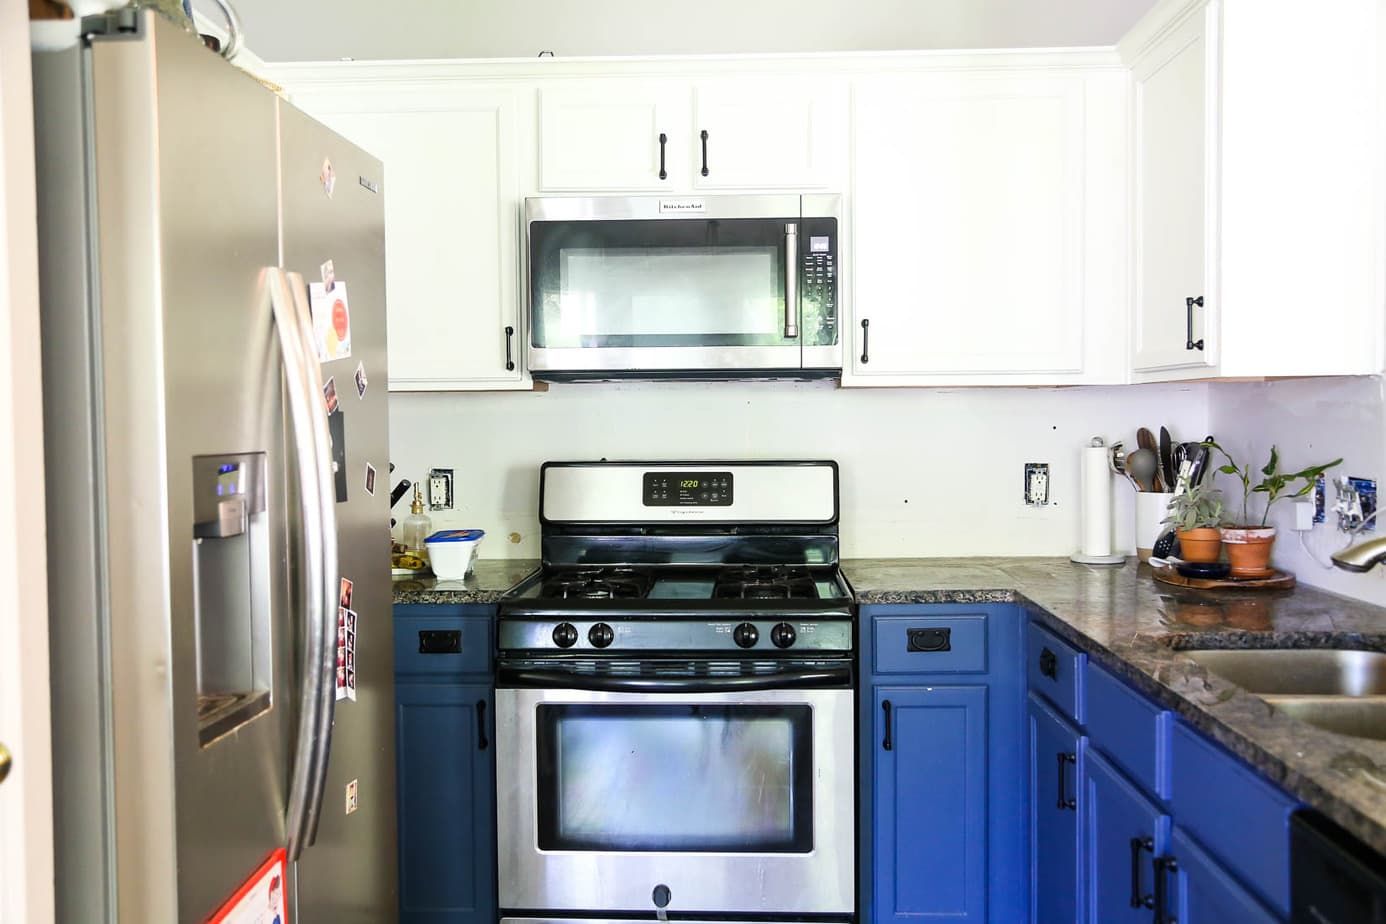
Typically, you need to allow the drywall compound to dry for 24 hours before applying a second coat. Apply two coats, then sand it down with a sanding block so it’s nice and smooth, and you’re good to go.
It’s time-intensive but overall a very simple process. I promise. Now, things should be looking a little bit better.
Step 3: Apply Tile Adhesive
Once your drywall is ready to go, it’s time to start laying the tile! You have a couple of options when it comes to your tile adhesive:
- Thinset: This is a mixture of cement, water, and fine sand. You might hear it used interchangeably with “mortar,” even though they’re technically not the same thing. Thinset is specifically intended for tiles and is probably the most common tile adhesive option.
- Adhesive Tile Mat: This guy is newer on the scene and I’ve seen a lot of people trying it in recent years! I don’t have any experience with it, but the promise of easy cleanup and no thinset is really appealing to me. I’ll definitely be trying it on my next tiling project.
How to Apply Thinset
Obviously, as I only have experience with thinset, that’s what we’ll talk about here. It’s best applied in small chunks (about 3ish square feet at a time).
I like to work with pre-mixed thinset – it’s definitely more expensive, but in my mind, it’s worth the cost to not have to deal with mixing it to the perfect consistency. Trust me. Mixing thinset is not fun.
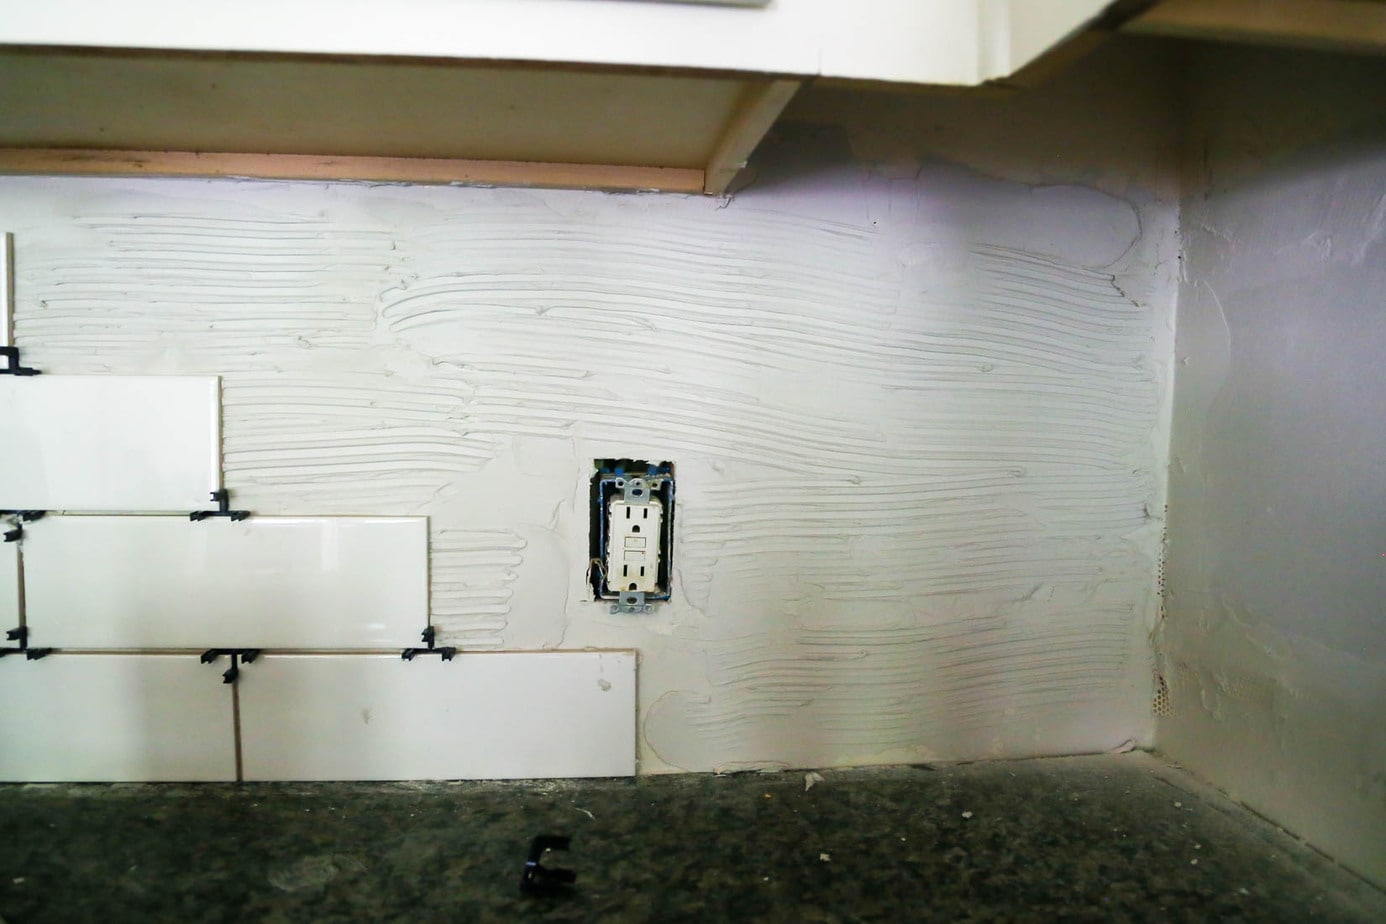
Decide on the area you’re going to start on, then use your notched trowel to scoop up some thinset. Apply it directly to the wall with the smooth edge of the trowel at a 45-ish degree angle. Don’t be shy about it – you want a nice, thick layer.
Once you’ve applied the thinset to the entire section you’re working on, flip it around to the notched side and run that horizontally through the thinset (again, at a 45-degree angle) to create ridges in the thinset. It’ll look a little something like this:
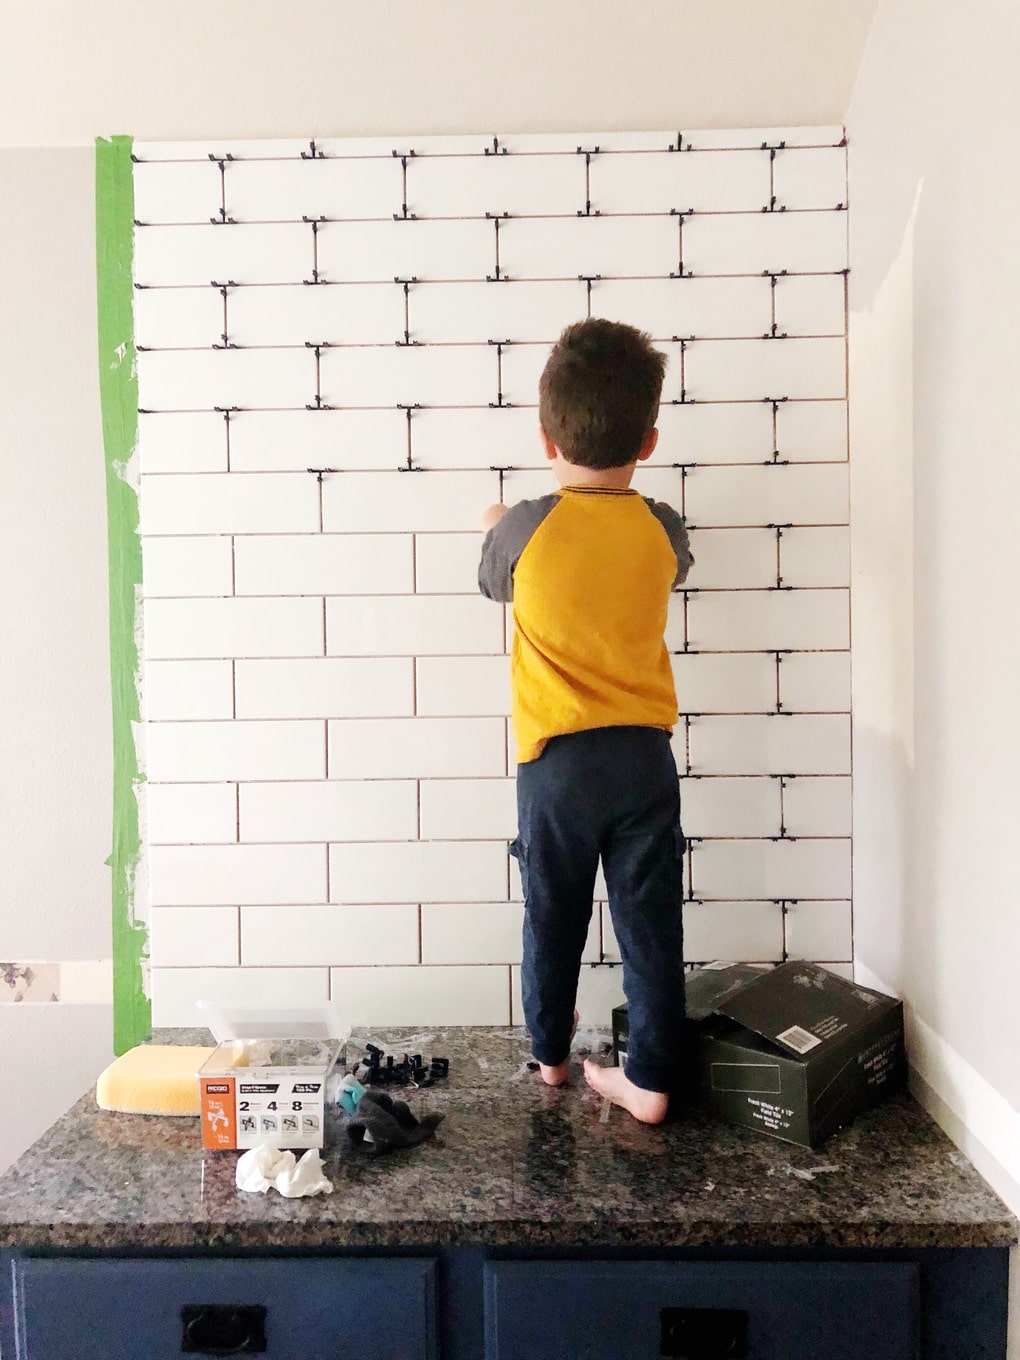
Step 4: Place Your Tiles
Once your thinset is applied to your section, you can begin laying tile! Obviously, depending on what kind of tile you’re using, this will vary. You might be installing them in a subway pattern (like I was), or stacked. Or maybe you’re working with mosaic tiles and you have tile sheets instead!
The basic process is the same no matter what shape your tiles are.
Choose a Starting Point
Grab your first one and line it up with the beginning of your section. To begin, I started on one side of my kitchen. I chose the side by the refrigerator because it’s the least visible – in case I had a bit of a learning curve. Draw a straight line on the wall with a pencil to make sure the tiles line up appropriately.
Press your first tile into the thinset. I recommend using a small level to make sure you are placing it nice and straight. Once you have the first row placed, it won’t matter as much.
Don’t forget spacers!
After laying your first tile, use a spacer between that and your next tile. Some people can get away without using spacers, but I much prefer to know my spacing will be consistent!
Continue down the row until you’ve laid your first row of tile for the area in which you’ve applied thinset.
Continue going in your section until you run out of thinset. Again, I worked in about a 3-foot long section, and laid from the counter all the way up to the cabinet. Then, it’s time to make some cuts!
Laying in a subway pattern
To apply your tile in a subway pattern, just start with a full piece of tile on your first row, then cut a piece of tile in half to start your second row. Continue that pattern and you’ll end up with the coveted and classic subway pattern.
Step 5: Cut & Install Any Edge Pieces (or Around Outlets)
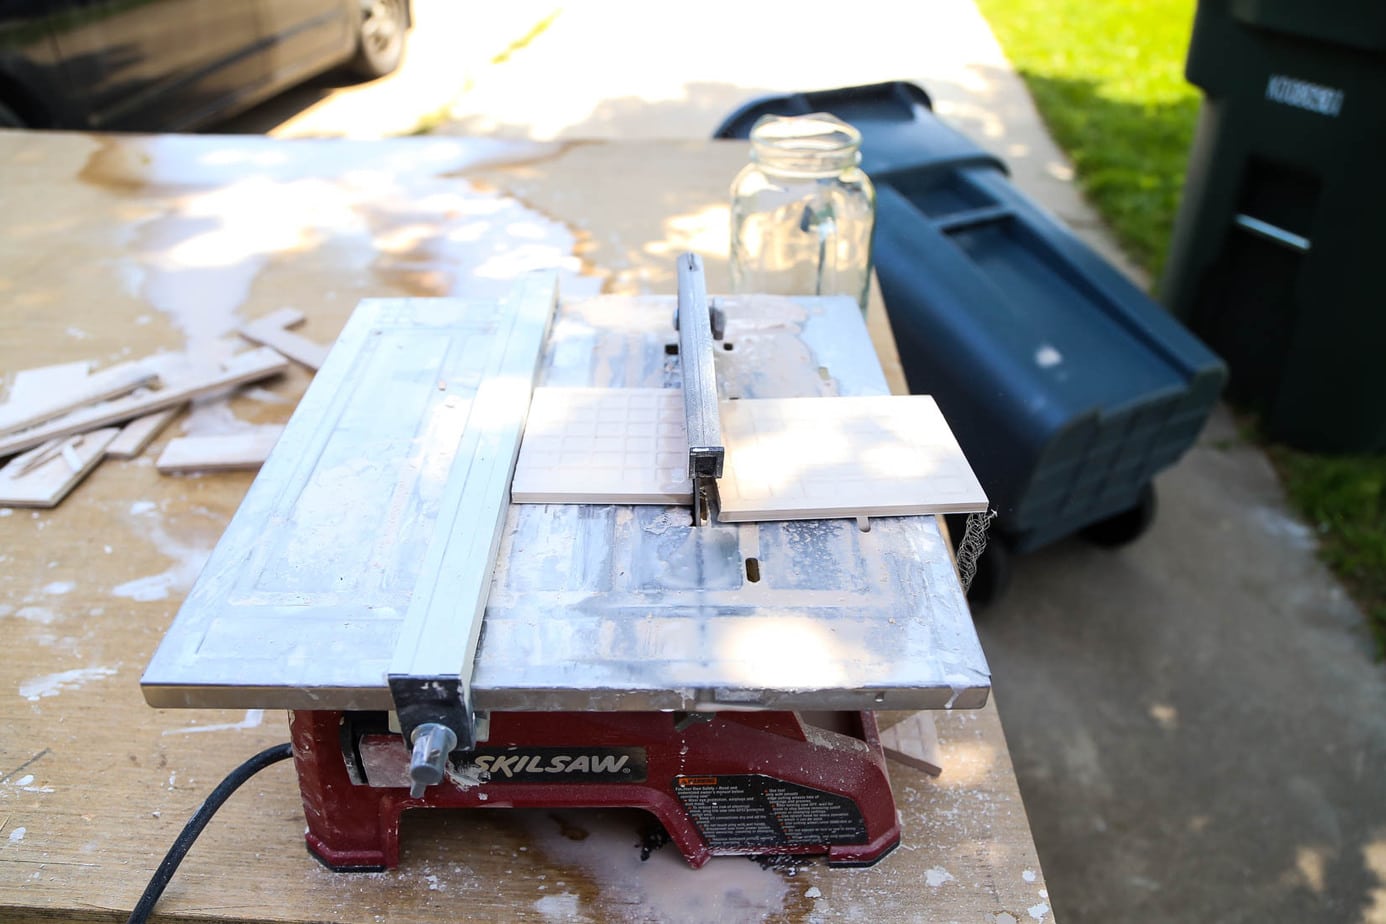
Here’s where the intimidating part comes into play. But, I can assure you, a wet saw is nothing to be afraid of. Here’s the rundown:
Wet saws generally have an area on the side that you need to fill with water. There will be a max fill line – don’t go above that or you’ll just make a big mess. As you work, be sure to check on the water level frequently to ensure it doesn’t get too low.
Simply measure the size that you need for the tile (taking into account the size of your spaces for your grout line) and mark it on the back of your tile. Adjust the guide on your wet saw to the appropriate size (I just hold the tile up to where my line is and then move the guide so that it touches the edge of my tile), and let ‘er rip. Be sure to move slowly and steadily.
Once you’ve got your tile cut, bring it inside and test it to make sure it fits before you place it. If you’re working in a corner or near the top of the wall where you didn’t put a good amount of thinset, you can just apply it directly to the back of the tile using the same method you used before.
Cuts around obstacles like outlets or light switches are a little harder, and I’ll be the first to say I probably didn’t do it the “right” way. I used my wet saw and basically just cut on either side of where the notch needed to be, then made a ton of tiny cuts until the entire notch for the outlet was removed (you can use tile nippers to speed this process up), but I’m sure there are more efficient methods.
It isn’t pretty if you look at it without the outlet cover, but thankfully it’ll be covered up so no one has to know.
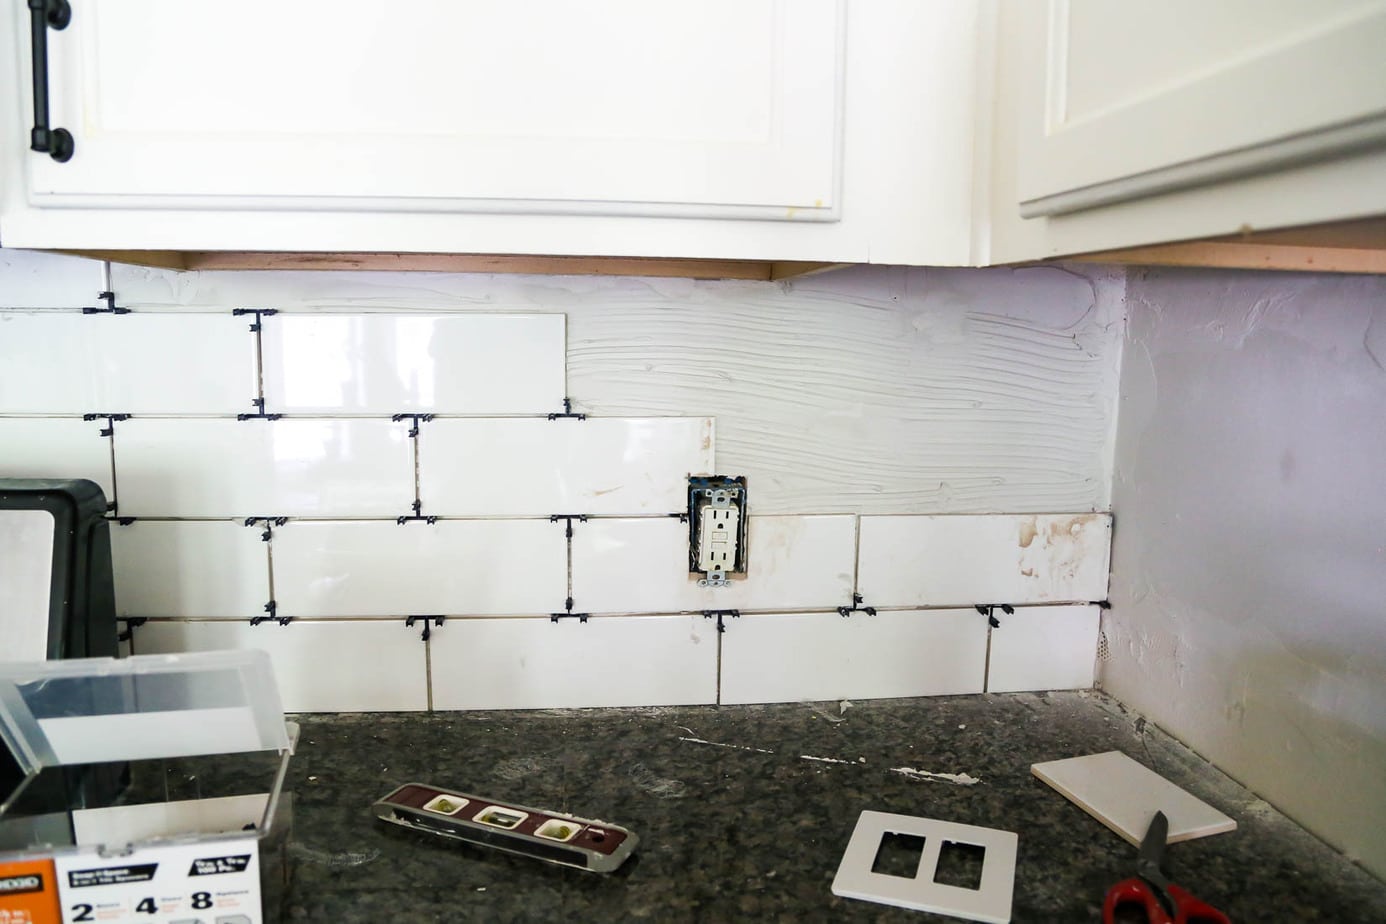
For the pieces like the one on top of the outlet above, you can just make two cuts in the tile with your wet saw – it’s much quicker and easier than the ones that need to be notched out.
Repeat steps 3-5 until your entire backsplash is tiled.
Step 6: Remove Your Spacers & Clean Up the Tile
Be sure to pull out your spacers and clean up any excess thinset before it dries fully. I tried to clean my tiles up as much as possible shortly after I finished tiling, then we removed the spacers and cleaned more thoroughly the next morning.
Step 7: Grout
Once you’ve allowed the thinset to dry for a minimum of 24 hours (I went for closer to 48, just to be safe), you’re ready to grout.
I went with unmixed grout (meaning, I mixed it myself) for the first time on this project, simply because I couldn’t find unsanded, pre-mixed grout at my hardware store. You don’t want to work with sanded grout on vertical surfaces – it’s really meant for flooring and areas with larger grout lines – so be sure to look for grout that’s specifically labeled as unsanded. In this case, it meant I had to mix it up myself. But, it was just a matter of adding some water and stirring until I felt like my arm was going to fall off.
No big deal.
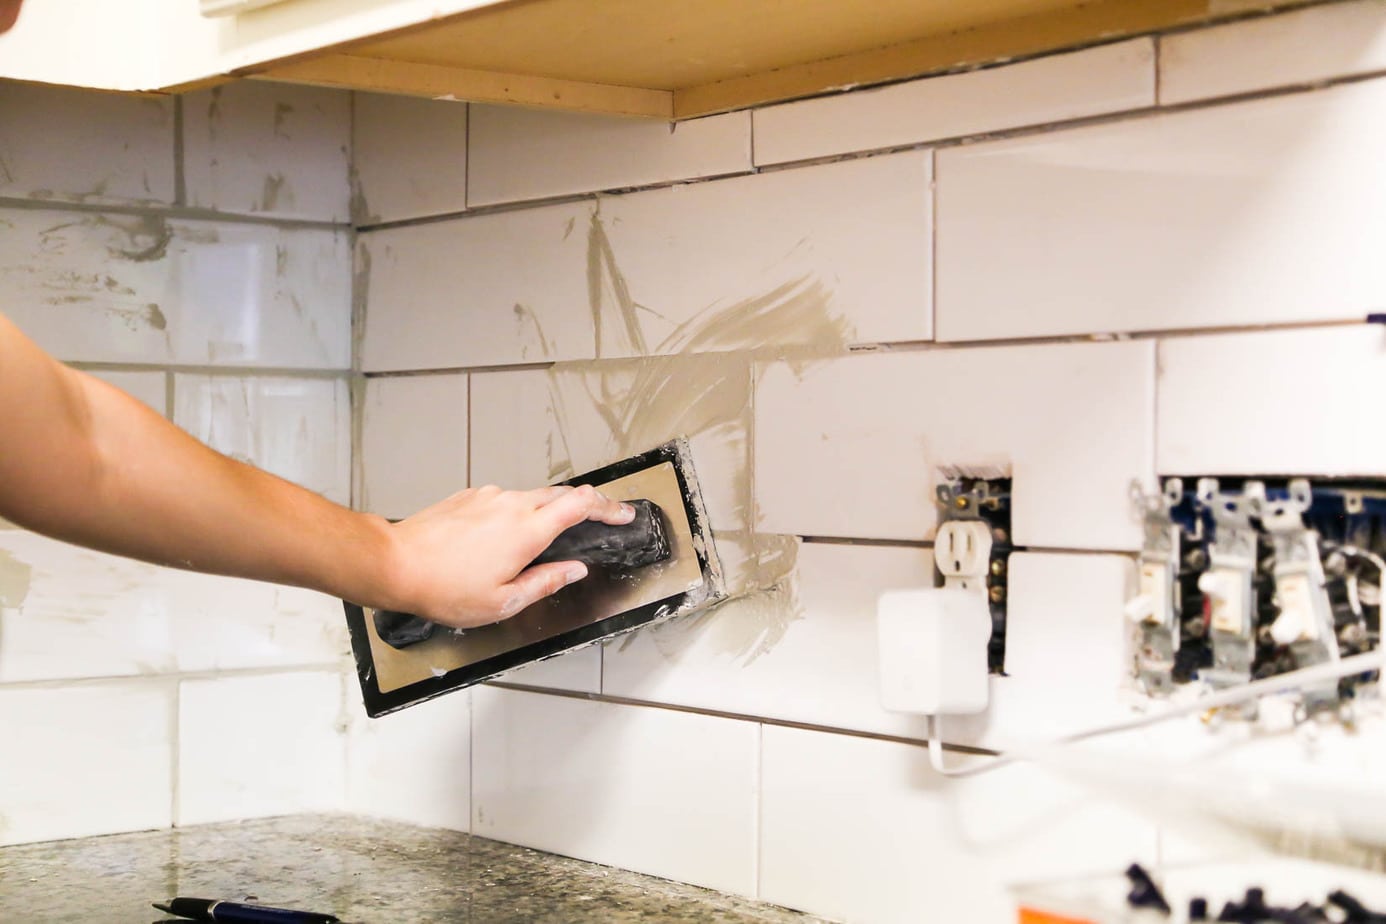
To apply your grout, just grab your rubber float and scoop some up, then apply it to the tile using a 45-degree angle and a good amount of pressure. You want to push the grout into the spaces without getting a ton extra on the tile. Once you’ve completed a small section, go back with the float at a 90-degree angle and scrape each tile to remove any excess grout – this will make cleanup much easier!
Cleaning
After you’ve allowed the grout in one section to set for about 10 minutes, go back with a damp sponge (you want it to be wet enough to clean the tile but not so wet that it’s dripping) and wipe down the tiles to remove any grout from them. I recommend having a bucket of water to help you clean off the sponge as you work.
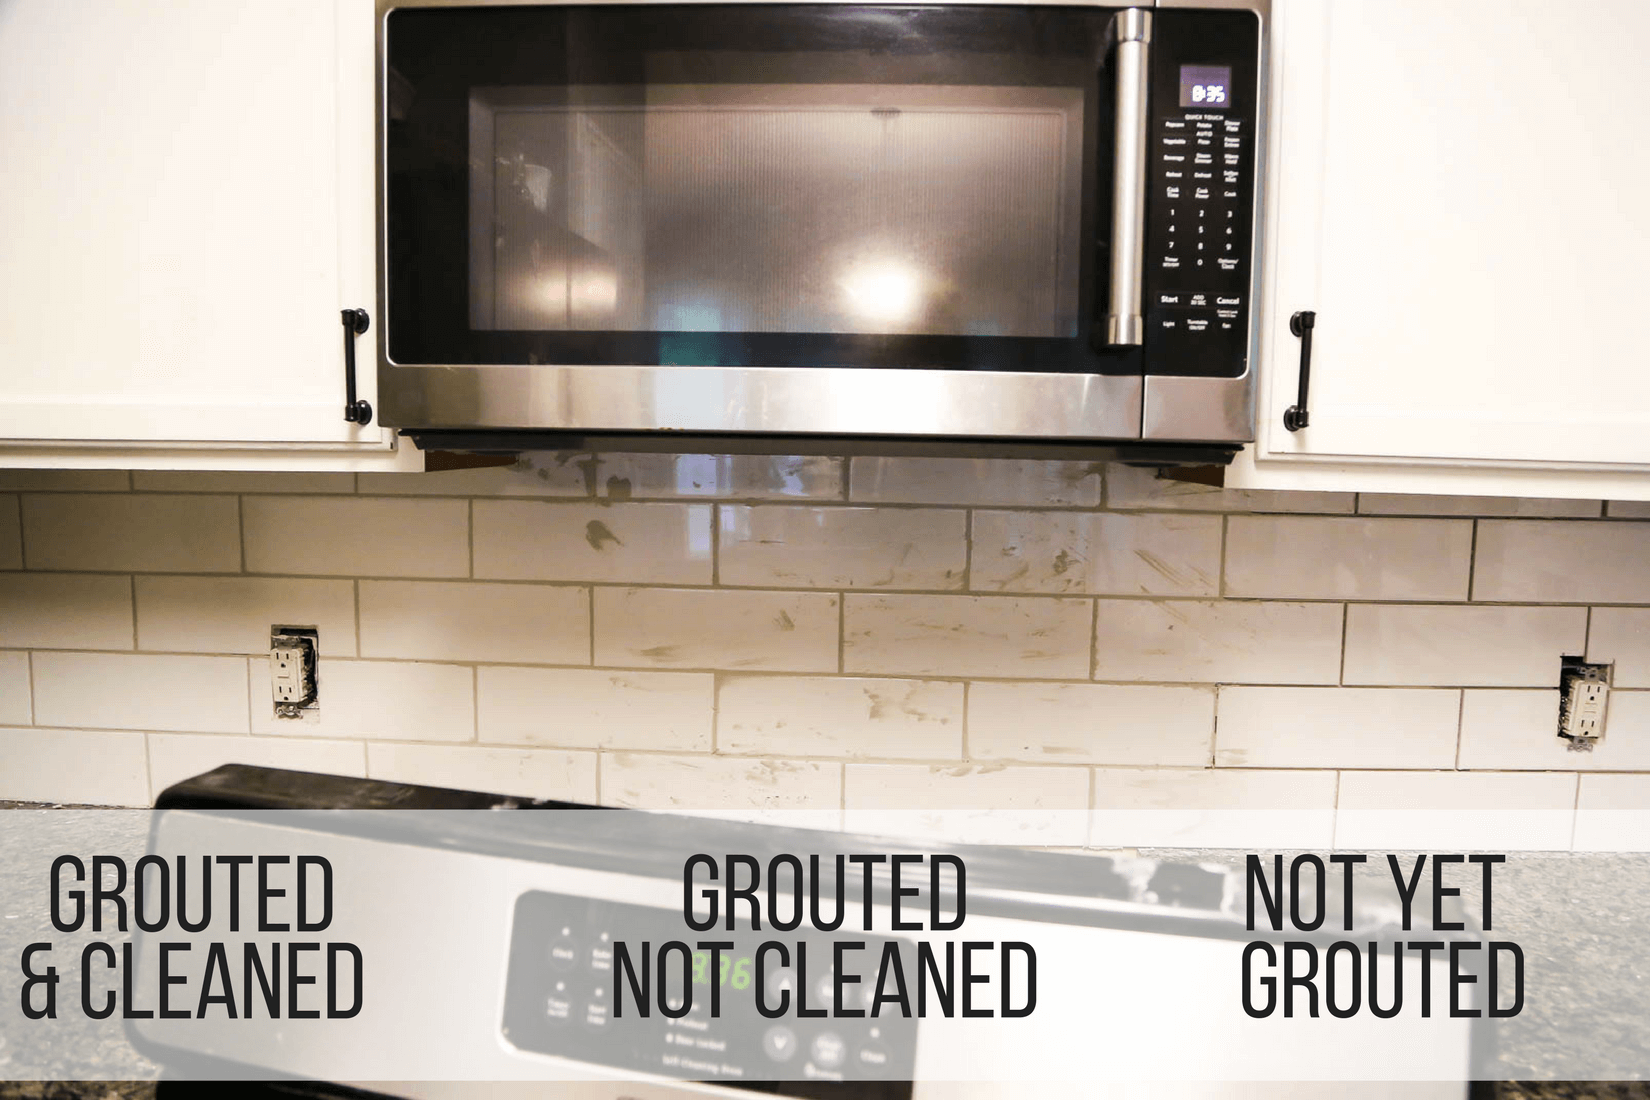
My method for this part of the project was similar to laying the tile – I picked a 3-ish foot section of tile, grouted it, and then moved onto the next section. By the time I got the second section finished, the first was ready to be cleaned. So I cleaned it, then moved onto the third section – once it was done, I went back and cleaned the second. Continue in that manner until the whole area is grouted and cleaned.
Step 8: Remove the Haze
Don’t go thinking you’re done quite yet! After your subway tile has dried for about 2 hours, you’ll notice the tile is looking a bit hazy and weird. Grab a cheesecloth (they’re next to the dropcloths in your local hardware store) and rub down the tile to remove the haze. This is a dusty process, so be prepared to clean your entire room – and yourself – afterward.
If you’d like to apply a grout sealer, now would be the time! You don’t always need to seal tiles, but some do require it. I recommend you check the manufacturer’s instructions!
Step 9: Caulk
Finally, you’re ready for the finishing touch – caulk. Anywhere that a horizontal surface meets a vertical one, you’re going to want to caulk the seams using grout caulk. I also did it in the corners simply because I found it extremely difficult to get grout into those deep corners any other way.
Be sure to tape off the lines you’re working on so you don’t make a mess everywhere, and pull the tape up before the caulk is completely dry.
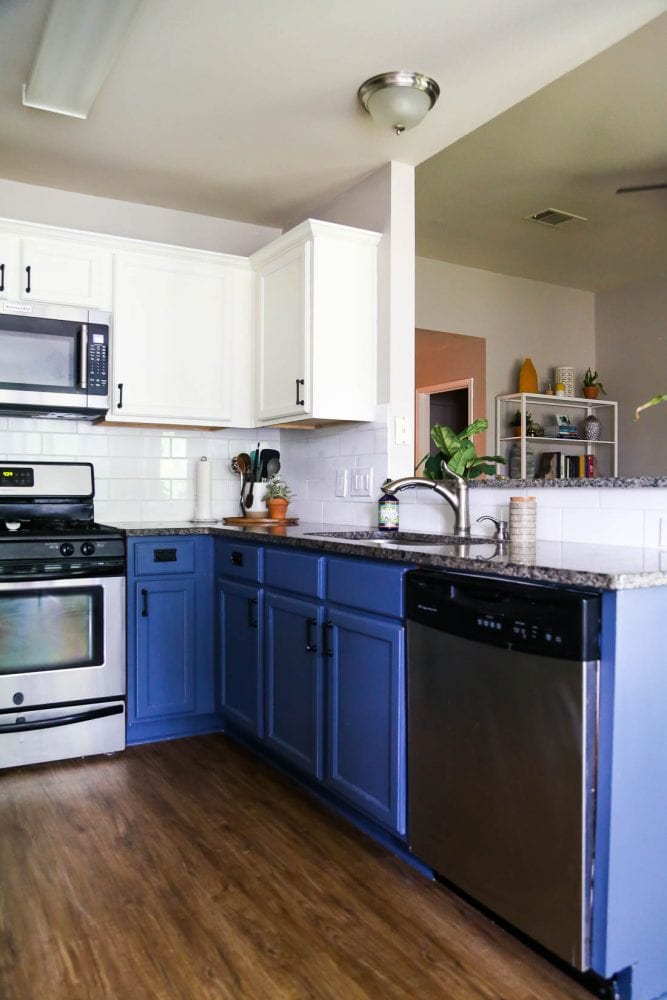
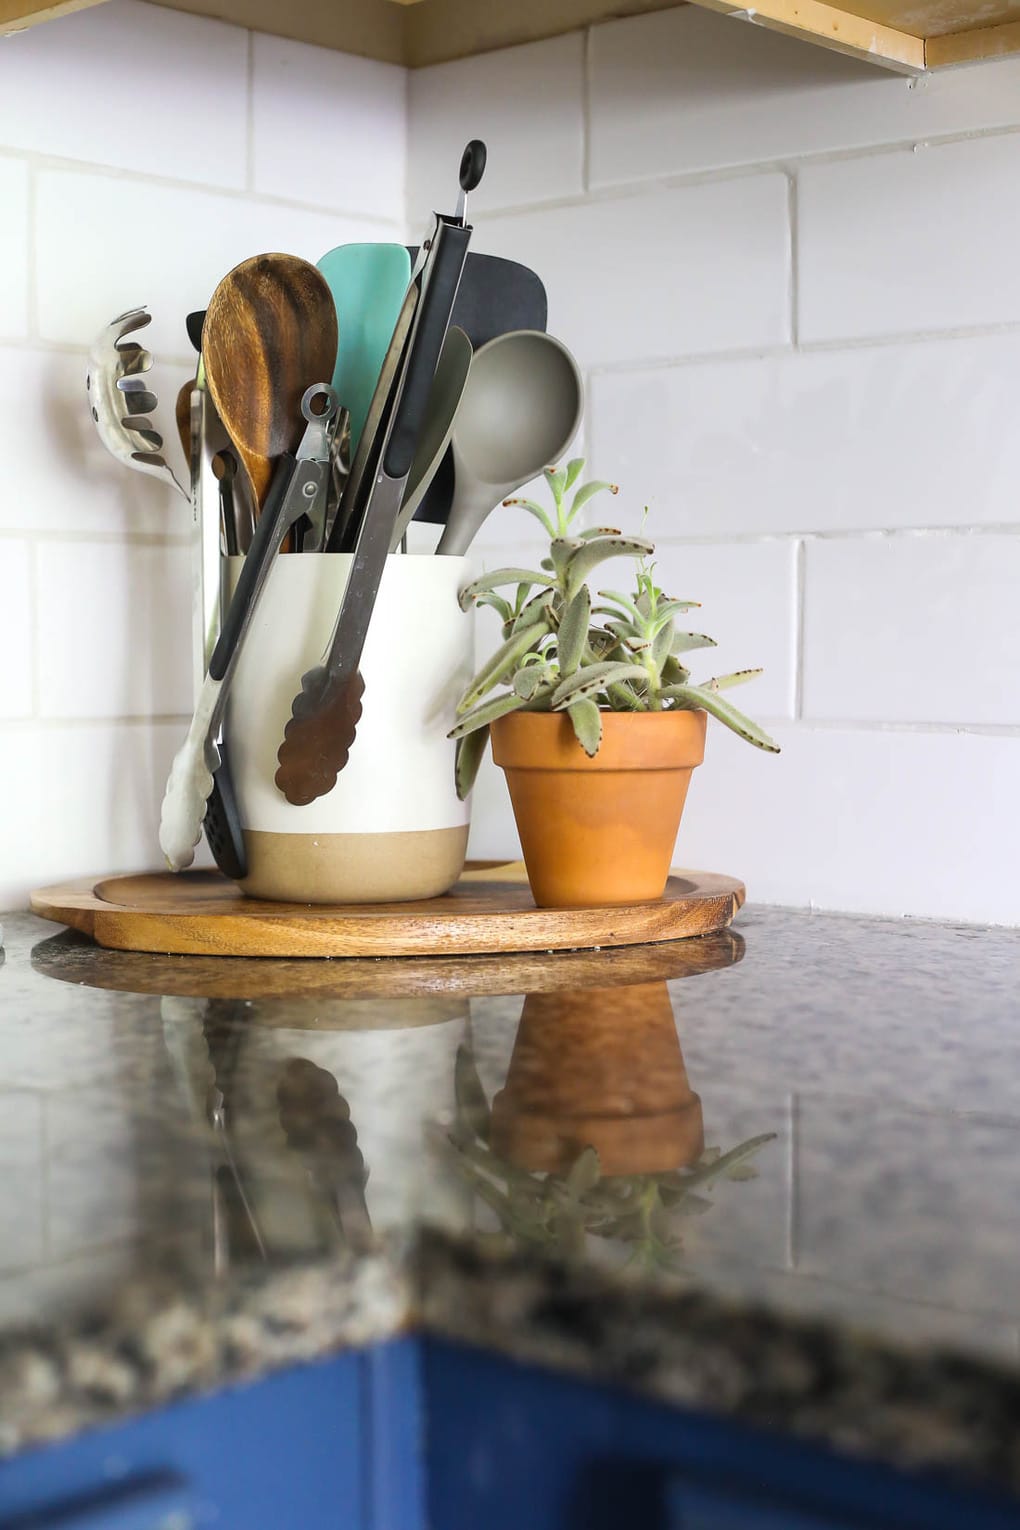
And then? You’re ready to bask in the glory of a kitchen with a beautiful new subway tile backsplash.
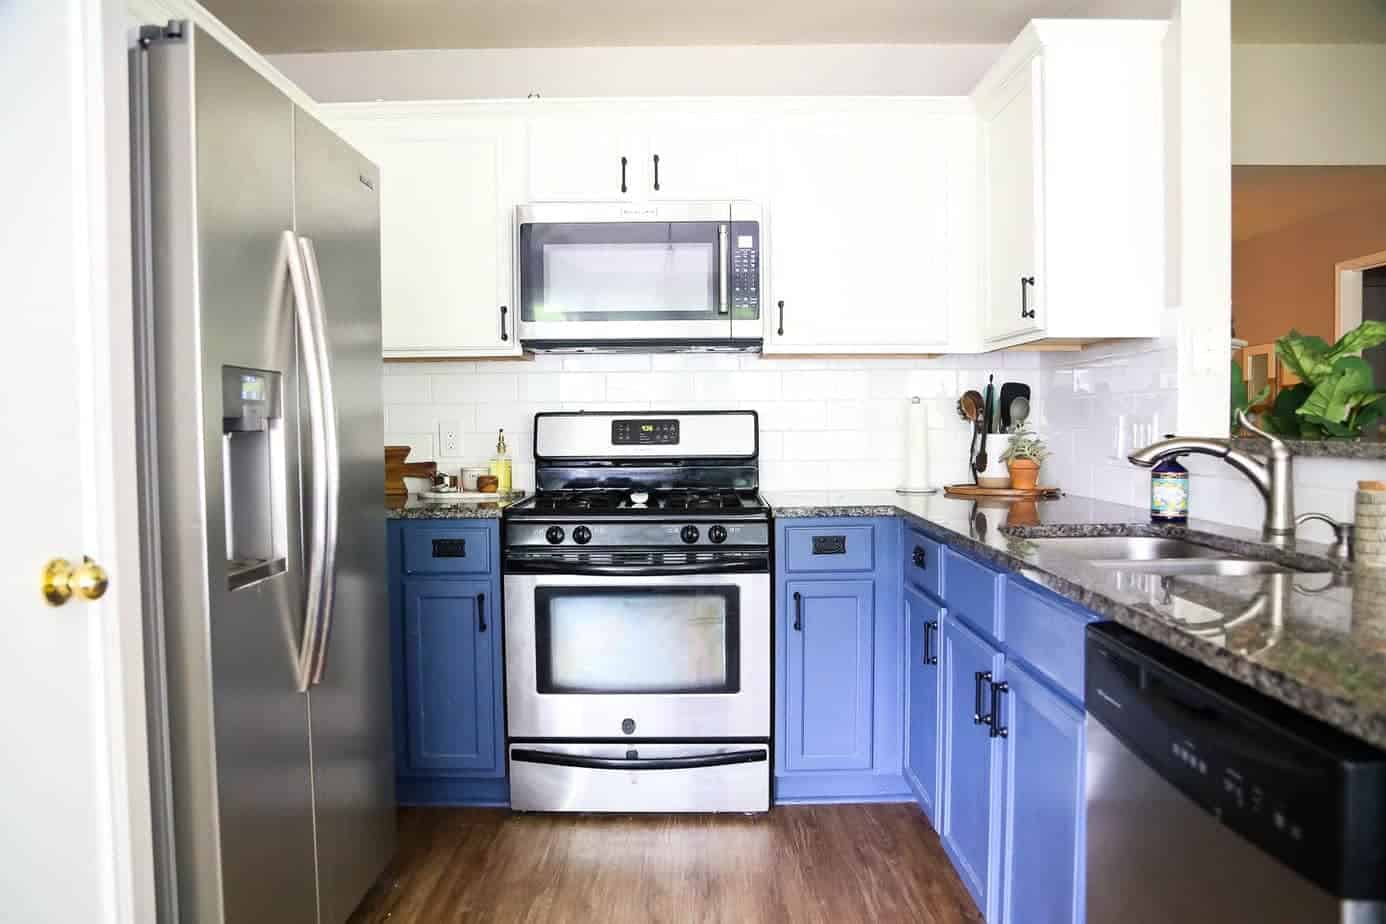
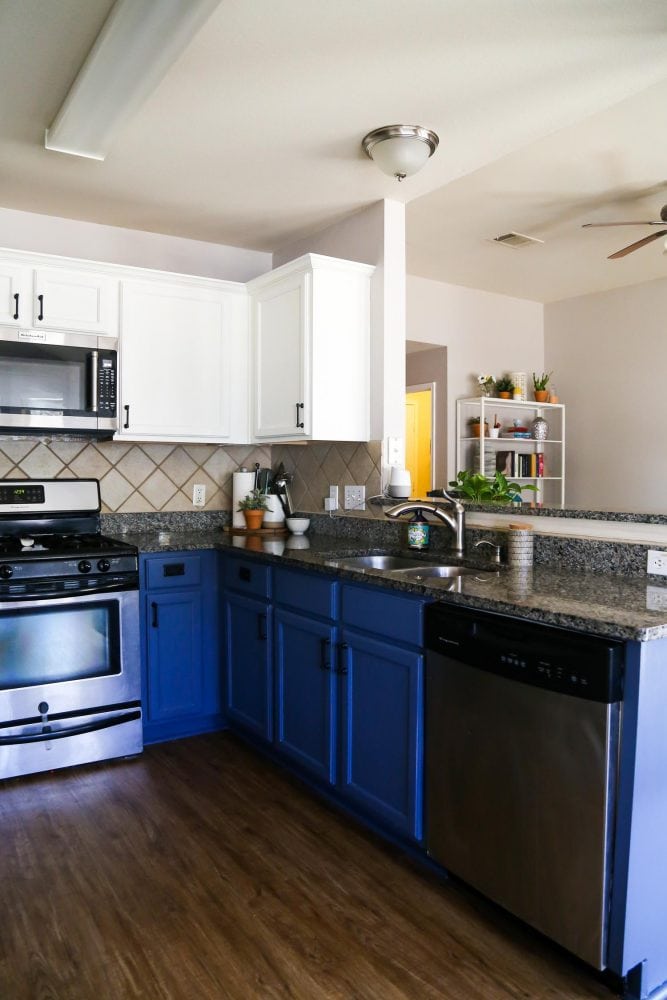
I’m so excited about how this turned out, and I love the finished result. Our kitchen looks so much brighter and cleaner, and it’s no longer all clash-y and weird. Just for kicks, let’s do a before and after, shall we?
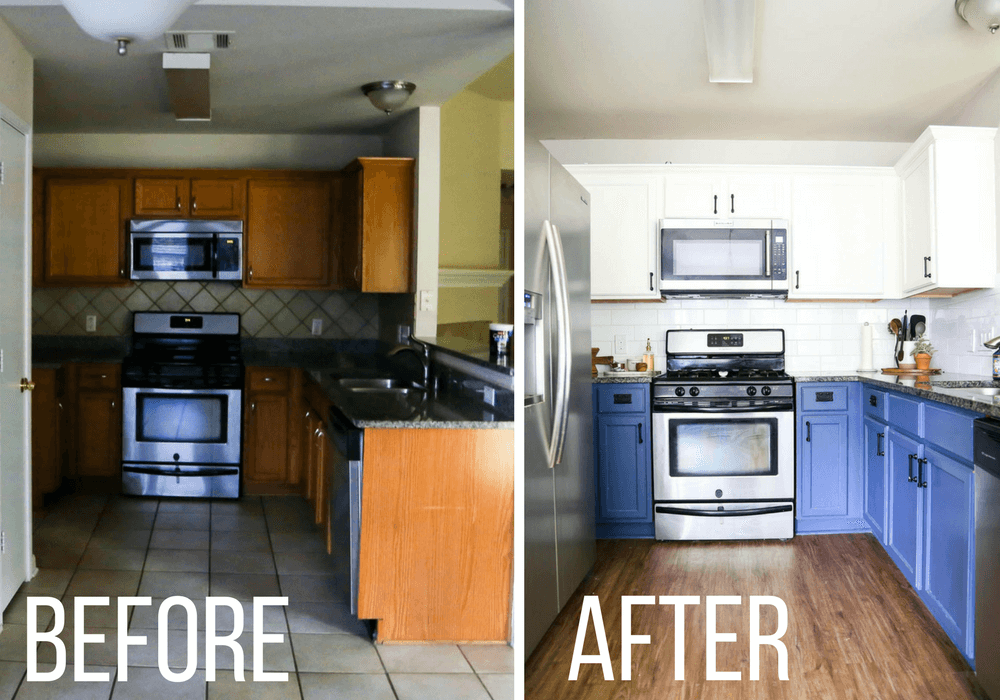
Swoon! It’s come a long way, right?! Check the linked posts below to see even more progress we made in this kitchen before we moved out.
FAQs About Tiling Backsplashes
Tile installation is a really fun project that might feel overwhelming, but I promise it’s easy! You can have a ton of fun with different tile design and tile patterns, and you can use this newfound knowledge in the kitchen or bathroom, on a floor, or anywhere else you might need tile!
Go forth and tile, my friends!
What size tiles did you use?
The exact tile we used is linked in the post! 🙂
what color grout did you use?!
I can’t find the name of it, but it is a light gray grout!
I know this article was about tile backsplash.. but the blue cupboards are what caught my attention the most lol, I really like the colour..
Thanks, Adam!
Fantastic transformation!
Thank you, Bonnie!
Loved your post. OH my Gosh the little boy brought such memories and happiness to us. He looks Exactly like our 13 year old grandson at that age. We were just reminiscing this morning about those days when we raised two grands and Thankful for all of the Memories that we have. Keep making and documenting them because they bring such joy when you get older.
Aww, thank you, Mildred!
Absolutely beautiful! What a challenge you took on and the result was well worth it. I say go with the open shelves instead of cabinets. This will further “open” your kitchen and it it a truly modern look especially with your new beautiful subway tiles.
Bravo to you, a beautiful job!
Thanks, Lynne!!
This is a really timely lesson for me because I will soon be tiling my kitchen backsplash AND the counter. I will just take my time and make sure I do each procedure properly. Thank you so much for the lesson … I now know that I CAN do it!
Hope it’s helpful! Just take your time and have patience – I always joke with my husband that the reason I’m more patient than he is because I EXPECT to make mistakes, whereas he’s surprised when he does. So, expect mistakes and try to enjoy the learning curve!