
How to Frame a Puzzle (Step by Step Guide that Actually WORKS!)
Last updated on March 10th, 2026 at 01:15 pm
Finished a puzzle you love and don’t want to take it apart? I’ve framed a lot of puzzles in my day and I’m going to show you how to frame a puzzle yourself.
Framing a puzzle is easier than you might think. It feels scary to put glue on your puzzle – what if I ruin it?! But, I’ve got a few tricks that prevent issues and help you create gorgeous, custom art for your home.
I’ve framed multiple puzzles throughout the years, and I like to display them seasonally. In this guide, I’ll show you exactly how to frame a puzzle, including the best puzzle glue, the frame I love to use, and a few of my other favorite puzzling tips and tricks.
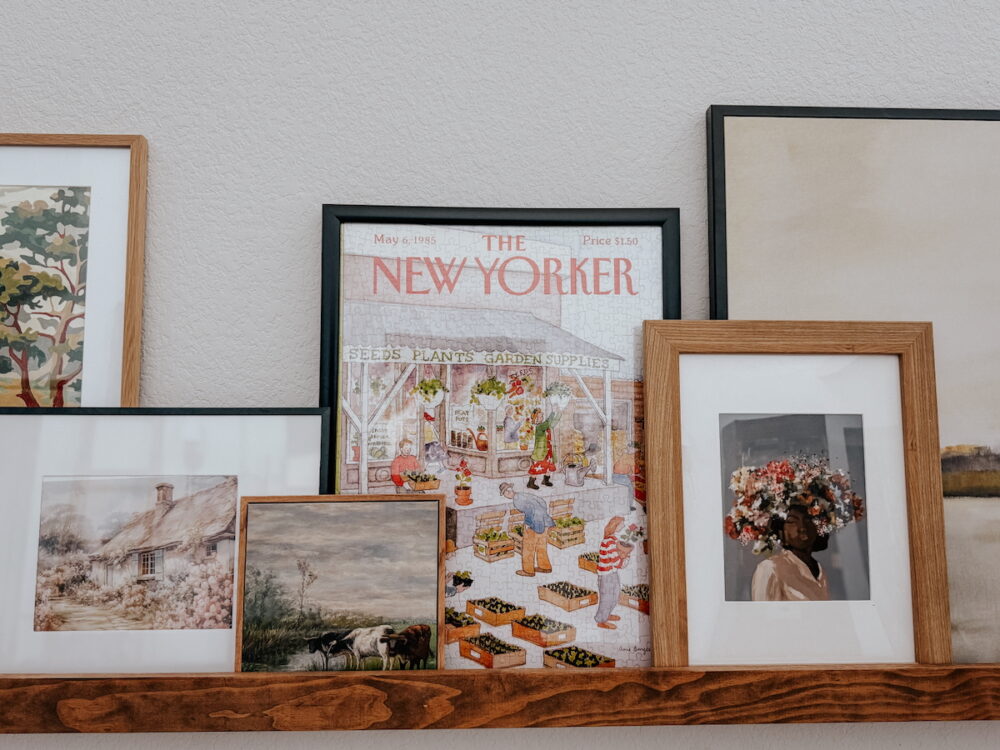
This is such a simple DIY project that anyone. can do, and it’s a really great way to add some personal art to your home. So, let’s get into the details!
How I Display Framed Puzzles in my Home
Any time I share a glue-up of a puzzle on Instagram, the number one question I get is “what do you do with your puzzles?”
I have several puzzles that I’ve glued up over the years and like to swap them out seasonally. I keep 2 puzzles in each of my puzzle frames, and as the seasons shift I swap them out! I have a spooky Halloween-themed puzzle, one that makes me think of summer, and a gorgeous Christmas one.
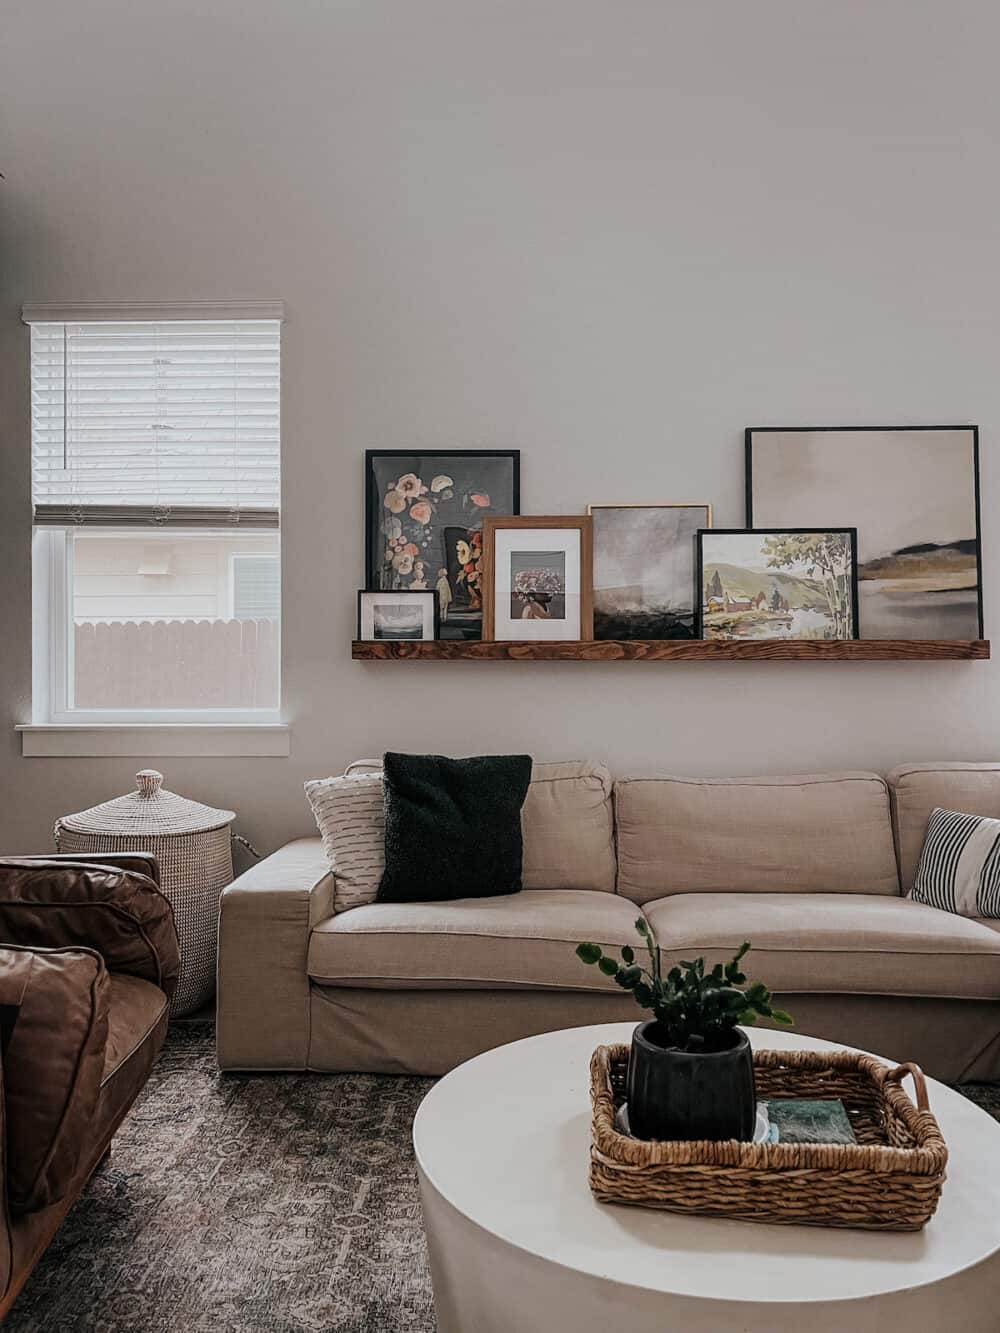
In our old house, I had an art ledge and I always displayed a framed puzzle here. In our current home, I’ve got one in my office and a couple in our movie room!
How to Frame a Puzzle Video Tutorial
First up, I love a quick video tutorial! If you are a visual learner, you can watch the entire process from start to finish below.
Materials Needed to Frame a Puzzle
Here’s everything you need to frame a puzzle for your home?
- Puzzle (see some of my favorite puzzles for framing here!)
- Puzzle frame
- Mod Podge Puzzle Saver
- Old credit card (or any other flat card, or scraper!)
Puzzle Framing Cost
Framing a puzzle is super affordable, but you might wonder about the various methods and which one is most affordable. Here’s a basic breakdown:
| Supply | General Cost |
| Puzzle | $15-$25 |
| Puzzle Glue | $6 |
| Puzzle Frame | $30-$50 (depending on puzzle size) |
Prepare and Flatten the Finished Puzzle
Your first step is (obviously) to do the puzzle! Once it’s complete, make sure the surface of the puzzle is clean from any debris or dust. Then, use a rolling pin to gently flatten the surface of the puzzle out. You don’t want any puzzle pieces sticking up or not fully in place.
How to Glue a Puzzle (Without Damaging It!)
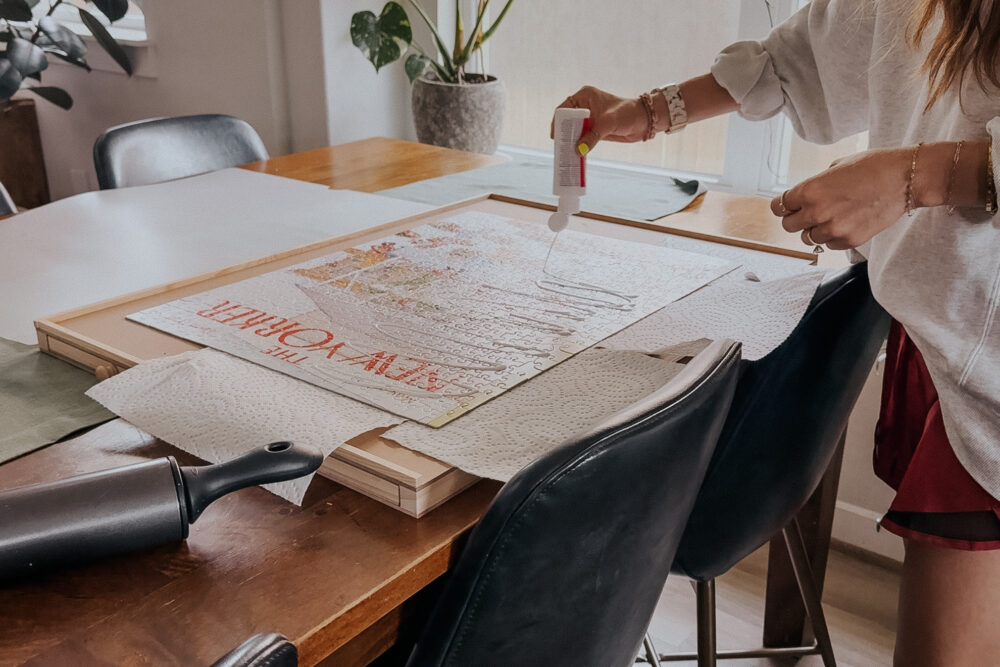
Now, you’re ready for the glue! There area a variety of puzzle glue options out there, but I have used this Mod Podge Puzzle Glue a bunch of times and have really great success with it.
It’s really easy to apply – just pour the puzzle glue on the front of the completed puzzle, then use a putty knife or a flat piece of cardboard to spread it around. Anything with a firm, straight edge, like a credit card, will work. Don’t use a paintbrush, as it can leave brush strokes. Foam brushes are fine, if you prefer it. But, be careful not to leave too much glue on the surface!
Make sure the glue gets into all of the cracks between the puzzle pieces. Be careful not to add too much glue – if you overdo it, the paper on the puzzle can peel up. You can use a paper towel to wipe off excess glue on the surface of the puzzle. The puzzle glue should take about 20 minutes to dry, and it will dry clear! So, don’t stress about any white spots.
How to Mount a Puzzle for Extra Stability
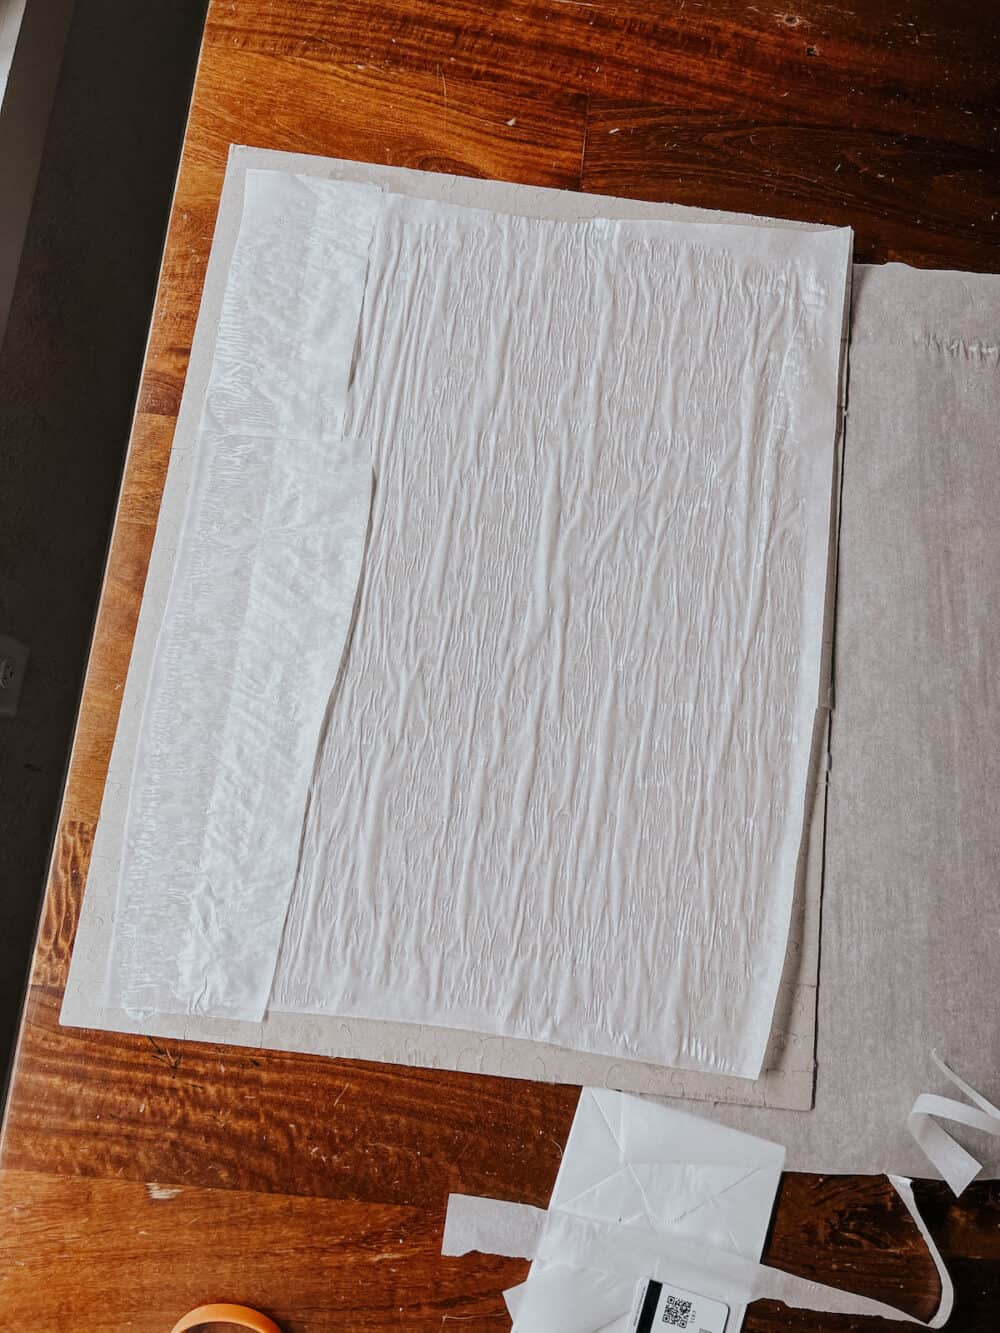
After the front of your puzzle dries, you have a few options for adding some extra durability.
- Add a foam backing
- Add a paper backing
- Glue the back of the puzzle
None of this is completely necessary – the puzzle will likely hold up just fine with just glue on the front. But, if you know you’ll be moving it a lot or if it’s in an area where it could get bumped, it’s not a bad idea!
I sometimes glue the backs of my puzzle with the Mod Podge puzzle glue, because I change mine out seasonally. But usually, I stick to just the front. If you plan to just frame it and leave it alone, you can definitely skip this part.
As for more formal methods, your typical options for mounting the puzzle are wax paper, parchment paper, or foam board. Wax and parchment paper can sometimes have some non-stick elements to them that will affect adhesion, so if you struggle you can try using an acid-free paper. Foam board will give the most durability, but adds thickness, which could affect framing.
Simply cut your mounting material to the same size as your puzzle, add glue to the back of the puzzle, and then press it on top. You can use books or something else as a weight to help hold it in place while it dries.
Choosing the Right Puzzle Frame
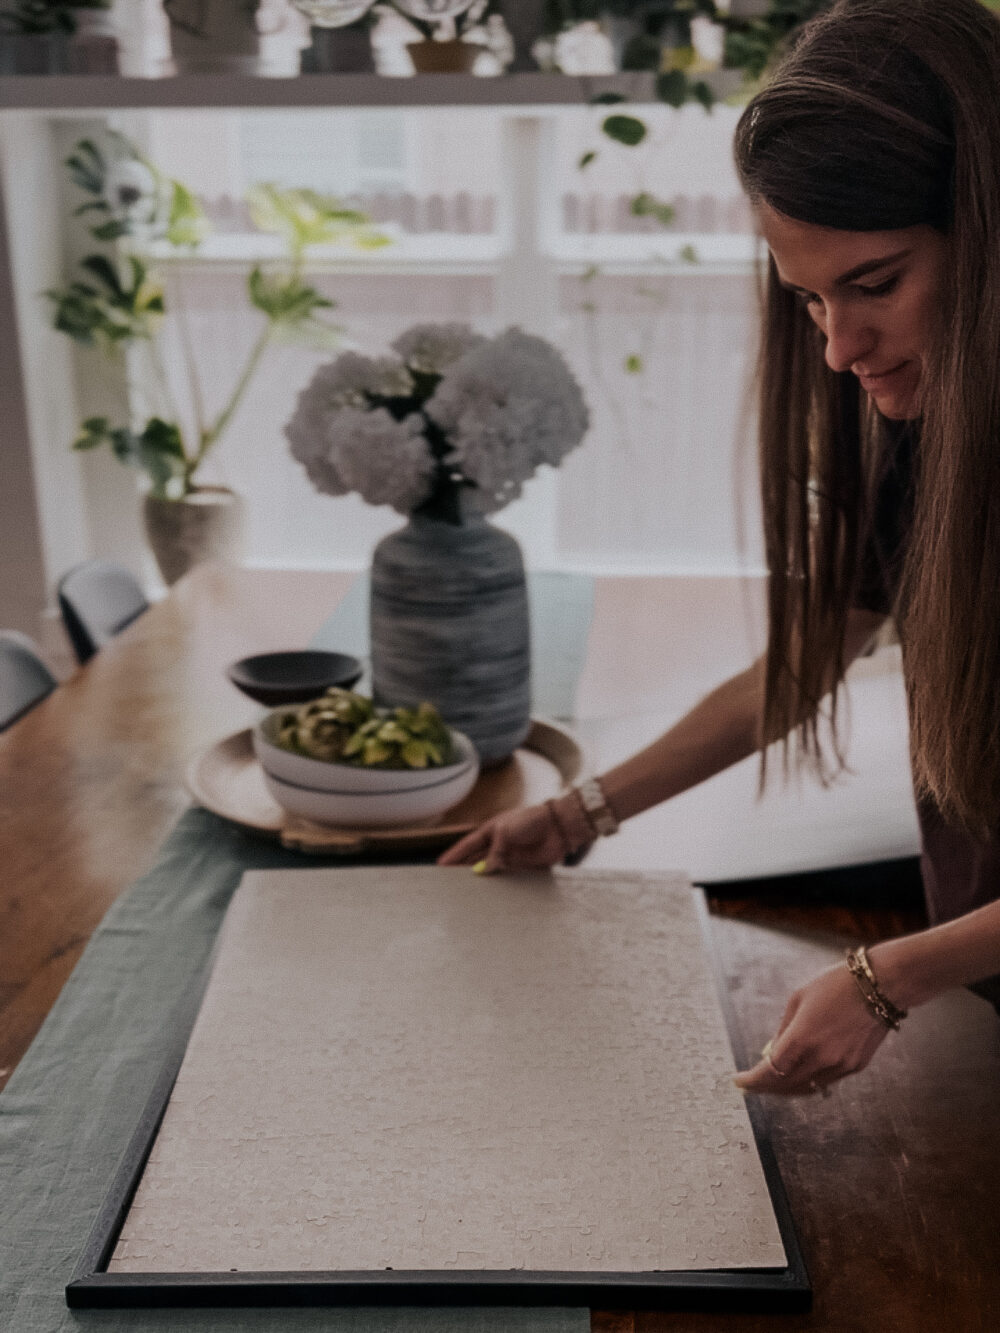
Once everything has dried, you’re ready to frame the puzzle. I typically use this puzzle frame. I’ve purchased it multiple times over the years for different puzzles and I’ve always had really good luck with it! Just make sure to check ahead of time that the size of your puzzle frame works for the puzzle you’re framing. It should list the range of dimensions that will fit in the frame so it’s easy to pick the correct size.
Remember that a puzzle (especially with a backing) is going to be thicker than a normal photo. A regular frame won’t work as well as one specifically made for puzzles!
Alternate Method: Framing a Puzzle Without Glue
If you don’t like the idea of gluing there’s another really simple option for a dry mount! This puzzle saver product is basically a big sticky sheet that you apply to the back of the puzzle to hold it all together. I’ve used it a few times and it’s super simple. The only thing to note is that it’s definitely more expensive if you plan to frame more than one, so if you have multiple puzzles to frame you’ll be better off with the Mod Podge!
Other non-permanent methods for preserving or framing a puzzle include:
- Flipping the puzzle over and painter’s tape to tape the back of the puzzle together.
- Using spray adhesive to mount the puzzle onto a foam board.
- Or, to preserve it without framing it, you can use a puzzle binder like this!
I tend to stick to puzzle glue because it’s stable, easy to use, and I like the finished product.
Common Problems When Framing a Puzzle
Trying to frame a puzzle and running into some issues? Let me see if I can help you out!
Puzzle Pieces Lifting
If you’re finding that some of your pieces are lifting or don’t seem to be sticking with the rest of the puzzle, you might need some additional puzzle glue. When you apply the glue, you should see white in-between all of the cracks of the puzzle pieces. Take your time to inspect the whole puzzle and make sure that you haven’t missed any spots.
Glue Streaks on the Surface
If your glued-up puzzles tend to look streaky, it might be that you’ve used a brush or rag to spread the glue instead of something flat. Using a scraper or credit card to spread the glue helps get the glue into the cracks without leaving much on the surface. It’s the best way to get a streak-free framed puzzle!
Puzzle Sagging in the Frame
If you frame the puzzle and find that it won’t stay up within your frame, you might need to add some additional stability to the back! Try using spray adhesive to add a foam backing, or add parchment paper to the back for extra stabilizing.
Frame Too Shallow
Puzzles are much thicker than regular art, so while you might be tempted to use a regular frame to frame your puzzle, it probably won’t work! Stick to frames made specifically for puzzles to ensure that the frame is thick enough to handle your puzzle. I find I can usually fit two puzzles in these, so it’s easy to swap them out seasonally!
Frequently Asked Questions
Can You Frame a Puzzle Without Glue?
YES! I love this puzzle saver sticky sheet, or if you don’t want a permanent solution, plain ol’ painter’s tape or duct tape on the back should work too.
What Kind of Frame Works Best for Puzzles?
A frame that has some extra thickness inside of it is key! This is my personal favorite puzzle frame, and it’s consistently one of my top-sellers on Amazon so I can confirm it’s a good choice.
Should You Glue Both Sides of a Puzzle?
You can, but you don’t have to! If you want extra stability (because you’ll be moving it around a lot, or it’s really important that it lasts), I would go ahead and glue both sides and add some parchment paper to the back. But, for most framing jobs, just adding glue to the front is fine.
How Long Does Puzzle Glue Take to Dry?
It’s usually dry to the touch in about 30-45 minutes, but I recommend waiting several hours before framing to ensure it’s fully cured!
Great Puzzles For Framing:
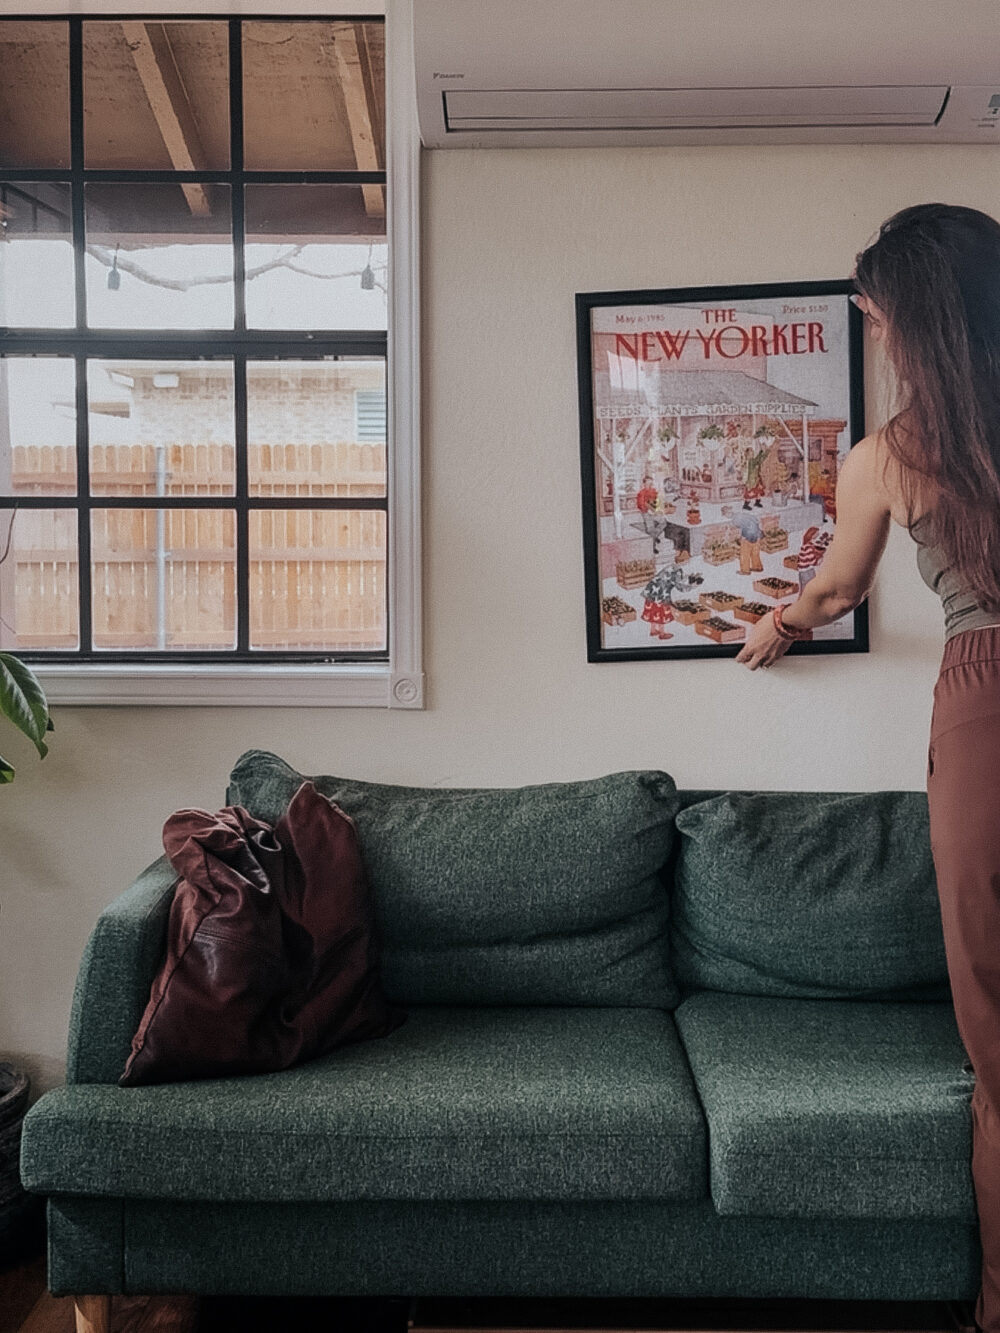
If you’re looking for some good options for puzzles to frame, my very favorite are the The New Yorker branded ones from New York Puzzle Company – I think the are is so pretty and it feels really special.
I also wrote a whole blog post with a roundup of the best puzzles for framing, so check that out if you need inspiration!
And finally, you can also see some of my favorites right here on this Amazon storefront page.
There is not video presented……….
Thanks, this is very helpful!
I used https://preservemypuzzle.com they did a great job! i would recommend
Thanks Rose!
Great site! Just used preservemypuzzle.com
I really love the puzzle you framed! How serendipitous?! I bought my very first card to my boyfriend with the same image 🥰
Unsure of who the artist is but maybe you could tell me where you got the puzzle from. Would love to gift him the puzzle for our 15-year anniversary.
You’re framing choice is impeccable and the whole thing looks just beautiful 😍
Hi! I can’t believe I didn’t link it in the post, I’m sorry! Here’s a link: https://amzn.to/3UBrRJh
Thank you for the information!
What is the difference in Mod Podge Matte vs Mod Podge for puzzles?
Matte will not be glossy, regular will have some gloss to it!
This was super helpful! thank you! Your puzzle looks beautiful!
I just wanted to say thank you for your post! The most helpful post I could find when trying to figure out how to frame my puzzle.
Thanks!