
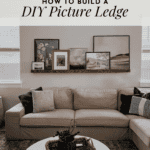
How to Build a DIY Picture Ledge
Last updated on April 8th, 2024 at 09:15 am
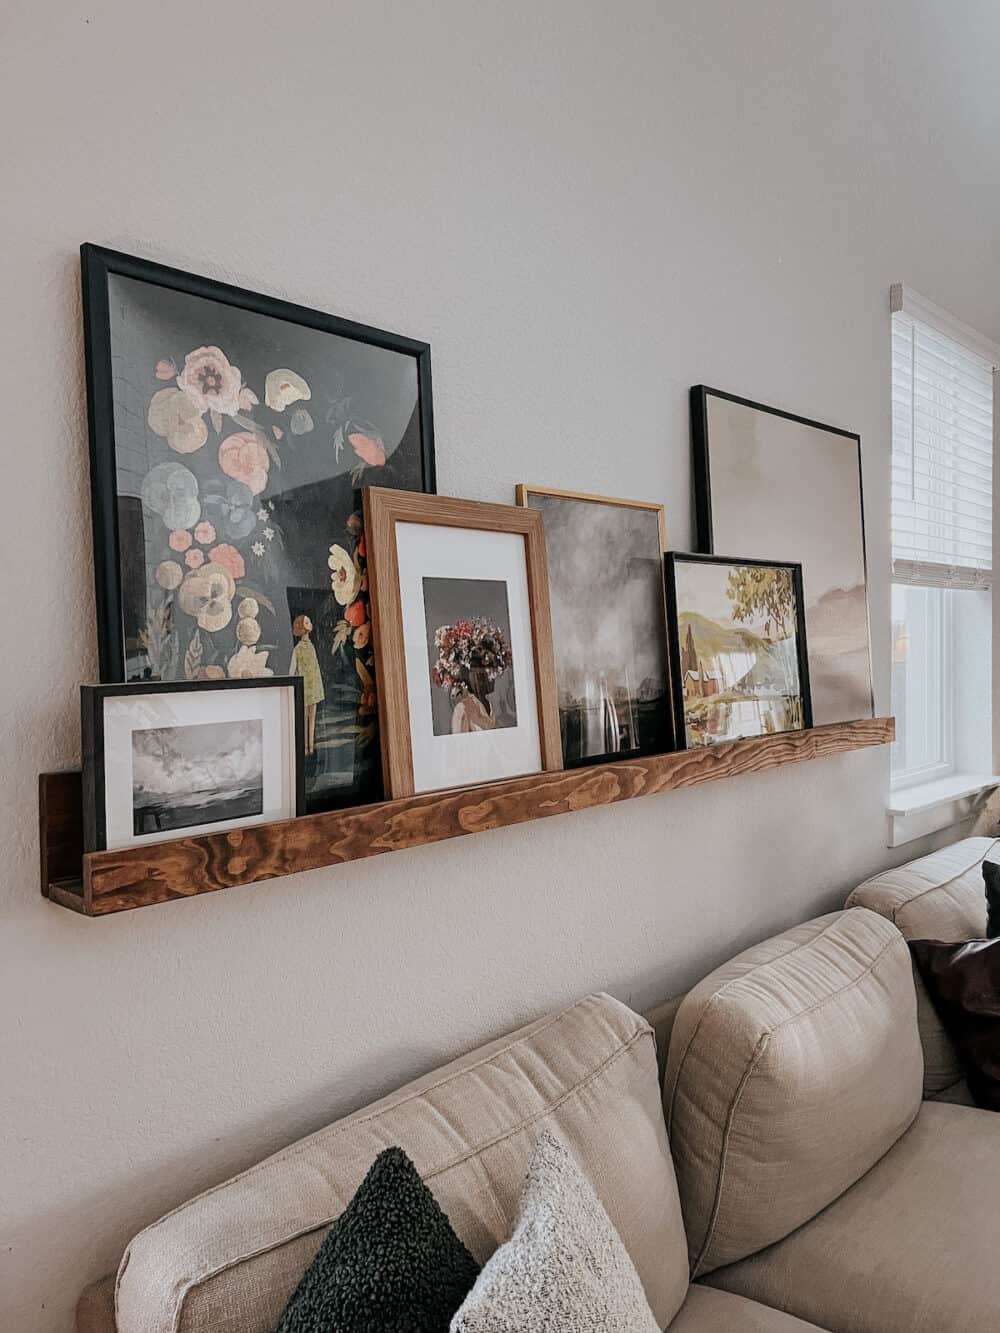
One of the most common questions I get about our living room is, “where did you get that picture ledge?” Well… I made it! And it only took one afternoon and less than $50. That’s right – this DIY picture ledge is so easy to build, and I can pretty much guarantee anyone can do it.
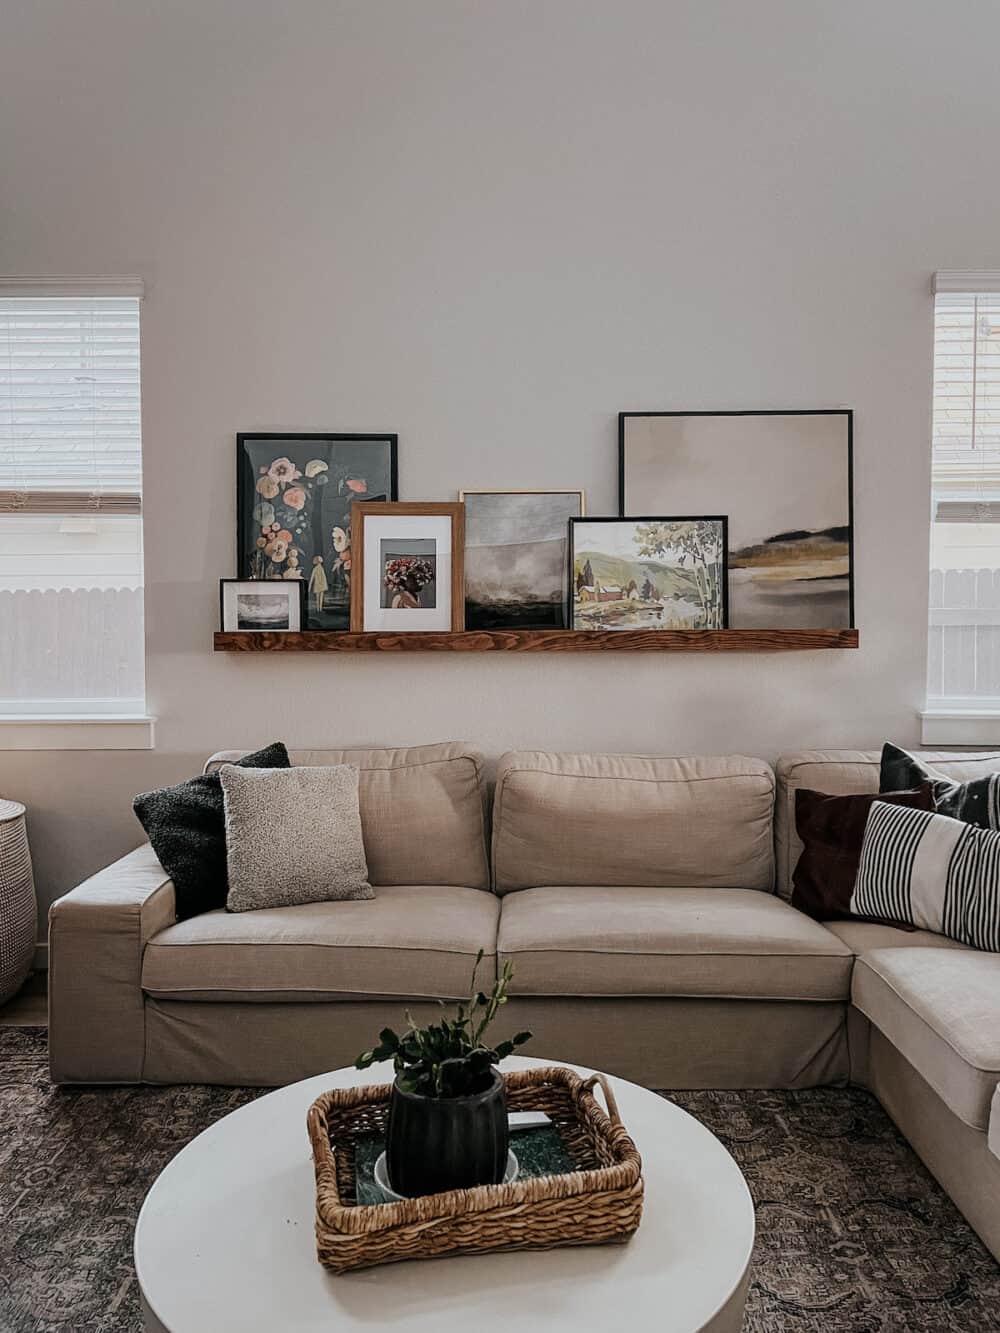
I built this little art shelf because I needed something big and impactful to fill up the big wall behind our sofa, but I didn’t want to commit to something like a gallery wall. The beautiful thing about a picture ledge is that you can change up the art on it as often as you want. It’s an ever-changing, dynamic display.
Plus, it looks pretty great too.

We’ve had this little (giant?) guy hanging in our living room for about two years now and we are zero percent sick of it. It’s fun to swap the art out, and I love to change it up occasionally for the holidays. It adds to much to the home decor aesthetic in our entire house, and it’s a great way to display our favorite art and family photos.
This is one of the easiest projects around, so today I’m going to walk you through the step by step process!
How to Build a DIY Picture Ledge
Materials You’ll Need
A note on the wood: I used select pine for my art ledge. If you’d like something a little fancier, you could go with white oak!
*Note: If you don’t have a Kreg Jig, check the end of the tutorial for a couple more tips on how you can assemble this using alternate methods!
Video Tutorial
Want to watch it all come together instead of reading about it? No problem. I’ve put together this compilation from my Instagram stories that shows you every step of the process.
Assembling the Picture Ledge
To start, you’ll need to determine how long you want your art shelf to be, and cut your boards to that size. I used my miter saw (click here to learn how to use one!), but you can also generally have the store cut the boards down for you. My art ledge is exactly 7′ long – I wanted it to fill most of the space above our couch, so we decided to go big! If you don’t have enough space for a large picture ledge, just adjust the size down for your room!
Once your boards are the correct length, go ahead and fully sand them. Once they’re all together, it’s harder to thoroughly sand! Start with a lower grit (like 120) and work your way all the way up to 400-grit sandpaper for a super smooth finish.
Below, you’ll find the step by step process I used to assemble my picture ledge shelf. But, there are multiple methods that are totally valid! If you want to see some other tips and tricks, just scroll to the bottom and find the one that works best for you.
Assembling with pocket holes
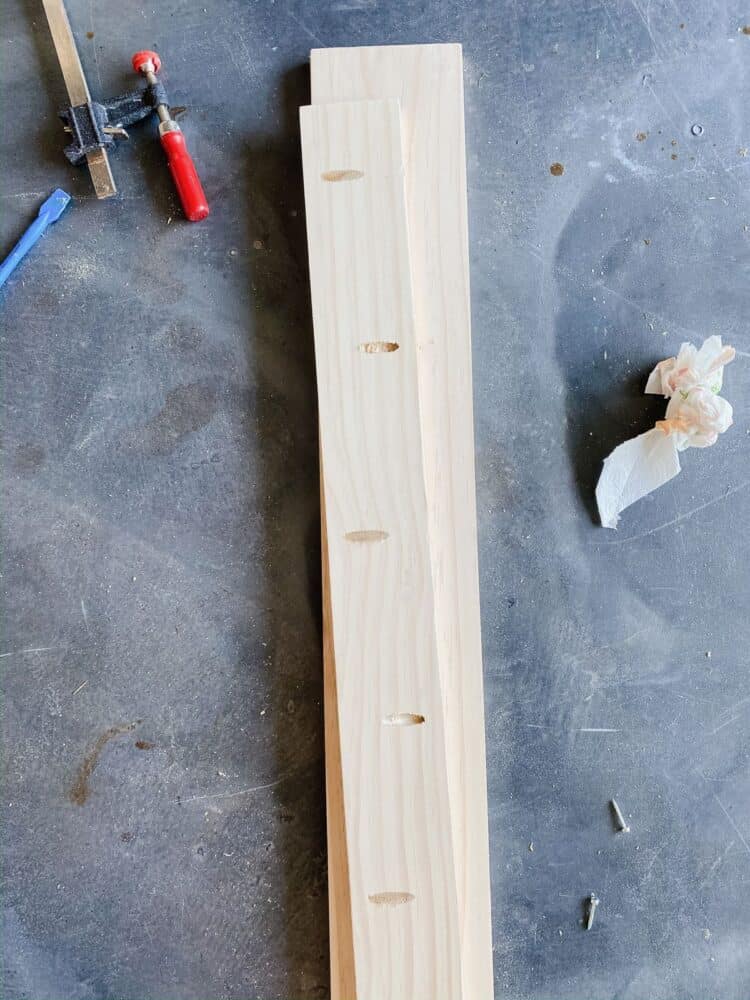
I started by drilling pocket holes in both sides of my 1×4 board. This is the board that will be the bottom of the picture ledge. When you place the frames in, they’ll rest on this board. I drilled a pocket hole approximately every 12 inches all down the 1×4 board in each direction. One set of pocket holes will drill into the back piece of the picture ledge (that sits against the wall) and the other set will go in the front ledge that holes all of the art in place.
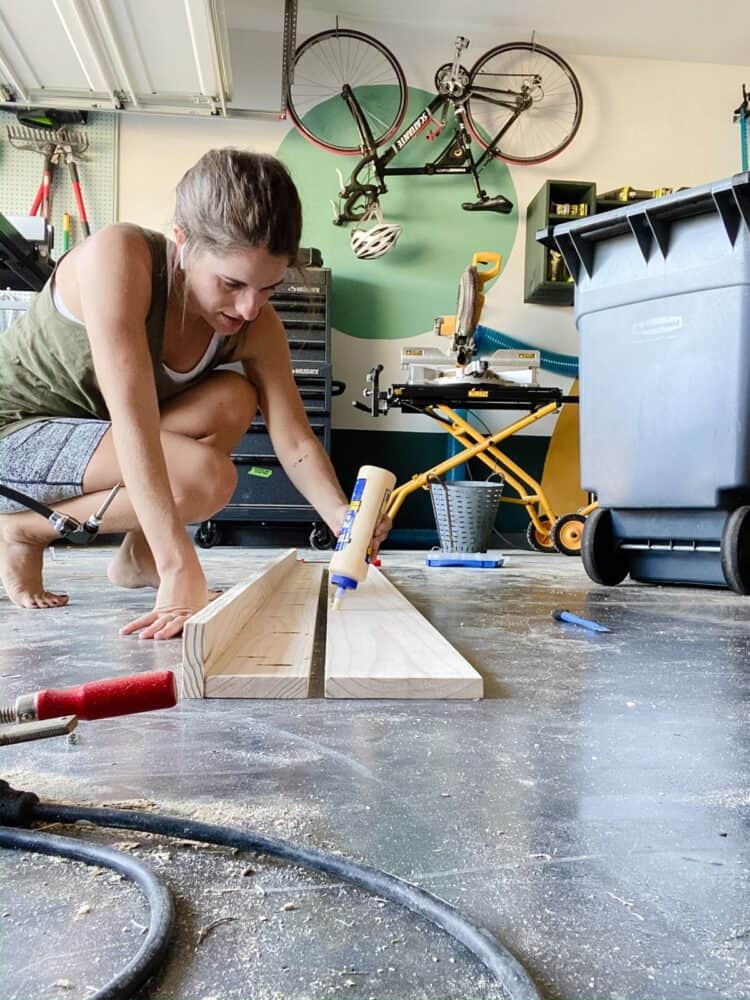
Once my pocket holes were drilled, I added wood glue to the bottom of one side of the 1×3 board. This is the board that will act as a ledge for the art. I attached it to the 1×4 board using pocket hole screws. You can use clamps to make sure everything stayed in place while you are working.
I chose to have my pocket holes be on the inside of the art ledge rather than on the bottom. However, if you want to keep it simple, you can simply flip the 1×4 board so that the pocket holes are on the bottom. And, if you really want to get fancy, you can fill them in with these pocket hole plugs!
Once the front piece is fully attached, it’s time to attach the 1×6 piece to the back of the art ledge. I had to use a right angle bit attachment for my drill to get these screwed in, since the front piece was already attached. We use this thing all the time and it’s such a helpful tool to have when you’ve got a project that has some tricky angles!
Once you’ve screwed in all of your pocket holes, it’s done! Remove the clamps, wipe off the excess glue, and you’re ready for stain!
Other assembly methods
While pocket holes were my method of choice for this project, it’s not the only way to do it! Here are two other ideas for how you can assemble your DIY art ledge:
- Use wood glue and brad nails. I use this method a lot and it honestly would have worked fine here as well, I was just impatient and didn’t want to be reliant on waiting for glue to cure before I could hang it! Wood glue is incredibly strong, and would work fine alone. Just apply wood glue along each seam, then clamp the boards together and use a nail gun to add nails to hold it all in place while it dries. No nail gun? Nails and a hammer work fine too, promise.
- Screw it together! Another really simple method would simply be to use your drill to screw the boards together! If you took this approach, I’d recommend screwing in the back board from the back (obviously), and for the front piece I would rest it on top of the bottom piece rather than in front of it – then you can screw it in from underneath. Be sure to pre-drill holes in your boards before assembly if this is the method you decide to use!
Stain or Paint
Once your picture ledge has been assembled, you can stain or paint it. Or, if you’re working with something like white Oak, you can leave it raw, too!
- Here are some tips for staining wood
- Here are the best black wood stains
- And here are my favorite white wood stains
How to Hang a Picture Ledge
To hang our picture ledge, we decided that the simplest approach was probably best. We located the studs on our wall, then we drilled holes in the back of the art ledge so that they’d line up with the studs. From there, we just used plain ol’ 3″ long screws to drill through the back of the art ledge and directly into the studs!
It’s not the most glamorous technique, but the screws will literally always be covered up with art, so who cares?!
Once the art ledge was hung, I filled it up with art and never looked back. It’s one of my favorite touches in our house, and it brings me so much joy! Plus, it gives me an excuse for all sorts of new art purchases. I mean, I’ve got a lot of space to fill!
Art Ledge Styling Tips
You don’t have to just include art on your picture ledge! You can also add small trinkets, even skinny vases with flowers! I’ve seen a lot of really creative uses for picture ledges, so be sure to think outside the box. You can add a lot of visual interest to your space by playing around with height and texture here. You could pick a color scheme and stick to that for a cohesive look, or you could go super eclectic. There’s no right or wrong answer here!
A FEW MORE IDEAS…
I’ve written a few posts about our art ledge and what’s on it. If you need more ideas for how to fill your picture ledge up, just click any of the links below!
Shop Our Picture Ledge
Looking for links to something you see on our picture ledge? Snag it all below!

My husband built us one to go on a big wall. Your’s was my inspiration. Now it’s time to hang it. Is there a certain height to hang it or should I just do what I think looks best based on what art I’ll use?
Totally up to you, but I recommend hanging it a little lower than your instinct might be, since the bottom of the artwork is what will rest on the ledge!
Wow, this seriously looks so great. I think the coffee table and the ledge have absolutely transformed your living room – beautiful!!! Great choices, all round. I’d be interested in hearing how the coffee table holds up (i’m guessing no chipping, but paint?) Thanks!