
Our New Plug-In Outdoor Pathway Lights
If you want more landscape lighting but feel overwhelmed by how to make it happen, this post is for you! I installed some super-simple plug-in outdoor pathway lights, and today I’m showing you how.
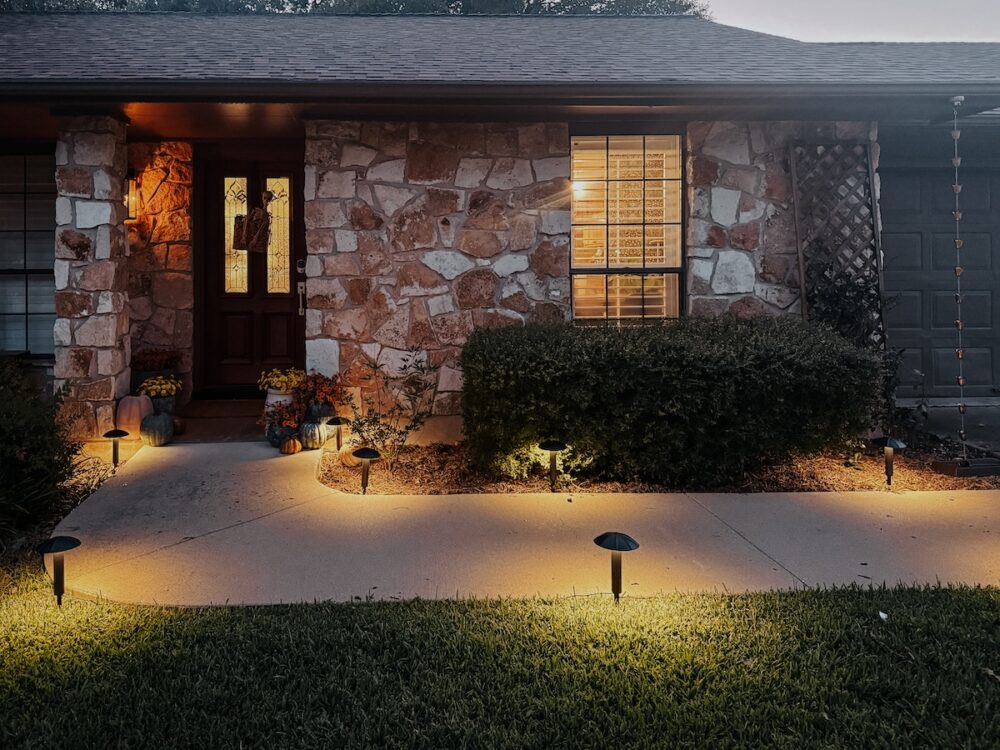
As I’ve been working on the front of our house over the last few weeks with the new jasmine trellises and the new rain chain, I’ve been thinking about how to add more lighting to the space. The front of our house is very dark at night, and I’ve been brainstorming how to deal with it for a while now. I considered solar pathway lighting, but the front of our house is shaded for a good chunk of the afternoon. I worried it wouldn’t get enough light to charge.
After a ton of research, I decided to go with plug-in pathway lighting. Having cords running through the yard isn’t ideal, but I knew I’d be able to hide them pretty well. And, I’m so glad I decided to go this route. It took me about 30 minutes from start to finish to set up our new pathway lights, and my front yard feels so much more welcoming at night now.
Choosing the Right Pathway Lights
If you don’t want to hardwire your pathway lights, you pretty much have two options – plug-in or solar powered. Solar powered lights are, obviously, much simpler to install, but they’re only going to work if you have a good amount of sunlight that hits the area where they’ll be. Otherwise, they’ll only last a few hours each night.
It was important to me that the lights stay on all night long, so I went the plug-in route. I was nervous about how running the cord would work, but it was so simple. All you need for plug-in walkway lighting is an exterior plug!
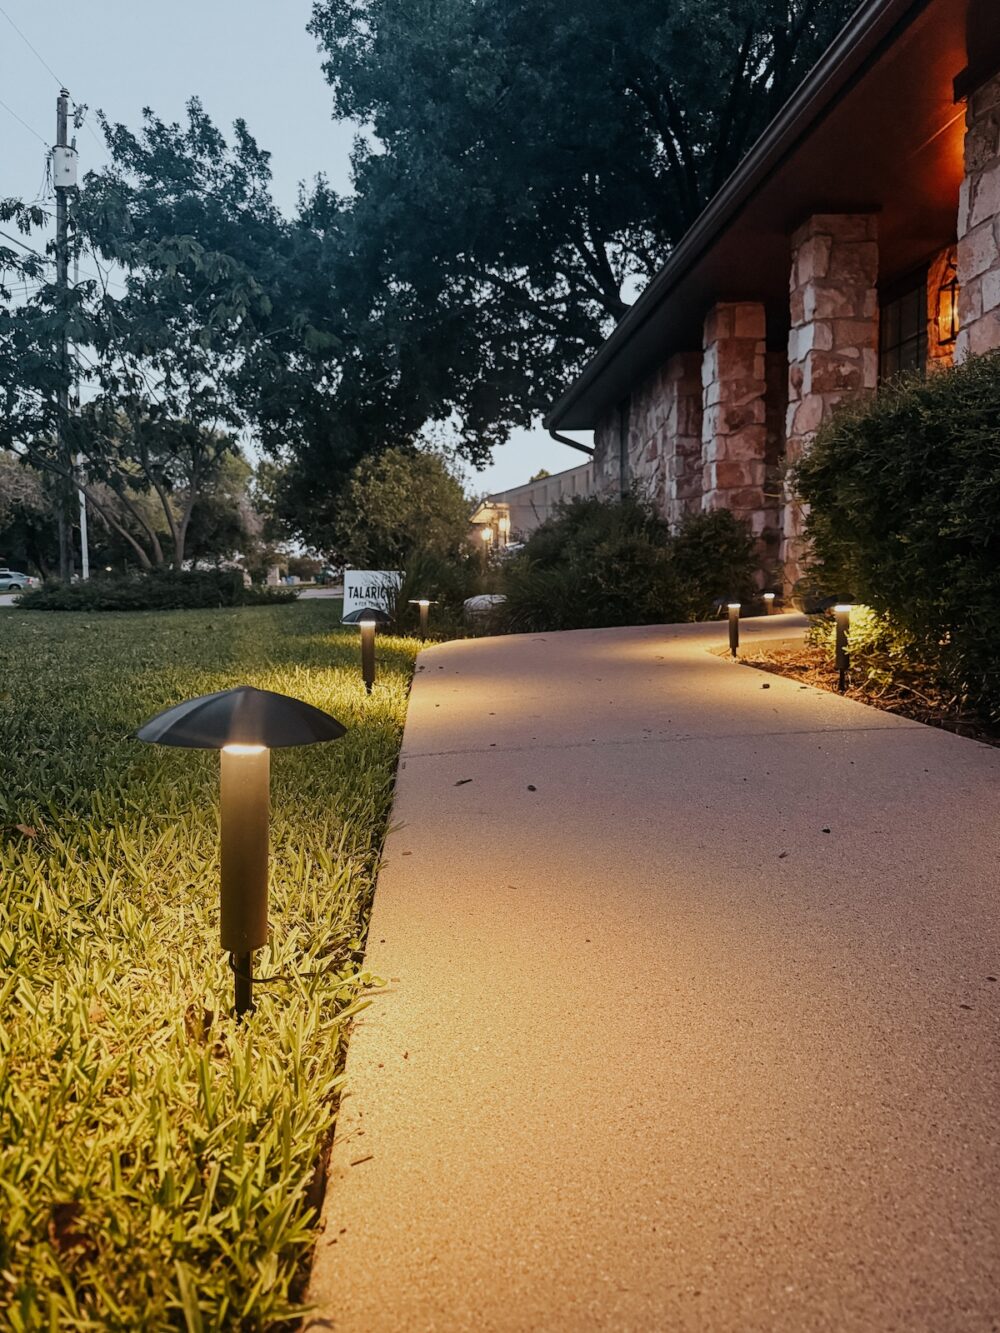
This is the set of plug-in pathway lights I chose. I did a lot of searching before landing on these, and I’m really pleased with them. They were affordable, they are high quality (no plastic!) and they give off great light. If you’re curious, had I been able to go the solar light route, I would have chosen these!
How to Install Plug-In Pathway Lights
There’s not much of a tutorial here because literally all you have to do is plug in your new pathway lights and stick ’em in the ground. But, I had the impression that this would be much more complicated than that, so I want to walk you through it. I would have done this a lot sooner if I’d realized it was so easy!
Here’s how it’s done:
- Start by planning your path. It took me some thinking to figure out how to ensure I didn’t have wire going across my sidewalk. In the end, I put the first light on the opposite end of the path from my plug. As in, all the way by the driveway. From there, I created a U-shape.
- Stick the first light in the ground using your stake. Then, run the cord all the way back to your plug. That initial cord is long, so I was able to run it along the house and keep it well hidden!
- Assemble the next light and run the cord as far as you want it to go. Stick it in the ground.
- Rinse and repeat all along the pathway until you reach the end!
- If you’re going across a walkway (like I was), try to do so where there’s a spot to hide the cord. We have a large gap between the sidewalk and the porch, so I just tucked the cord in there. If you don’t have a good gap, consider using a sealant to attach the cord to one of the seams in the sidewalk! It will prevent it from being a tripping hazard and keep it flush to the ground.
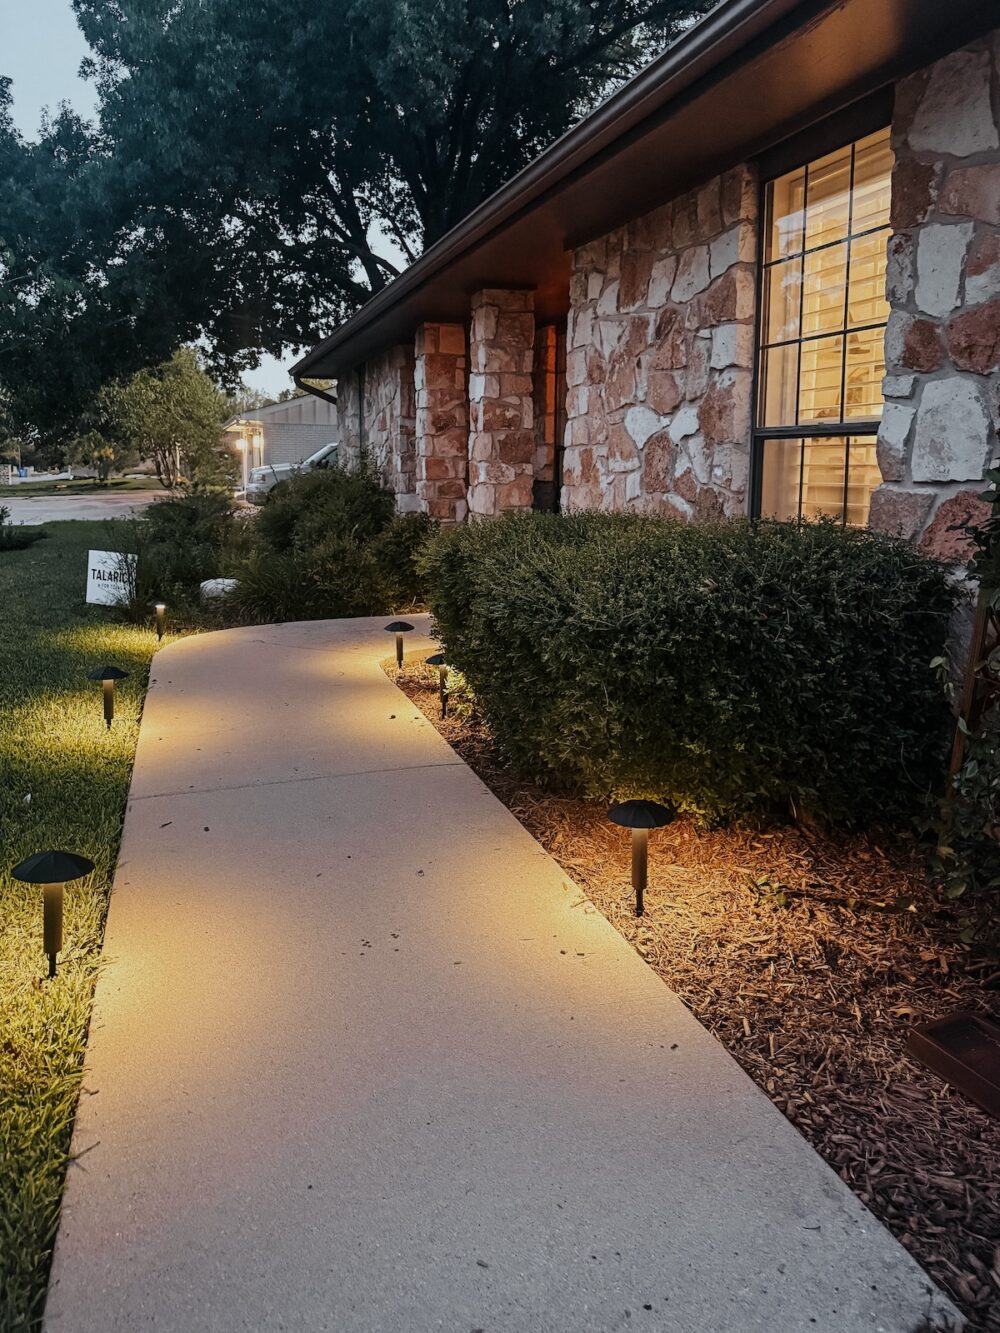
I didn’t do any measuring for this – I just eyeballed the spacing! I placed the lights roughly opposite one another on the sidewalk. And, honestly, that’s it!
A Few Features of Our Pathway Lights
Click here for the exact pathway lights I used.
Each specific set of pathway lights is going to function slightly differently. The way ours works, there is a sensor that will automatically turn the lights on when it’s dark and off when it’s light. That’s the setting I currently have them on. You can also set them to run for 2, 4, or 6 hours before turning off for the remainder of a 24 hour period. Or, you can just use the remote control to turn them on and off as needed!
Another great option would be to use an outdoor smart plug so you can control the lights from your phone (which is probably what we’ll end up doing). I’m a huge fan of being able to control my lights remotely and having routines set up! It makes it feel much more custom. Plus, I’m always a fan of anything that makes my life slightly more frictionless!
Plug In Pathway Lighting Video Review
Finally, if you’d like to see how it all looks in video form, I put together a short video showing the process of installing these and how they look when it’s dark. It’s just a few minutes long, but gives you a better idea of how things look in person, if you aren’t convinced yet.
I still would like to add some more lighting the the front of the house eventually, but this feels like a huge step towards making things feel more welcoming and cozy! It’s kind of hard to believe how far the front of the house has come with just a few small projects. As always, it’s proof that the little things go a long way!