
How to Age a Terra Cotta Pot Using Lime
Love the aged look of old terra cotta pots but don’t wait to wait years for it to happen? Learn how to age a terra cotta pot with garden lime in just a few minutes!
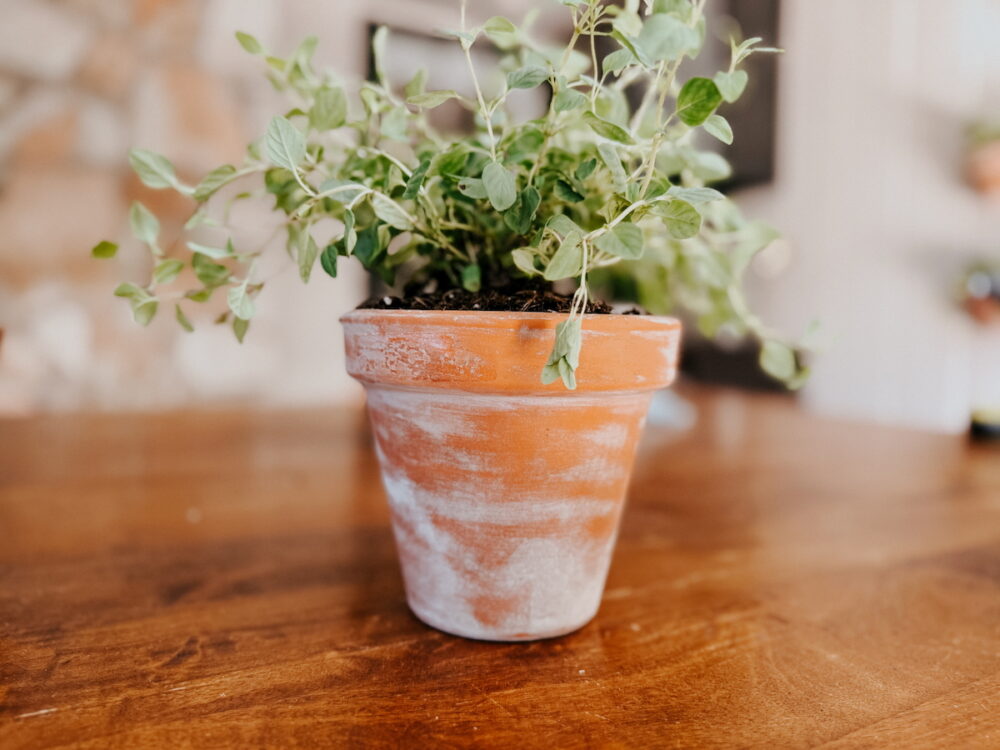
There are a handful of projects that have been on my “want to try” list for actual years. This is one of them. In fact, I’m pretty sure I’ve gone as far as to put this project on my calendar multiple times in the last few summers – but for some reason or another something always got in the way and I didn’t get around to it. It’s safe to say this is a project I’ve been wanting to try for a long time and I am so glad I finally got it done!
I love the look of terra cotta pots, but I think they’re so much prettier a few years in when they’ve aged a bit and don’t look so pristine. It takes a long time for terra cotta pots to properly age, though, and I have exactly zero patience. So, I tried my hand at aging them artificially with some garden lime, and y’all, IT WORKED! Let me show you how it’s done.
How to Age Terra Cotta Pots With Garden Lime
This is one of the easiest projects ever. It takes about 5 minutes to actually age the pot, and then it’s mostly just waiting for things to dry. I was a little nervous about it, but this project is absolutely foolproof. I promise you anyone can do it!
Terra cotta pots age over time due to salt and minerals seeping into the porous clay over time. Using garden lime simulates this effect instantaneously! It deposits a chalky white, mineral film on the pot that settles into the surface. It mimics the look of years of aging with zero effort. Because it’s just a top coat and isn’t actual aging, it will need to be sealed or else it will come off over time. Here’s how you do it.
Materials Needed
- Terra cotta pots (I used 6″ pots)
- Garden Lime
- Water + disposable container
- Old paintbrush
- Sandpaper (220 grit)
- Spray sealant
Video Tutorial
This is one of those things that’s even more satisfying to see happen in real time, so here’s a quick peek at the aging process. When I tell you it’s quick, I’m not exaggerating!
Applying the Garden Lime
Mix one part of the garden lime with one part water. The lime I used was really large-grained (almost like pebbles!) so I worried it wouldn’t dissolve, but it worked great. You can use a powder form too, though. Mix up the lime and water until the lime is mostly dissolved. Then, grab your paintbrush (I recommend using an old one that you can throw away afterwards – I always keep a pack of these on hand for stuff like this!). Liberally brush the lime mixture onto the pot, moving horizontally across the pot in long strokes.
The mixture will settle into the pot and dry within a few seconds. Go over the entire pot, making sure to get the inside of the lip of the pot in case that’s visible once you plant. You can do a second layer if you like – this is where a little creativity comes into play! I did some of mine with a lighter coat, and some I did two or three coats.
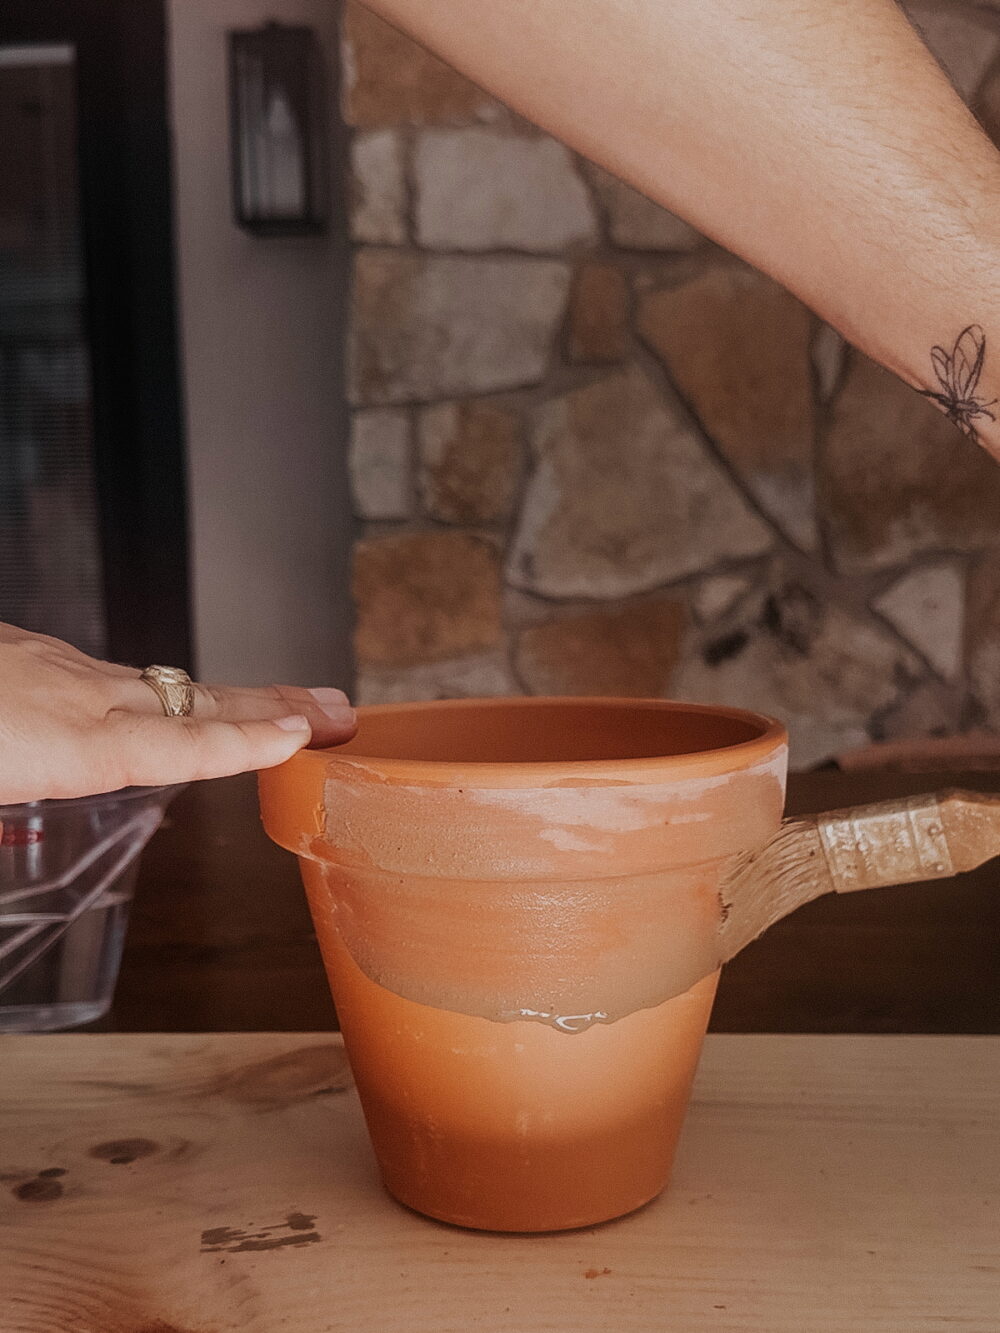
In order for it to look as realistic as possible, I recommend doing your thickest coats towards the bottom of the pot, as that’s where natural aging is most likely to occur.
After you’ve applied it, it doesn’t need long to dry before it’s ready for the next step. I let mine sit overnight just because it’s summer and I got distracted, but you should be good to sand within 20 minutes or so!
Sand + Distress Pots
Once the lime has dried, grab your sandpaper and lightly sand the entire pot. It’s going to look best if you move in horizontal lines, just like with painting! You’ll want to sand more in some places and less in others. Variety is key here! Keep in mind that when you seal the pot, it’s going to affect the look and make the aging look less thick, so use a light hand with sanding!
I did most of my sanding on the top half of the pots (again, the aging should be most obvious towards the bottom), but I sanded the entire thing to make the lime look less uniform.
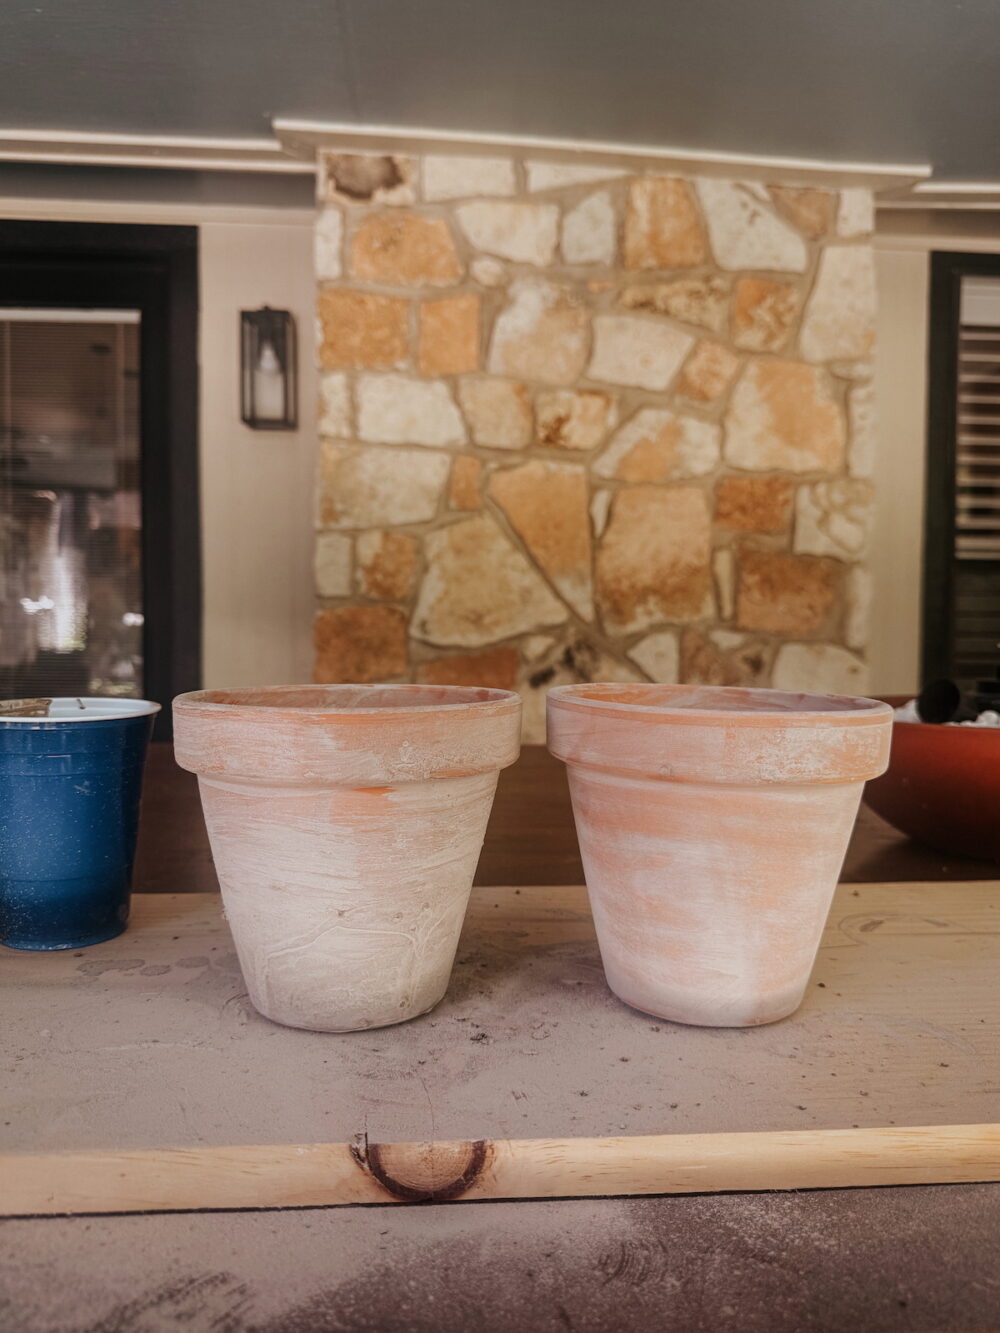
Before sanding on the left, after on the right!
Seal Pots
Your final step is to seal the clay pots! Since the lime is just sitting on the outside of the pot, it can be washed off if it isn’t properly sealed. I used this lacquer because it’s what I had on hand. But, something like Mod Podge would work great too, here! Any sealant that you have will work – I do recommend a spray sealant if possible just because it’s easiest to apply.
Once your sealant is dry, you’re ready to plant!
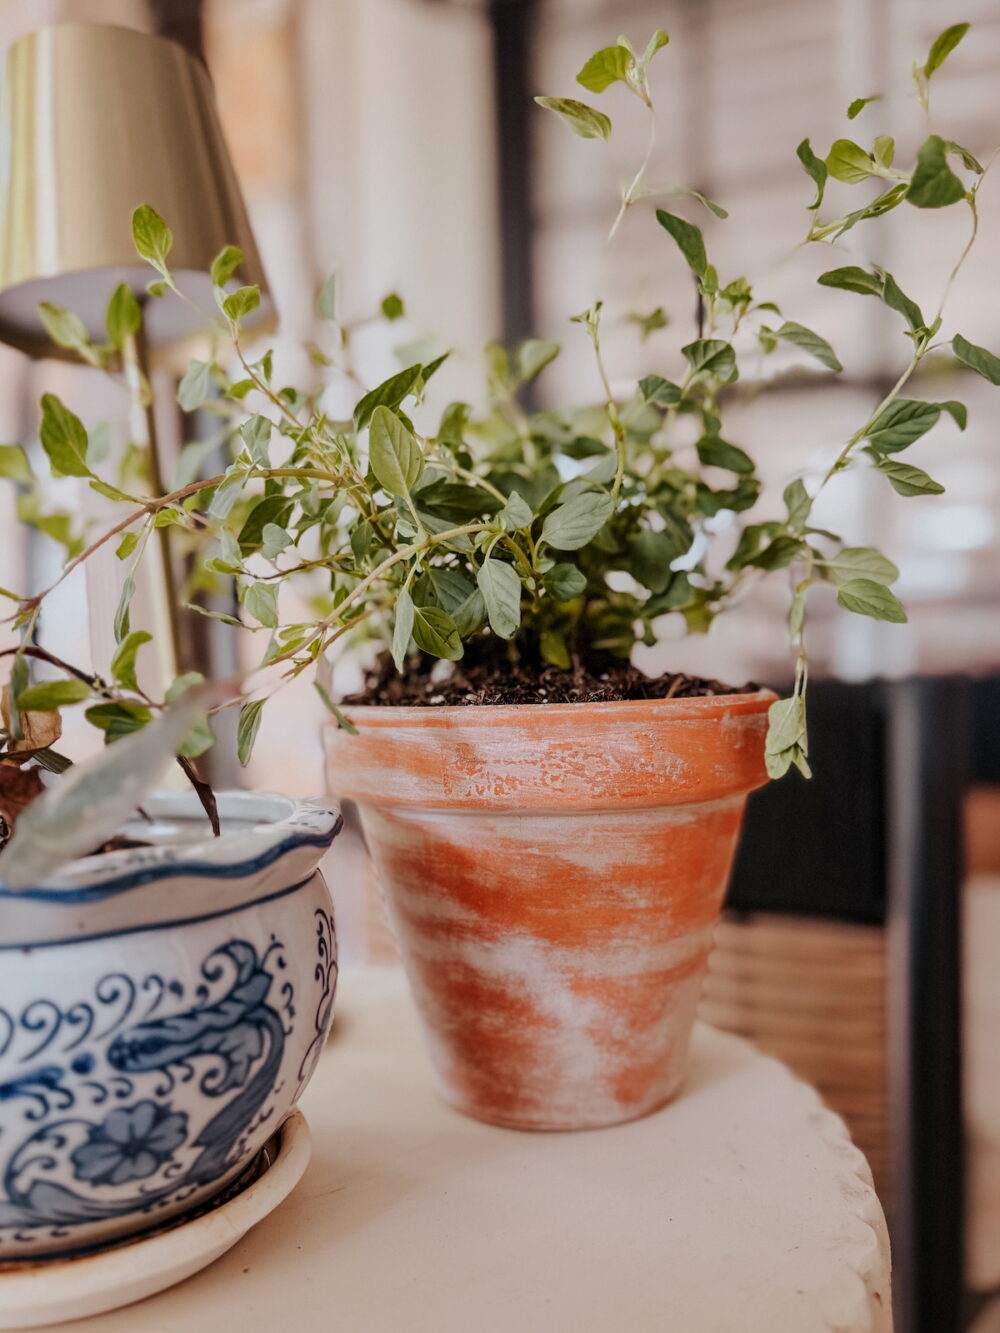
This is one of the easiest projects I’ve tried in a while, and I can’t get over how good the finished product is. I’ve got big plans for all these aged terra cotta pots, so be sure to stay tuned to see what I do with them next!