A Look at Mom & Dad’s Cedar-Lined Pergola
This post is sponsored by CedarSafe and contains affiliate links.
Those of you who follow our stories on Instagram have probably seen a few peeks at the patio my dad has been working on over the last few months (if not, you can catch up by watching the “Dad’s Patio” highlight reel on my Instagram profile!).
This is a project my parents have been talking about doing for years, and it has been so fun to watch it finally come together! One of my very favorite things about doing this whole blogging gig is that it has allowed me to connect with my dad on a whole new level when it comes to projects around the house. I always grew up watching him working on things in my childhood home, and he has been my biggest influence when it comes to having the confidence (and maybe stubbornness) to try new things, to not be afraid of failure, and to just give it my all when it comes to working on projects in our house. It has been so, so special to get to work with him on projects like their kitchen refresh, and on this project!
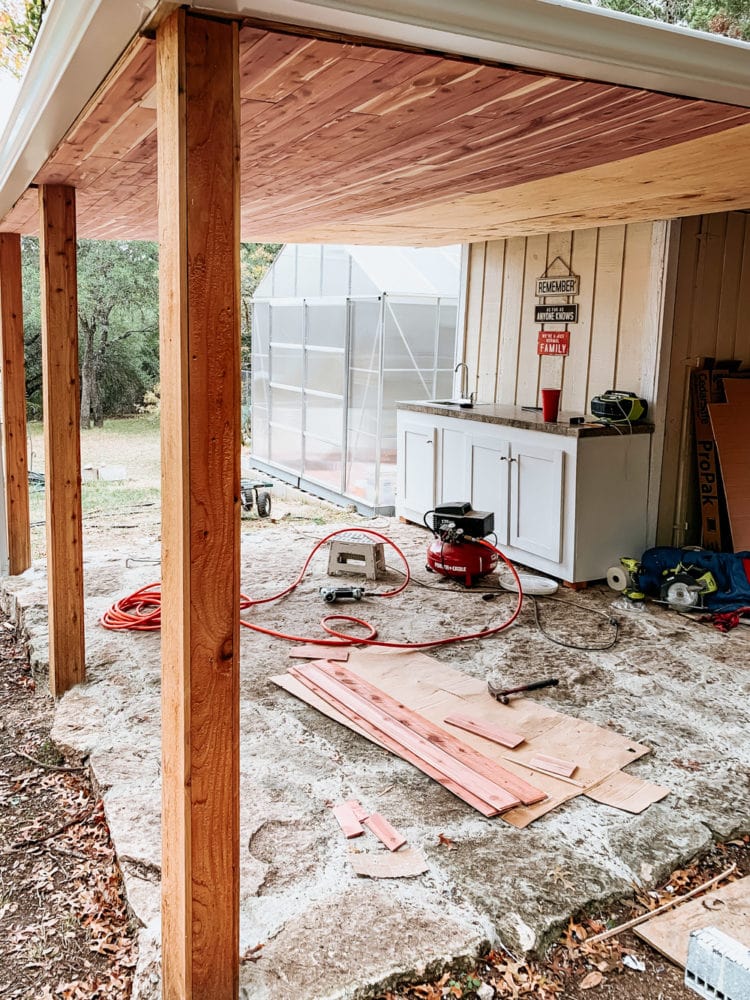
I don’t really have a “before” photo of this area, because I didn’t know that I was going to be writing about it when dad first started. But I do have a few progress shots from installing the cedar planks that will give you an idea of how it all came together.
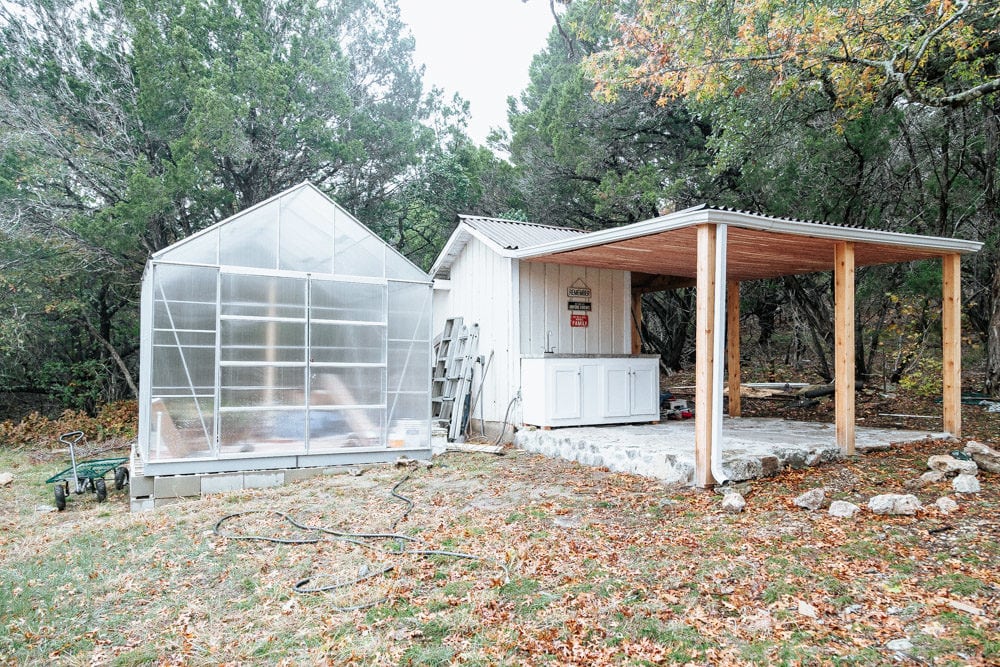
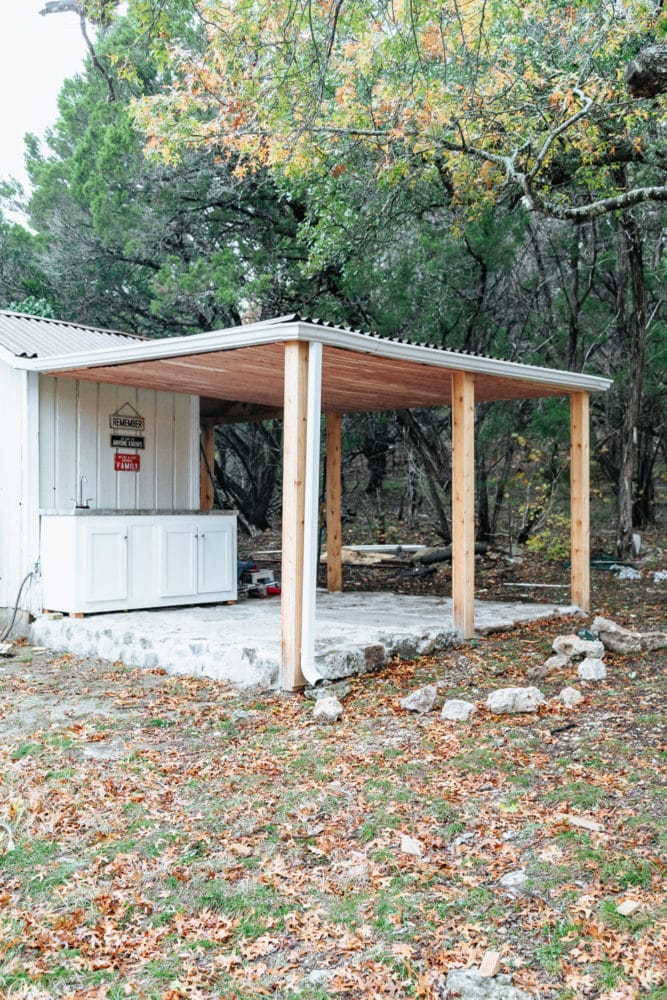
Mom and dad live on 5 acres, and these two little buildings near their house have always been dubbed the “spider buildings” because for as long as I can remember they were full (and I mean FULL!) of daddy long-legs. You could hear their little legs moving when you’d open the door! They’ve been more or less unusable buildings for years and years, and mom and dad finally decided to reclaim them and get it all cleared out. Dad took care of the spiders (and, thank goodness, I was far away when that happened), and got the buildings ready to be used as storage for this little patio area. They’re adding a fridge and some other storage so this can be a functional place to come out and grill, hang out, and enjoy a meal together.
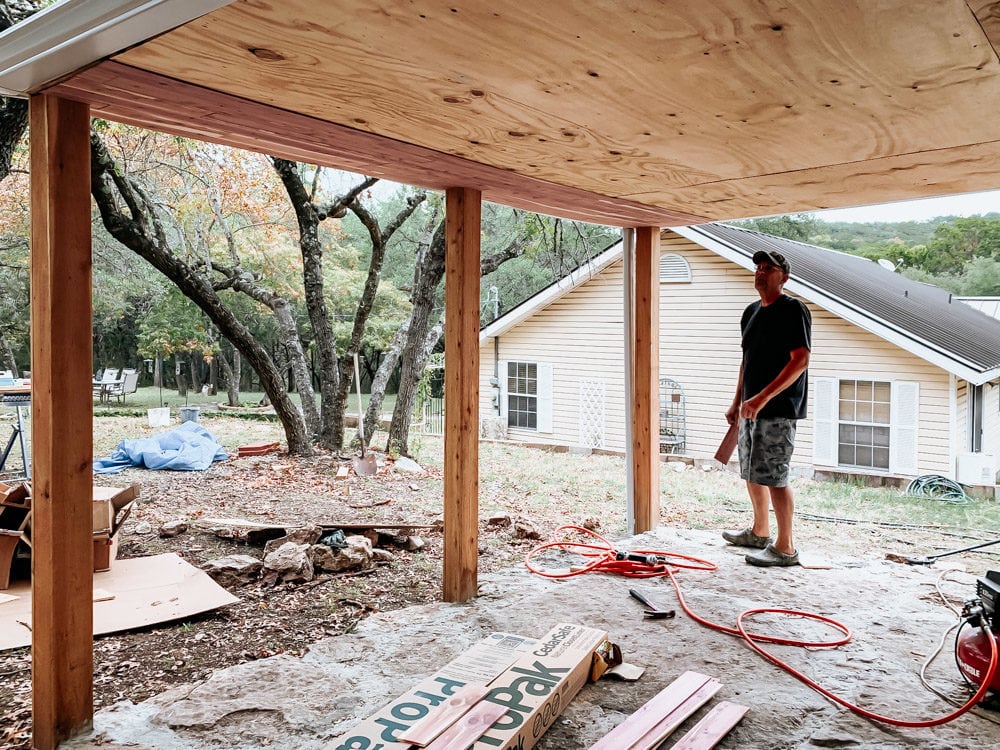
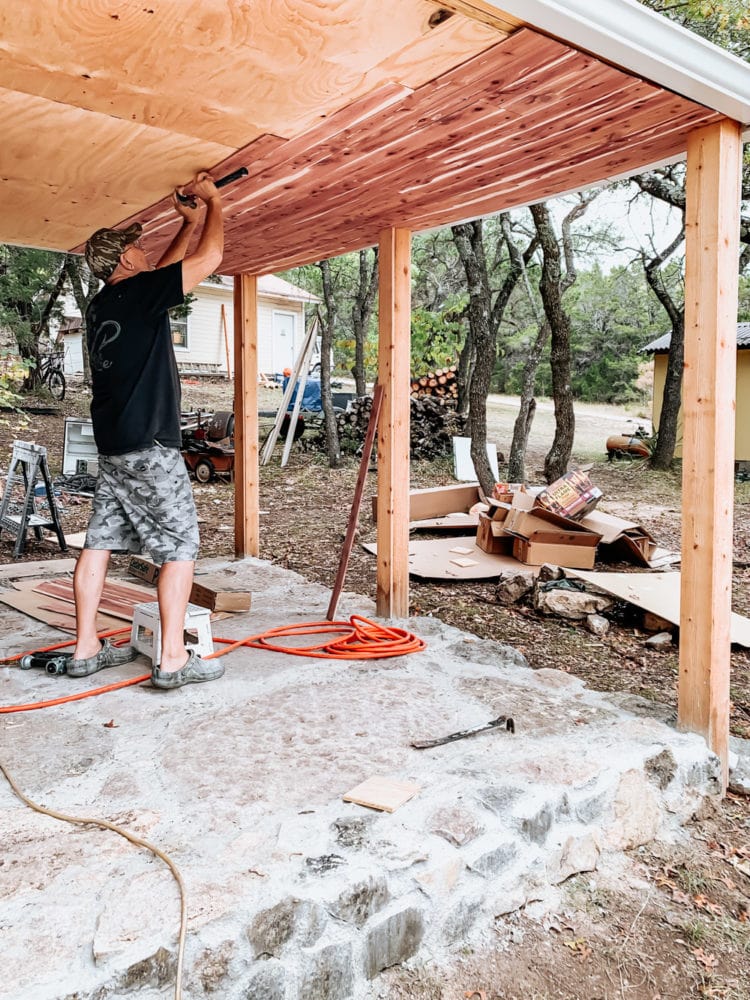
Dad started out by building the rock patio – he found all of these rocks on his property and hauled them over here to be used on the patio. I won’t even begin to pretend that I can give you a tutorial for this process because my dad’s a little bit crazy and I wouldn’t actually recommend anyone try digging up thousand-pound rocks and lugging them over to a new place for a patio.
But man, it sure looks gorgeous!
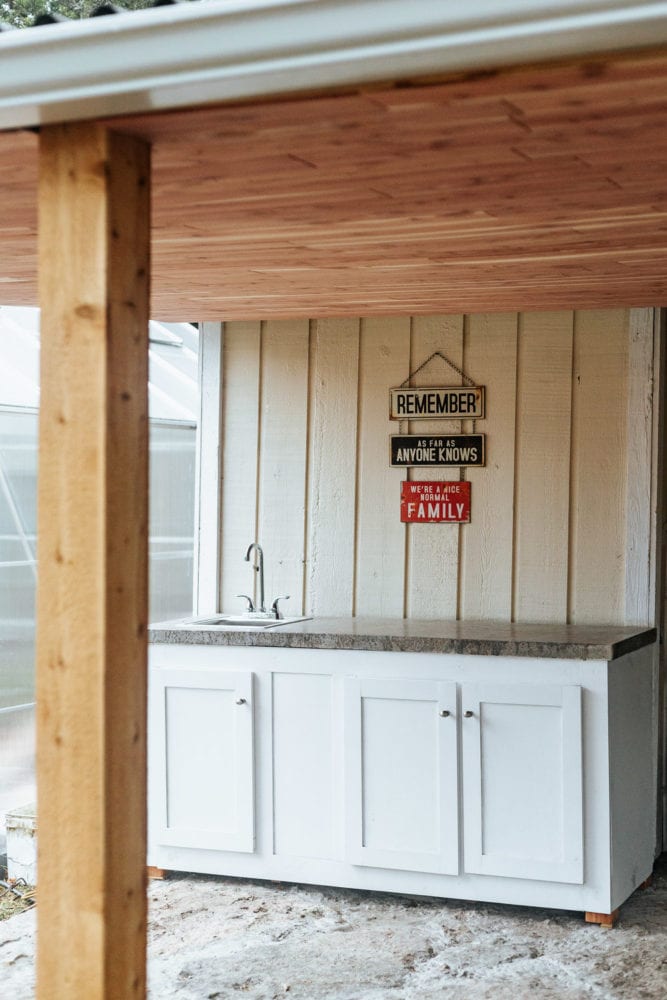
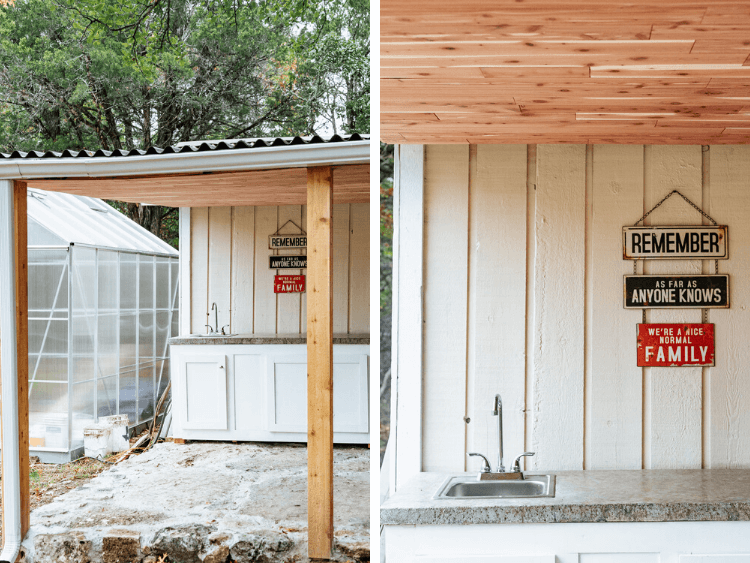
Once the patio was done, he built a cabinet and added a DIY concrete counter (he’ll be doing it again in his kitchen, so I’ll be sharing on Instagram once that happens!).
And, of course, the piece of the patio that we’re talking about today is the pergola! He wanted this area to be shaded from the sun and rain, so he built a simple covering over it – at first he had planned on leaving it just raw wood underneath, but as we got chatting about it we both agreed that doing a cedar-lined ceiling to this would be stunning.
If you’ve been here for any length of time you’ll know that I love lining things with cedar from our friends at CedarSafe – we did it on the ceiling of the master bathrooms in both our first house and our second house, and I also lined Grant’s closet in our second house with cedar! It’s such a simple and accessible way to make a space feel so luxurious, and it’s one of my very favorite projects. CedarSafe planks are also super simple to use, and it’s the kind of project I can tackle completely on my own – which I love!
Oh, and did I mention it smells fantastic?!
I’ve already done a full tutorial for how to install a cedar-plank ceiling on this post right here, so I’ll spare you all of the details today and instead focus on answering a few of the questions I got about this project as I was sharing it.
Is the plywood base necessary?
You may notice in the photos that my dad lined the underside of the pergola with exterior-grade plywood before we installed the cedar. He did this largely because he knew that it would be annoying to try to hit a stud with every cedar plank, and the job would move much faster if the whole ceiling was covered with something easy to nail into.
So, technically, no – the plywood isn’t an absolute necessity. However, if you’re working with something that doesn’t currently have any sort of covering (just the studs), you’ll want to consider how you’ll handle any pieces of cedar that don’t reach a stud. You may find that it’ll save you some time (and headache) in the long run to go ahead and do it.
How are you keeping the cedar safe from the elements?
Cedar is generally considered a wood that can handle being outside. It’s not likely to warp or mildew when exposed to heat or moisture, which is why having it as a bathroom ceiling cover has worked so well for us!
Also, since this is under an awning it won’t really ever have direct exposure to the rain. Dad did install some gutters on the front of the awning to help direct water away from the patio and so that it doesn’t slide around and just sit on the cedar, but other than that we didn’t take any additional precautions to protect it.
That being said, there’s no reason you couldn’t seal the cedar planks with something like a spar urethane if you want to be extra cautious or if you live in an area with more extreme weather patterns. We felt pretty confident that this would hold up okay as I had this DIY cedar-lined planter in our backyard throughout all of the harshest weather we get and it still looks good as new!
How hard is this to install?
It’s not hard at all! You can read the full tutorial here from when I installed this on our bathroom ceiling, but as long as you have access to a saw to cut the wood down to length (we used a miter saw, and you can learn how to use one right here) and a nail gun to put the planks up (this is the one Corey and I use), then you’re good to go!
The boards are tongue-and-groove so they fit together like puzzle pieces. That makes it really simple to make sure your spacing is consistent. This is absolutely a project you can tackle, promise!
If you have any other questions about this project, leave a comment below and I’ll be sure to cover it for you! I can’t say enough good things about how simple these CedarSafe planks are to work with, and I think they’d look gorgeous in just about any space!
Click here to learn more about where you can find Cedar Safe products near you!

WOW! Great job! Thank you so much for sharing your experience. It was really interesting to read.