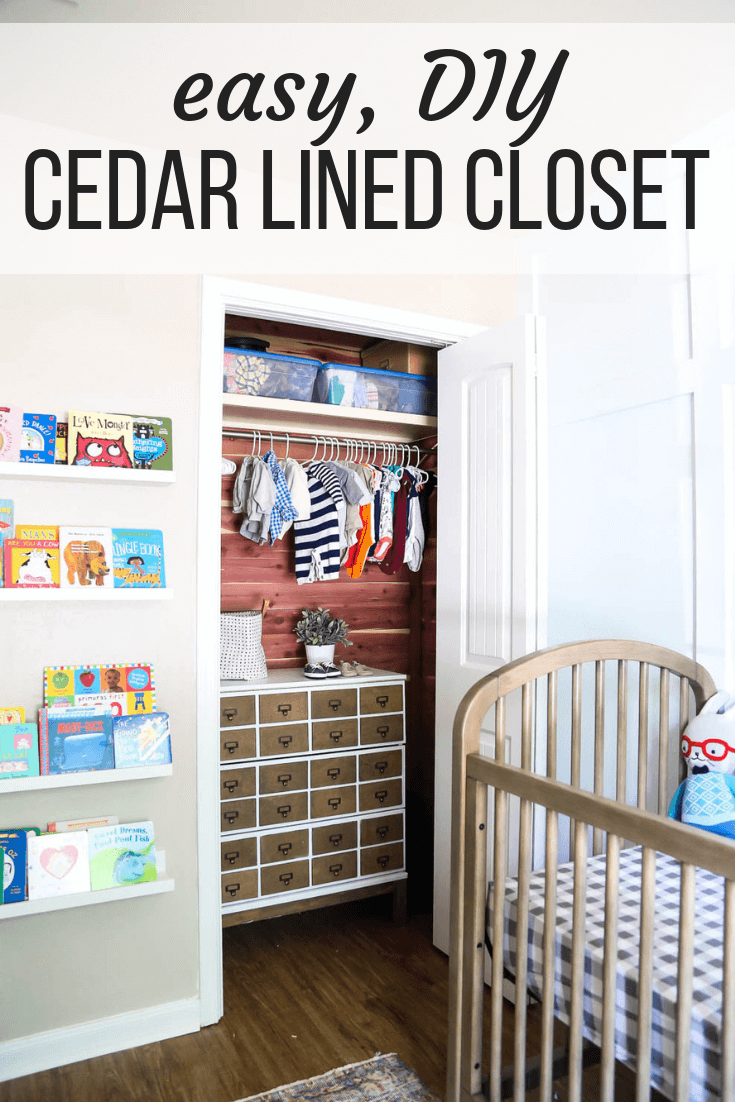
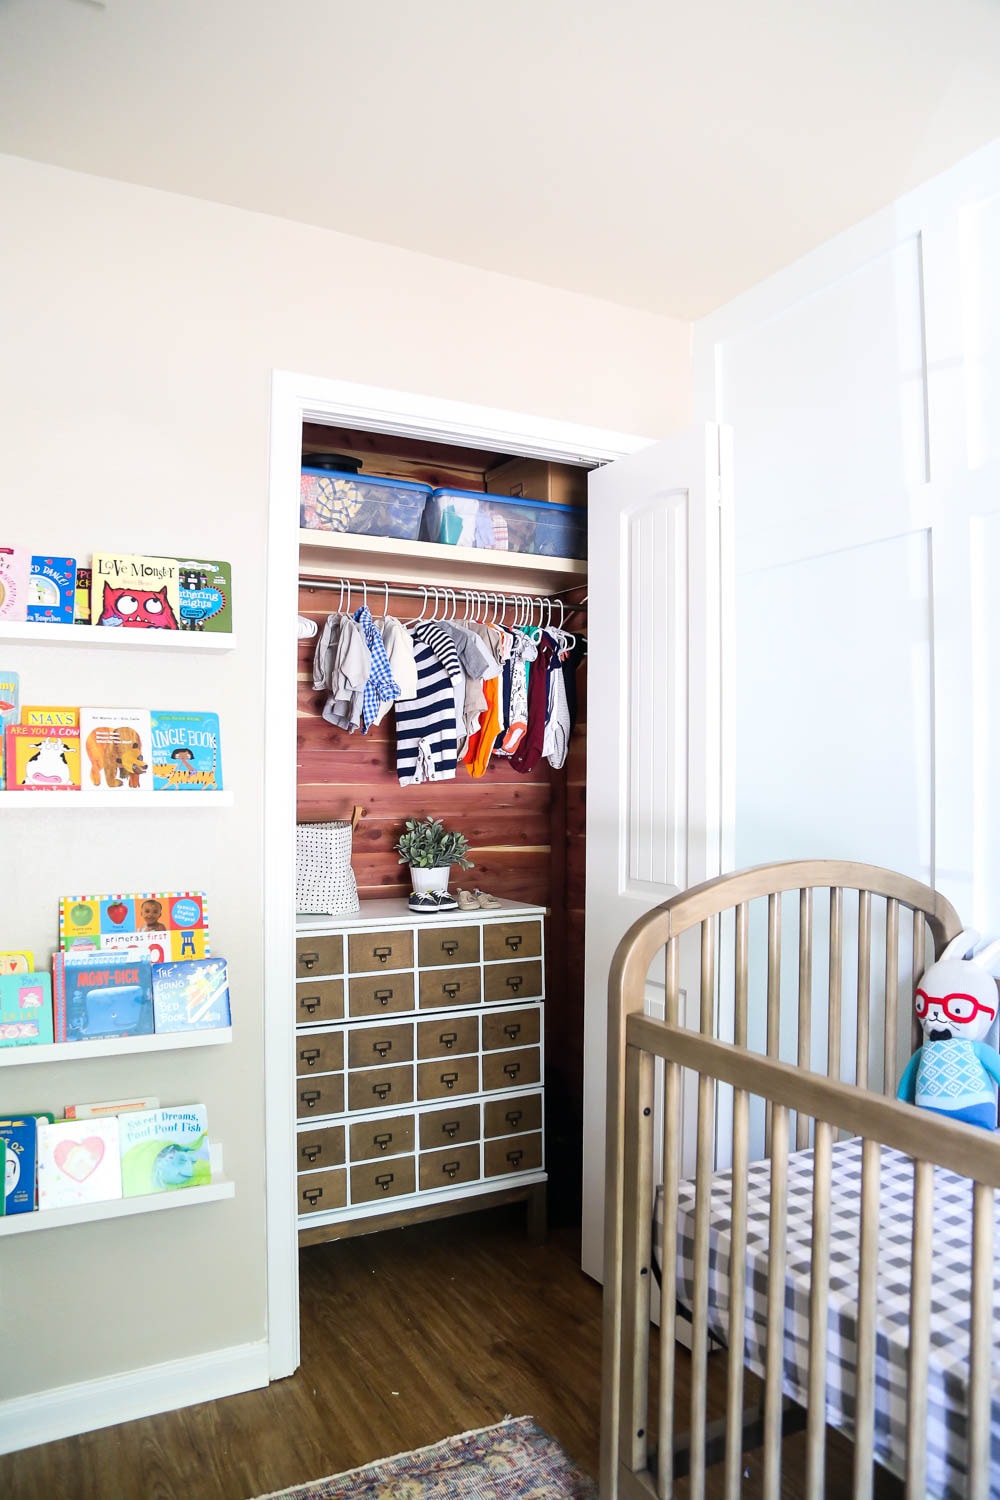
Our Cedar Closet (AKA: The Nursery Closet Makeover)
I’ve always wanted to add cedar lining to a closet in our home, and we finally did it in the nursery! I’m in love with this little cedar closet in the nursery now, and I can’t believe how simple it was to renovate it. This post is sponsored by CedarSafe, but all opinions are 100% my own!
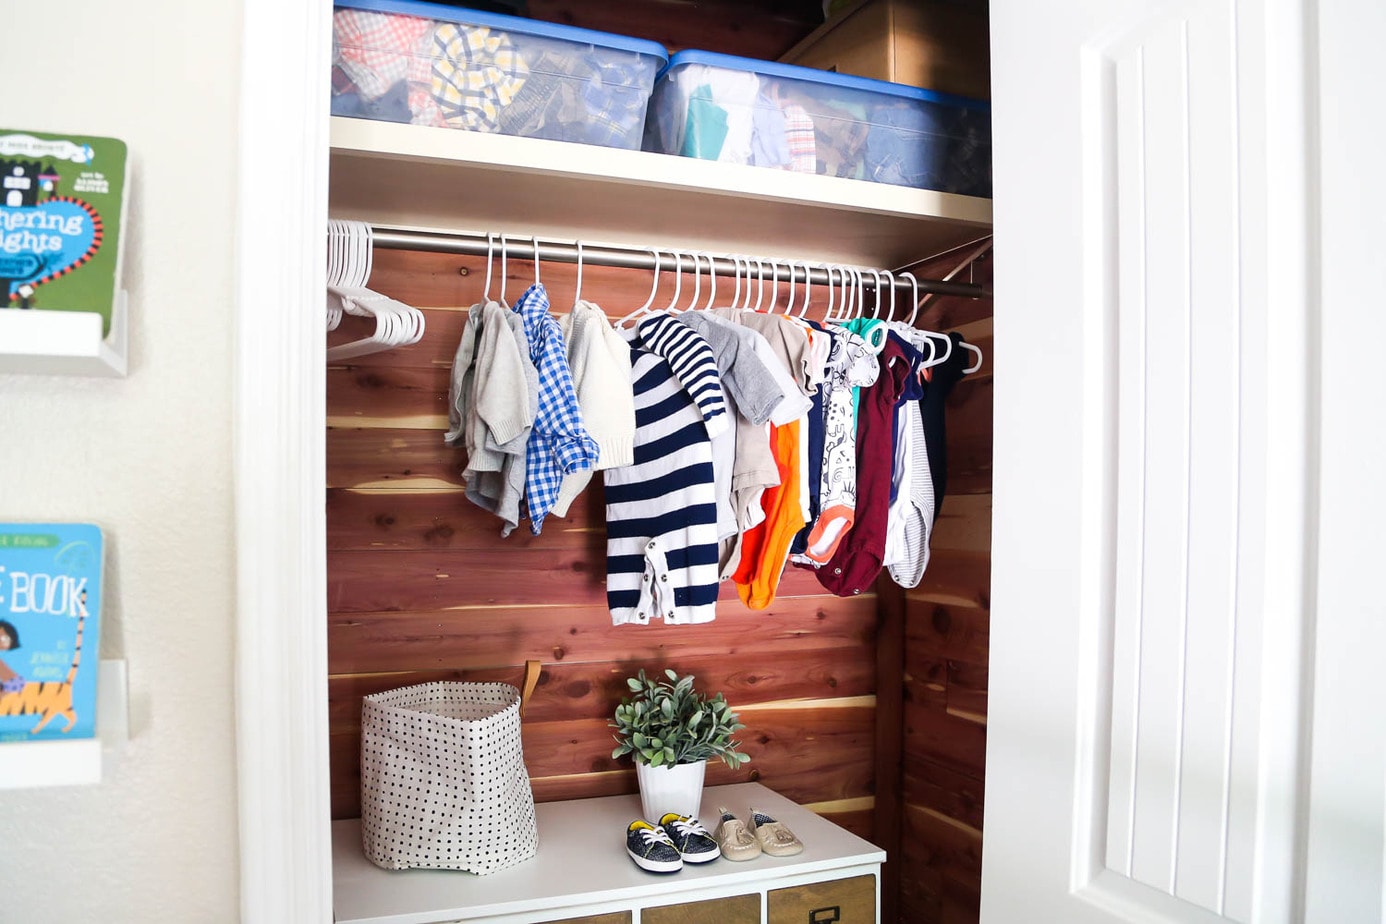
Ooooh, the baby’s closet.
Maybe I’m just nutty and hormonal, but thinking about organizing a closet for our baby’s room has given me so much excitement and stress at the same time. In Jackson’s nursery, we never really spent the time to get his closet organized – and we felt it. It was pretty much a disaster from the day we brought him home until the day we moved out. We’re working to be a little more organized in this home since we have so much less space, so we wanted to make sure this closet was functional, organized, and totally gorgeous from day 1.
Because what good is functional and organized if you don’t enjoy looking at it, right?!
We knew pretty early on that no matter what we did, we wanted to line the nursery closet with cedar. We’ve worked with cedar planks a few times before – though, never on the walls before now! You may remember that in our master bathroom in the old house, we had an epic cedar planked ceiling (that I miss dearly), and that we lined our powder room ceiling in the old house with cedar as well. We love the look, the smell, and just the general warm feeling of cedar planks in a room, and so we’ll take any chance we can to bring it into a new space.
I’m going to show you aaaaaall of the details of the closet makeover today, but first let’s chat a little about cedar-lined closets and why it’s even a thing.
Why Would I Line a Closet With Cedar?
So! Many! Reasons!
Let me count them for you:
- It smells ridiculous. Aromatic cedar slowly emits oils that smell absolutely mind-bogglingly wonderful and will make your closet smell fabulous. We all like to smell good, right?
- But, the smell has a purpose! Not only does it smell good, the oils in cedar help repel any pests or bugs that may get to your clothes. That’s why cedar-lined chests used to be so popular – they kept heirlooms and special fabrics safe from bugs (like moths). It accomplishes the same thing in your closets! Typically, most homes today don’t deal with huge pest problems in their interior closets, but it never hurts to have the extra protection. It’s not just for clothing, though – cedar lining is also great when used in pantries, attics, or anywhere else that you want to keep the bugs away.
- It looks beautiful. I mean, that’s why we do all of these projects around our house anyways, right?! Over time, cedar slowly fades from it’s slightly red tone to a beautiful, neutral wood tone that will make your heart sing.
What Kind of Cedar Should I Use?
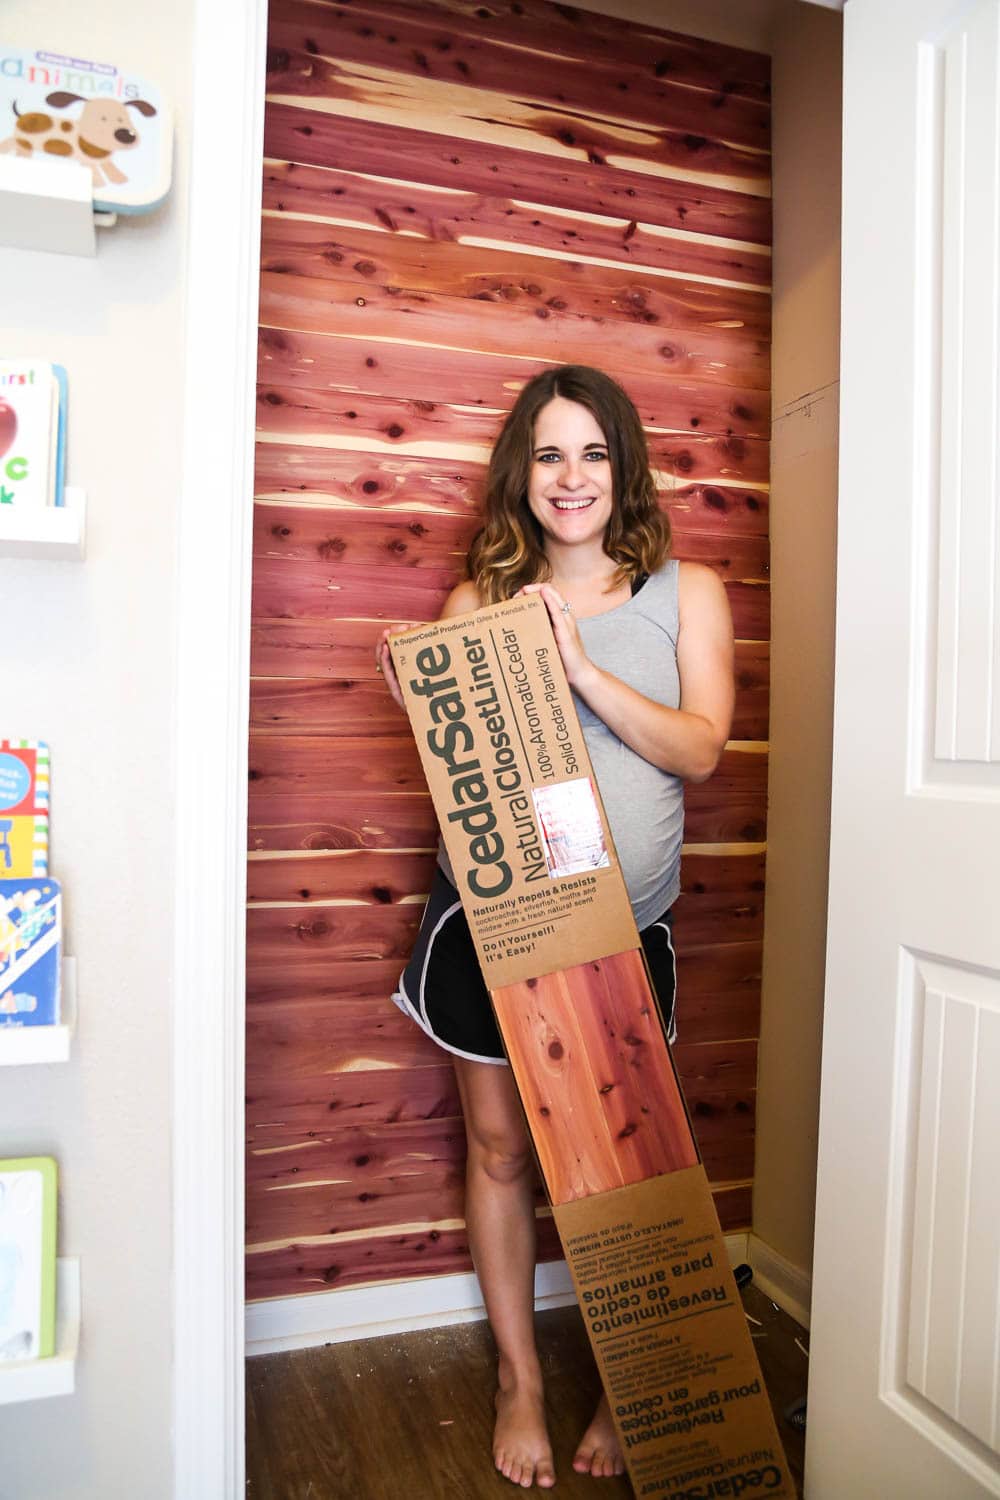
Aromatic Eastern Red Cedar is the kind of cedar you’ll want to use to get the maximum bug-repelling benefits. We love to use CedarSafe products when we’re lining something with cedar – they sell tongue and groove cedar planks that have a gorgeous grain, are super easy to install, and have all of the benefits of Red Cedar. You can find them at your local home improvement store, and a box of Cedar Safe planks covers about 15 square feet.
How Do I Install Cedar Lining?
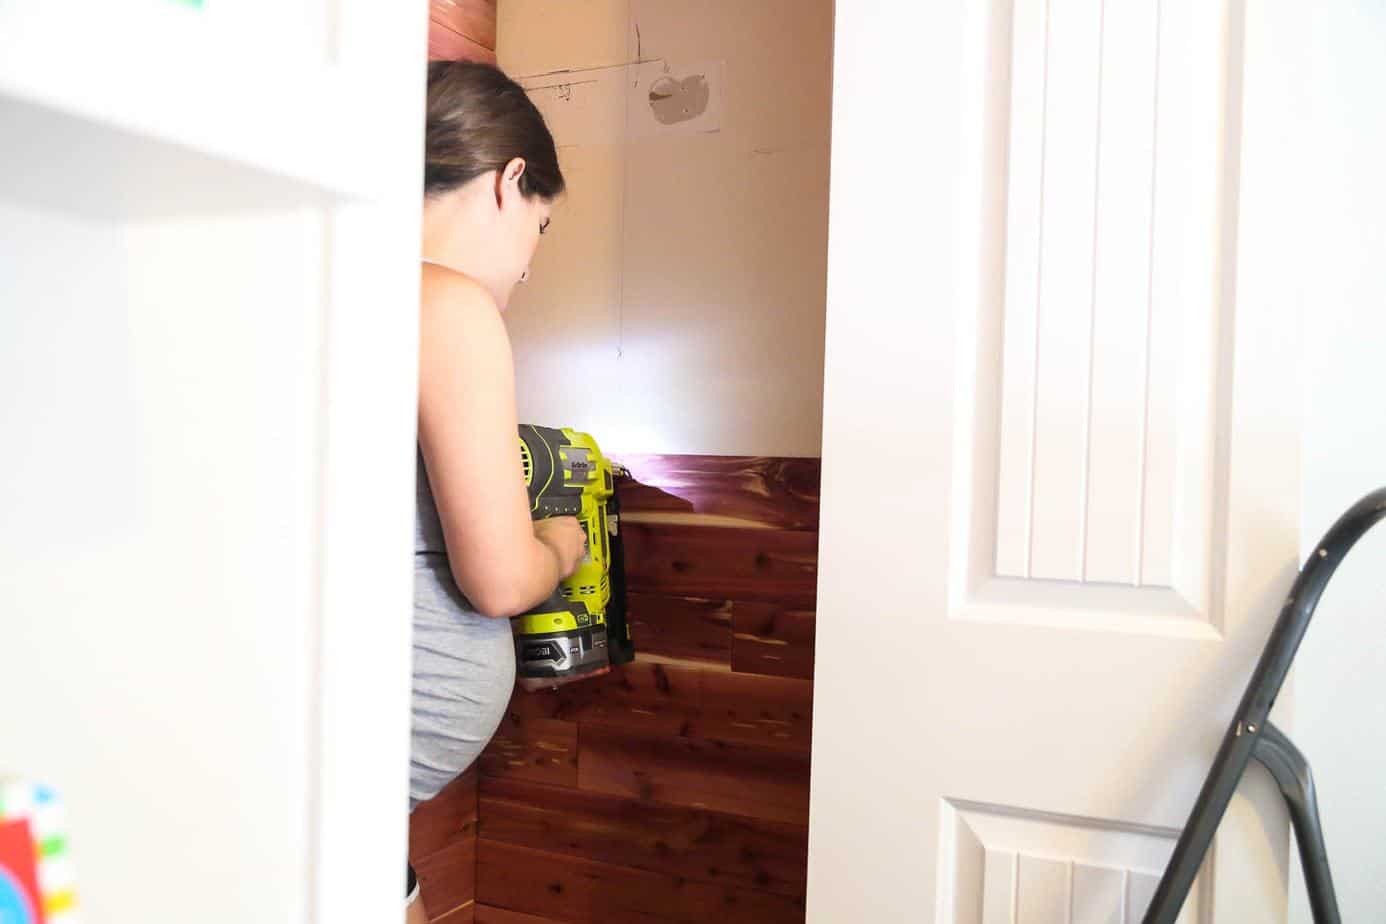
If you can operate a nail gun, a miter saw (learn how to use a miter saw right here!), and a measuring tape, you’re pretty much good to go. The process is incredibly simple – if I was able to knock it out in one afternoon while almost 9 months pregnant, I think you can probably handle it too!
I created a little video to show you the process of installing our cedar closet lining – check it out, and then read on for the nitty-gritty details.
How to Install Cedar Closet Lining
Step 1: Find Your Studs
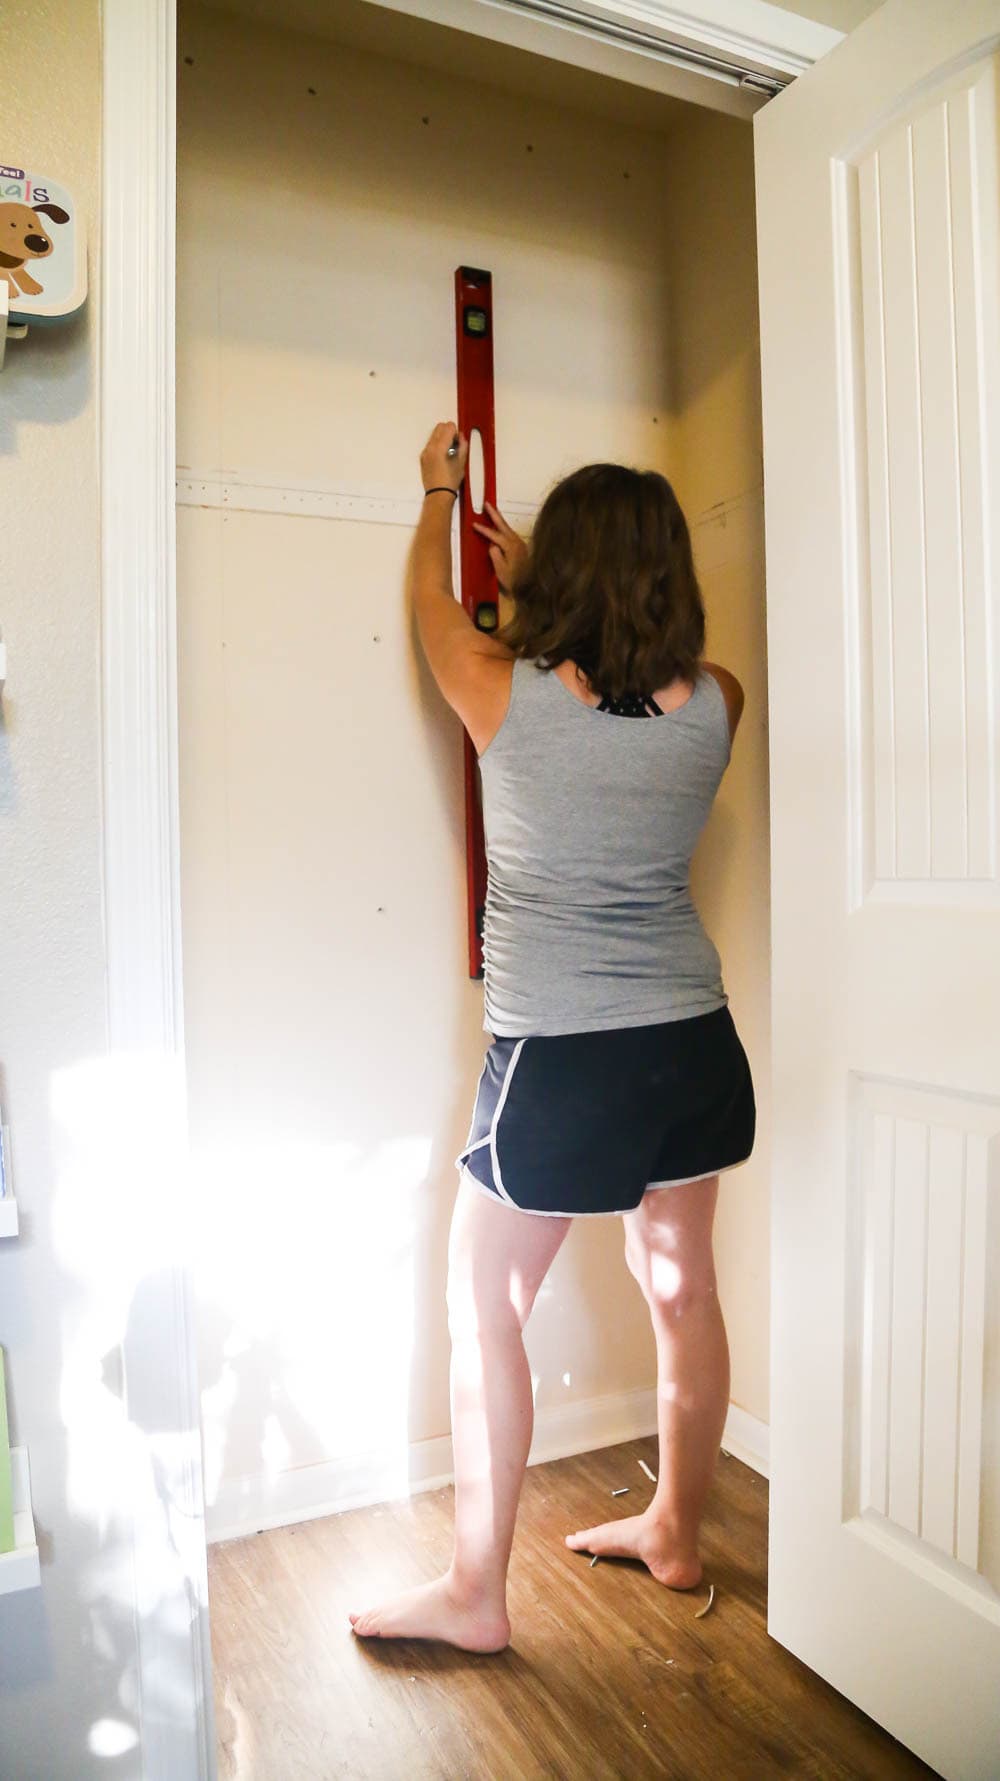
The first step to any wall-covering project like this is to find and mark your studs. I love to use this magnetic stud finder (it’s a total game-changer if you’re used to those annoying beep-y ones!) because it never fails me and is so easy to use. Find all of the studs in your closet or whatever area you’re working in, and mark them from ceiling to floor using a level.
Step 2: Measure for Your First Plank
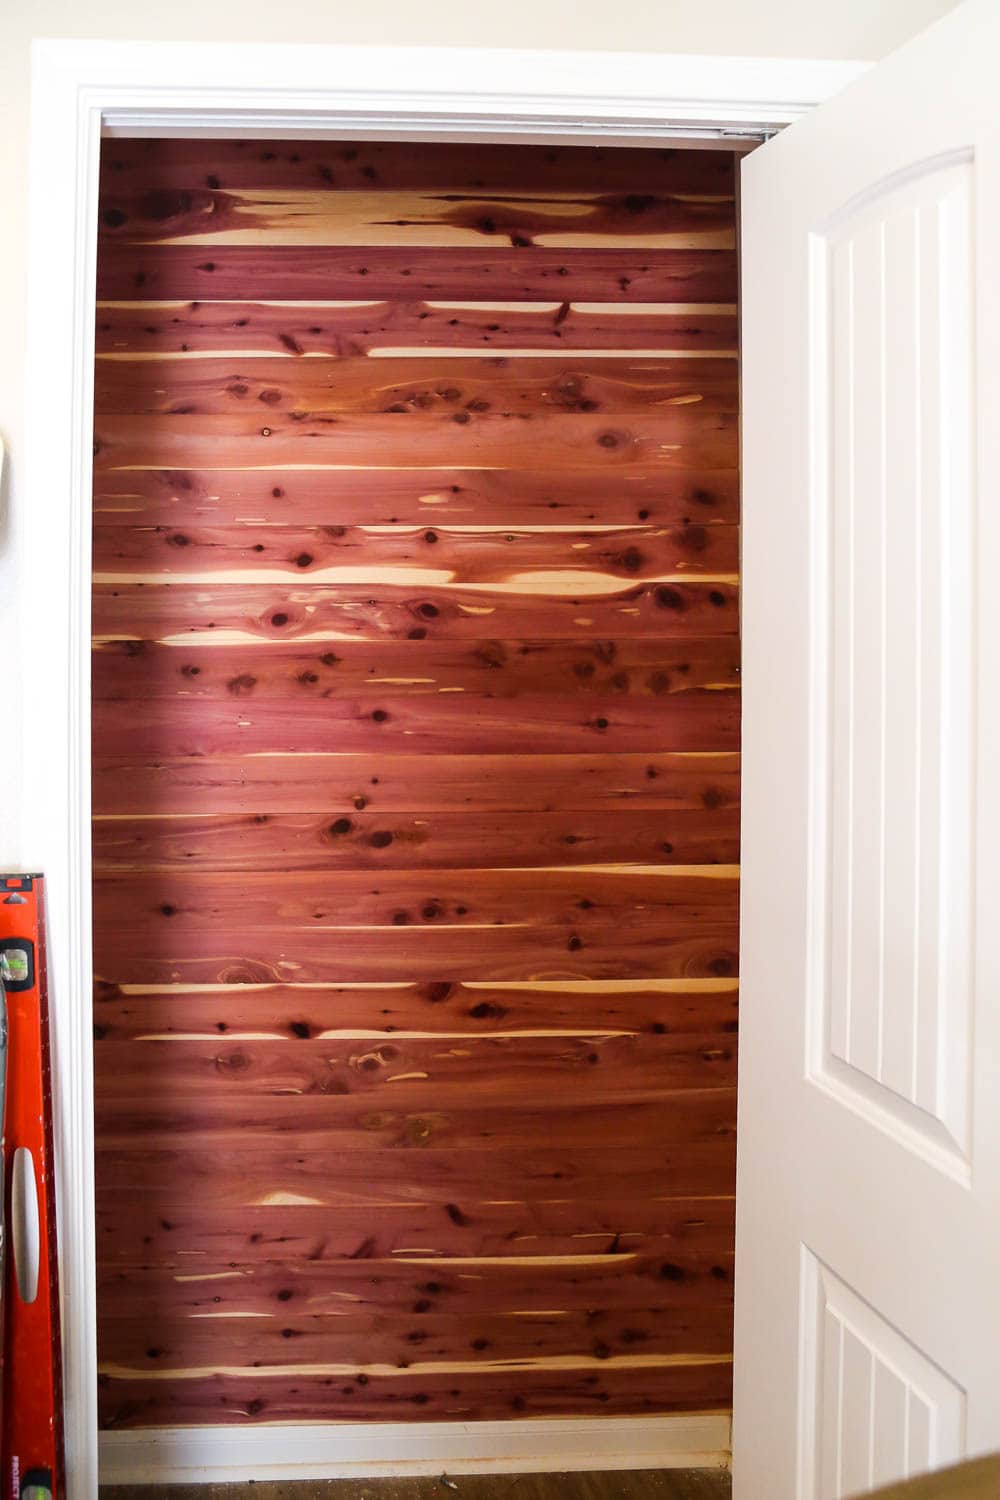
If you’re working in a larger area, you’ll probably start with a shorter plank and then add on (for a staggered look). I wanted to go for a slightly more modern look for the back wall, so I used full planks up the entire wall. I just measured the wall I was working on then cut the plank to fit.
If you’re working in a larger area, or if you want to stagger them (which I did on the side walls), you’ll simply choose a starting size (Cedar Safe planks come with a few 1/2-lengths and 1/4-lengths already cut for you!), install it, and measure what you need to finish out the wall.
Step 3: Cut Your Plank to Size
This is pretty self-explanatory – cut your plank down to fit the wall using your miter saw. If you plan to install trim (which I recommend), you don’t have to stress too much about a perfect cut – the trim will hide all sorts of mistakes.
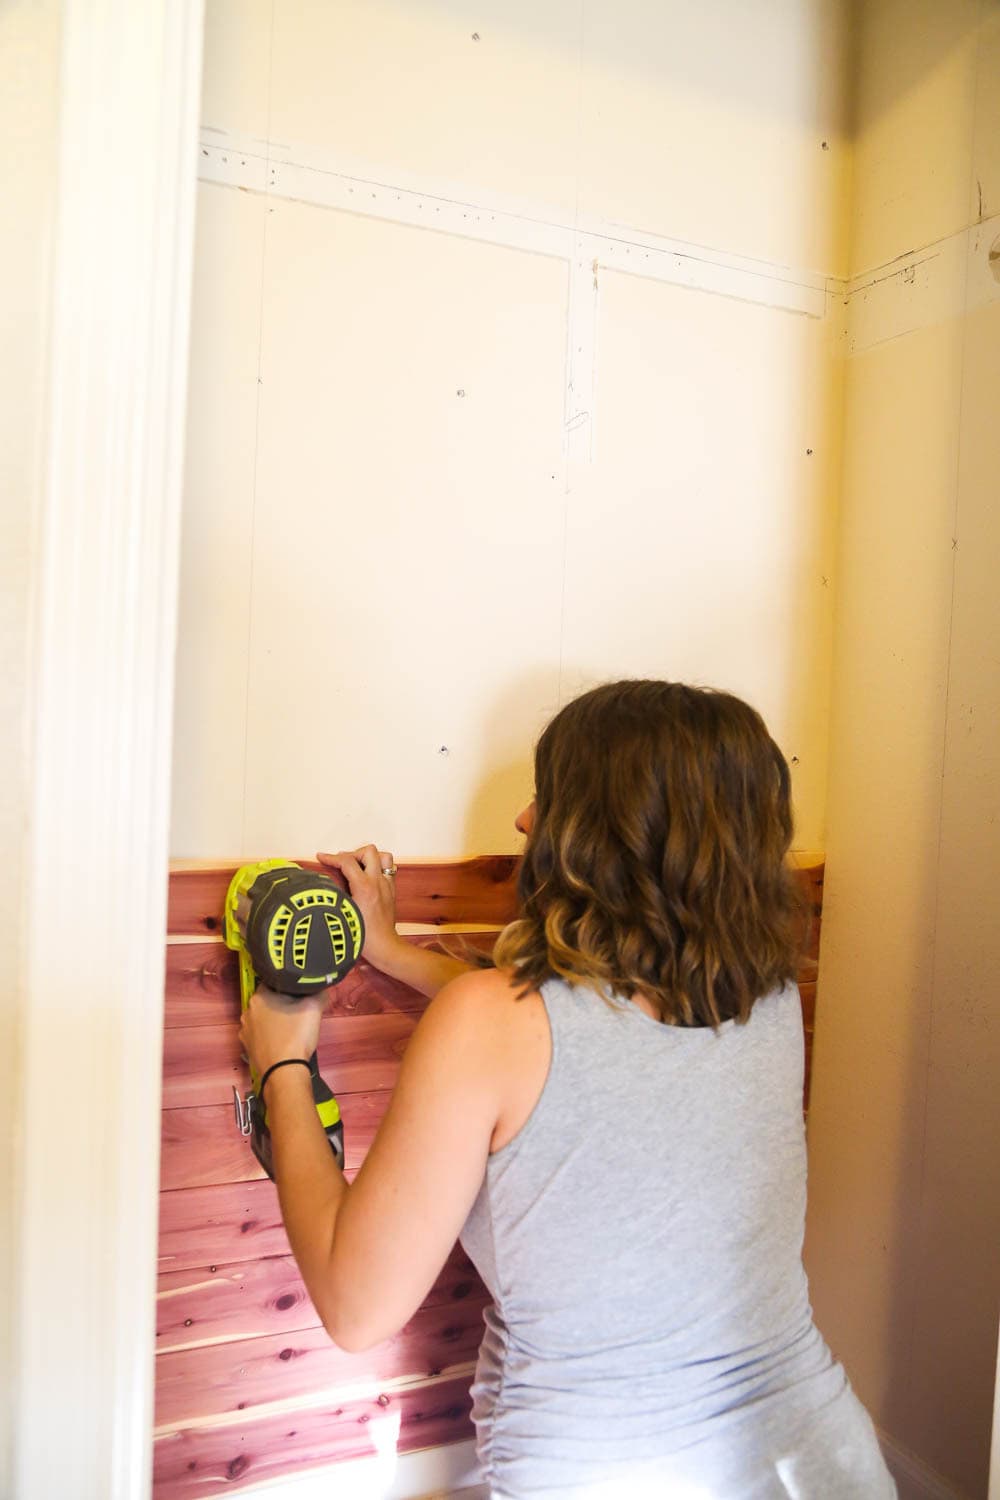
Step 4: Install Using Your Nail Gun
Grab your nail gun and get to nailing! You’re going use 1 1/2″ nails and you’ll want to want to place as many of the nails as possible directly into studs. Not only does this ensure your planks don’t fall off the walls, if you’ve placed all of your nails into studs it’s easy to know where to drill when you’re installing shelving later on (just look for the nails!).
Step 5: Rinse and Repeat
Continue working your way up the wall, locking each piece into the one before it using the tongue and groove. When you reach the ceiling, you may need to cut your final piece down using your table saw (I did), because most walls won’t be the exact right height.
After you’ve got all of your cedar planking in, you’re ready to install trim! We used these cove molding pieces for all of the corners of the closet (they’re intended to be used on the ceiling as well, but since you can’t see our ceiling unless you’re standing inside the tiny closet, we skipped it) and it’s pretty amazing how much it finishes off the look!
SO GOOD, Y’ALL!
Nursery Closet Organization
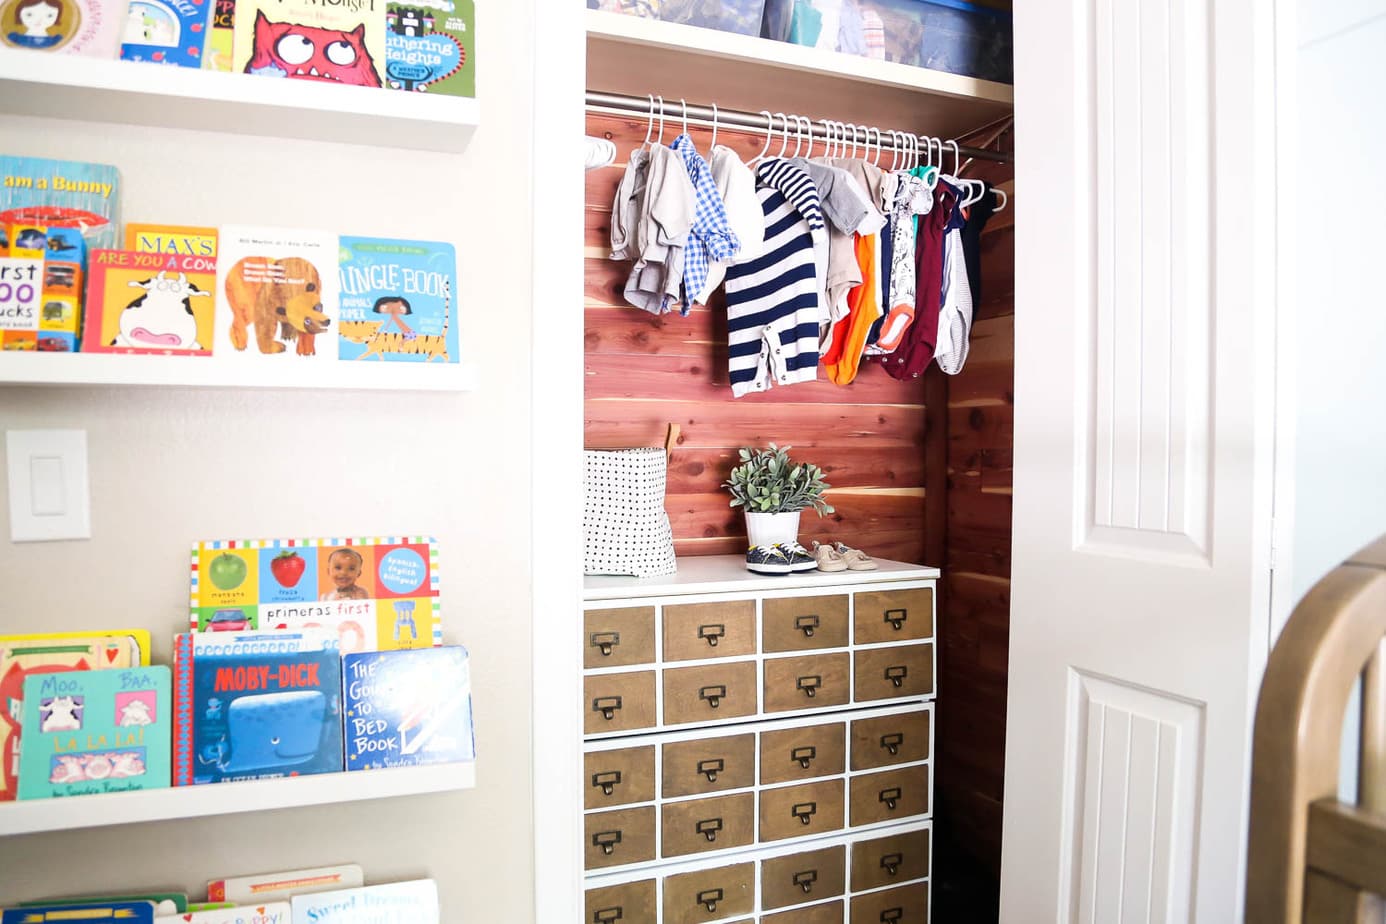
Once I finished installing the cedar lining, it was time to move on to the organization for the closet. We briefly considered a full closet system but decided that we wanted to keep things pretty simple and easy-to-change. Why? Because babies quickly turn into toddlers, and then they quickly turn into actual children, and all three of them have totally different needs. So, in the interest of keeping things simple and functional for as long as humanly possible, we decided that the only built-in storage in the closet would be a simple shelf and hanging rod. I could have built the shelving like I did for Jackson’s room, but we wanted white shelves this time and I’m a few weeks more pregnant than I was when I worked on Jack’s room, which means my tolerance for things like painting, waiting for paint to dry, and building things from scratch has gone down significantly. So, we just grabbed a pre-built (and painted!) shelf and called it a day.
Once the shelf and hanging rod were installed, we brought in a dresser for some super versatile storage. We had discussed a few different options for the bottom part of the closet, but landed on a dresser for a few reasons:
- It’s perfect for storing extra clothes, which we need since our boys will be 4 years apart and we’ll always be storing multiple clothing sizes.
- It can easily transition to storing other things if we reach a point where the clothing storage isn’t as necessary (right now we’re storing a whopping 10 different sizes, thanks to all of the tiny baby sizes!).
- It adds a nice surface in the closet that can function as an extra shelf.
- It doesn’t take up the entire closet, which leaves some room on either side to store awkwardly-sized objects.
- It isn’t open storage, which not only helps things look cleaner on a day-to-day basis, and also makes it harder for a crawling baby to get into trouble.
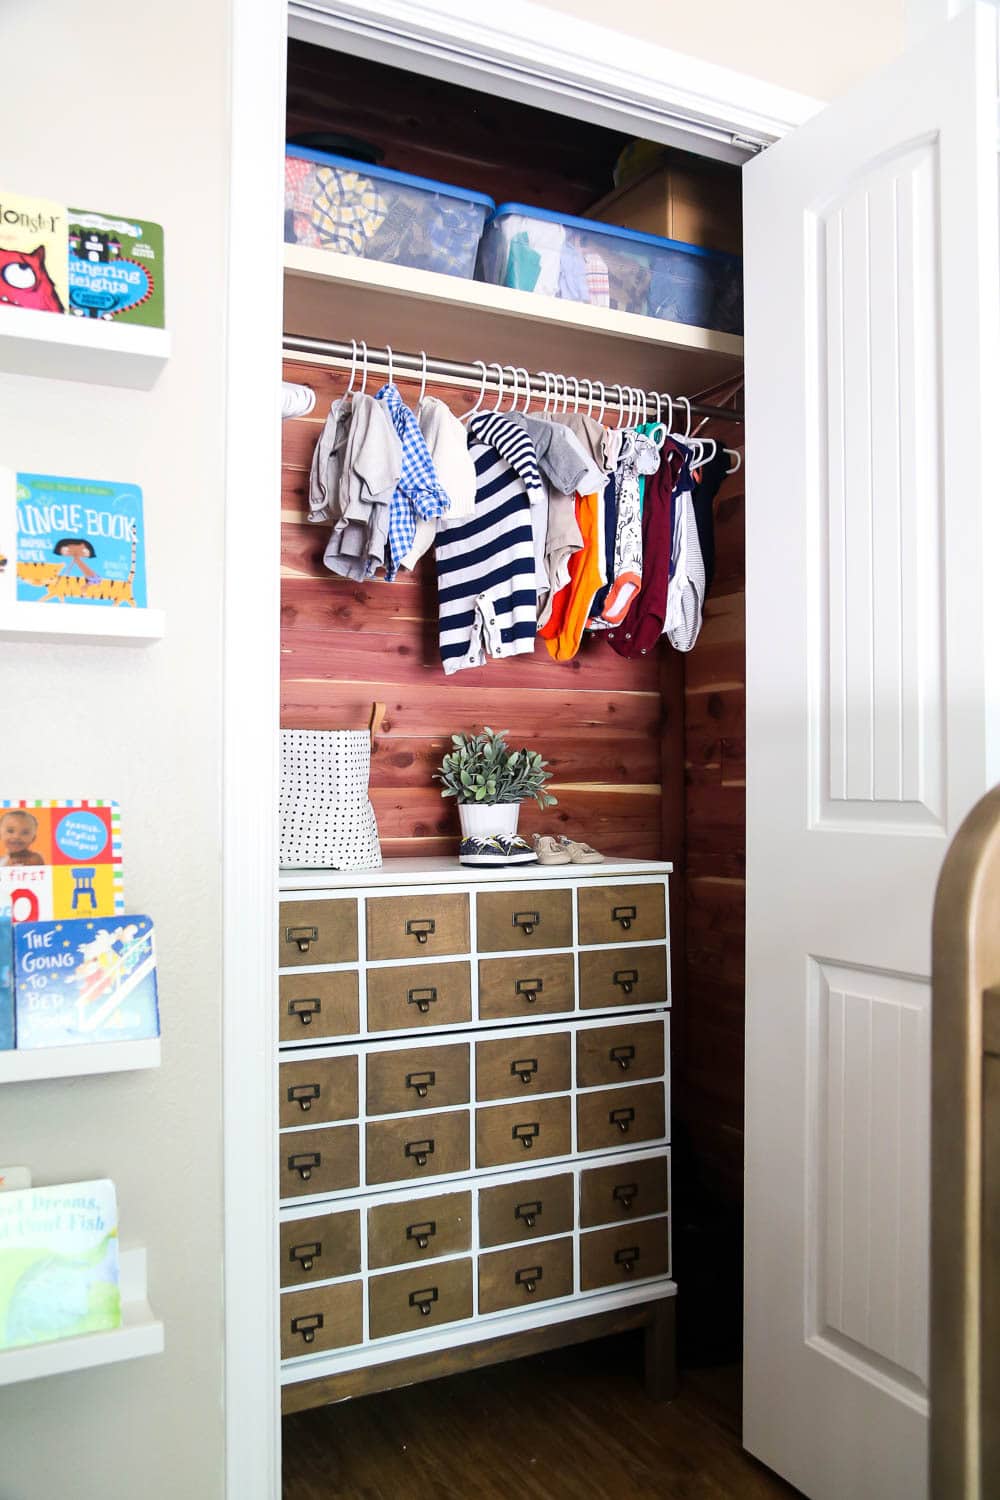
The dresser itself is a whole separate project (that I promise I’ll blog about soon!), and I just love how it looks against the cedar wall. It’s just so good!
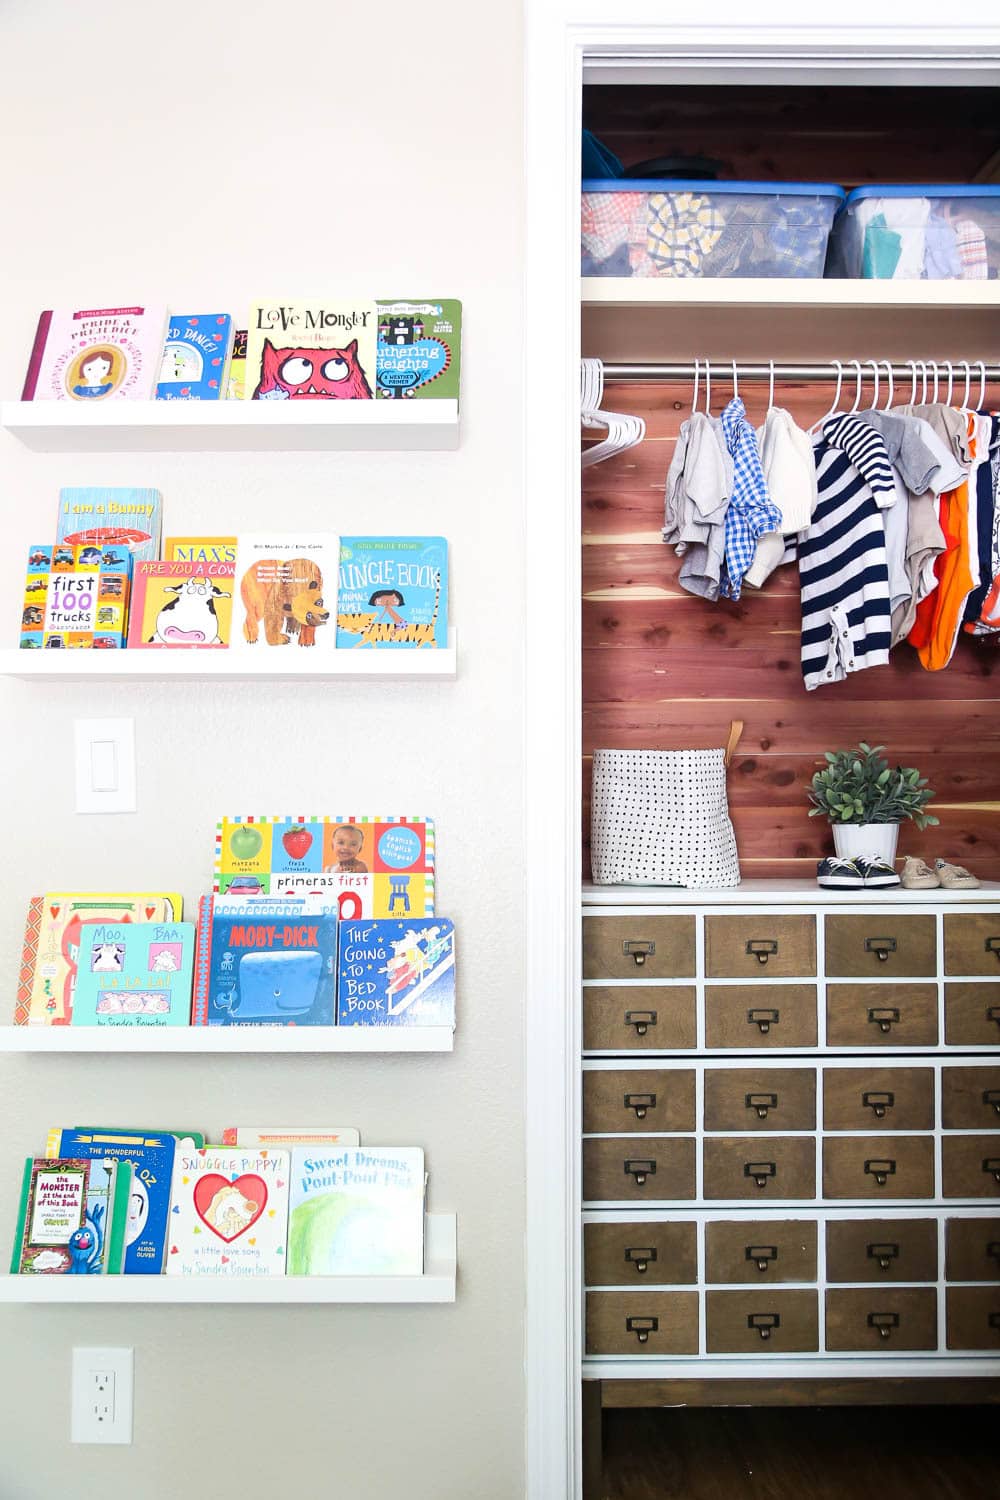
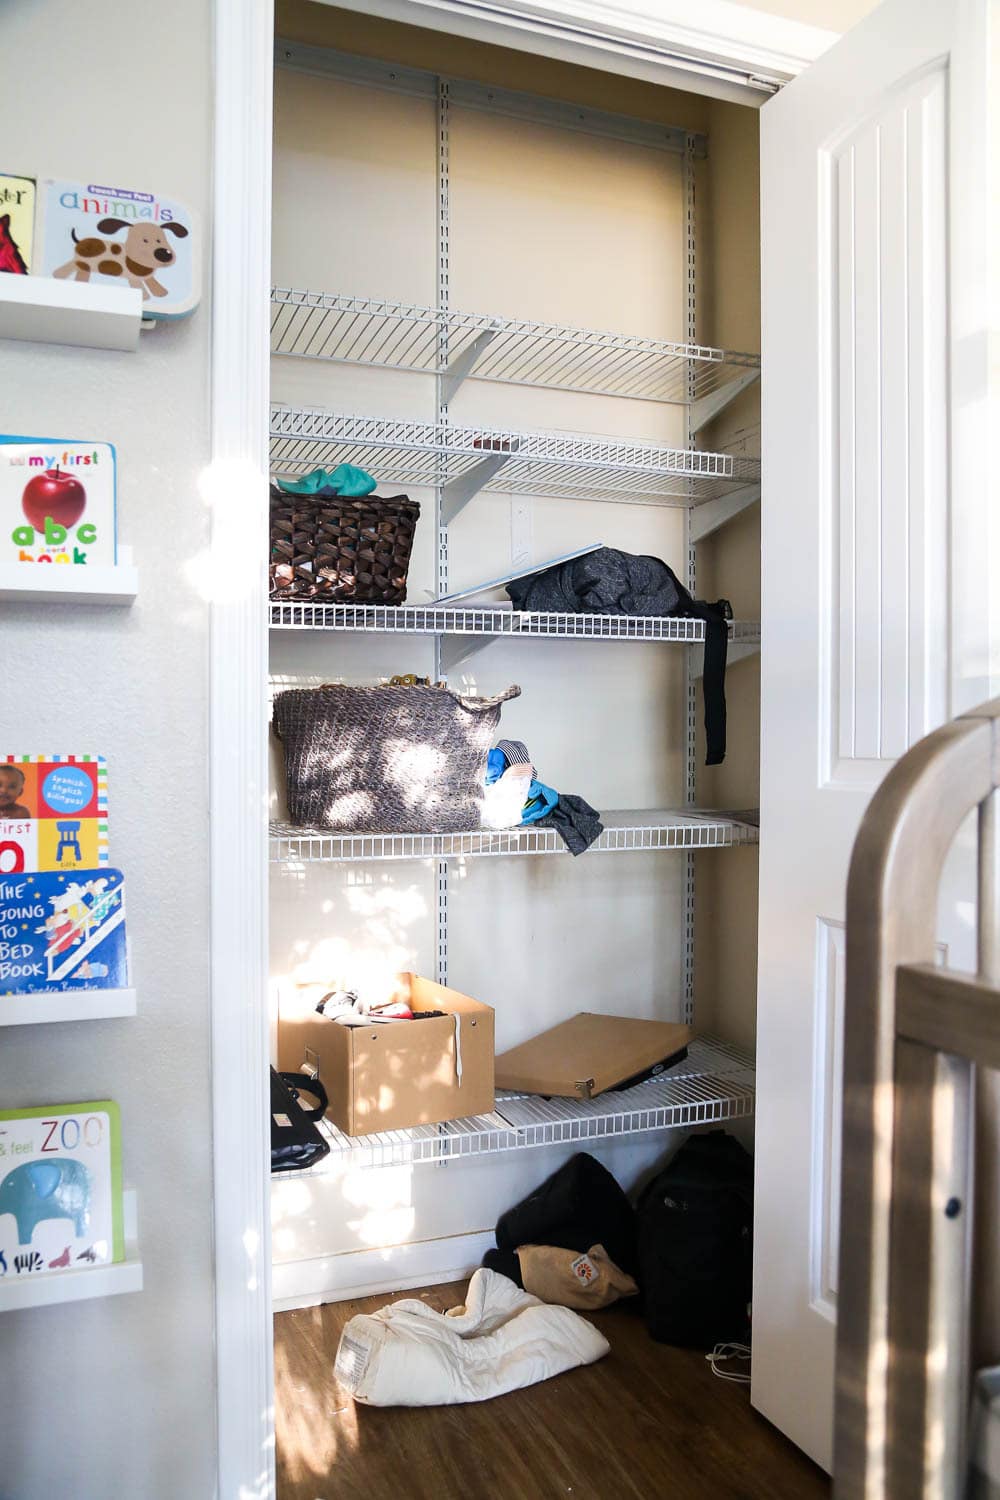
I’m still working on a post all about where we’re keeping everything organization-wise for the nursery (I’ve still got a few things to figure out in here), so I promise I’ll be back later to show you what’s inside the drawers and where everything goes. But, for now, let’s just marvel at the fact that this little closet has come a long, long way. As a reminder, here’s what it looked like before I tackled this project:
And here’s the after again:
If you’re considering trying out cedar closet lining in your home, I have to say that I highly recommend you check out Cedar Safe. It’s such a simple (and affordable!) way to add a lot of personality and function to your closets, and it’s so worth taking the extra step. I smile every time I open these closet doors now – and I just love when the super-functional parts of my house are gorgeous enough to make me smile!
Have you ever tried Cedar Safe or a similar product in your home?

