
The Konmari Method: Decluttering the Kitchen
Last updated on March 3rd, 2023 at 05:54 pm
We’ve reached the Komono section of the Konmari method, and we’re kicking it off by cleaning and decluttering the kitchen!
Friends, we have officially arrived at my very favorite part of the Konmari method – komono!
What in the world is komono, you ask?
Komono is the category where we get to tackle aaaaaall of the other things we haven’t gotten to yet. Every miscellaneous item that hasn’t been touched so far in this process (aside from sentimental items) will be dealt with now.
I know it sounds overwhelming. Calm down – we’ll take it one step at a time.
But first, let me catch you up!
Konmari Method Challenge
Over the last month or so, I’ve been walking you through using the Konmari method from The Life-Changing Magic of Tidying up (also, Tidying Up with Marie Kondo on Netflix!) and we’ve been working together to completely and utterly organize our homes. You can see the intro right here if you need more info.
So far, it’s feeling good.
I always like to leave a little reminder of the Konmari method order (along with links to what we’ve chatted about so far), so here it is:
This week, instead of tackling all of komono in one go, we’re going to break it down a little. I like to work room-by-room when I get to this category, so today I’m going to show you how I use the Konmari method to declutter my kitchen, then next week we’ll chat about everything else. This should give you a good blueprint of how to tackle one room at a time, then you can work from there.
Here’s the video with a few of my favorite tips and tricks (plus a detailed – embarrassing – look at the before and afters!)
If you’re reading this in a feed reader, you may have to click over to the post to see the video. You can also just click here to watch it on YouTube!
Alright, so let’s chat about how I completely organized my kitchen.
You know how when you first move into a house and you just throw everything into a cabinet and then you go back and deal with it all later?
Well, I never went back to deal with it.
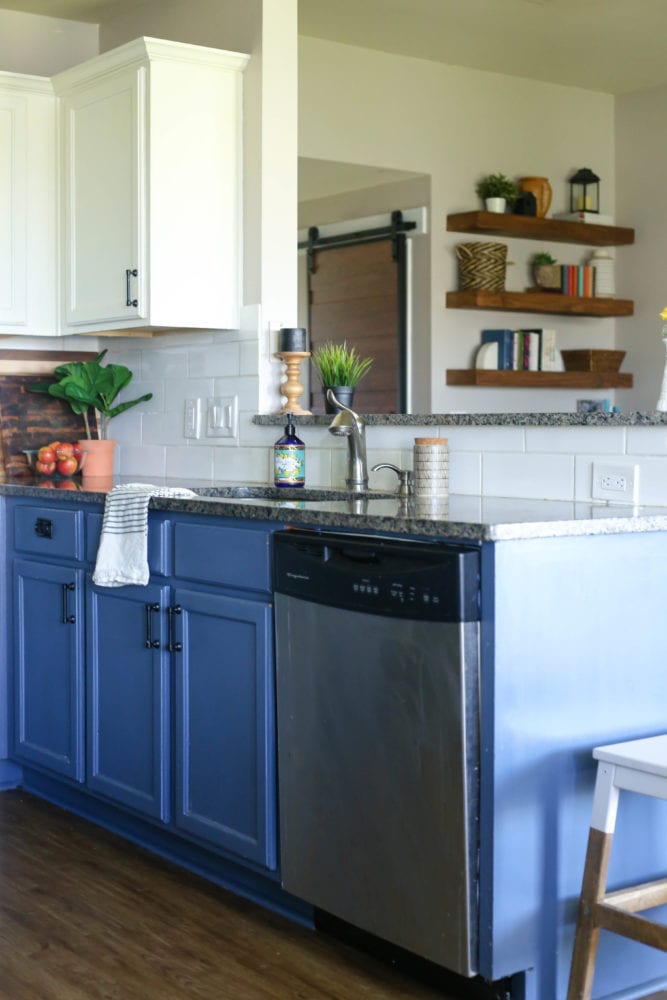
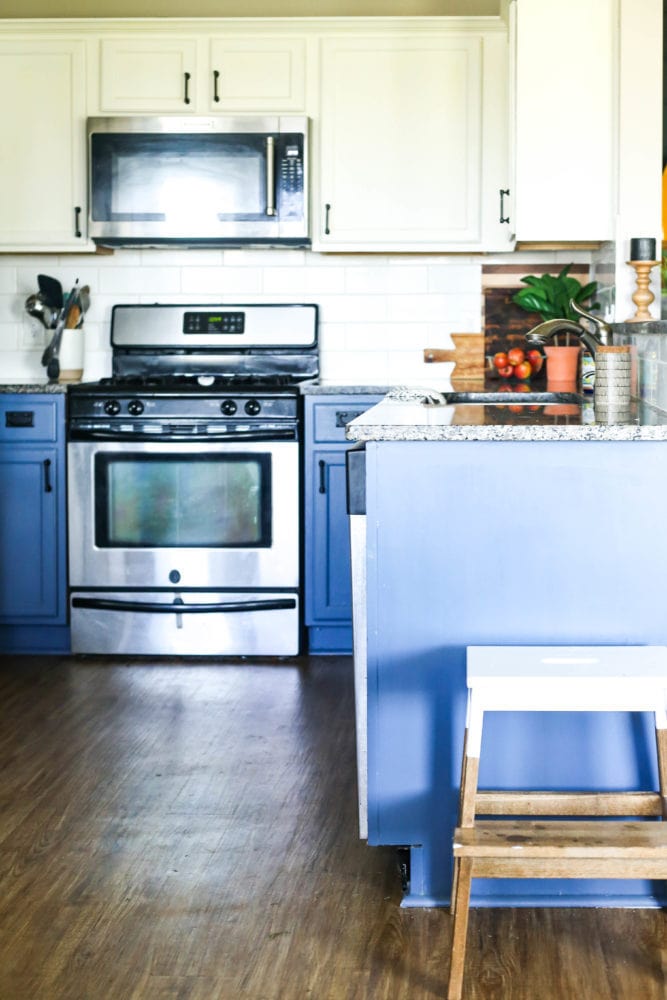
We’ve lived here for a little over a year and everything is still in the exact same spot it was right after we moved in. I don’t know about you, but after I’ve lived in a kitchen a little while I learn how to really use it, and it always needs tweaking. Our cabinets were overstuffed, a complete disaster, and just really annoying.
I can show you the “afters” in this post, but sadly the “befores” were lost in a frenzied “my memory card is full” clean-out. Whoops! You can see all of the juicy before and afters in the video, though! What I really want to do is chat about my process for working through the Konmari method room-by-room. Then, I’ll give you a few quick tips and tricks that relate specifically to the kitchen!
The Konmari Method: Working by Room
Marie Kondo doesn’t actually suggest that you should work by room – the concern is that if you have certain categories of things (towels, for instance) that are stored in multiple rooms, you’ll keep more than you need because you aren’t seeing it all together.
I get that, but I find that for me personally I work much more efficiently (and with less overwhelm!) if I just switch over to working by room. Each room will present its own unique challenges, but here’s a basic step-by-step process that I like to follow.
Step One: Assess the Situation
The first step is to just take a moment to look around the room and take it all in. At this point, I like to mentally come up with a quick game plan based on what types of things are in the room.
A few examples:
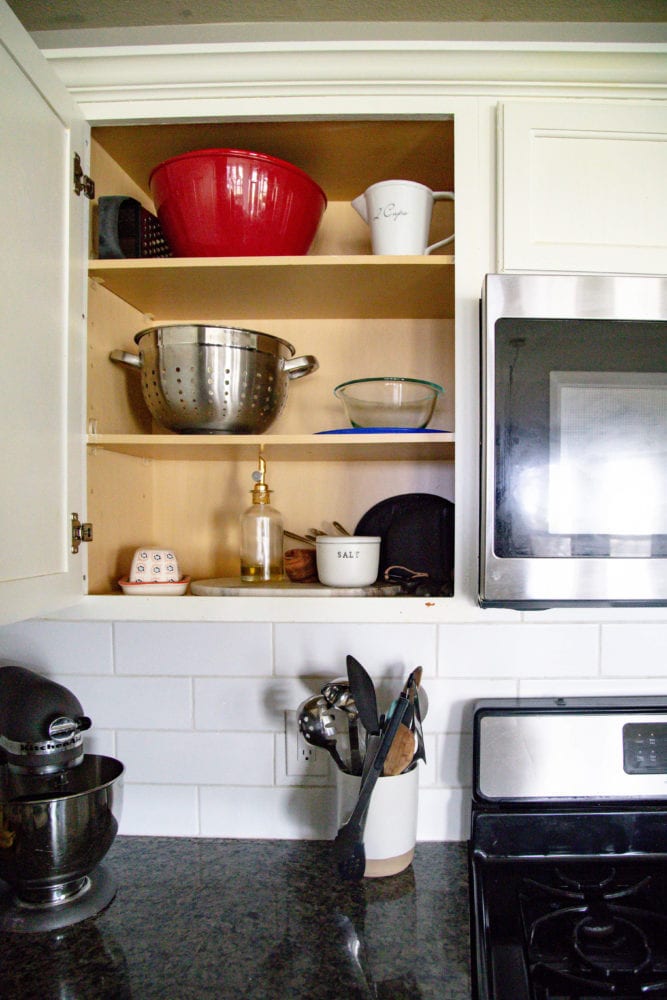
- In the kitchen, it’s mostly organized by cabinet. So, I knew I’d work one cabinet section at a time. I made a quick mental checklist of things that I knew I wanted to move to a new cabinet, and things I knew would stay put.
- In our bedroom, most of what needs to be decluttered is decor and just random junk. So, in that room I would start at one side of the room and move towards the other side. I’d choose which side to start on, then walk back and forth along the room until I’ve gone through everything in sight.
- In the bathrooms, I might do things by “zone” – start with the vanity area, move on to the medicine cabinet, then the linen closet, etc.
Once you know how you want to tackle the specific room you’re working in, you can start working.
Step Two: Touch Everything!
I know this part seems a little cheesy, but it really does make a difference. Go through every single thing in the room and be sure to pick it up and actually think about it.
There will be some things that you know immediately that you want to get rid of, or some things that you can’t fathom parting with, but most things require at least some level of thought. If you take a moment to actually pick the item up and consider it, you’re more likely to make an informed decision.
It might not make sense, but I promise it works!
Systematically work your way through the entire room until you’ve touched and made a decision about everything. This includes furniture, rugs, etc!
Step Three: Let it Gooooo
Now, you’re ready to take anything that doesn’t spark joy (or provide use to you) and say goodbye.
I like to make a pile in a separate room as I go through step #2 – it just makes it a little easier to see what’s left in the room and makes it less likely that I’ll randomly change my mind about anything.
Toss anything that is stained, damaged, or not able to be salvaged, and either donate or sell the rest.
Step Four: Find a Place for What’s Left
Once you’ve decided what you want to keep and what you can purge, you need to re-organize everything. Our cabinets got a serious re-organization as I realized that certain things would make more sense in a different spot.
You’ll likely end up with some empty space – that’s a great thing. Try to resist the urge to go purchase more things to fill it up, and instead just enjoy the room to breathe.
I recommend using baskets or trays to gather like items – if you have a small collection of something, it looks less cluttered and more intentional gathered on top of a tray versus just sitting on a shelf. I designate baskets for blankets, toys, etc. and I even toss baskets into my kitchen cabinets to keep things corralled and organized in there!
Basically, there’s no problem a basket can’t solve. Promise.
While you’re working on this step, I also recommend that you take some time to think about how you use the space. For example, in our kitchen, I knew that I needed to keep the oil, salt, and pepper near the stove because I use all three daily, but I didn’t have to have them out on the counter. So, I moved them to a cabinet right next to the stove and now they’re just as easy to access but my counter looks less cluttered.
Try to think about the pain points you’ve been dealing with in the particular room you’re working in and try to solve those as you go. We had a cabinet shelf that was totally cluttered with baby bottles and food. I got rid of about 90% of the bottles (Grant is exclusively breastfed, so we really only need a bottle for emergency situations – and just one or two is fine!), and the baby food made more sense in the pantry. I instantly opened up an entire shelf with that one little switch!
Using the Konmari Method in the Kitchen
Before I go, I want to share four quick tips specifically for decluttering in the kitchen.
- Try to keep things that work for the life you currently live, not the one you dream of living. For example, I love entertaining and if I allowed myself to, I’d keep endless serving platters, drink dispensers, and baking dishes. But, our reality is that we rarely host more than one family at a time right now due to a severe lack of square footage. Maybe someday when we have a larger house it will make sense to have all of those things, but for now I’m perfectly fine with just a few key pieces for serving.
- If you’re short on room, only keep items that serve multiple functions. I always think of Alton Brown and his hatred for kitchen tools that only do one job. There’s no reason to keep fancy china in your tiny kitchen if you never allow anyone to use it. There’s no need for a deviled egg serving tray if you only make them once a year. Anything that doesn’t get regular use in your kitchen is something that you can likely find a replacement for!
- Store less-used items in harder-to-reach spaces. Despite our best efforts to purge the excess, we’ll all have at least a few things that we want to keep in our kitchen but don’t actually use all that often. The perfect place to store that stuff is in any of the awkward cabinets that aren’t easy to reach. Above the refrigerator, stashed deep in that weird corner cabinet that’s absurdly long (are we the only ones with one of those?!), or even stashed behind a few things in a deep cabinet. Save the prime real estate for the items you’ll be pulling out and using on the regular.
- Keep your countertops clear! You’ll be amazed at how much bigger and cleaner your kitchen feels if you reduce the amount of stuff you have on the counters. Anything that’s easily pulled out (your toaster, etc.) can be stashed in a cabinet when not in use. We even moved our paper towels to the cabinet under the sink! Anything you can do to keep the counters as open and clean as possible will go a long way to making your entire kitchen feel more organized.
And now, it’s your turn!
I’d love to hear how you organize your kitchen and any tips or tricks you learn along the way. Next week, I’ll be back with a look at how we do on aaaaall the rest of our komono category, then we’ll be ready to wrap things up by talking about sentimental items!
I don’t know about you, but my house is feeling noticeably cleaner, lighter, and bigger.
Be sure to hop over to Instagram for our check in post once you’ve cleaned out your kitchen – I can’t wait to hear how it goes for you.
NEED MORE HELP?
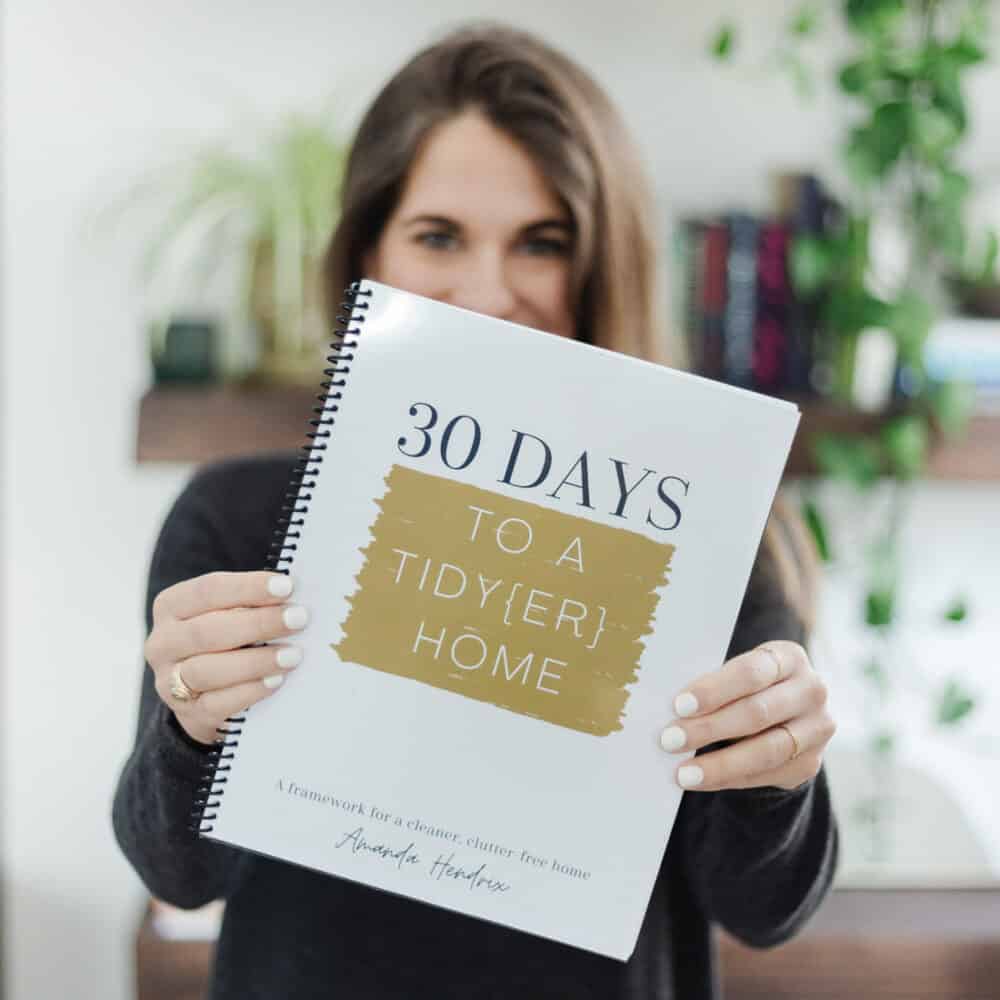
If you’re decluttering your home and need some help, check out my workshop 30 Days to a Tidy{er} Home. It has daily challenges to help you stay motivated, detailed checklists so you don’t miss a thing, and includes access to a private Instagram page so you can follow along with me as I go through the process! This is a game-changer if you struggle to get your home organized. Click here to learn more – and if you’re interested in a quick sample, CLICK HERE to get the first week for FREE!
I have never heard before this Konmari method. It seems interesting to try. Thanks, Amanda for educating us.
Konmari’s method was really helpful for me. Thanks for sharing the article