
The KonMari Method: Tidying Papers
Last updated on March 1st, 2023 at 05:51 pm
We’ve reached the third category of our KonMari method challenge, and this week we’re organizing papers! Here are my best tips for keeping your papers organized, and how we tackled it in our home.
Welcome back to week THREE of our organizing and decluttering challenge! I’ve heard from so many of you who are absolutely killing it, and I love to hear how much you’re getting rid of in your home.
This week is one that I’ve been looking forward to ever since we decided to go through this decluttering process again. Last time we organized our home using the KonMari method we made some serious progress on papers, but things have really fallen into disarray lately.
I’m excited to tell you all about how we organized our papers this week, but first, let me give you a quick reminder of the order for the KonMari method and catch you up on anything you may have missed.
Now that you’re all caught up, let’s chat papers. First up, here’s my weekly video that shows in detail exactly how I went through this process.
If you’re reading this in a feed reader, you may need to click through to the blog to see the video. Or, you can click here to watch it on YouTube!
How to Organize Papers Using the KonMari Method
When it comes to organizing paperwork, I’ll admit that my first instinct is to just throw everything away. Every. Last. Piece.
Nothing would make me happier.
But, unfortunately, there are some things you just can’t get rid of. Birth certificates. Tax documents. As annoying as it is to have these papers hanging out in the house, you just have to have them. And, of course, when you run a small business out of your home, it means you need even more of these obnoxious papers.
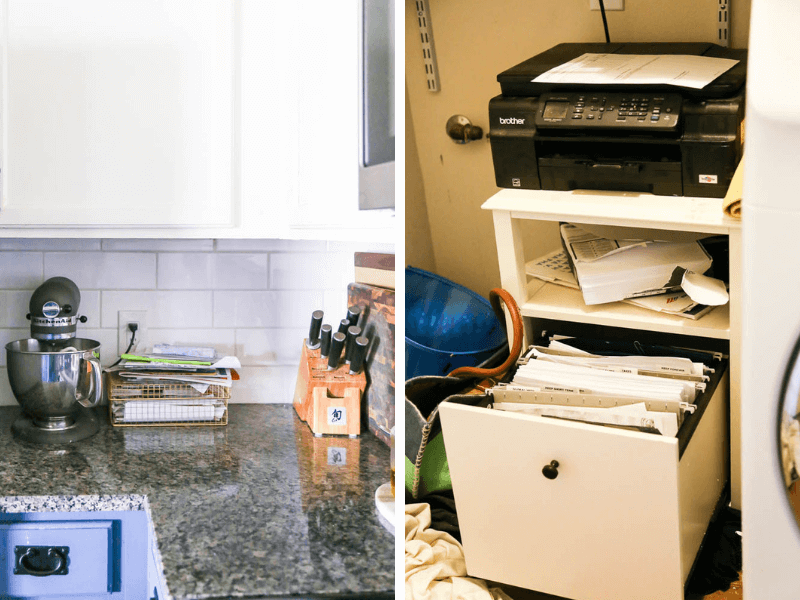
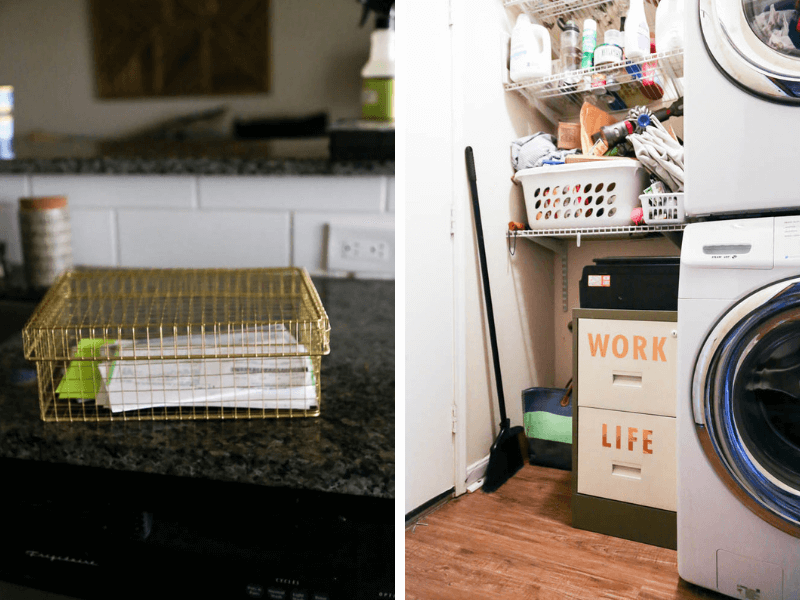
Here’s what the state of affairs was in our house before we tackled our papers this week. We have a small basket in the kitchen that was intended to hold papers we needed to deal with quickly, but has turned into a catch-all for every random paper that has entered our house.
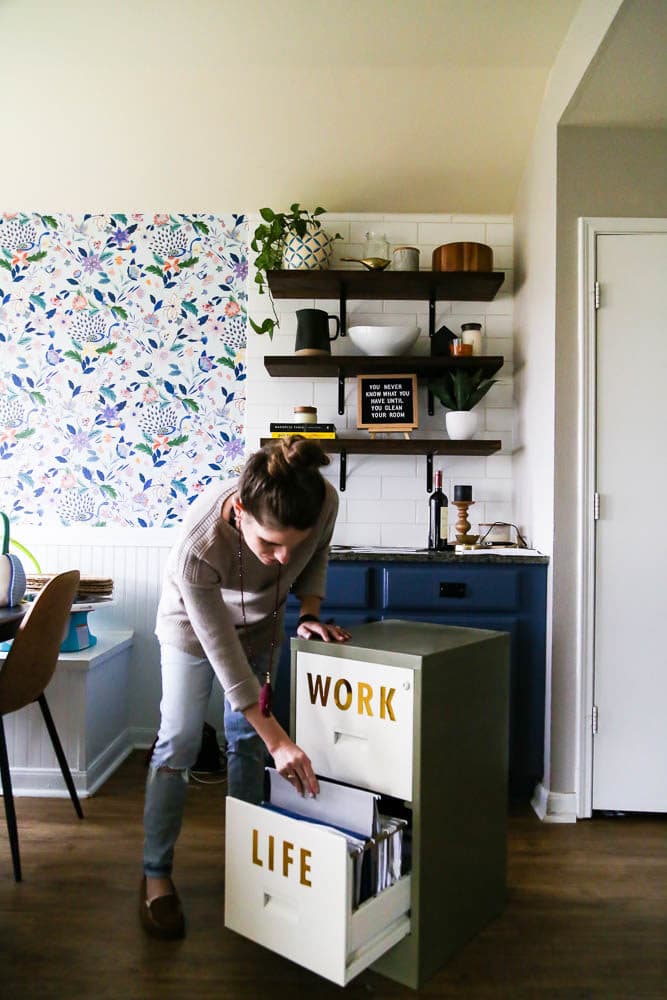
We also had a small cabinet in the laundry room that housed some papers, but it was overflowing and not at all organized. I had the metal filing cabinet that I made over last month just sitting in my living room waiting to be brought in to do its thing, so this week I was finally able to re-arrange things and get it organized once and (hopefully) for all.
Here’s how I did it:
Step One: Gather All the Papers
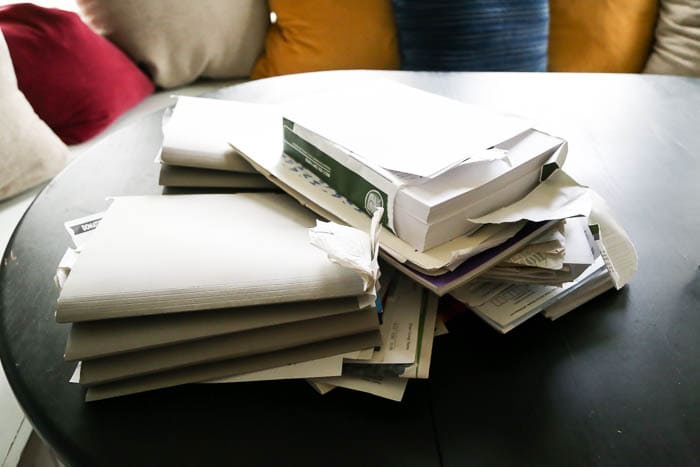
As always, the first step to any KonMari organizing is to get everything all together in one place. I did a quick walkthrough of our house and picked up any random papers I could find, then I brought it all to the kitchen table to be sorted.
Step Two: Sort the Papers into Categories
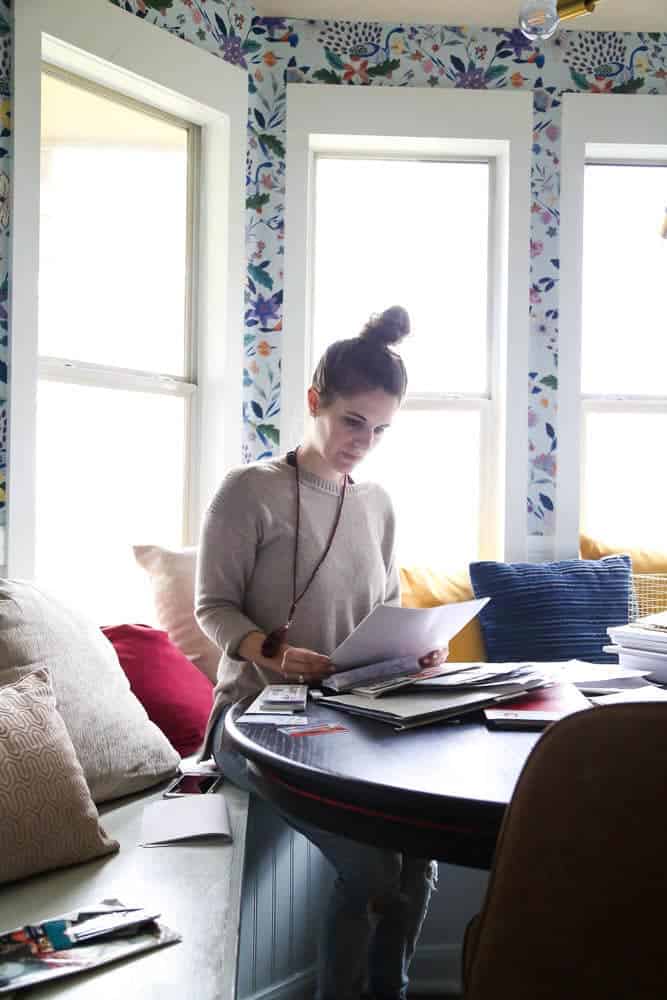
This is where I really lean on what Marie Kondo suggests in her book, as I find it’s the simplest and most effective way to organize papers. She says you should organize your papers into three simple categories:
- Needs attention
- Should be saved indefinitely
- Should be saved short-term
This is a really unique approach because it means you aren’t sub-dividing things a zillion times over. Let’s be real – how often do you actually dig through your paperwork for specific documents? Do you really need 17 different categories for your papers, or can you just grab one of the three categories and look for what you need?
The first category is meant for things like bills, forms that need to be filled out, or anything that can be dealt with and then thrown away.
Things that fall into category #2 are papers like your house deed, your identification documents, or other long-term contracts that you don’t access often but need to have on hand.
The third category is for documents that you might access a little more regularly and probably won’t keep forever. Things like tax records or short-term contracts would fall into this category.
We do adjust her method only slightly, as we find it easier to store tax documents for each year together. This makes it simpler to discard them when the time comes around.
While you’re sorting your papers, you should also make a stack for papers that you can discard. While it’s my inclination to get rid of everything, how many papers you keep really is a personal decision. What I would encourage you to do, though, is ask yourself if the paper is one you really need to keep around or if you can access the information some other way. Things like credit card or bank statements can be found online, and even most appliance manuals or other instruction books can easily be accessed on the company’s website. I recommend only holding onto papers that you truly cannot get rid of, and purge the rest. It’ll feel good, I promise!
Step Three: After Discarding, File Your Papers
Again, there are many different ways you can store your paperwork, but here’s the method we landed on:
- The gold basket has remained in our kitchen and we are actually only going to use it for the “needs attention” category. This will be for things like unpaid bills, reminders, or papers that need to be turned in somewhere. At the beginning of each month, we’ll take a few minutes to sort through the basket and empty it out (discarding things that we no longer need and filing things we need to hold onto).
- The other two categories of papers are filed in our filing cabinet. We broke the “needs to be saved short-term” category into a few subcategories: one for each tax year that we’re saving, and then one for everything else. This just makes it a little simpler to discard old tax documents when the time comes around.
- For business paperwork, I’ve got the second drawer of my filing cabinet. Most of my paperwork is actually stored on my computer (I try to keep as much of it as I can digital!), so that drawer is actually able to also store some camera gear and other non-paper items.
Frequently Asked Questions About Papers
Each week, I’ve been asking you to submit questions via Instagram for things you’d like me to cover in each category. Here are a few of the questions about how to sort papers!
How should I store lecture materials or other educational papers?
Back when I was still teaching, I always kept notes and paperwork from conferences and I regularly referred back to them. I kept those in my classroom, but I know many people have offices at home where they need to store these sorts of papers.
The first thing I’d suggest is to take a thorough look at them and determine which ones you need to keep. I got in the habit of keeping everything – even if I wasn’t using it – and that made the papers pile up quickly. Only keep the papers you actually refer to and use on a regular basis.
Once you’ve pared it down, my personal preference for storing lecture materials is in a 3-ring binder. I use dividers for different topics or conferences, and it keeps everything compact yet still easy to find. Plus, it’s easier that way to limit yourself to just one binder – once it’s full, you can purge unnecessary papers again!
What if I don’t have a file cabinet?
You absolutely don’t need a file cabinet (or even a drawer) to store and organize your papers! In fact, most people really don’t need to keep enough papers around to even make a filing cabinet necessary. I recommend a divided expandable folder (something like this) stashed in an easy-to-locate spot.
How do I stop it from getting out of control again?
Ahhh, the most important question of all.
Marie Kondo insists that once you’ve fully tidied up your home, you won’t ever relapse. You’ll simply love your newly-decluttered home so much that you’ll refuse to allow it to get messed up again.
I think that’s maybe a little unrealistic.
(Either that, or I’m just a hot mess.)
I find that it takes actual effort and work to avoid allowing your home to fall back into a cluttered state, and sometimes we falter. Exhibit A? This isn’t the first time I’ve done this process!
I can’t definitively speak to how to avoid letting your papers pile up again because I’ve honestly never managed to keep it all organized for more than a few months at a time. But, here’s my plan this time around:
- As papers enter our home, I’ll do a quick assessment to determine what should be kept. Papers tend to land on the bar in our kitchen and I try to deal with them every couple of days. I’ll throw away the trash and toss everything that needs to be dealt with in the wire basket we keep near the fridge.
- I’m setting a reminder on my phone for the first of every month – when it pops up, Corey and I will spend 10-15 minutes emptying out the wire basket. Anything that hasn’t been dealt with yet will get handled that evening, and everything else will either get filed or thrown in the trash.
As long as we actually follow through with looking at the basket on a monthly basis, our papers won’t pile up and we’ll be able to keep things organized!
Keep your fingers crossed for us.
Be sure to comment below or hop over to Instagram to let me know how you’re doing!
Next week, we’re going to get started on the komono category. I’m breaking it into two posts – one for the kitchen to show you my general process (I tackle this part by room), and then a second to touch on the rest of the house.
Get excited, because this is the category that really makes the biggest difference!
Be sure to subscribe to our YouTube channel so you can be the first to see our videos each week!
NEED MORE HELP?
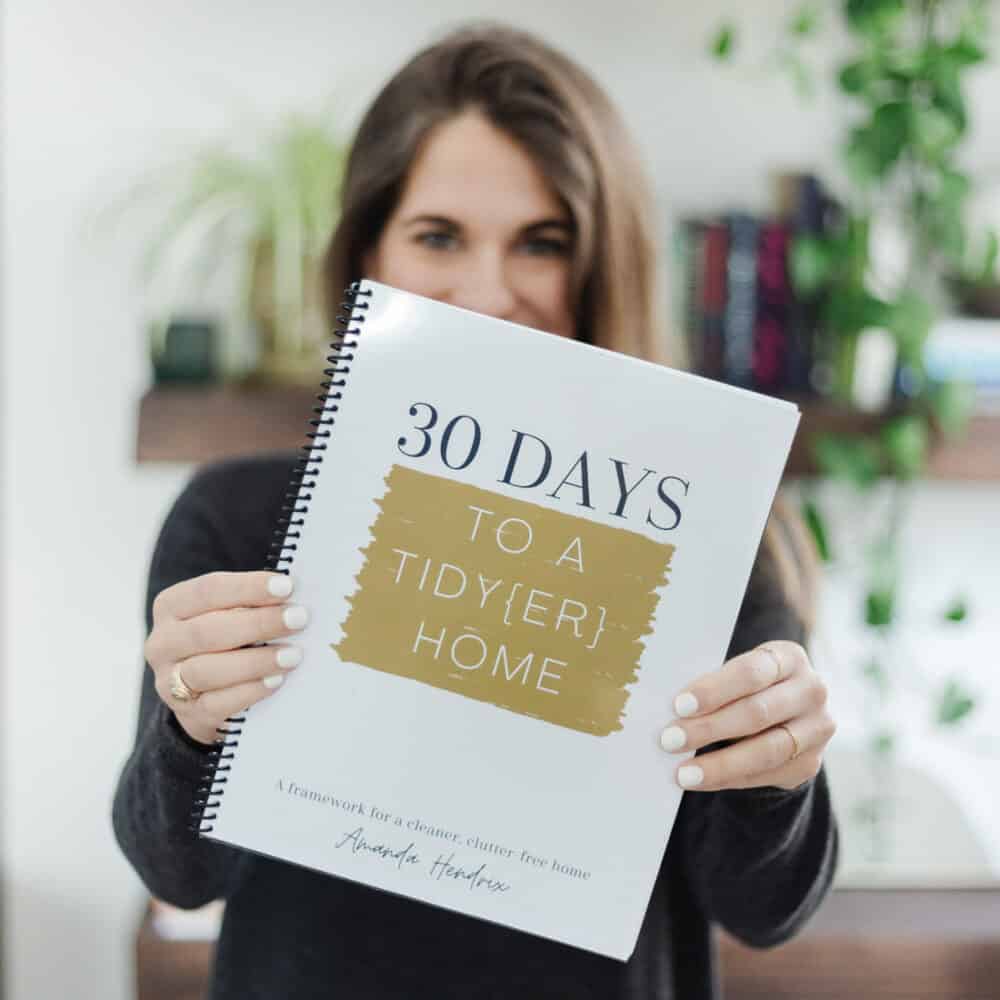
If you’re decluttering your home and need some help, check out my workshop 30 Days to a Tidy{er} Home. It has daily challenges to help you stay motivated, detailed checklists so you don’t miss a thing, and includes access to a private Instagram page so you can follow along with me as I go through the process! This is a game-changer if you struggle to get your home organized. Click here to learn more – and if you’re interested in a quick sample, CLICK HERE to get the first week for FREE!