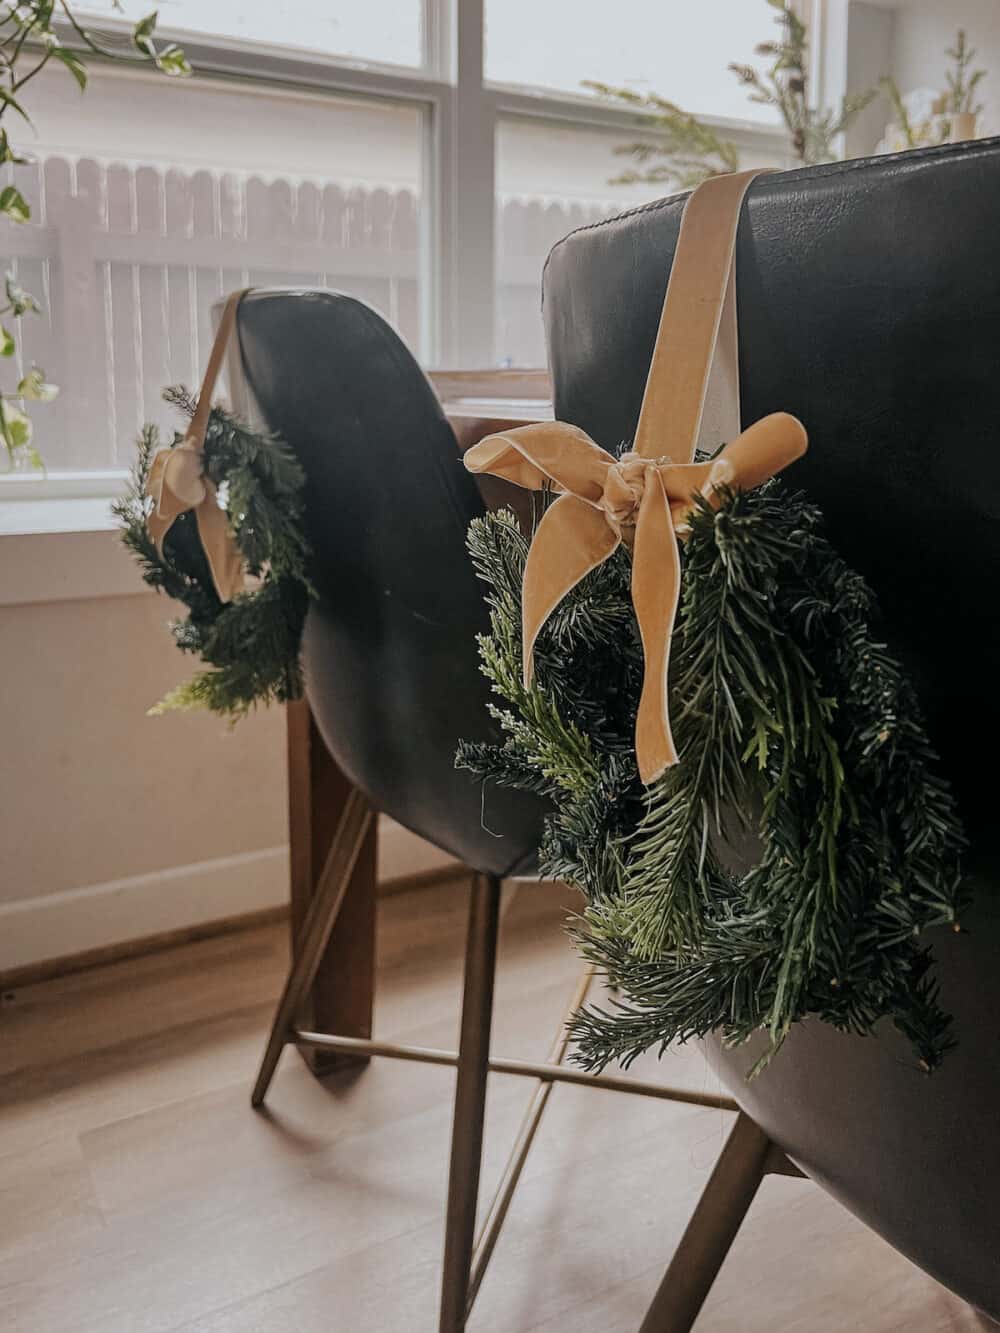
DIY Mini Chair Wreaths for Christmas
I’m always looking for new ways to infuse a little extra holiday cheer into our home. Last year, I added these incredibly adorable DIY holiday wreaths to our dining chairs, and I realized I never actually wrote about them here! So, today, I’m going to show you how to make thes super cute (and incredibly simple) DIY chair wreaths. It’s a project that’ll take you under an hour or so to put together, and any beginner can easily tackle it.
But it certainly doesn’t look like a beginner-style DIY. If you ask me, it’s actually pretty gorgeous!
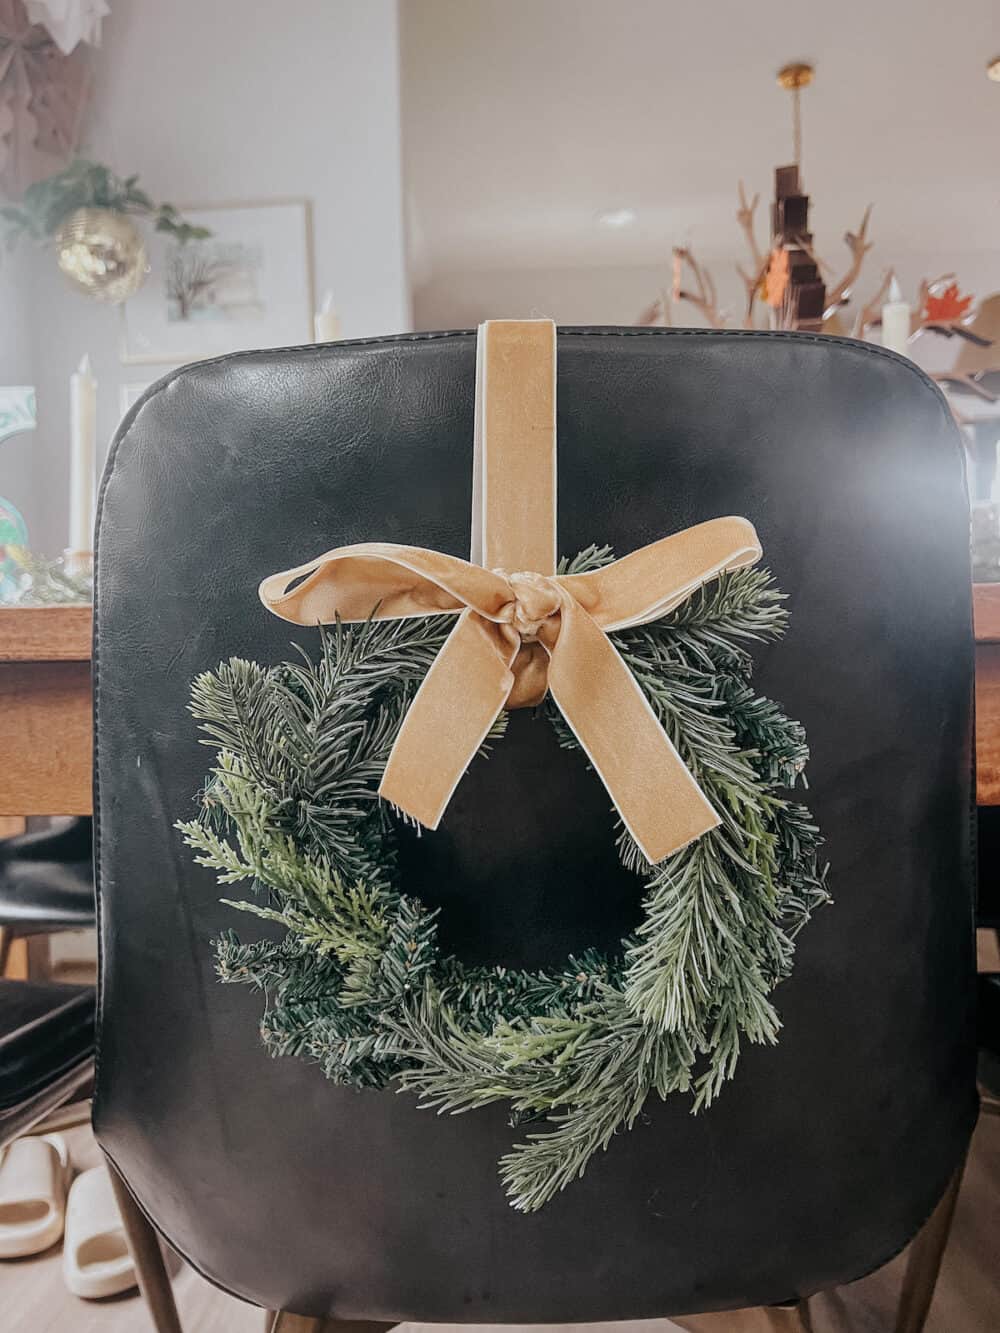
DIY Chair Wreaths for Christmas
Materials Needed
As always, I’m linking the exact products I used for my project. That doesn’t mean they’re the only right ones! You should always feel free to add your own personal touch.
Step One: Prepare Your Wreaths
First up, you’ll want to gather up your mini wreaths and prepare them for your chairs. For me, that meant adding a little extra to them. The wreaths I used were pretty thin and basic, and I wanted them to feel just a liiiiittle more exciting. So, I cut up some faux pine sprigs and hot glued them in with the wreath to make it look a bit nicer. It only took a few minutes, and it made a big difference.
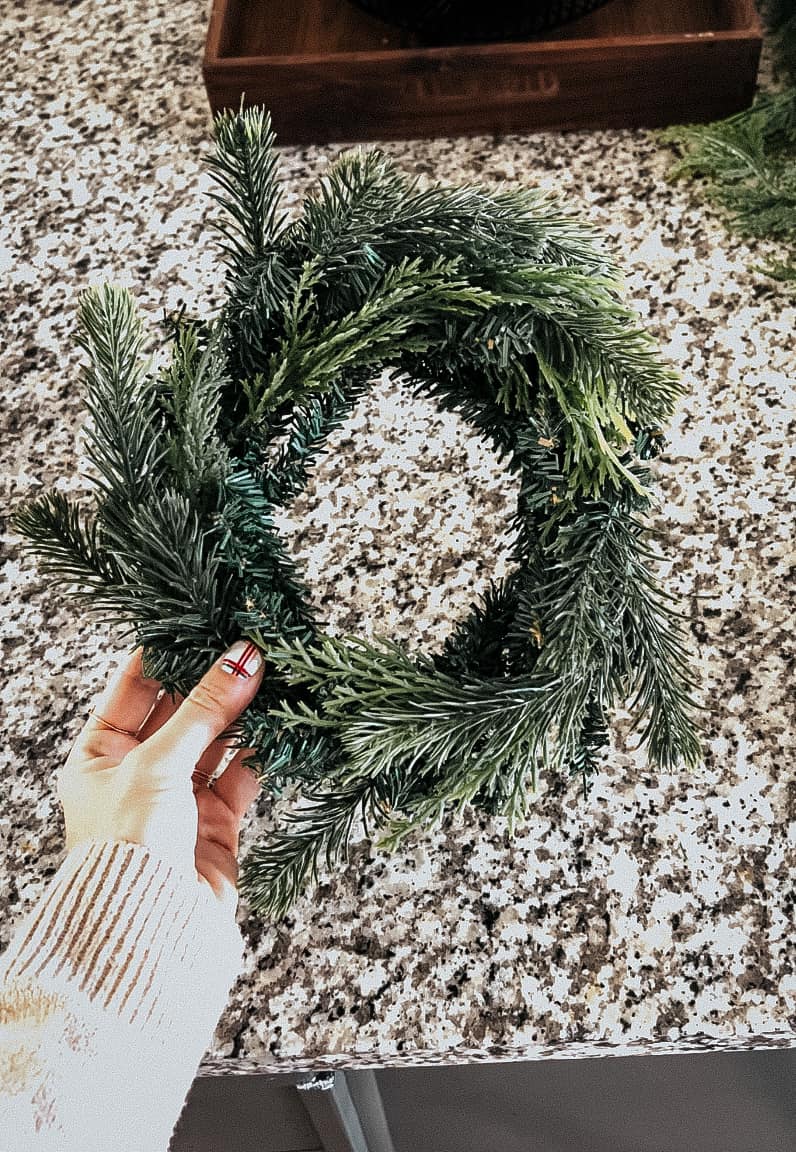
This is, of course, completely optional. If you want to leave your wreaths as-is, there’s absolutely nothing wrong with that. BUT, either way you’ll need to spend a few minutes fluffing up your wreath to make it look nice and full!
Step Two: Add Ribbon Loop
Now, you’re going to want to add a loop of ribbon around your wreath. Don’t worry about the bow just yet, you’ll add that in afterwards. For now, just create a loop for each wreath that will go over the top of your chair a few inches and will hang down to about the center of the chair. This measurement will be different for everyone. I just held the ribbon up and eyeballed the right length. Be sure to cut the same length for every ribbon for your wreath!
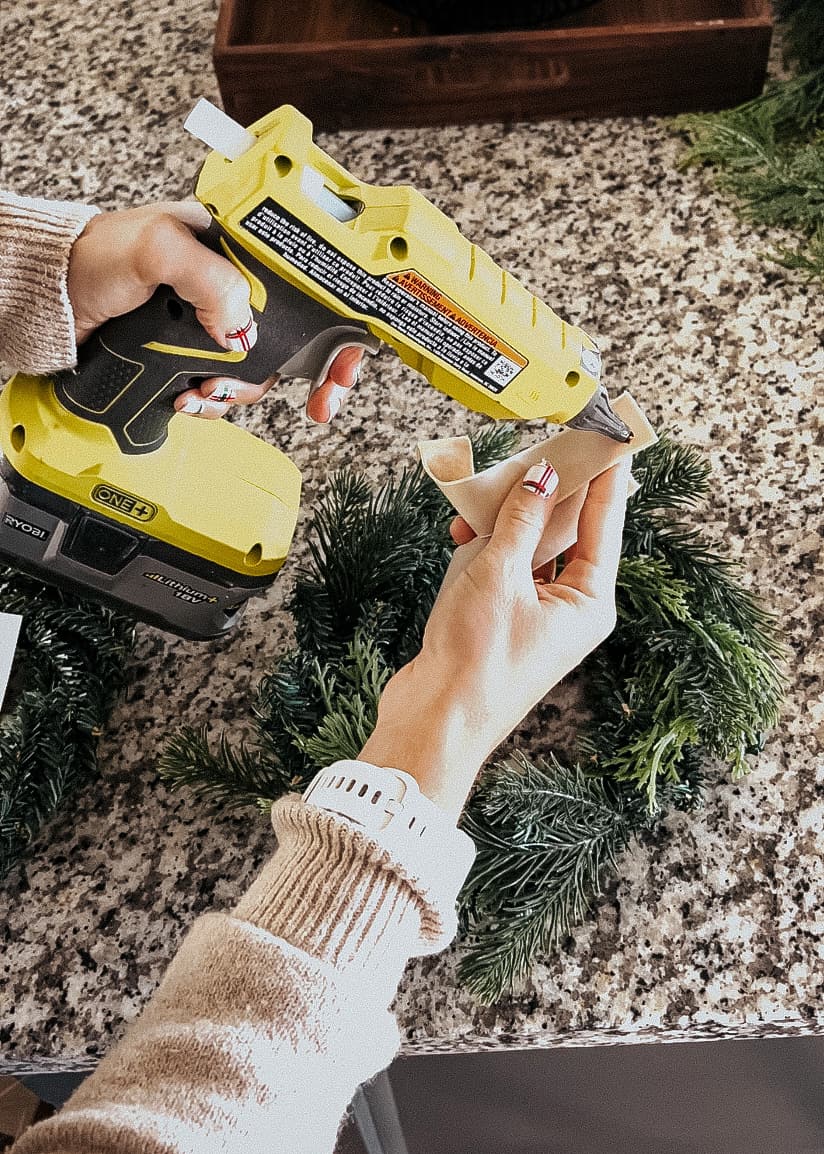
Once you’ve cut your long strip of ribbon (remember, when looped it should fit over the top of your chair and hang down a few inches on the back so the wreath will be centered-ish), create a loop around the wreath and hot glue it together.
Step Three: Create a Bow!
Now comes the fun part – creating a bow! This is a really really easy method for creating a bow for your wreaths – no tying involved.
All you need to do is cut a strip that’s about 18″ long (you can cut off any excess afterwards), then lay it out with the two ends folded inward, like in the photo below.
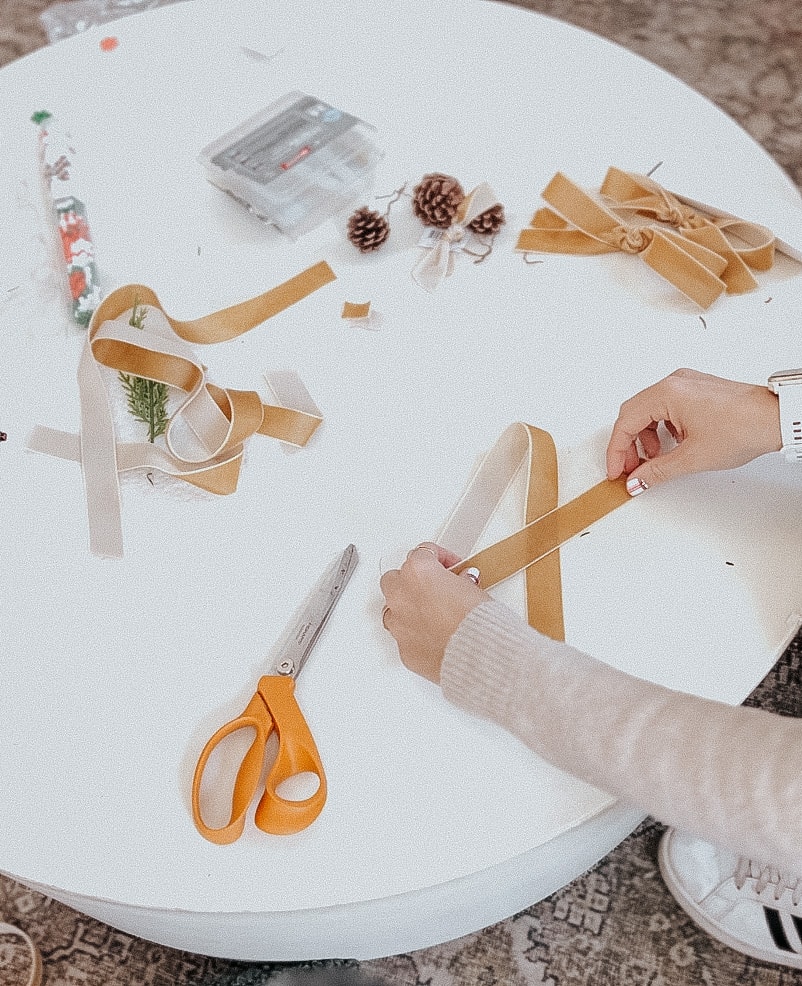
Next, cut another strip that’s about 5″ long, and tie a knot in the center. Wrap that piece around the center of your folded longer strip, with the knot centered so it looks like a bow! Tie the ends together on the back, adjust until you like the look of it, and trim off any excess.
Once you’ve got your bows created, simply hot glue them onto the loop so that they sit right at the top of the wreath. It will look like you tied them right into the loop, and no one will ever know the difference.
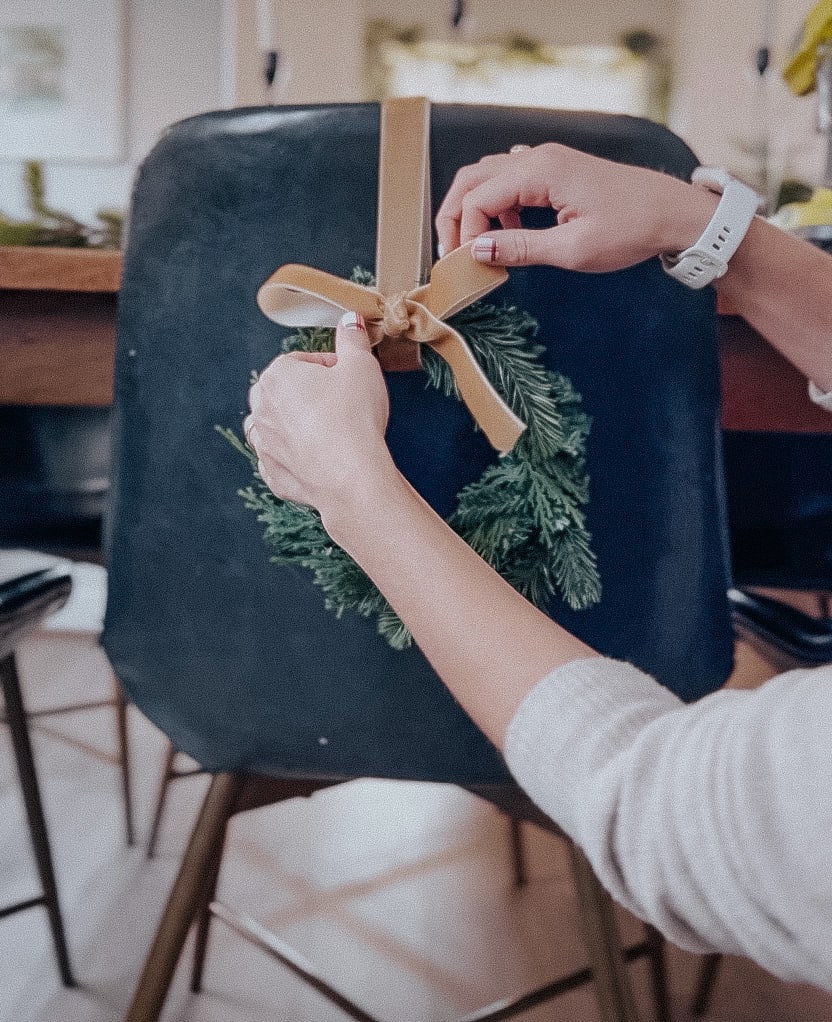
Step Four: Hang on Your Chairs
Now, you’re ready to use the command strips to hang your wreaths onto your chairs. This is the method that works best for me with chairs that have solid backs. The style of chair you have will obviously affect how you attach the wreaths – you may even be able to just tie them right on!
But, here’s how I do it.
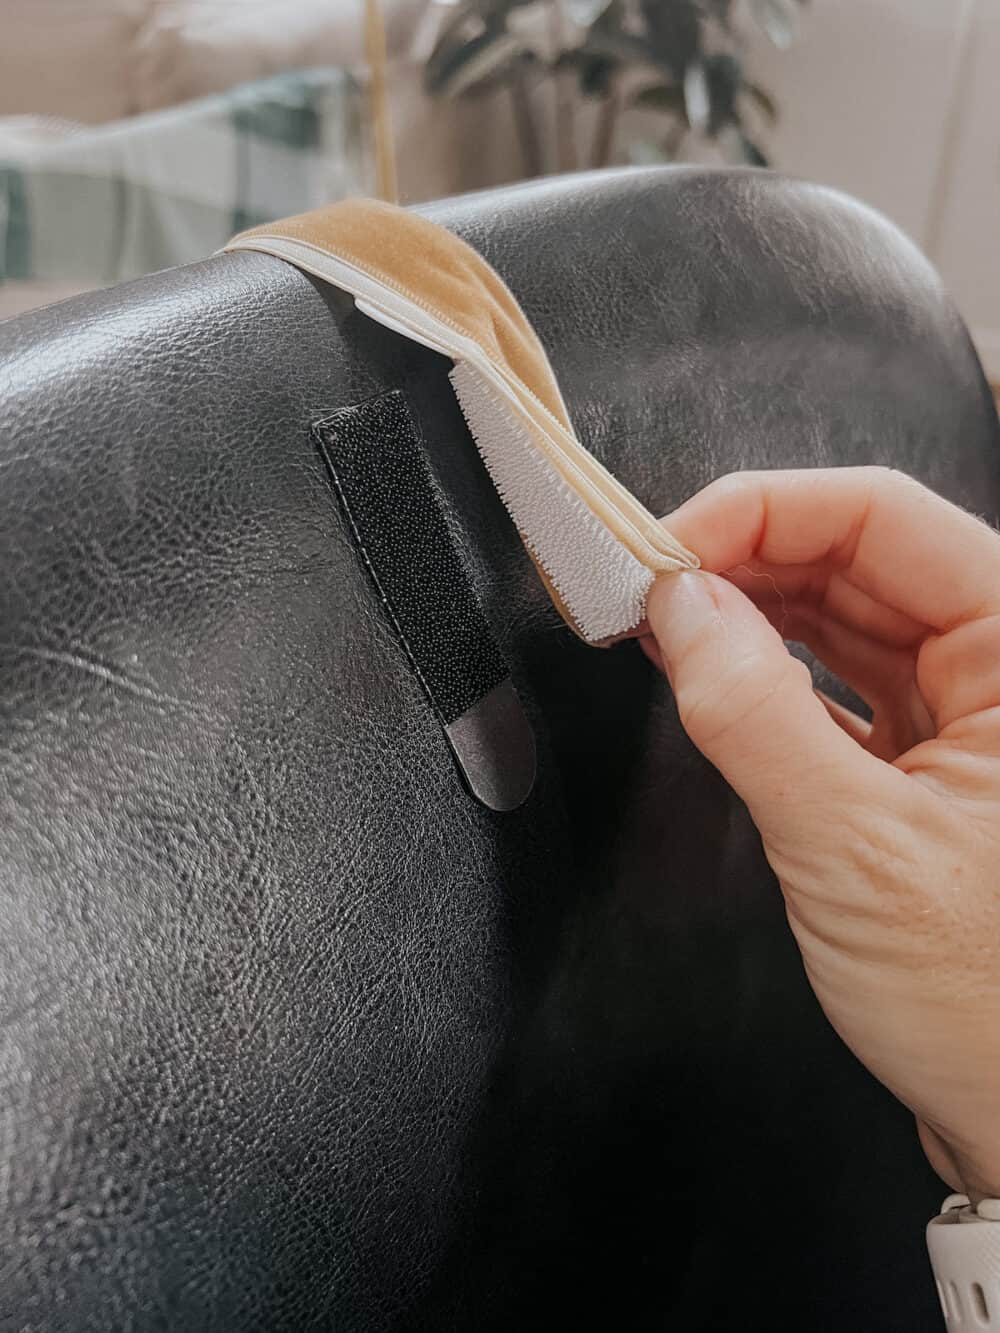
I place one side of a velcro Command strip on the back of the chair. I try to place them all at the same height and centered on the back of the chair, but I just eyeball it if we’re being totally honest.
Then, I add the other side of the Command strip to the loop of ribbon. You may need to hot glue it on if it won’t stick to the velvet.
Stick the two Command strips together and you’ve got wreaths on the back of your chairs! The Command strips totally disappear under the ribbon, and they don’t damage my chairs at all.
And that’s it! That’s all you have to do to get the cutest little DIY chair wreaths for your dining room or kitchen. This is definitely one of those projects that can easily be tweaked in about a zillion different ways, so I’d love to hear what you try.
I think this is such a special little touch that makes a huge difference in how festive our dining room feels, and I’ll be doing it for years to come!
