
DIY Entry Shelf With Hooks
Last updated on May 21st, 2021 at 02:43 pm
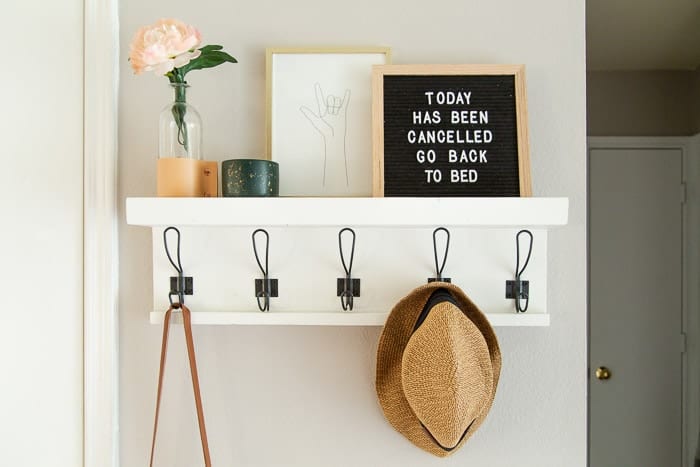
Need a place to hang your purse and store your keys? This simple DIY entryway shelf with hooks is a super simple project that you can build in under an hour – for real!
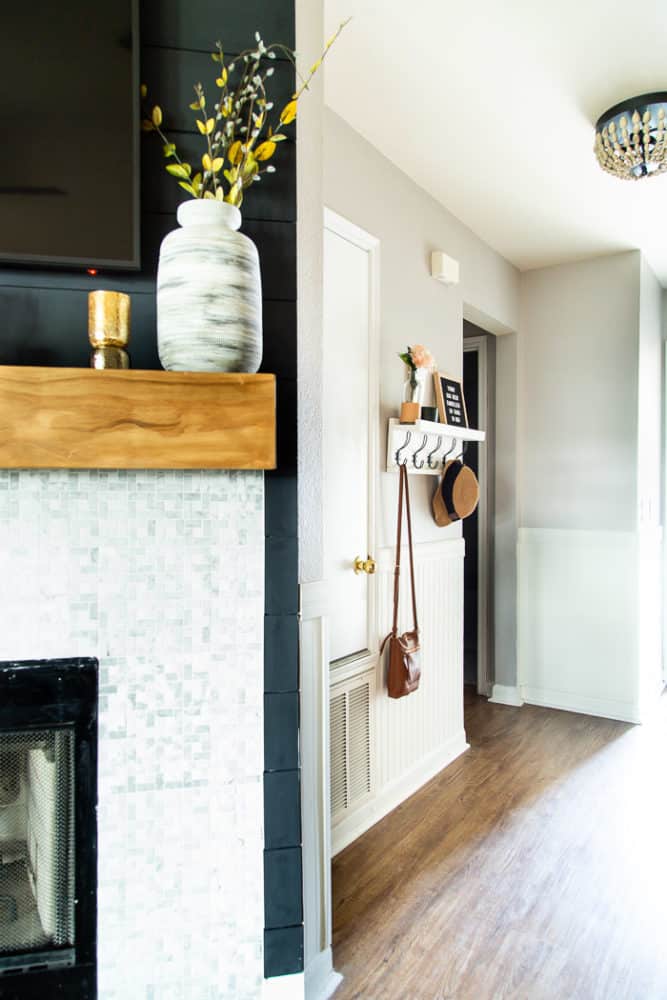
I’ve been slowly working on making a few small updates to our entryway over the last few months. It’s looking a lot better with the new wall treatment (though, I still need to finish out the hallway!), but it hasn’t been super functional yet. Without any hooks in the entry (and no coat closet in the house), I’ve been just hanging my purse on the utility closet door every day, and Jackson has been tossing his school bag anywhere and everywhere when he gets home in the afternoons.
I’ve wanted to add some hooks to one of the walls since before we even added the bead board, and I finally knocked the project out last week. I have no idea why it took me so long because it took me less than an hour to build the entire thing from start to finish.
In fact, it was so quick and easy that I forgot to take photos while I was working, and we’re going to have to just make do with the couple I did manage to get.
Are you ready for the easiest woodworking project you’ll ever see? This project is perfect for a beginner!
DIY Entry Shelf with HOoks
Materials Needed:
- (1) 1X8 board
- (1) 1X3 board
- (1) 1X2 board
- Paint
- Drill/driver set
- Miter saw (You could also use a hand saw or circular saw if you don’t have one!)
- Brad nailer
- Wood glue
- Hooks
- French cleat or D-ring hangers
Step One: Measure & Cut
First up, decide how long you want your shelf to be and cut all of your boards to that length.
You’ll need:
- 1 length of the 1X8
- 1 length of the 1X3
- 2 lengths of the 1X2
I recommend using a miter saw to do this (you can check out this tutorial if you don’t know how to use one), but you can also have the hardware store cut it down for you! These are the only cuts you’ll need to make, and once you’ve made them you’re already about halfway there.
Step TWo: Attach Your shelf
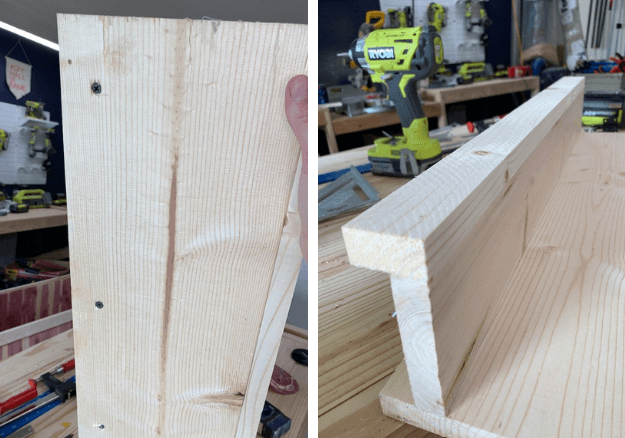
The first board you’ll want to attach is the shelf board. The 1X8 will act as the backing for your hooks, and the 1X3 will be the shelf.
To attach it, I just drew a straight line along the board at the height I wanted then shelf to be then predrilled several holes along that line. Then, I clamped the shelf into place and attached it from the back with screws. Don’t forget the wood glue for added sturdiness!
Then, you’ll add one of the 1X2 boards to the front of that shelf, sticking up to create a ledge. I attached it using wood clue and my brad nailer.
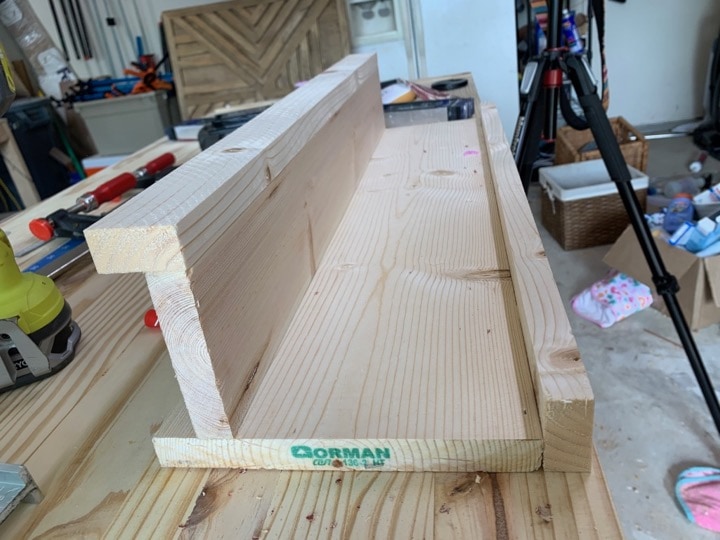
Step Three: Attach the trim pieces
Finally, you’ll use the other 1X2 piece as trim on the bottom. This is an optional piece, but it adds a nice detail! Again, just attach it using wood glue and your nailer.
Of course, I realized a little too late that it would have made a lot more sense to skip the trim on the bottom so I could place my hooks a little lower – the top hook isn’t all that functional.
But, it looks cute and I have five hooks that work great, so who needs function?!
Step Four: Paint, then Attach Hooks
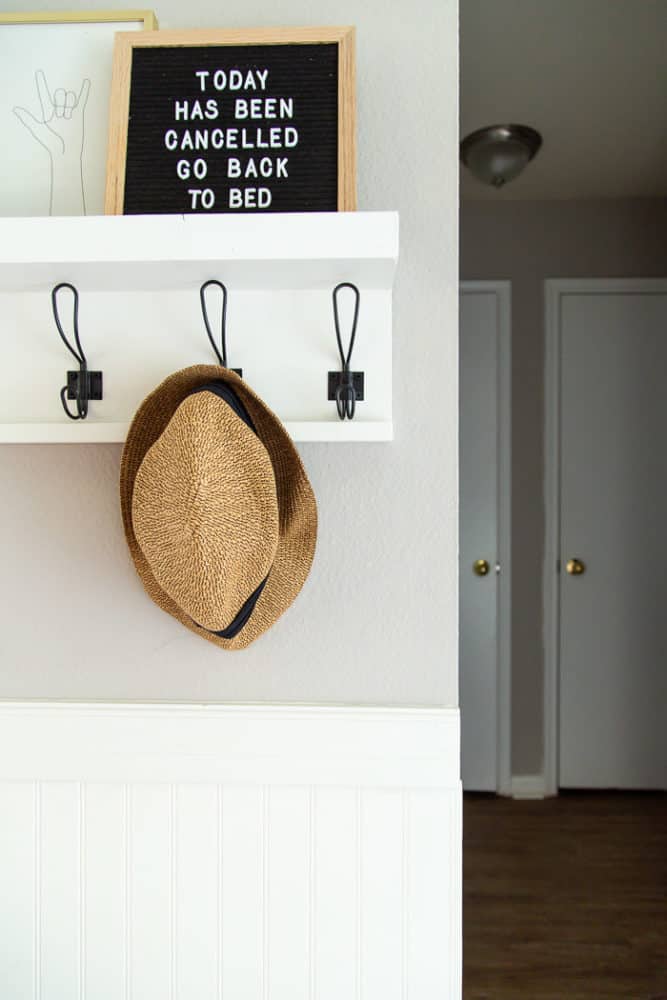
Finally, you’re ready to sand and paint the whole thing, then you’ll attach your hooks! I used these and I love them, but I wouldn’t recommend using them on this exact setup because, as you can see, they’re a little too big.
If I was doing it again, I’d either use a larger board for the back (a 1X10 would have been perfect!) or I’d just use smaller hooks.
Once your hooks are in place, it’s ready to be hung. I used a french cleat to hang mine, but you could also use some of these.
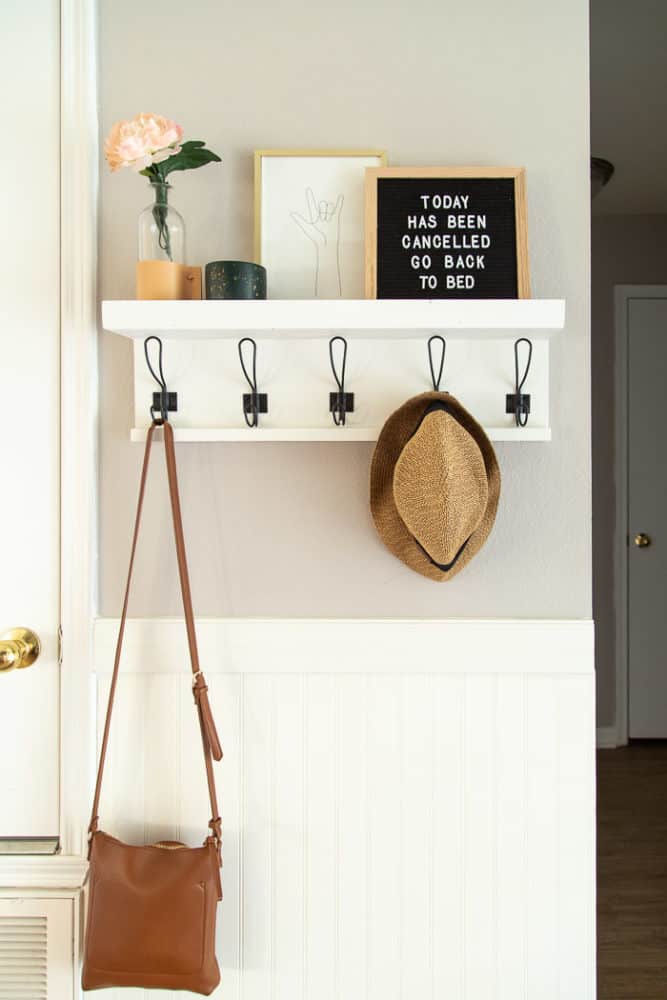
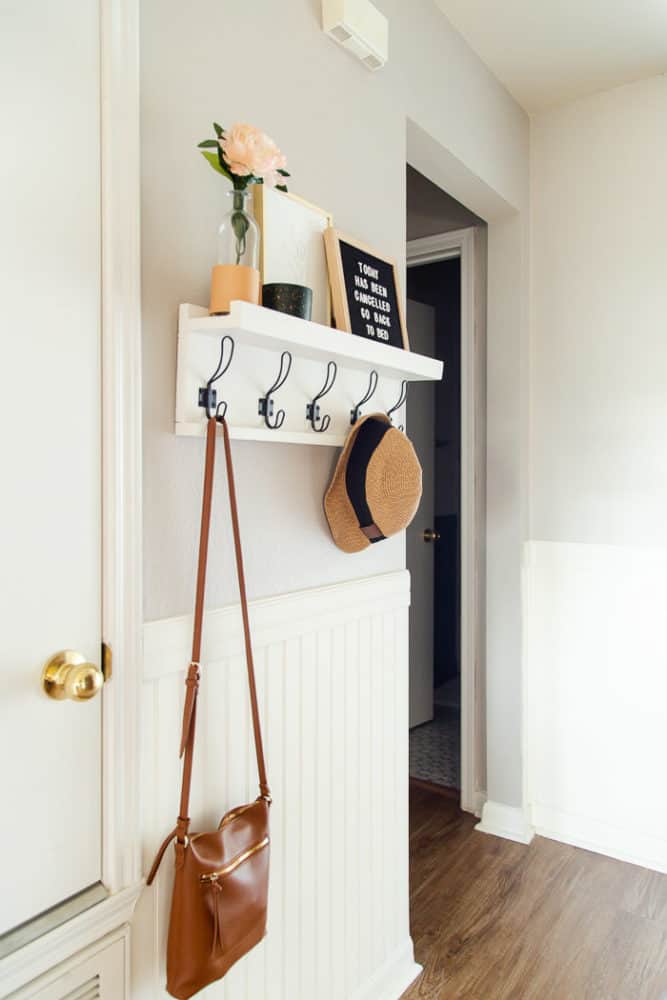
I love that I can hide the AC control panel now, and I can’t even tell you how nice it is to have a spot to hang my stuff when I get home.
Sometimes the simplest projects are the most life-changing, right?!
If you’ve been wanting to try building something and haven’t built up the courage, this is a perfect project to try it out on. It’s quick, easy, and super affordable.
Plus, I think it’s pretty adorable too.
I’m hoping to start bringing some more simple woodworking projects your way as I continue to stretch my building muscles. I’ve got another woodworking project for you coming up later this week, and I’m taking suggestions for what else I should try to build!
What DIY skills have you been practicing lately?!
Want more gorgeous entryway inspiration? Click here for our entry makeover in our current home!
Did you prime this and then paint? What type of paint or sheen did you use? Thanks
Hi! I use a paint with built-in primer – and I typically go for a semi-gloss finish for a project like this.
Thank you! Hoping to build mine soon, I just finished painting my hall. When you use the brad nailer to do the top decorative piece, did you then have to fill/ cover the nail heads/holes? Also if I don’t have a brad nailer can I just hammer in small nails?
Hi Allison, thanks for the tutorial! I just ordered the hooks and before I purchase the wood I want to ask if forgoing the bottom trim would make a need for a bigger board? You mentioned using a 1×10 for the hooks size, but not sure if that would be necessary if not using that bottom trim piece. Also, I am not sure what to paint it. We currently rent so painting walls isn’t something I can do…all the walls are slightly off white – should I try to match that or is regular white too much? All the trim is oak and the front door is a dark brown. I have a modern farmhouse style but honestly I don’t think anything really matches…🤦♀️. Any advice would be appreciated. 🙂
Nope, the trim is purely decorative! And a pure white would look gorgeous if you’re going for a tone on tone look.
Thank you so much for this diy tutorial! Also, thank you for the link to the hooks! I realized I may have copied the description and pasted in my Amazon app — and that you might have missed out on a kickback — sorry about that. I ordered the hooks in bronze and absolutely love them — they definitely take my coat rack up a notch. Thanks again!
So glad you love them!
Can the shelf be increased to 4″ or 5″?
I don’t see why not!
I’m planning on making this tomorrow but I don’t have a nail gun. Should I predrill holes and use wood nails? I have an impact driver also.Sa
Yes, that would work great!
How far apart did you place the hooks?
I honestly don’t remember! I think I just eyeballed it!
I keep looking and looking, but… Did you wind up foregoing the trim at the top (step 3)? I can only find where you use two 1×2 boards.
Oh goodness, you’re absolutely right! I didn’t ever plan on top trim, I’m not sure why I said that. Clearly my brain was somewhere else. Thanks for noticing this – I edited the post!