
DIY Entryway Makeover
Last updated on June 4th, 2024 at 12:59 pm
Today, I’m sharing how to install beadboard paneling. We used it in our entry for a recent makeover, and the transformation is pretty incredible!
When we moved into this house, I was so excited to have an actual entry space. In our old home, the door opened right up into the living room. So, to have an actual dedicated space for an entry was really exciting! I even rounded up a few ideas for a beautiful entryway to get my creative juices flowing.
We’ve lived here for over a year now, and so far all I’ve done for the entry is build a DIY console table and install a barn door. Oh, and after installing the door, we quickly realized it made the entry table unusable. So that brought me back to square one.
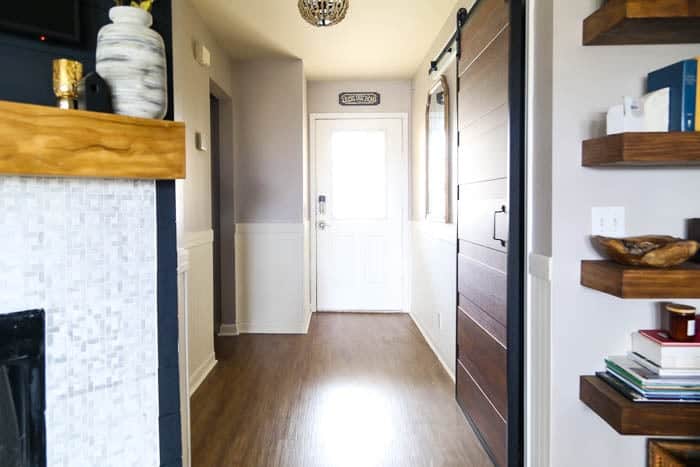
For quite some time now, our entry has looked like this:
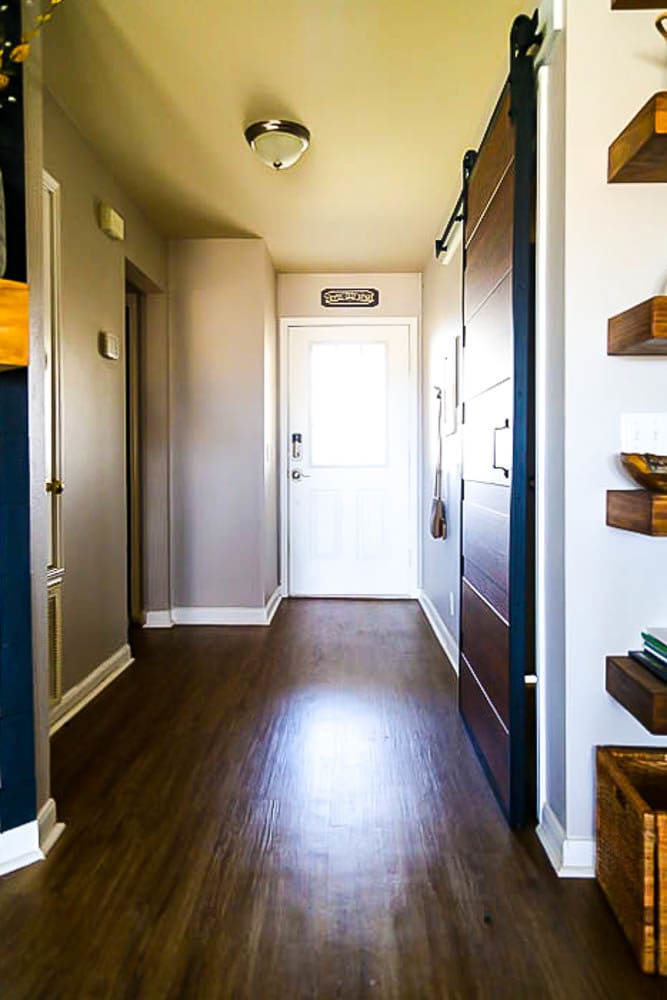
Empty, boring, and dark (even with the added window, the space always felt dark and gloomy).
Well, last week I finally tackled a project we’ve been talking about for months and I added beadboard paneling to our entryway. The entry finally feels complete, and I smile when I walk through the door every day and see it!
Today, I’m going to share all of the details of how to install beadboard paneling in your home – and (surprise!) there’s also a video tutorial!
Video Tutorial
You can also click here to watch the video directly on YouTube (be sure to subscribe while you’re
there)!
How to Install Beadboard Paneling
Materials Needed
The number of beadboard panels you need will vary based on your space. I used 5 small panels for my project.
Step One: Measure + Install Beadboard Panels
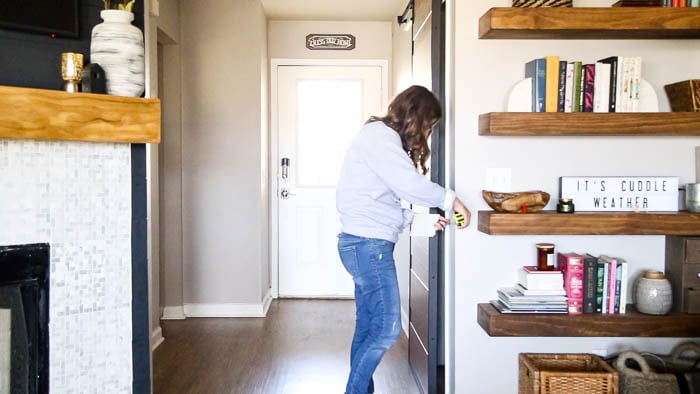
First up, you’ll want to measure each wall in your space to determine how to cut your beadboard. You can go ahead and install and full panels of beadboard, but my space was small enough that I was only able to install one piece before I needed to make any cuts.
After measuring, use a circular saw or table saw to cut the beadboard down to fit in the space.
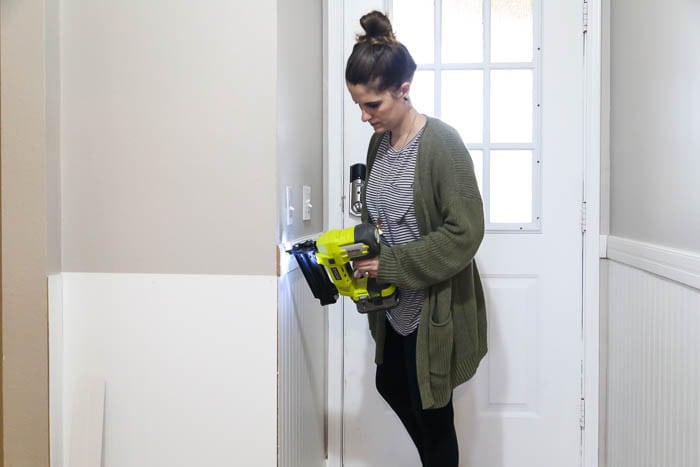
If you have any outlets on the wall, you’ll need to make cuts for them too. The video shows a little more closely how to measure and mark for those cuts, but basically you’ll just measure where to make the cut, then make your marks on the back of the beadboard. I used my jigsaw to cut the hole for the outlet (I’ve got a tutorial for how to use that too!).
To install the beadboard, simply apply a bit of construction adhesive to the back, then use your brad nailer to nail it to the wall, resting on top of your baseboards.. Be sure to check that the beadboard is level as you work – you can’t always trust that your floors (and the baseboards) are level!
Step Two: Install Trim Pieces
After your beadboard is installed throughout the room, you’re ready to trim it out. We grabbed a piece of chair rail trim from the hardware store. It has a little notch on the back, perfect for resting on top of the beadboard to ensure it’s level.
I didn’t use construction adhesive for this part, just nailed the trim pieces directly to the wall.
After the top trim pieces are installed, I also recommend adding corner pieces. These help hide the seams and inevitable gaps in the corners, and make everything look significantly more polished.
Step Three: Patch the Holes & Caulk the Seams
Now, you’ll have some holes from the nails in the beadboard and trim, and you also may have some gaps in the seams along the top and bottom. This is one of the most important steps for a finished-looking project, so don’t skip it!
You’ll want to use wood filler on all of the nail holes, and use caulk on seams where the wood meets each other and where it meets the wall.
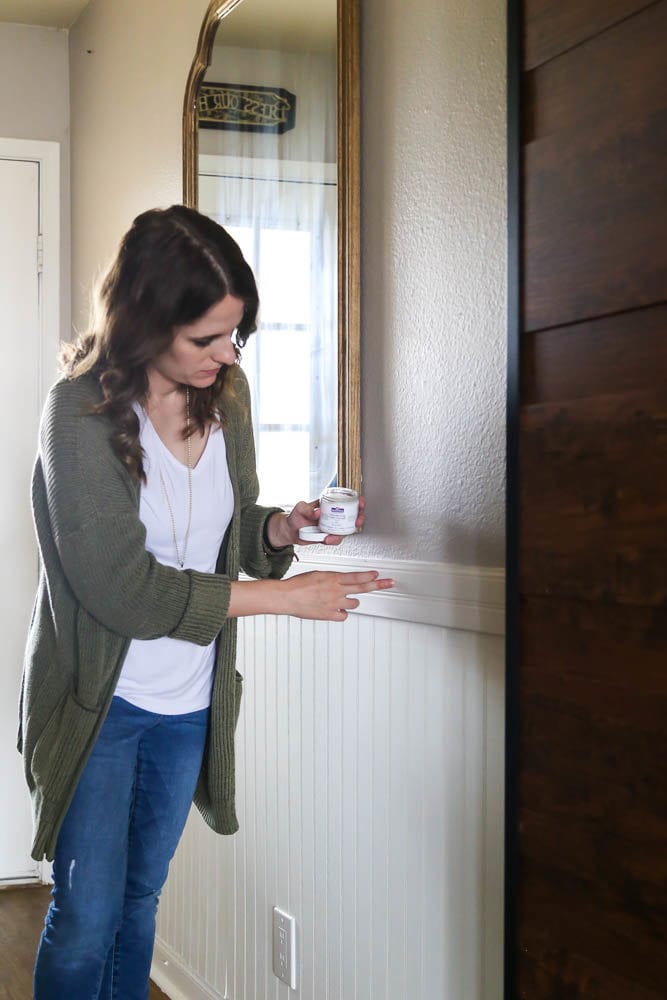
Once everything is cured, you’re ready for the final step.
Step Four: Paint
This is the part of the process that will take everything from looking dingy and not-quite-right to absolutely gorgeous. I used some leftover white paint from my bathroom to paint all of the beadboard, along with the baseboards (which were looking pretty grungy).
After the painting was finished, I put a few finishing touches on the entry. We installed a new overhead light, I replaced the outlet and light switches with more updated versions (per my 2019 goal to wrap up all of these little loose ends in our house!), and I hung a new – gorgeous – mirror.
The end result?
So. Much. Better.
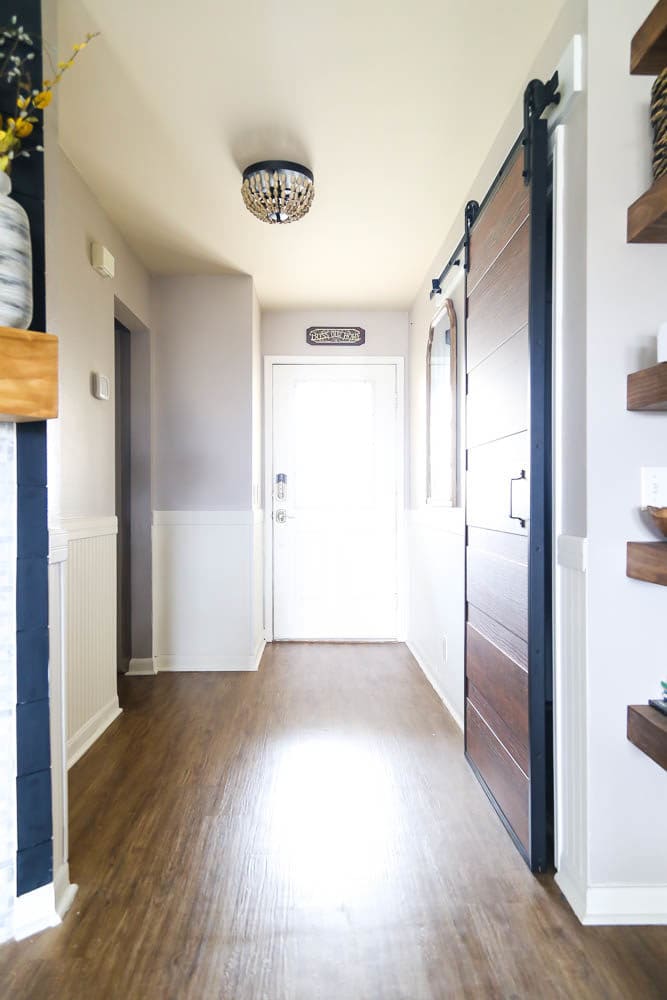
I’m so excited to have an entry that makes me smile when I walk through the door, and it finally feels like it really goes with the rest of our house.
Eventually, I’d like to carry the beadboard into the little hallway that leads to the boys’ rooms, but it’ll involve a ton of small cuts (there are 5 doors in the tiny hallway, so it’s very little wall space), so I’m gonna be putting that on the back burner for now.
Want to see more gorgeous beadboard inspiraton?
- Here’s the black beadboard we added to our hall bathroom
- And here’s the tall, moody beadboard we added to the entry in our current home!
I like the beadboard walls you put up but I’m interested in what appears to be a sliding door on a track in that area.
Is that indeed what it is ? Can you send a picture ?
Hi Virginia – it’s a barn door! You can see more details here.
I get why the console table didn’t work behind the barn door, but why not have one on the other side of the hall, under the thermostat?
Love it!!!