DIY Faux Marble Countertops in the Boys’ Bathroom
Saying that I’m excited about the new faux marble countertops I just finished would be a major understatement.
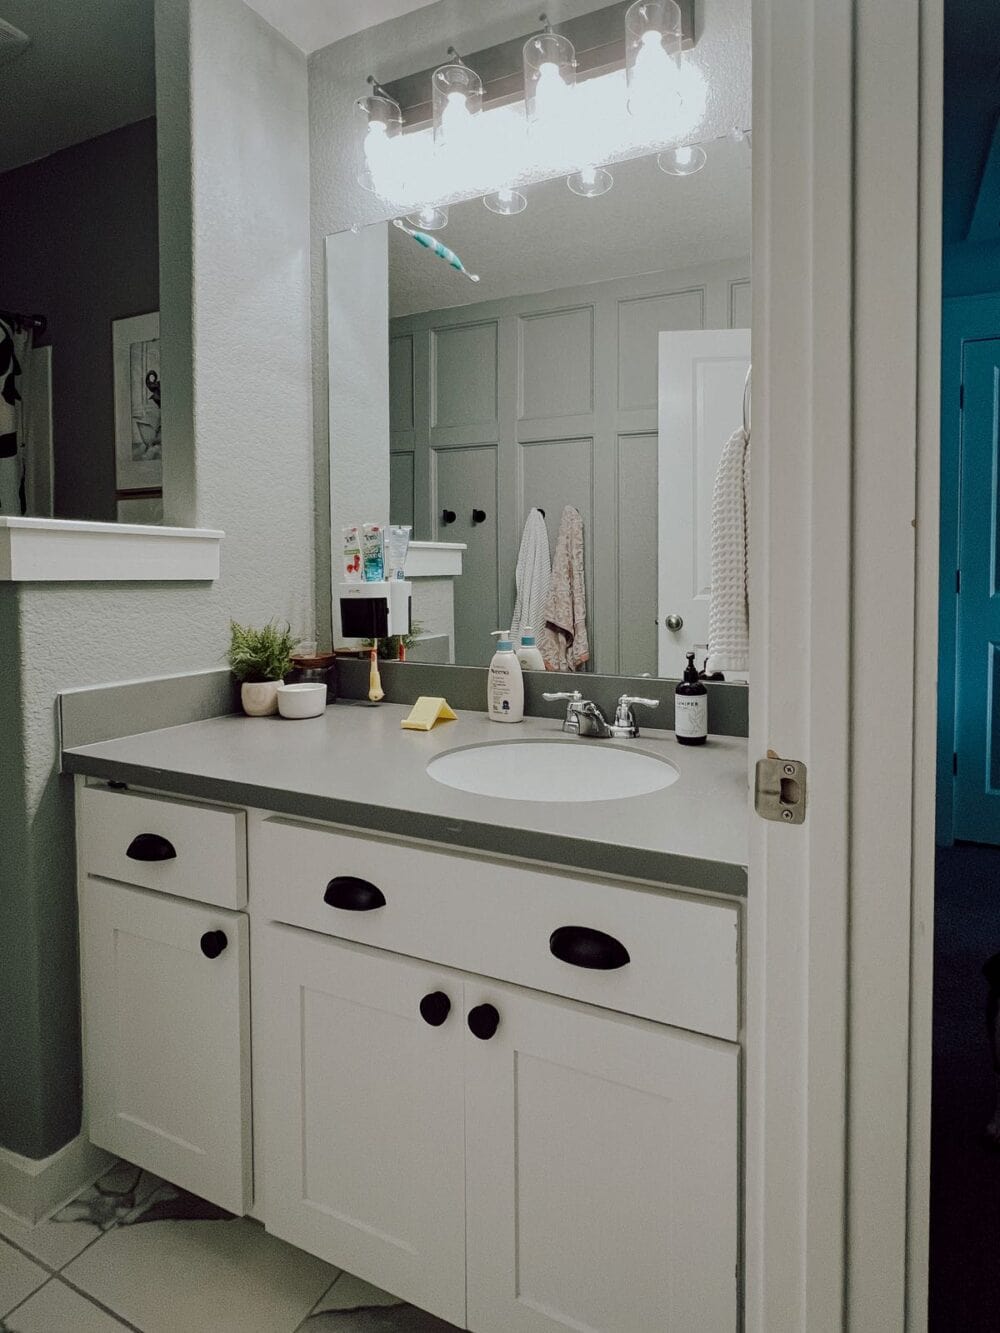
One of the things I’ve disliked the most about the design of our home since the day we moved in is the bathroom counters. The builders chose a dark gray solid surface counter that’s fine to look at, but is impossible to keep clean. It always looks incredibly dirty, no matter how often I clean it. And, the gray is perfectly acceptable but definitely doesn’t feel cohesive with any of the other colors in our house.
It’s one of those little things that has driven me slowly up the wall ever since we moved in and I’ve been really eager to change.
You may remember that last year, I fully revamped the vanity and counters in our bathroom with a DIY epoxy countertop kit. It looks incredible and has held up beautifully over time. I had quite a bit of the kit left, and I knew I wanted to use it to do the boys’ bathroom too.
Now that I’m putting a little more focus in there, with the trim on one wall and the new bathroom art, it was time to make it happen!
Now, the boys also have DIY faux marble counters in their bathroom! And, I honestly can’t get over what a huge difference it makes in the room!
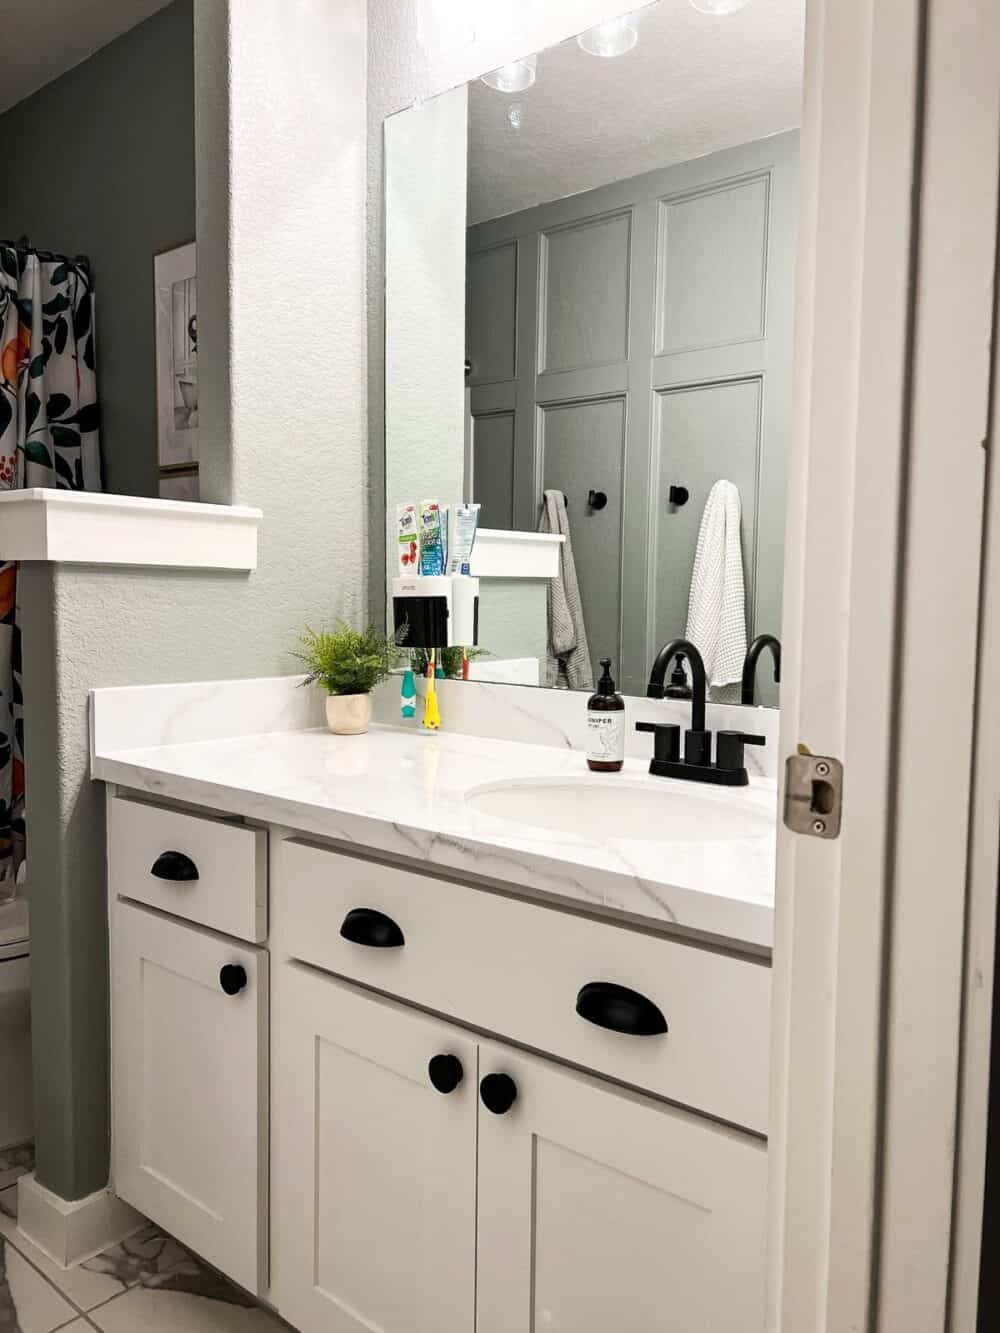
DIY Faux Marble Countertops: The Tutorial
So, how did I achieve the DIY faux marble counters look?
It’s actually just painted, with an epoxy poured on top!
Here’s a link to the kit that I used for both my bathroom and this bathroom. If you want a full, detailed tutorial, just click here. I covered it in a lot of depth (including a video), when I did it last time.
But, here’s a general overview of how it works, along with a few tips:
- You’ll start by cleaning and prepping the counter. You may need to lightly sand it, and use a cleaner to remove every last trace of dirt. You can do this on most countertop materials, including laminate, Corian, tile, butcher block, marble, and granite! You’ll also want to add painter’s tape around the cabinets and backsplash, and fully cover the cabinets so that no epoxy drips onto them when it’s time for that.
- Once it’s fully clean and ready, you’ll use a primer to get a base on the counter and cover up the existing countertop. It looks and functions just like any basic white paint – it’s a little thicker than typical primer.
- After the primer dries, use a small brush to create the veins of your marble with the medium-tone gray paint that’s included. This is by far the most intimidating part, but I promise it’s not that difficult! You use a little spray bottle to help the veins feather and look more realistic. You’ll also use a dry brush to help feather it out even more and create a cloudy look. The kit even comes with a sea sponge that you can dab in some white paint to add some highlights. The kit even comes with a white foam board so you can practice your painting technique.
- Finally, you’re ready to pour the epoxy! You’ll mix and pour a thick coat of epoxy on the counter and let it dry for at least 24 hours.
If you want more details, click on the tutorial above. The instructions that are included when you purchase the kit are also very thorough!
Can I Use This in My Kitchen?
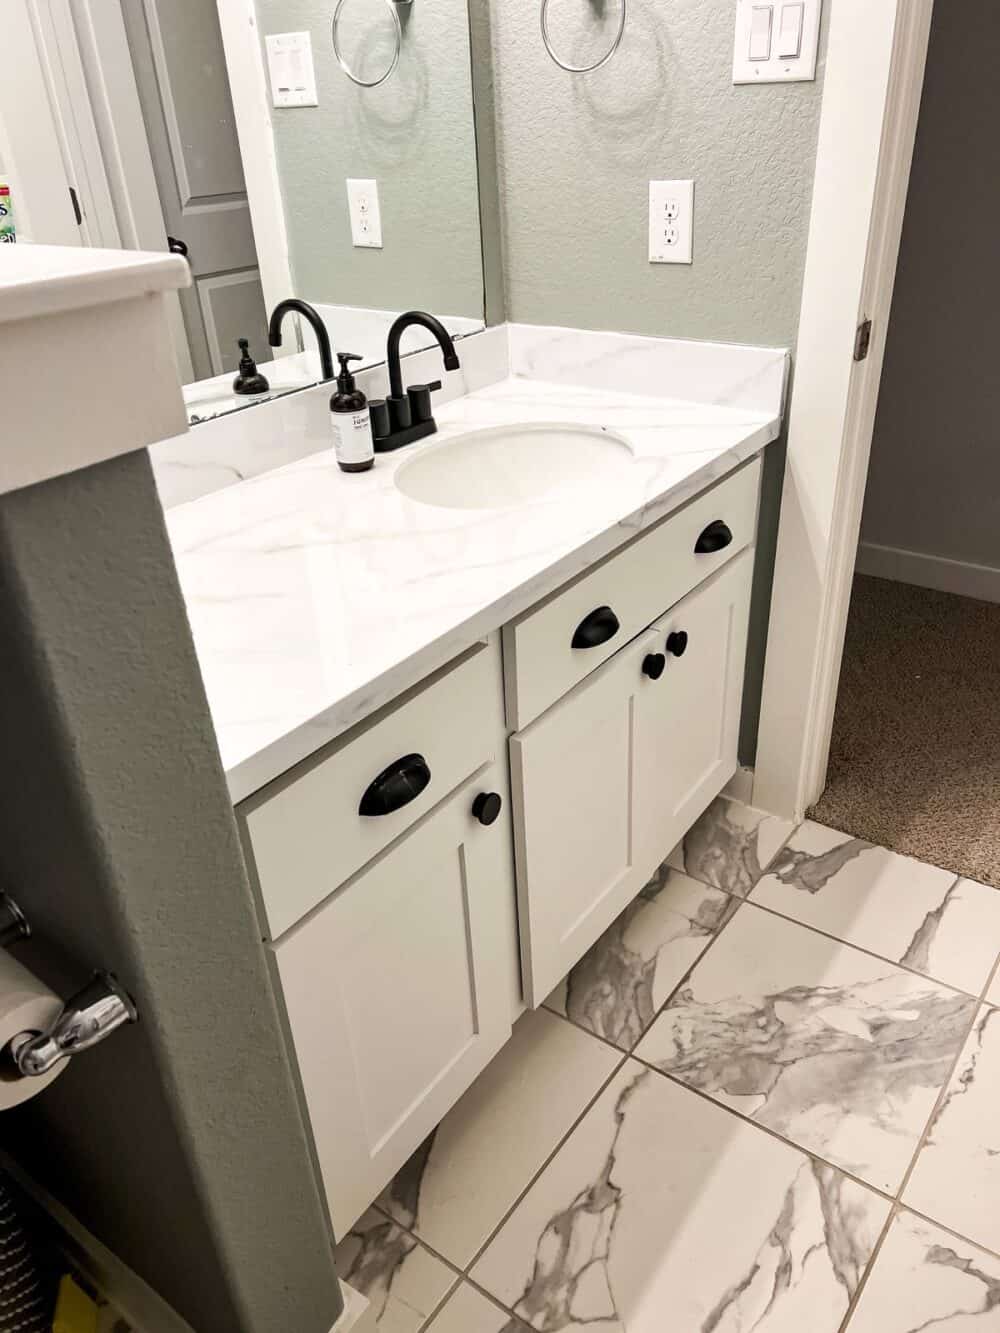
Yes! In my research, the most common place I saw this kit being used was on kitchen countertops. I don’t have personal experience with it, obviously, but from what I’ve read it holds up really nicely over time!
Does It Stain Easily?
There are some things you’ll want to avoid putting on your counter (like hot pans or hair tools), and you don’t want to leave any spills sitting on it long. But, overall, no it doesn’t stain easily!
My bathroom counter is still more or less pristine close to a year later. It has one or two small stains from where I let dripped soap sit on it for days without wiping it up (whoops!), but it’s barely noticeable. Real marble patinas and stains over time, so I don’t mind if this does a bit, too!
It also. doesn’t really scratch at all like regular marble, which is a nice bonus!
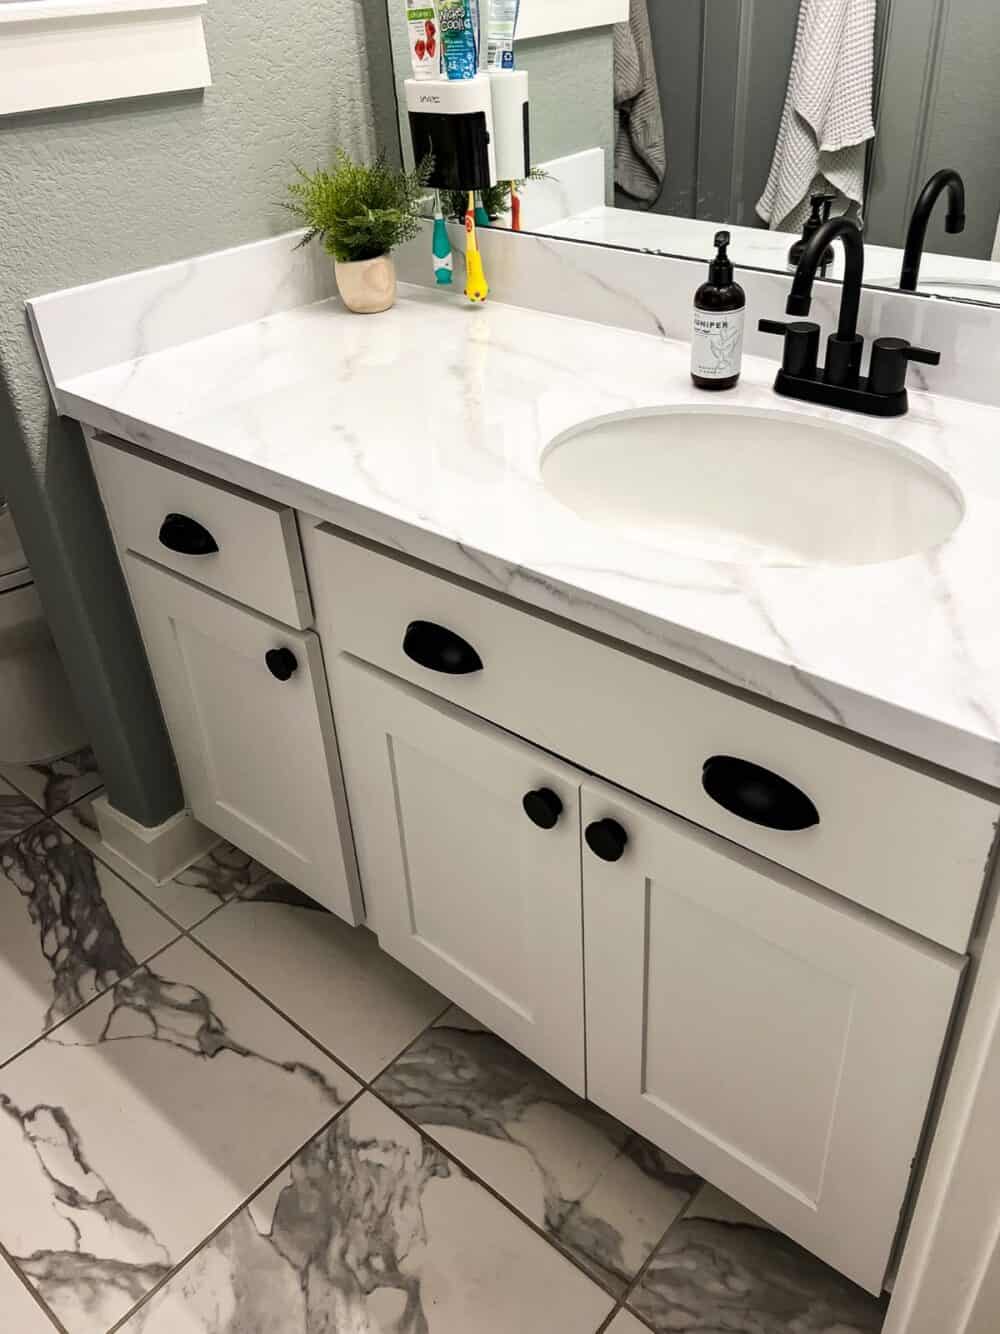
Do your faux marble counters have any air bubbles?
So, let’s talk about one mistake I made when pouring the epoxy for this counter.
The instructions are very clear that you should let the epoxy sit in the room where the counter will be poured for at least three days so it can acclimate to the temperature. Epoxy resin also tends to work best in warmer temperatures than cold ones.
I figured since I live in Texas and it’s not that cold, the temperature difference between my garage and my house wouldn’t be enough to really affect the epoxy. So, I didn’t leave it sitting in the bathroom for three days before I started. Honestly, it was mostly because I didn’t see that instruction until I was ready to start doing the counter. At that point, waiting three days would have pushed my schedule back! We can’t have that!
So, I ignored it.
Whoops!
As a result, there are definitely a few air bubbles in my epoxy. They’re small enough that I wasn’t really able to capture it on camera, but when the light hits the counter just right, you can see them. With some epoxy materials you can use a hair dryer or heat gun to pop the bubbles as they come up. With the Giani Marble Countertop Paint Kit, though, you’re not supposed to need to do that, so I didn’t watch for bubbles.
All that to say – make sure you leave the cans of epoxy in the room you’re painting for a solid 72 hours before you get started! It matters!
Final Thoughts
Despite the little air bubbles and slight imperfections, I’m so happy with how the counter turned out. I love it a million times more than the old counters, and I feel like it totally changes the feel of the bathroom.
I’ve had people ask if I’d ever use this faux marble countertop kit as a long-term solution, and my answer is a wholehearted yes.
We have no official plans anytime soon to replace the counters in either of our bathrooms. So, this is our long-term solution! I’m sure someday we’ll change them out, but it’s not on my radar at all right now. I think this kit is a perfect solution if you hate your existing counters but can’t afford to fully replace them. They look just like quartz countertops or white marble countertops, and the kit only costs about $200. It really doesn’t get any better than that.
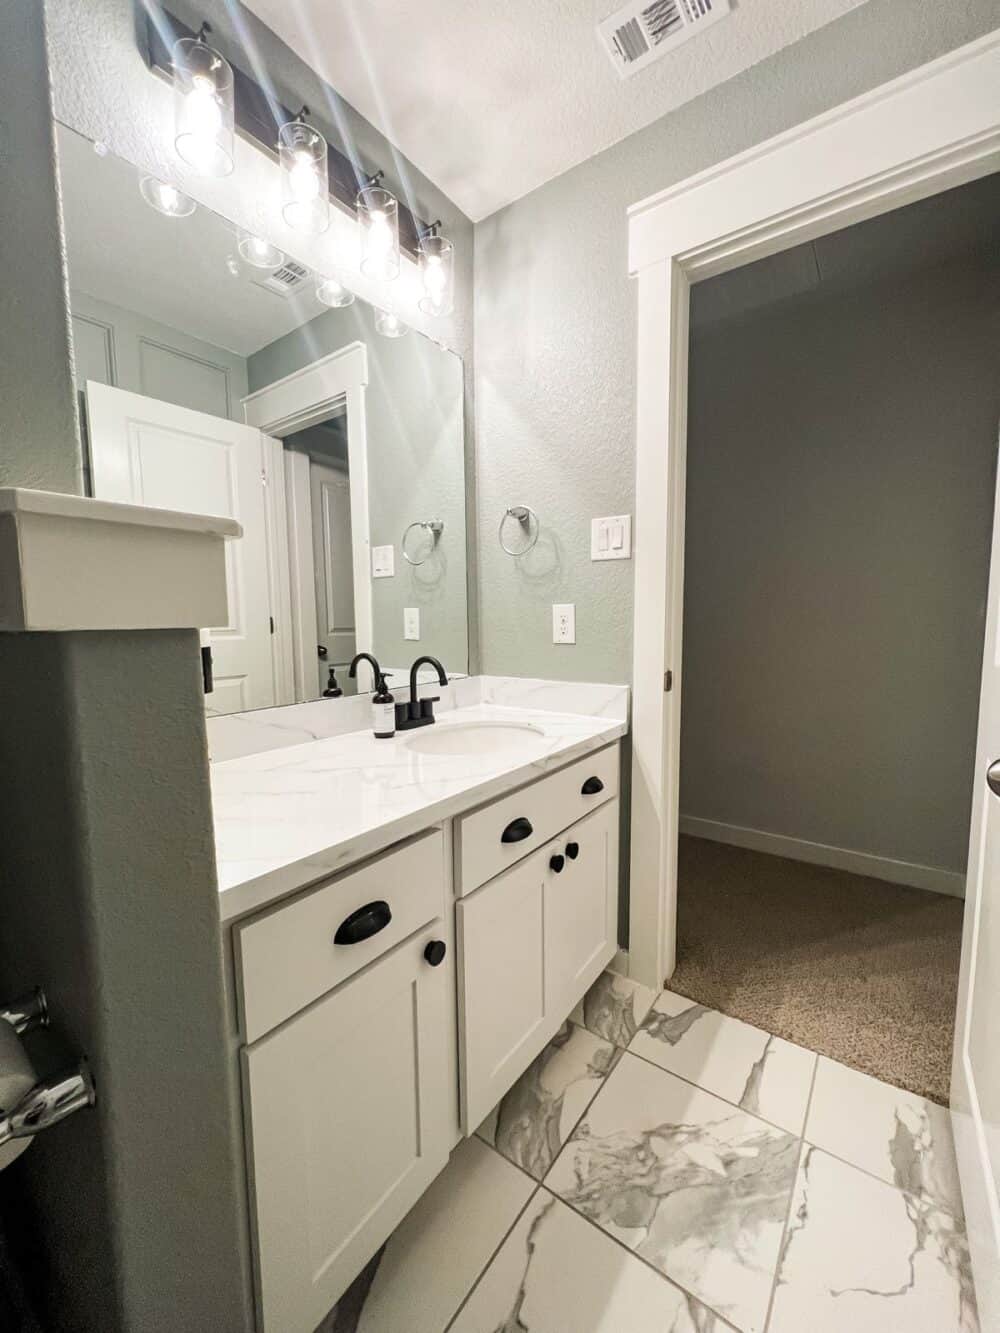
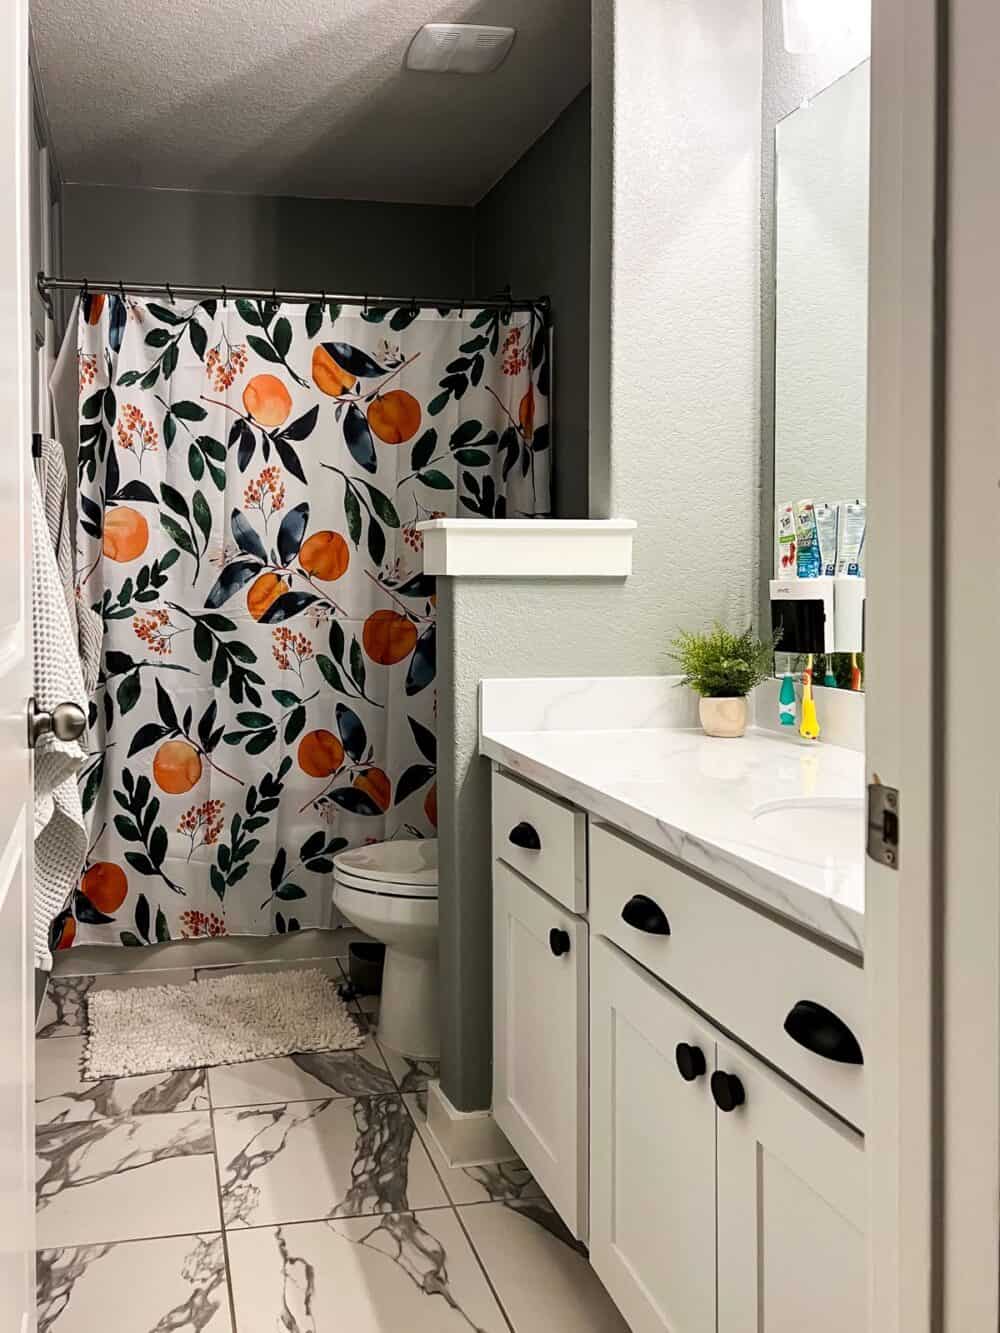
With this step finished, the makeover in the boys’ bathroom is almost done! I’d still like to replace the mirror. And, despite 55% of people on my Instagram poll telling me not to paint the ceiling, I can’t seem to let the idea go.
So, we’ll see where we land! I’m taking this little room one project at a time. And, so far, I’m beyond happy with how it’s coming together!
Bathroom sources
- Paint Color: Magnolia Home Weathered Windmill
- Trim tutorial
- Cabinet pulls
- Cabinet knobs
- Vanity light
- Faucet
- Towel hooks
- Shower curtain
- Animal art
- Bath mat
