A Trim Accent Wall in the Bathroom
If you were around last year, you might remember that on a whim, I decided to paint the boys’ bathroom (mostly) yellow. I was itching for some color in that room and I had always wanted to try a yellow room. It was fun for a while. But, after a year of having super saturated yellow walls in here, I’m ready for a change. So – once again, on a bit of a whim – I decided to add a trim accent wall in the bathroom last week and re-paint the whole thing.
And this time? I think it’s gonna stick.
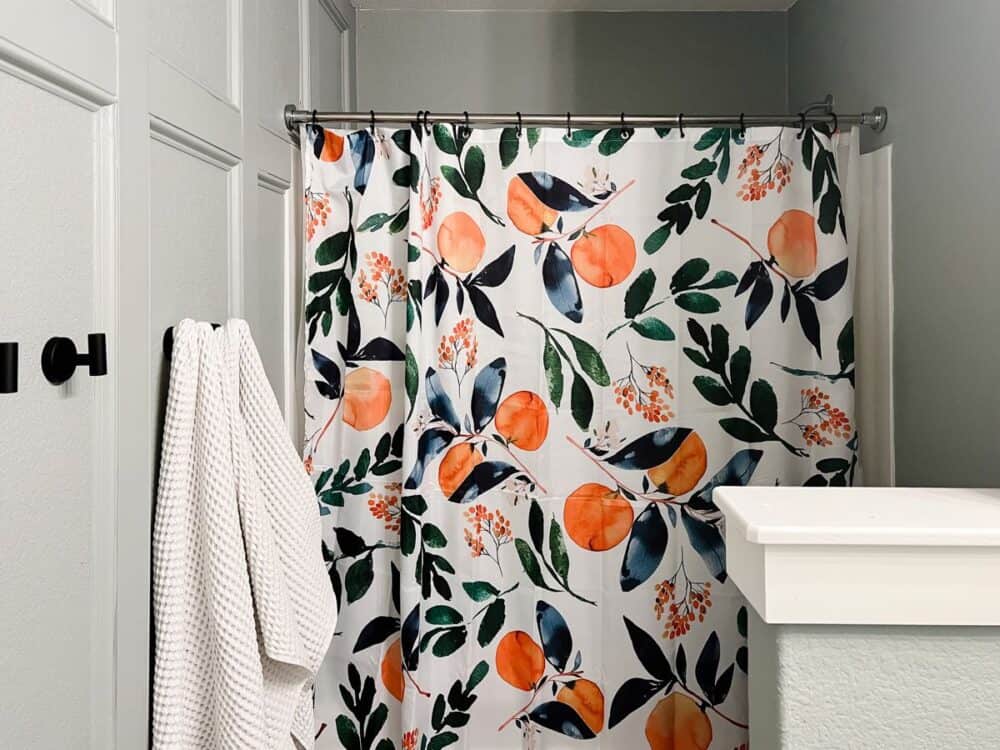
I can’t tell you how much I love this new look in here. It feels so much more calming and peaceful. And, the trim makes the room feel bigger!
It feels much more “us” now, and flows way better with the rest of the house. All in all? Best decision ever!
And the best part? It only took one day to get the trim up from start to finish. Add in a new shower curtain and some towel hooks and it’s basically an entirely new bathroom.
How I Added a Trim Accent Wall in the Bathroom
First up, let’s talk about the paint that I used in here! I went with Weathered Windmill from Magnolia Home, with a coat of Kilz primer to cover the yellow first!
I was a little nervous about how challenging it would be to cover up the yellow. But, with a quick coat of KILZ Kitchen & Bathroom Primer, it was a breeze. It covered up all of the yellow really nicely, along with a few other stains on the walls (because, boys).
And this color? Ohhhhh man. It’s so stunning. Some times of day it looks more blue and sometimes it looks more green and sometimes it looks more gray. It’s soothing and serene and perfect for this space!
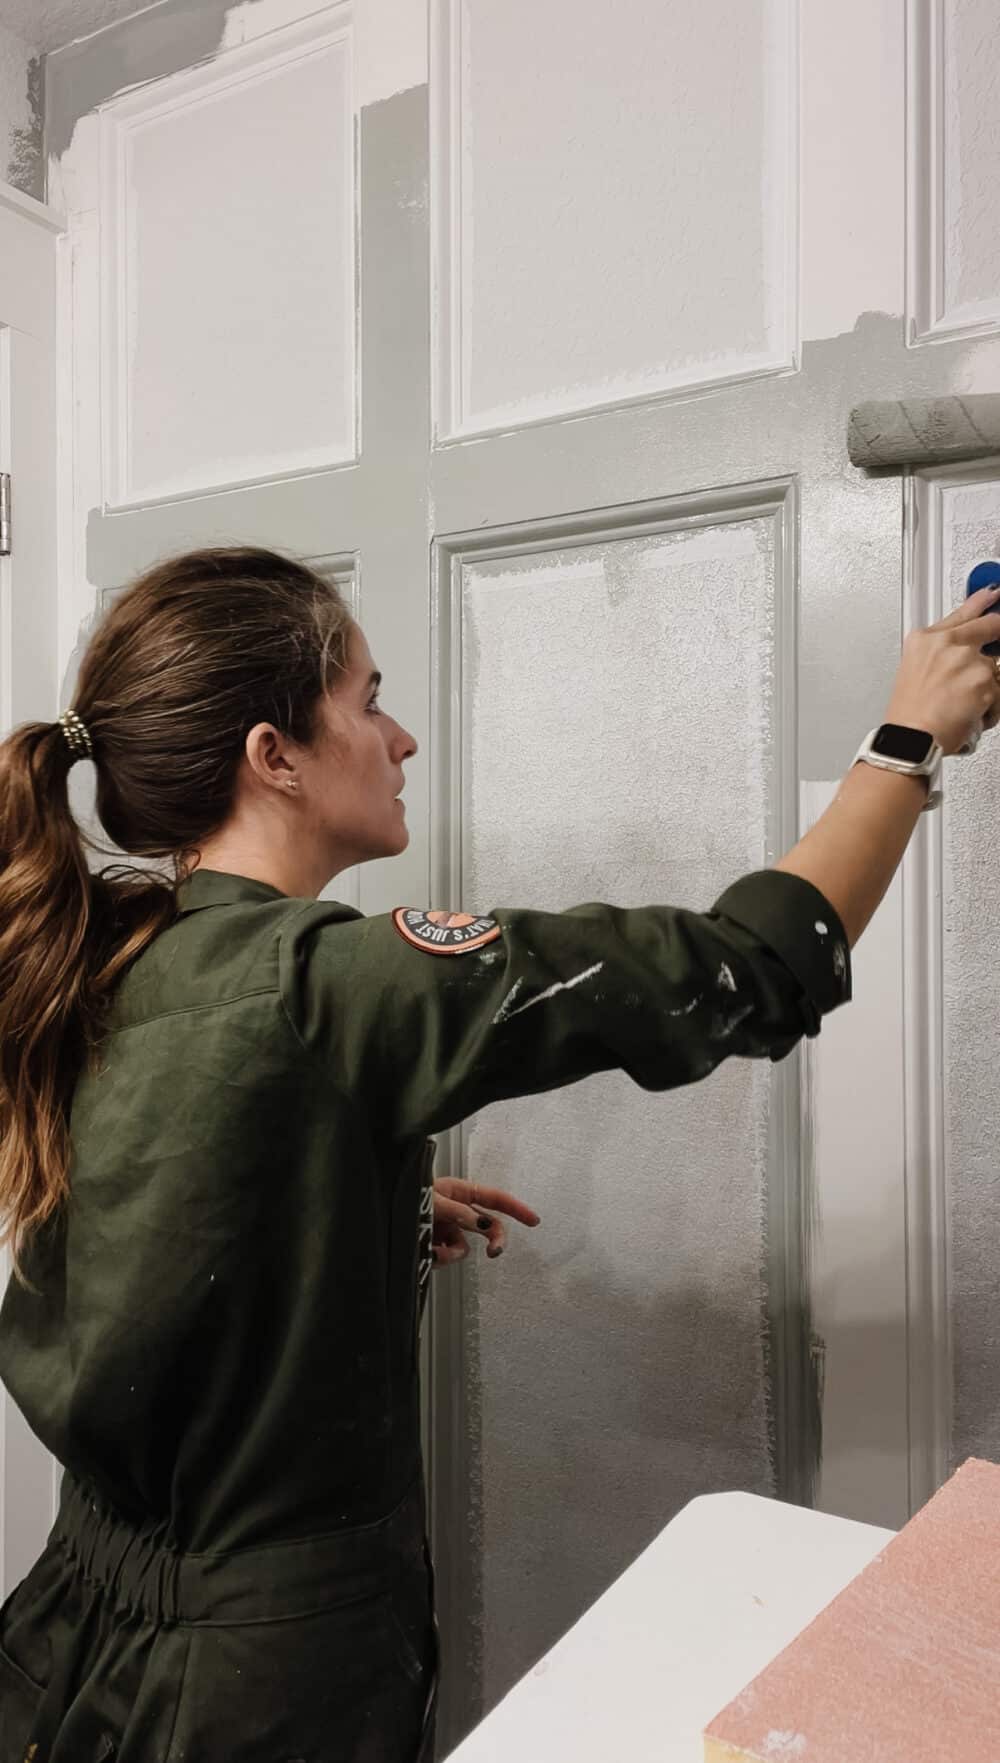
Adding a Trim Accent Wall
I’ve talked about exactly how to do this kind of accent wall quite a few times here on the blog, so I don’t think we need to do another full tutorial. If you want some help, though, here are a few posts that will give you some guidance and get you started!
These Posts May Help:
- Here’s a post about how to create a grid accent wall (essentially what this is, minus a few pieces).
- And here’s a post about how to create a board & batten accent wall – the style on this one is basically the same as this!
- This post will teach you everything you need to know about how to use a miter saw.
- And this one will show you how to use a nail gun.
- Oh, and if you’re really a newbie to the whole DIY world, I’ve got posts with a deep dive on how to use a tape measure, how to open a paint can, and how to paint a room.
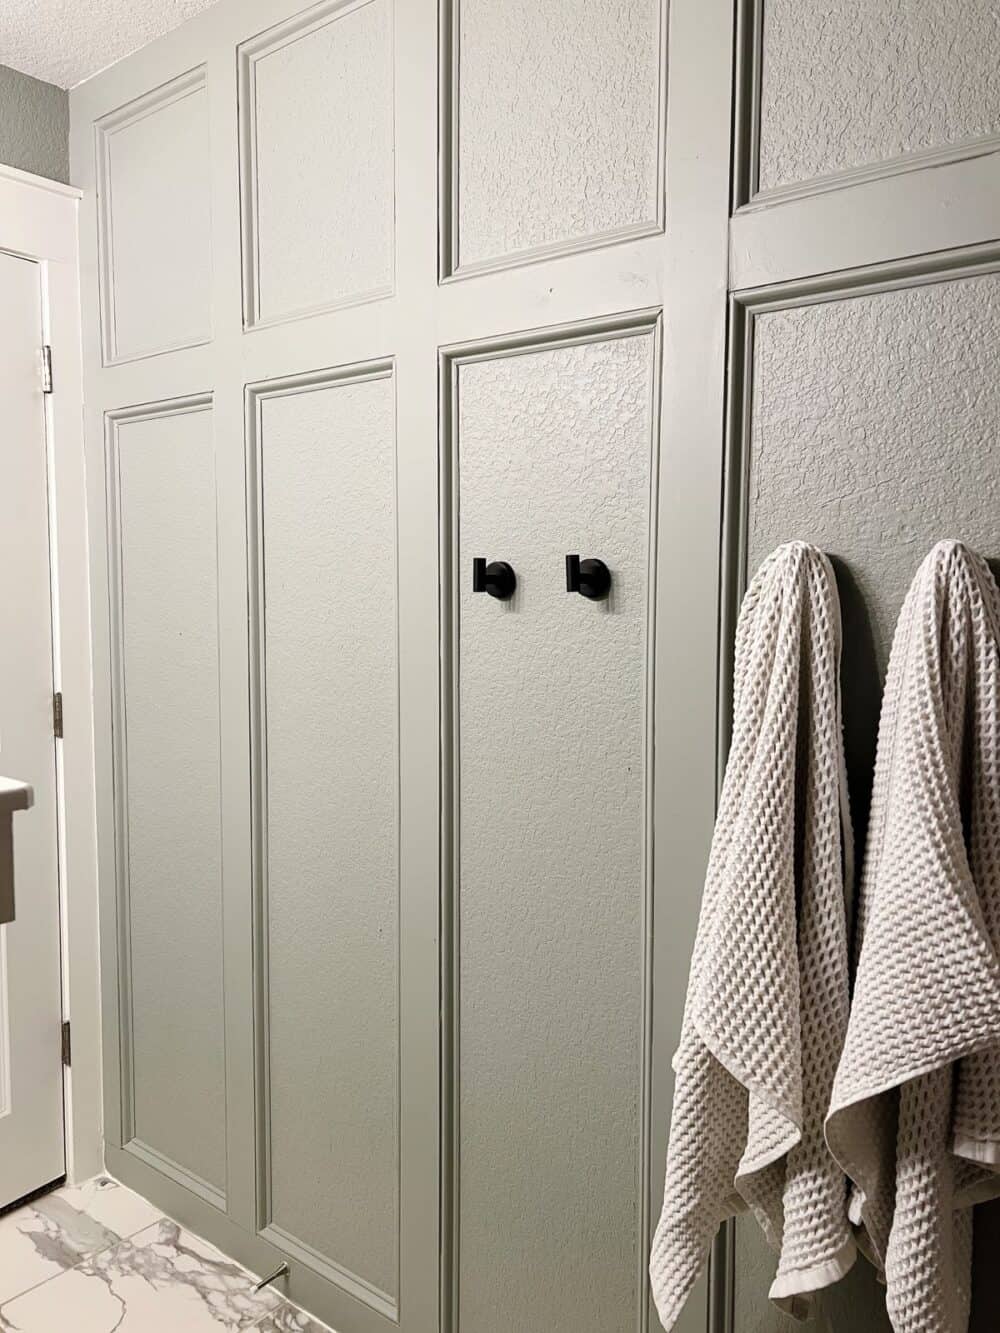
With all that, you should be covered! All you need are some details and measurements, so here’s what you need to know:
- The main difference between the tutorials linked above and this one is that I added some PVC base cap trim inside each of the rectangles for a little extra dimension. It’s a small detail that makes a big difference and I honestly can’t even imagine the room without it. It makes it lean a little more traditional that modern (which I love!), and really elevates the whole accent wall.
- I used 1×4 pre-primed wood for the rest of the trim.
- The vertical boards are spaced about 16″ apart (it’s a little less, I just used the quick process I outlined in the grid accent wall post above to determine the exact spacing).
- The horizontal boards are 20″ from the top board.
I used my 18-gauge nail gun to install everything, and just patched all of the nail holes and seams when I was done. From start to finish, it took about one working day for all of the trim, and one day to patch, prime, and paint!
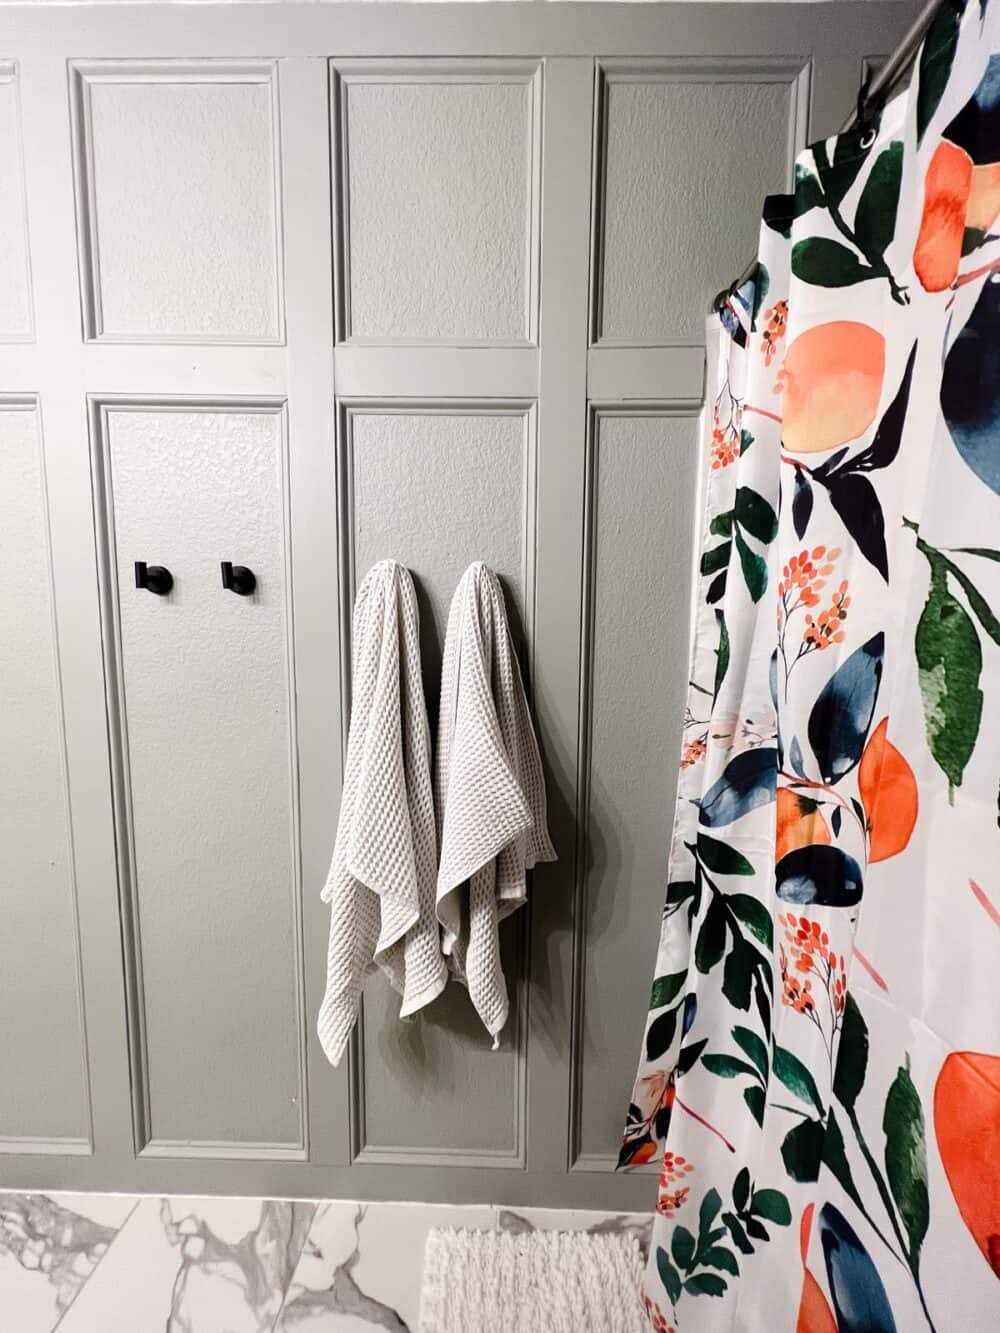
What to do with baseboards
When I shared on Instagram, I had a couple of questions about how to handle the baseboards when adding an accent wall like this.
In our case, it was really easy because our baseboards are just 1×4 boards, exactly like what I was already using here. So, the boards are just sitting on top of the baseboard and I painted it all to match, so it looks exactly the same.
If you have different baseboards, my recommendation is to remove them before starting, then put a 1×4 board along the floor to start things off.
That being said, if you don’t want to remove the baseboards it’s no big deal. I’ve installed a similar accent wall right on top of a more traditional baseboard, and it looked just fine. See it here!
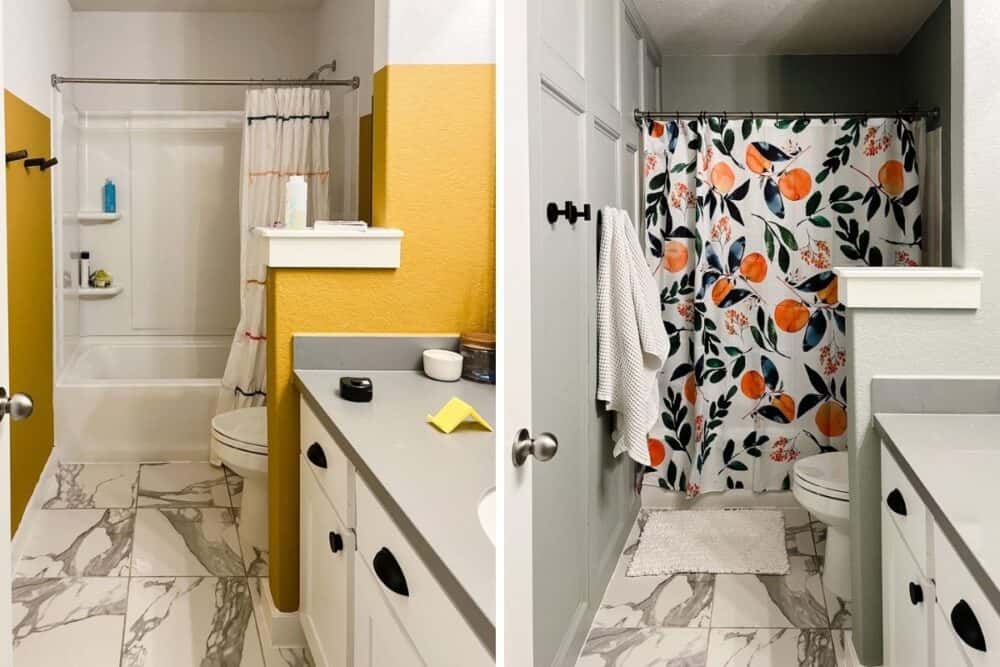
The before and after here is kind of hard to believe, and I’m just so happy with how it turned out! My next plan is to paint the counter in the boys’ bathroom with the same kit we used in ours, and eventually I’d love to have a window added into their shower area for some natural light in here!
All in good time, though. For now, I’m just happy that things feel a little more serene and peaceful in here when I head to give Grant a bath at the end of the day!

The bathroom paint colour is absolutely stunning! And that accent wall just elevates the room to a whole new level. Love, love, love it all so much. Off to find that paint colour for my guest bedroom 🥰🌸