
DIY Vertical Herb Garden
Last updated on July 8th, 2024 at 08:55 am
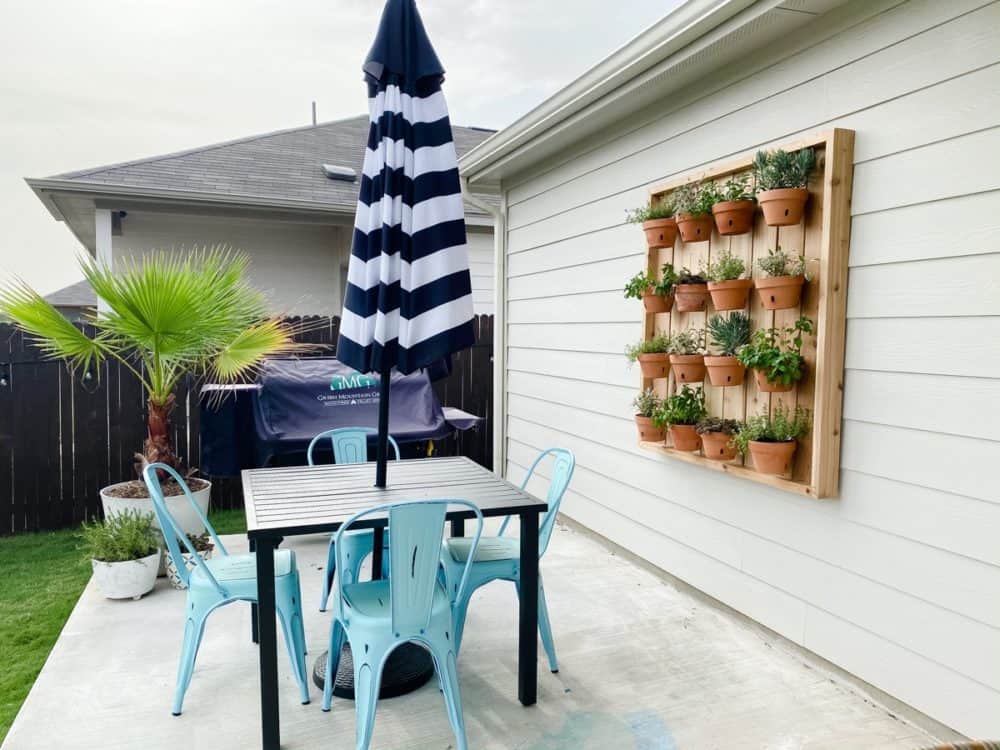
Learn how to build a simple but beautiful DIY vertical herb garden. It’s perfect to hang on the side of your house!
Apparently, I’m currently on a bit of a kick of re-creating (or re-imagining) projects from our last house. First, I replicated the DIY floating shelves we had in our living room. And now, I’m here to share the new plant wall I installed! It was fully inspired by the plant wall on our last back patio!
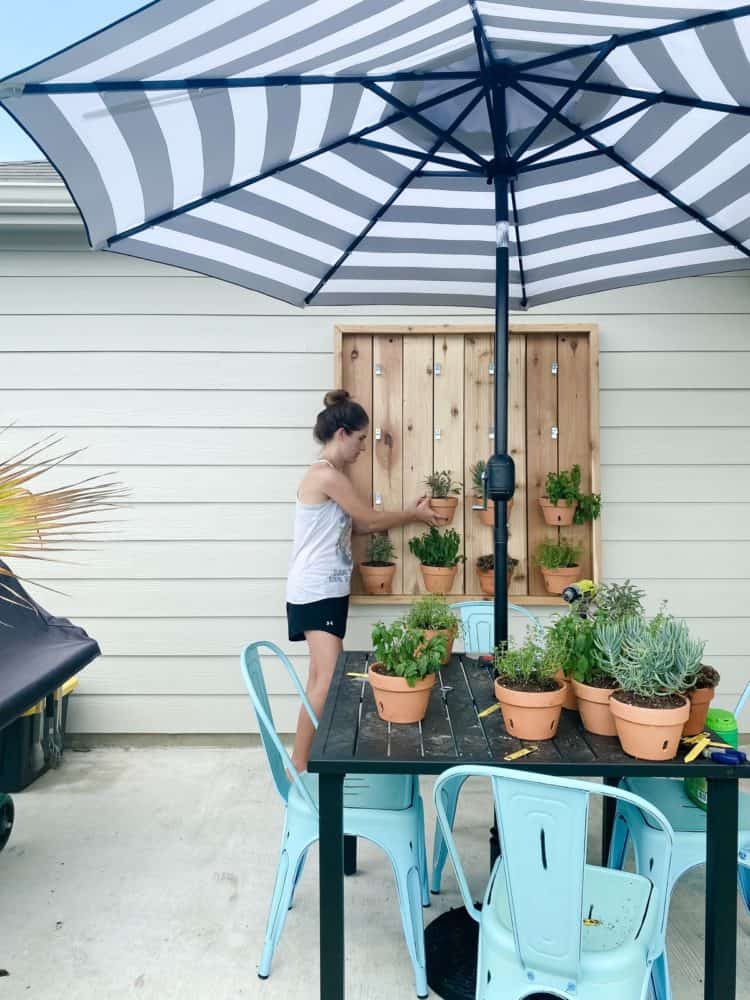
I really loved having a wall full of plants at our last house. I knew pretty quickly I wanted to do something similar here. We don’t have a small wall for me to fully transform like we did at the last house. But, we did have a big blank space perfect for hanging something. I had originally planned for it to be even larger than this, but I didn’t buy enough wood (and didn’t want to go buy more). So, I downsized it a bit and am actually really pleased with the finished result!
This project was way easier than you might expect. It took one afternoon during Grant’s nap to built it from start to finish. Then it just needed to be sealed and hung before I could add my plants! This could easily be a good weekend project for you! And, all of the supplies (including the plants), cost me right around $200. If you’ve already got plants on hand, it’d be closer to $100 for just the materials to build the plant wall.
DIY Vertical Herb Garden
Tools & Materials
- (4) 8′ 2×6 cedar boards
- (3) 8′ 2×4 cedar boards
- Wood Glue
- Miter saw
- Kreg Jig + pocket hole screws
- Spar Urethane
- Plant clips
- Terra cotta pots (the ones I used are called orchid pots)
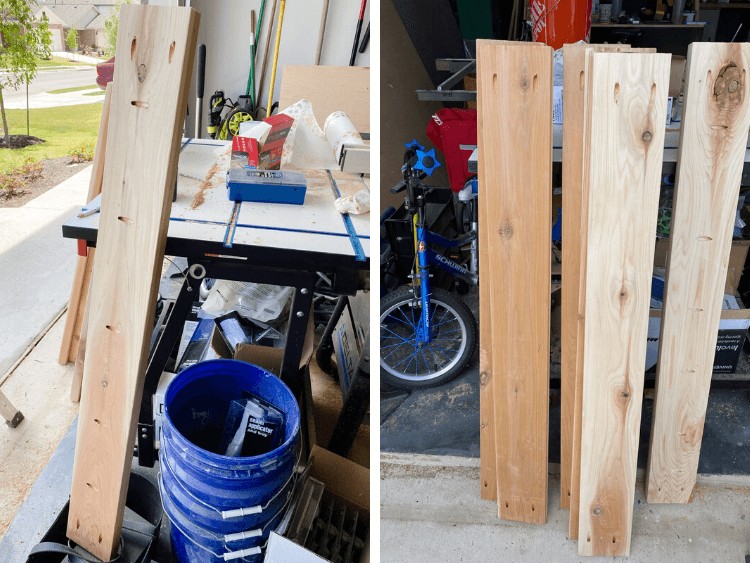
Step One: Make Your Cuts
First, you’ll start by cutting down all of your wood. Start with the 2×6 boards and simply cut them in half to about 4′ each. Be sure to measure, because the board may be slightly longer than 8′. You should end up with a total of 8 boards once you’ve cut them all. It’s very important that they’re all the exact same length!
Next, grab your 2x4s. These will be the frame. You can adjust the measurements as needed to fit your space.
Step Two: Drill Pocket Holes
Next, you’ll drill pocket holes in all of your pieces. Six of the 2×6 boards will just have pocket holes on the short ends (I did two on each side). The other two should have those pocket holes plus about 5 pocket holes along one of the long sides. This is how you’ll attach the board to the sides of the frame.
Step Three: Assemble the Plant Wall
I recommend taking a moment before assembling to lay out the entire frame to double-check that your spacing will work. I found that 1/4″ spacing was perfect for keeping my slats even all the way across – I just found a pencil that was about 1/4″ thick and placed it between each board as I was attaching them.
Now, grab one of the shorter frame boards and begin attaching your slats to it using pocket hole screws and wood glue. I attached them with the 2×4 on its side so that they’re inset in the frame. I attached all of the slats vertically to one side of the frame, then flipped the whole thing over and attached them all to the other side. It was a really quick process, but I do recommend having a second person with you to help hold everything steady while you work.

Be sure to put the boards with extra pocket hole screws on each of the sides – I installed them first and lined them up perfectly with the mitered end of the frame to ensure everything was lined up.
Once your top and bottom is all attached, you can grab the two longer frame pieces and attach them to the sides using the pocket holes you drilled earlier. Be sure to add wood glue to each of the mitered corners to help create a more seamless look.
Step Four: Sand, Seal, and Hang
Once it was fully assembled, I sanded all of the corners with 220-grit sandpaper, and also did a quick sanding all along the frame and edges. If you’re staining or painting it, I’d recommend fully sanding the boards and applying your finish prior to assembling it – but since I was leaving it as-is, I just gave it a very light sanding before I sealed it.
I sealed the entire thing with 3 coats of Varathane Spar Urethane. Cedar is generally safe to use outdoors and should stay looking good for the long haul, but the Spar Urethane adds an extra layer of protection since this is fully exposed to the elements.
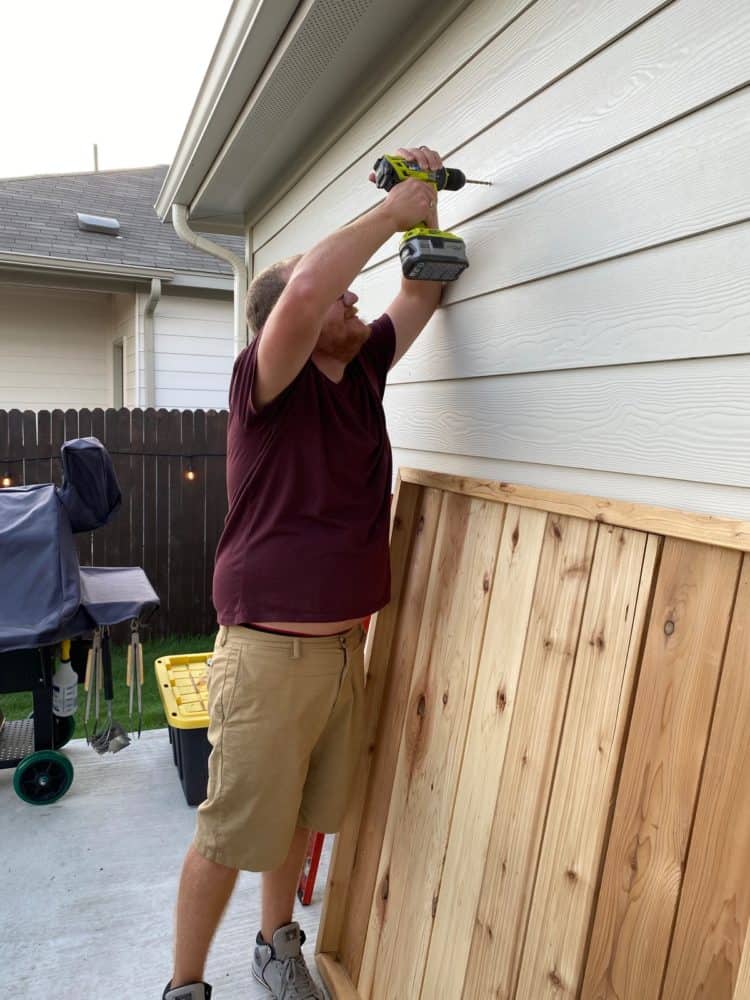
Once the sealer had dried, it was time to hang it! We simply found two studs in our exterior wall and added some heavy duty lag screws through the front of the plant wall to attach it. I don’t mind the visible screws at all, and it’s super sturdy – plus, this was a really quick and easy method!
Step Five: Add Herbs and Plants
Now comes the fun part – it’s time to add plants!
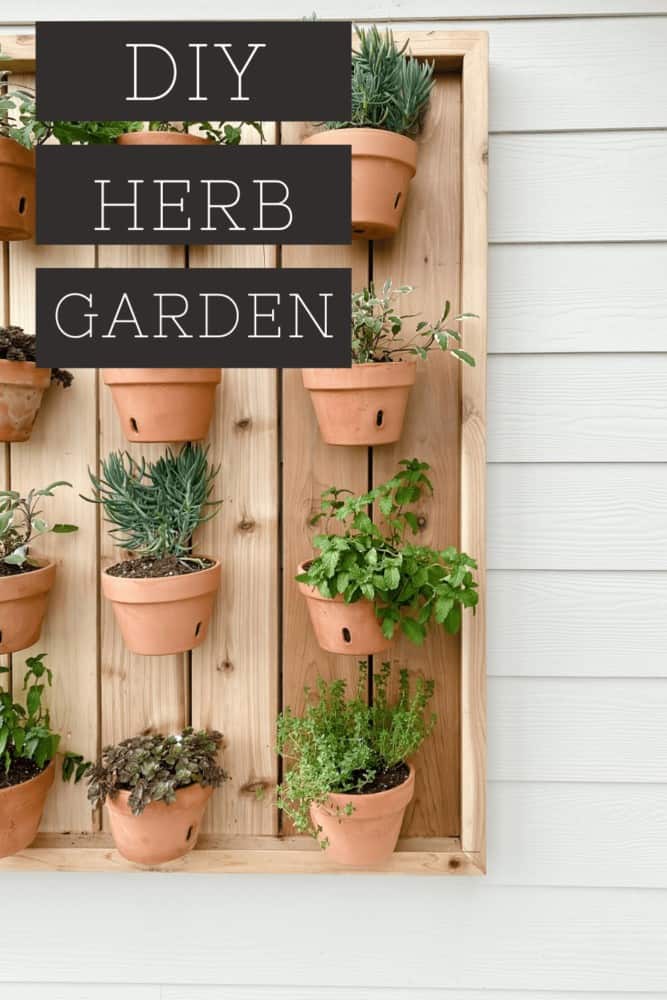
I used these plant clips to hang our plants on the plant wall – they’re the same ones I used last time around and I was really pleased with how sturdy they were (and how easy they are to use!). All you have to do is drill them into the plant wall, then hook the rim of your planter onto the clip – these are made to be used with terra cotta pots and the rims should fit perfectly, but they may be compatible with other pots as long as they have rims around them.
If you want a closer look at how the plant clips work, just click here to watch my Instagram story highlight of the project!
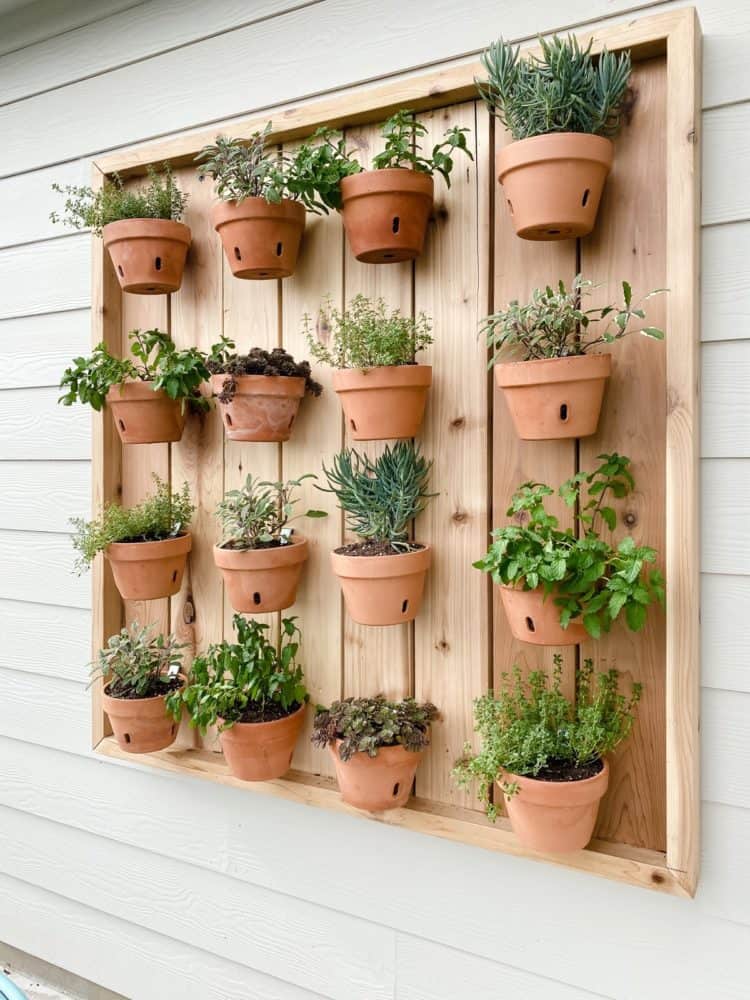
We chose to do mostly herbs on our plant wall, with a few succulents mixed in just because they’re pretty. I got several sage, thyme, and mint plants – I specifically wanted to have a few of each herb so that when we pull leaves off of them to use, it’s easy to rotate which plants we grab from and none of them ever end up looking bedraggled.
We still need to get some basil to round out our herb garden, but I want to do it in a large planter since it’s the one we’ll probably use most often (we already have a medium-sized rosemary plant, and a pretty large bay leaf bush on the patio!).
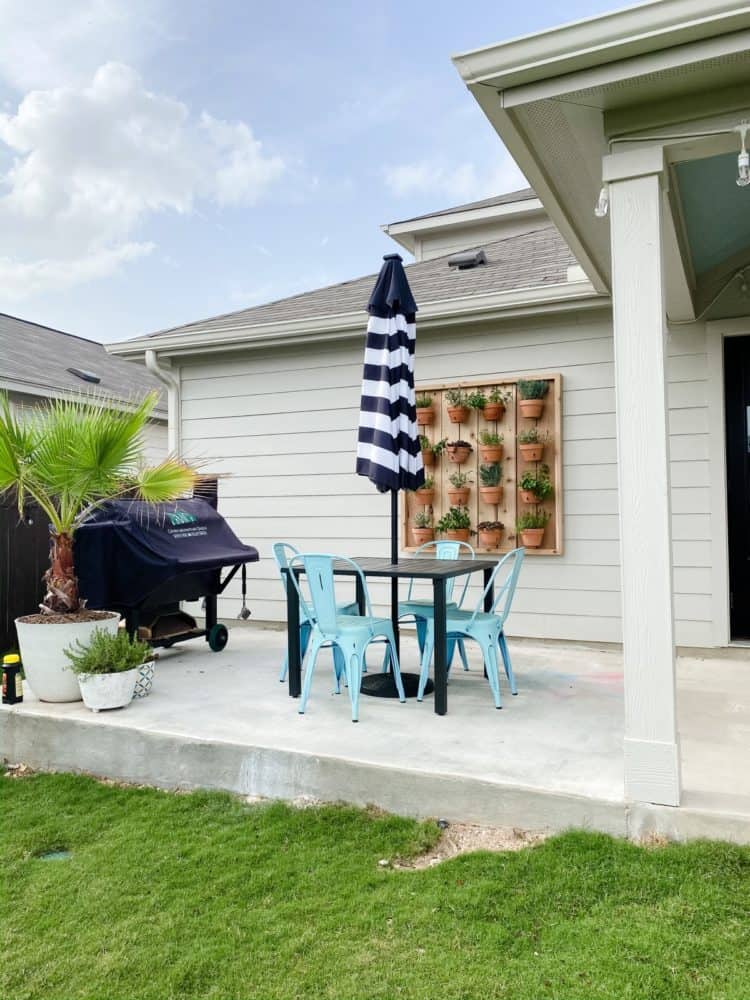
This side of the patio has so much life and texture now, and I’m just thrilled with how it turned out.
Although, I think I officially need to put myself on a ban from buying any more plants for a while. It’s getting a liiiiiittle out of control.

Late to the party here! I love this vertical planter, but have brick and don’t want to attach to the house. Any thoughts on how to adapt this or use this basic idea without attaching? Have enjoyed perusing your site this afternoon.
Hi Debra! Something like this leaning planter might be a better fit for you! https://www.loveandrenovations.com/leaning-herb-garden/
Just wondering if you have cold winters where you live? I was going to try to make this but Idk what I will do with my plants during the winter months since it gets to 15-20 degrees F here.
Hi! I generally don’t expect my herb gardens to last through the winter – if I can’t bring plants inside I assume they’ll need to be replaced come spring!
Did you use 6” or 8” orchid pots for this project?
BTW y’all did a great job on this. I love the look.
I used 6″ pots!
how is the wood faring the summer heat and rain? Do you think it needs to be treated at all?
Hi Robbie! I did seal it with Spar Urethane prior to hanging. It’s holding up perfectly so far (and we had a brutal summer, as usual). Looks just as good as new!
The plant-buying obsession is real! I refuse to call it a problem.