
DIY Outdoor Plant Wall
Last updated on June 12th, 2024 at 03:38 pm
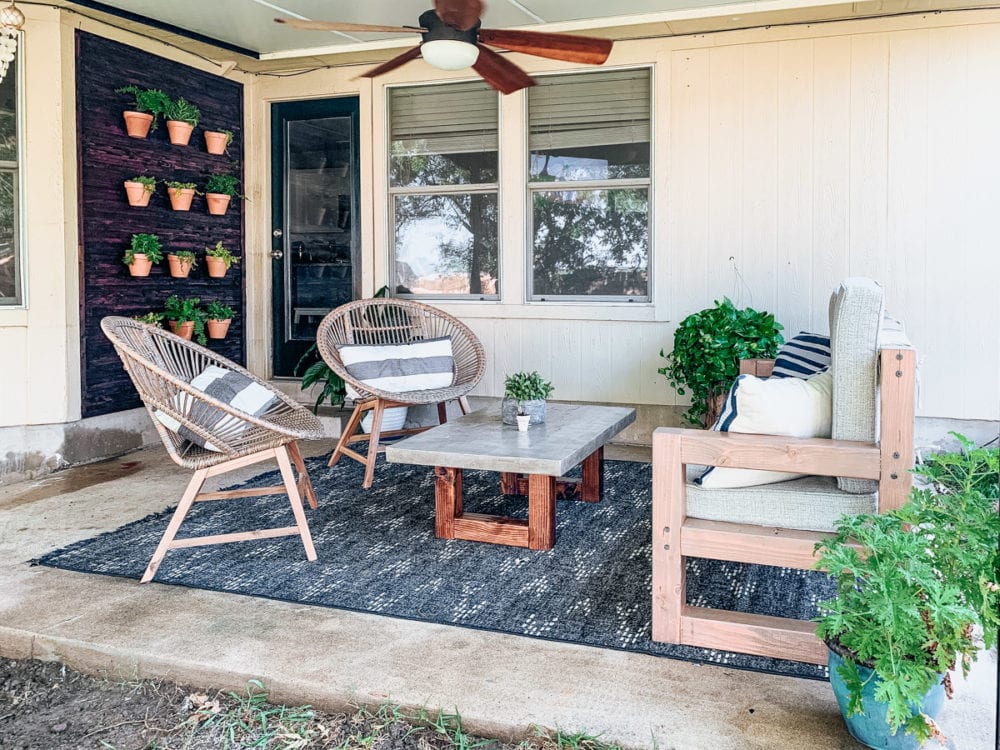
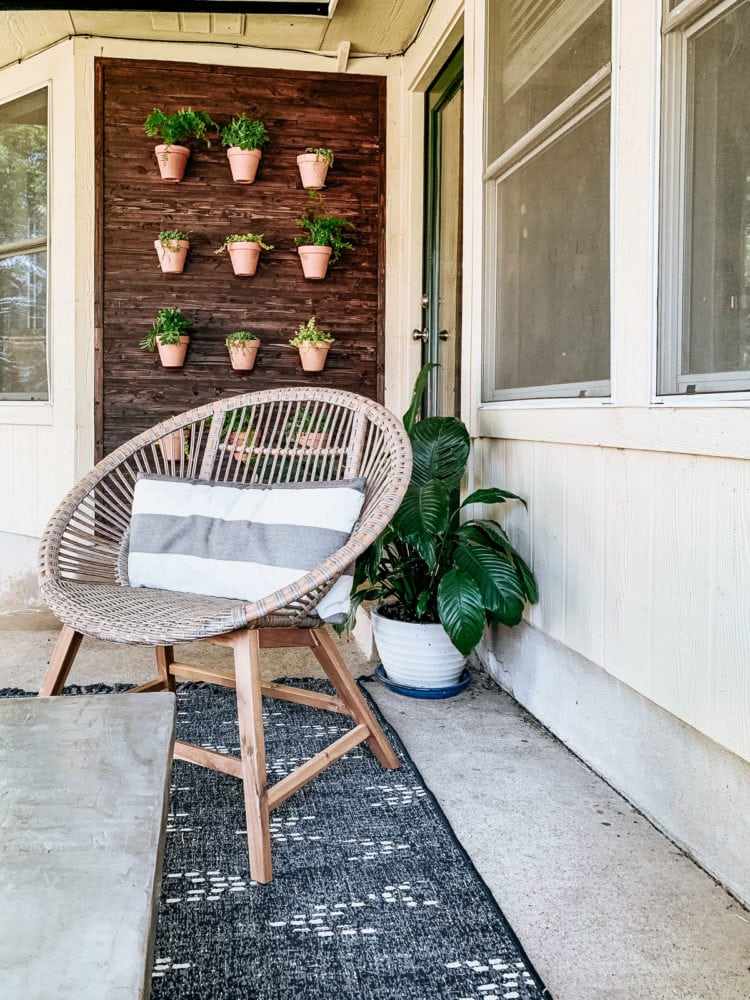
We added a really fun and unique DIY plant wall to our back porch! I’m sharing the full tutorial today. I love how this living plant wall turned out, and it’s a project I’d try again and again!
Friends! The last project in our big summer backyard overhaul is officially complete.
That feels good.
If you’ve been following along, you’ll know that we have been on a mission all summer long to completely transform our backyard. I think it’s safe to say we accomplished it! I can’t wait to share the big reveal, but for now let’s focus on this fun little project. It came to us at the last minute, and I’m so thrilled with how it turned out.
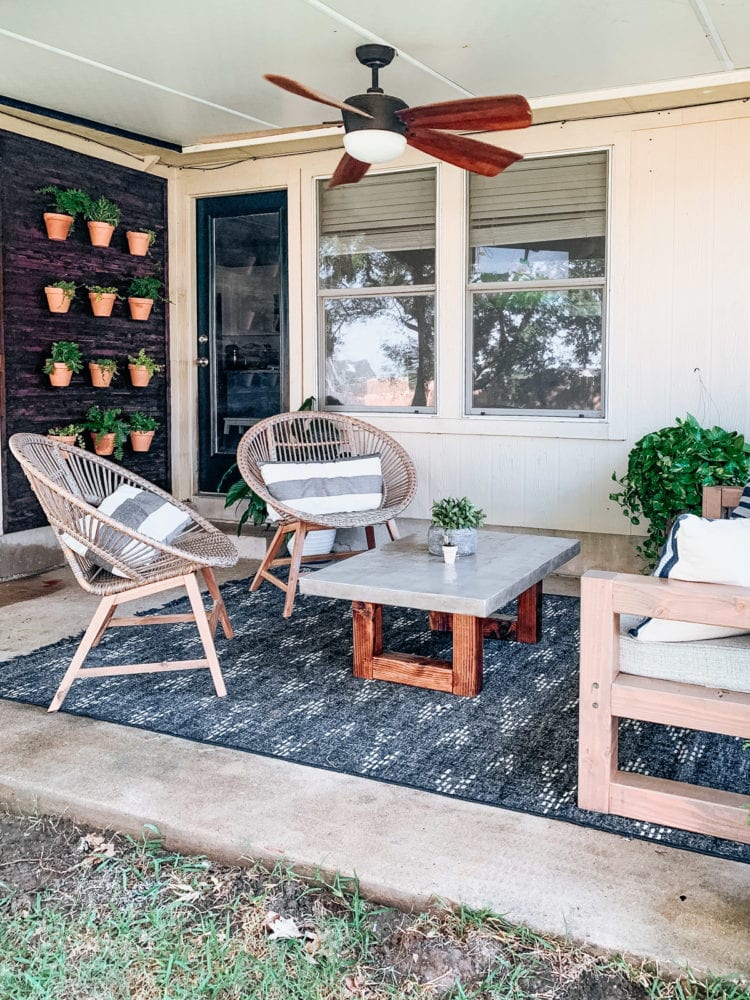
We used to have some outdoor art hanging on this wall, but I wanted something a little more impactful and show-stopping. Corey had the idea to do a wood treatment on the entire section of wall and it kind of just grew from there. The next thing I knew, we were hanging plants on the wall (as if I needed any more plants) and I was falling in love.
I mean, it doesn’t get much better than this, y’all.
Yeah. I’m a fan.
Let’s talk about how we did it because, y’all, it was SO EASY to do!
How to Make A DIY Outdoor Plant Wall
Materials Needed
- 4′ lath boards (I needed two boxes for our wall)
- Wood glue
- Power nailer + 2″ nails
- Orbital sander (You could also just use sanding blocks)
- Wagner Stain Sprayer
- Stain (I used Dark Walnut)
- Pot hangers
- Terra cotta pots
- Your favorite plants
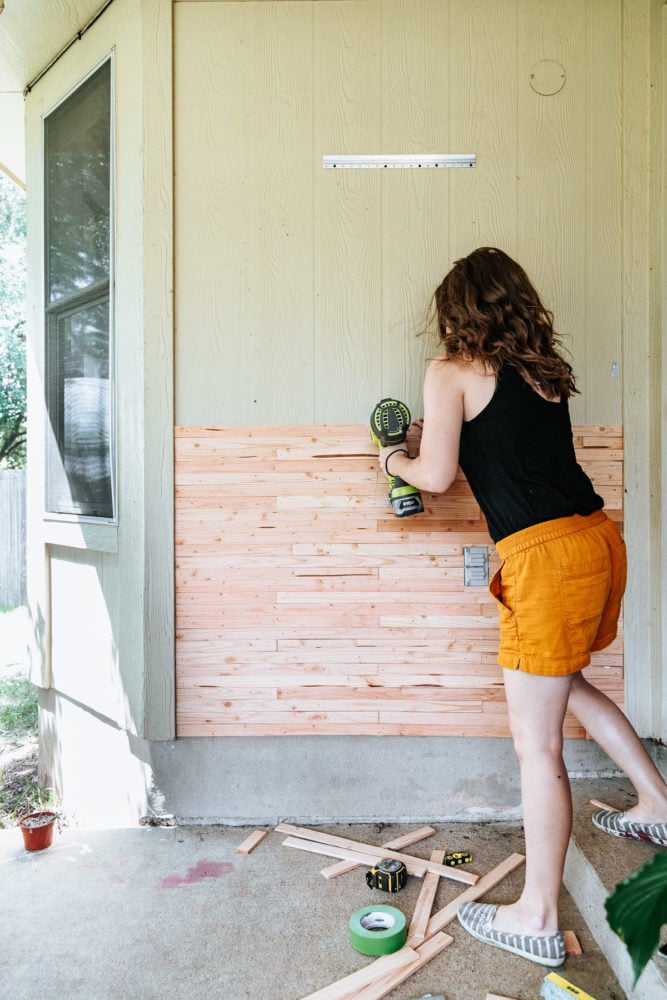
Step One: Install Wood Boards
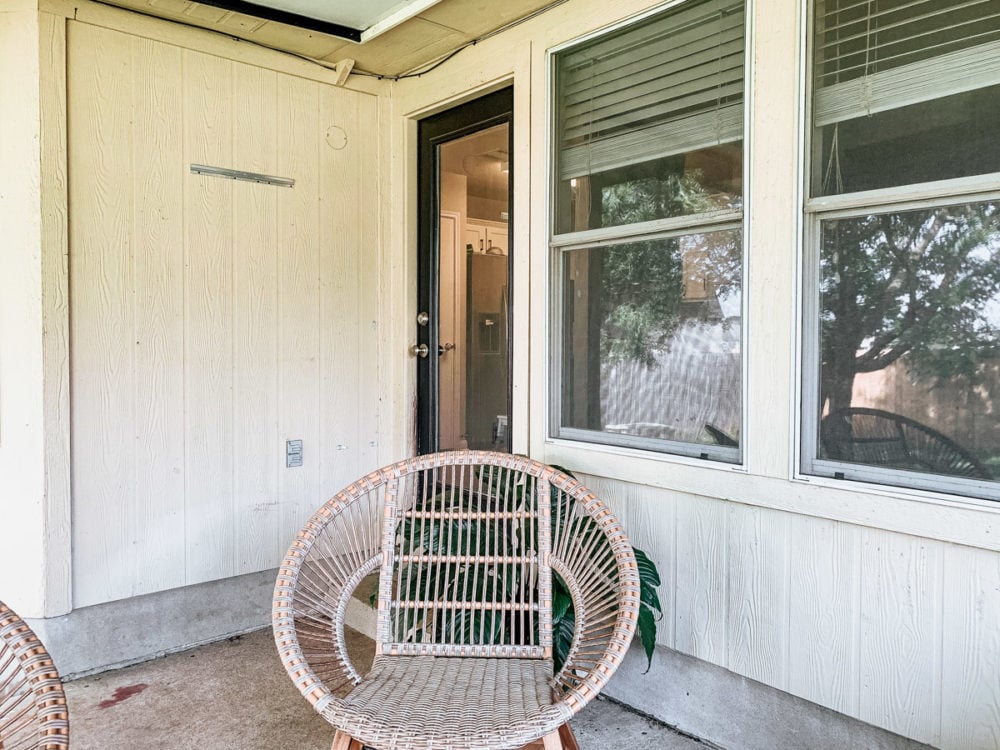
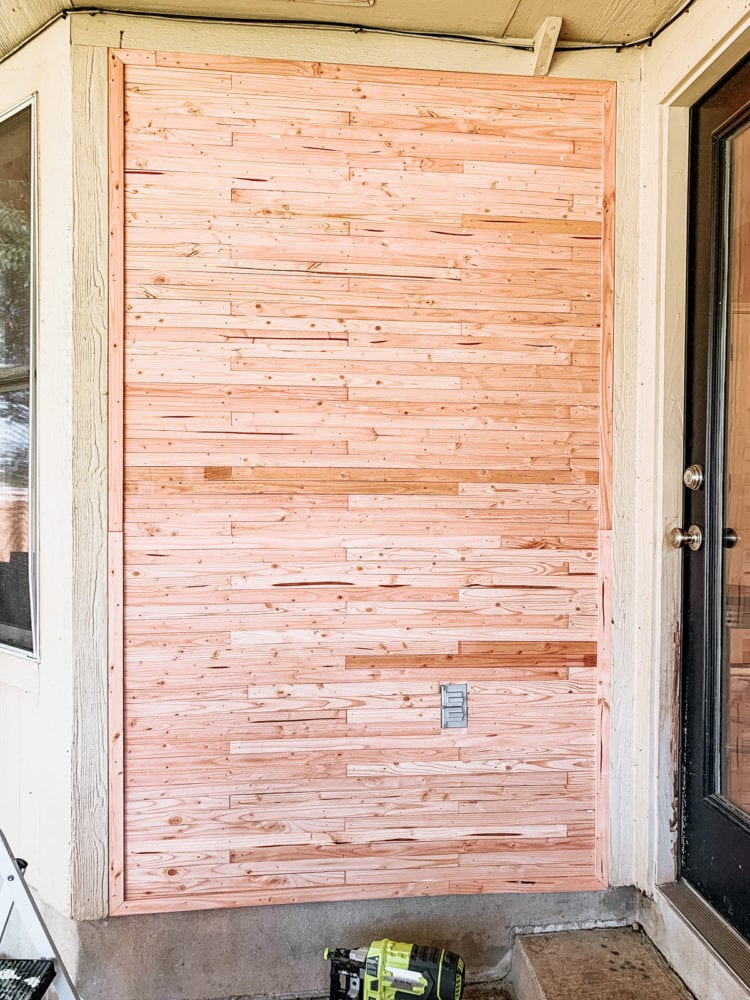
Here’s a look at the wall we were working with before we got started. It’s 84″X50″ and it felt like a big, blank intrusion on the space!
I started by installing the lath boards. These are really thin boards that are perfect for creating a “skinny lap” treatment. But, be warned that many of them will come warped, and they’ll need a lot of sanding. Thankfully, since they’re so thin it’s pretty easy to maneuver them into place.
To install the boards, I simply put wood glue on the back, then nailed them into place. I tried to nail into the studs wherever possible, since that’ll hold up better over time. I staggered the starting boards so the pattern feels kind of random. It took me about 1.5 boxes in total to get the whole wall covered.
You’ll notice that I also added a border around all of the edges. I did it because I started on the bottom and ended up with a gap at the top of the wall, but I’m actually really pleased with how it looks!
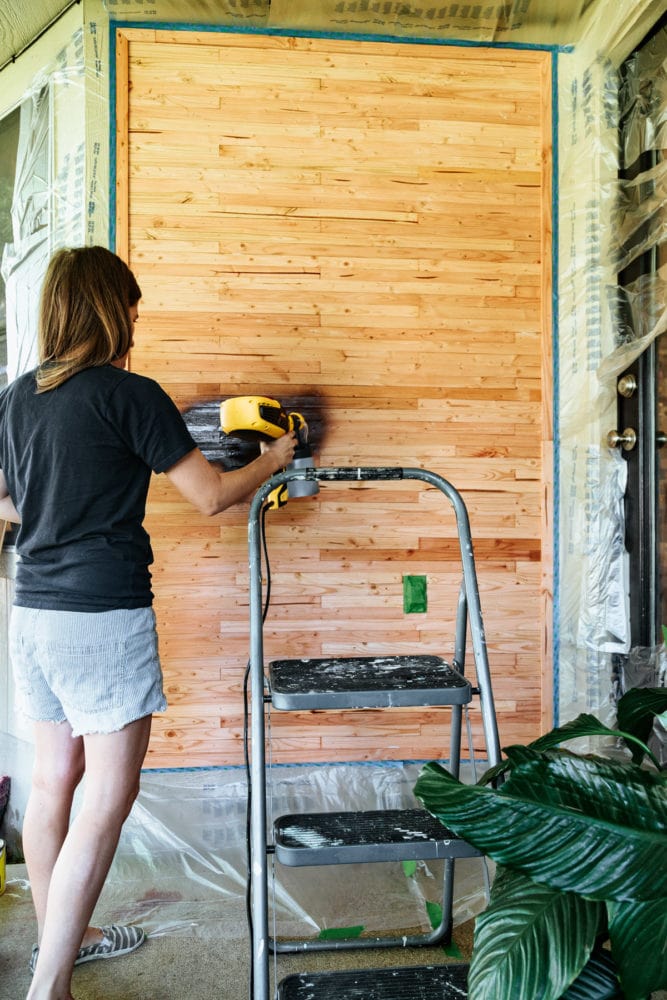
Step Two: Stain Wall
Once the wall was covered, it was time to stain it. I started by sanding it as well as I could. These boards are really rough, so while I didn’t care if the wall was perfectly smooth, I also didn’t want my accent wall to give anyone splinters.
I used an orbital sander (and I sanded with multiple grits, starting with 80 and ending with 220). But, you could easily do it with plain ol’ sanding blocks too.
After it was smooth (or, as smooth as it was going to get), it was ready for stain! I applied a pre-stain first. This helps ensure that the wood you’re staining absorbs the stain more evenly. It is a key step when you’re working with cheap wood like this!
I chose to use my paint sprayer to stain the wall. It was notably faster than staining by hand would have been, and it’s honestly the best way to stain rough wood like this. I used my Wagner Stain Sprayer and it legitimately took me about 3 minutes to stain the entire wall. It would have taken at least half an hour to get it all stained by hand!
If you don’t know how to use a paint sprayer in the first place, be sure to check out this post for a full, detailed tutorial. My paint sprayer is one of the most-used tools in my arsenal, and I don’t know what I’d do without it. I’ve gotten my dad and his friends all hooked on them too – they’re seriously life-changing, y’all!
I had the entire wall stained and all of my mess cleaned up in less than an hour. That’s pretty incredible when you’re trying to cram a project in during nap time!
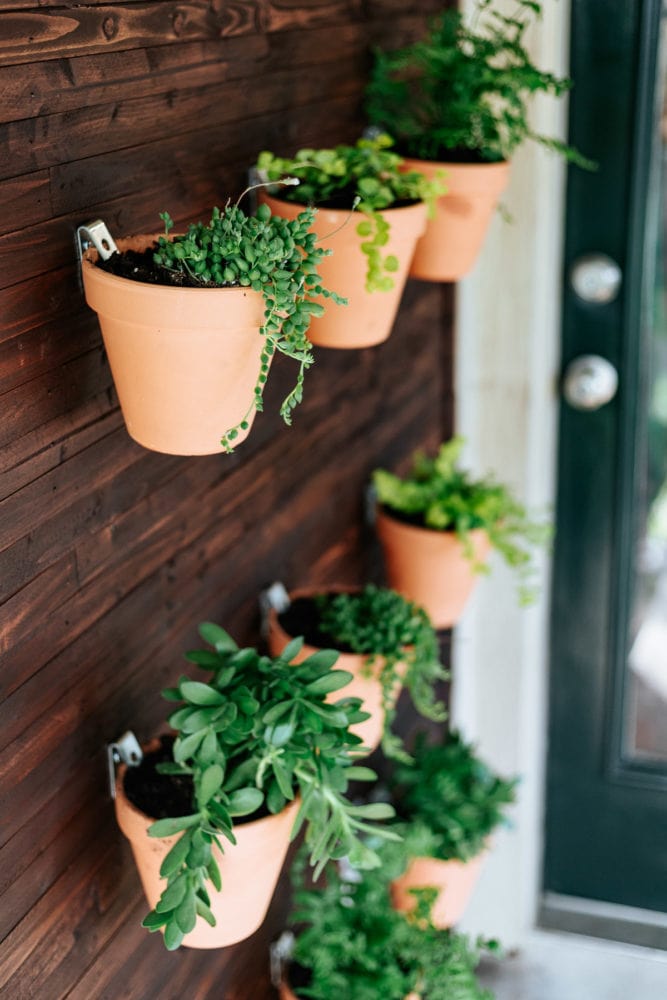
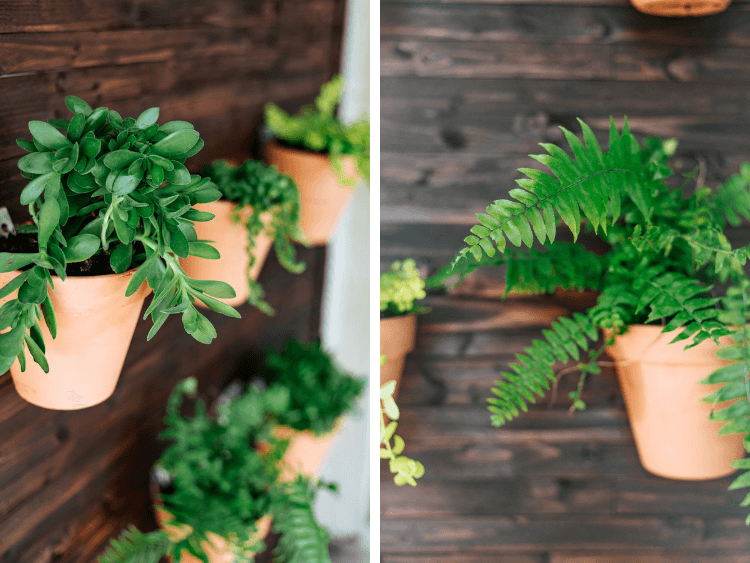
Step Three: Hang Plants
After the wall dried, it was time to hang the plants. I found these pot hangers on Amazon and they were the perfect solution for us. I didn’t want the pots to stick out too far from the wall since the door is right there. These allow the plant to sit almost completely flush to the wall and they have a really clean look too. Win win!
I’m sure you’re wondering what happens if (WHEN) they get bumped. I was really pleased to find that the plants really aren’t going anywhere. If you bump into them, they shift within the hanger, but you really have to try to get them to come out. I feel really confident that we won’t have any plants crashing down anytime soon!
I’m so beyond thrilled with how this project turned out – my favorite part may be that you can see the plant wall from our living room, so it makes me smile all day long!
Need to Catch Up?
- We kicked things off by painting our backyard shed…
- And then we spruced up the rose beds.
- Our first big project was building a DIY paver and pea gravel patio.
- Once it was done, we styled it and started enjoying it.
- Then we turned our attention to the back porch – first, we painted the metal covering.
- And finally, we build a DIY outdoor sofa
- We’ve also build a DIY concrete coffee table, and that post is coming your way later this week!
What do you think? Would you ever try something like this on your back porch?
Love the wall! Love the directions!
When you water the plants is there something in the bottom of each pot that keeps them from draining out to then water your patio?
Thanks, Mary
Thanks, Mary! So, since they’re all lined up, all of the plants except for the bottom row drain directly into the plant below them. The bottom row does drain onto the concrete but we just let it drip – it’s never enough to puddle or anything, so it doesn’t bother me!