DIY Wood Christmas Tree (for Kids!)
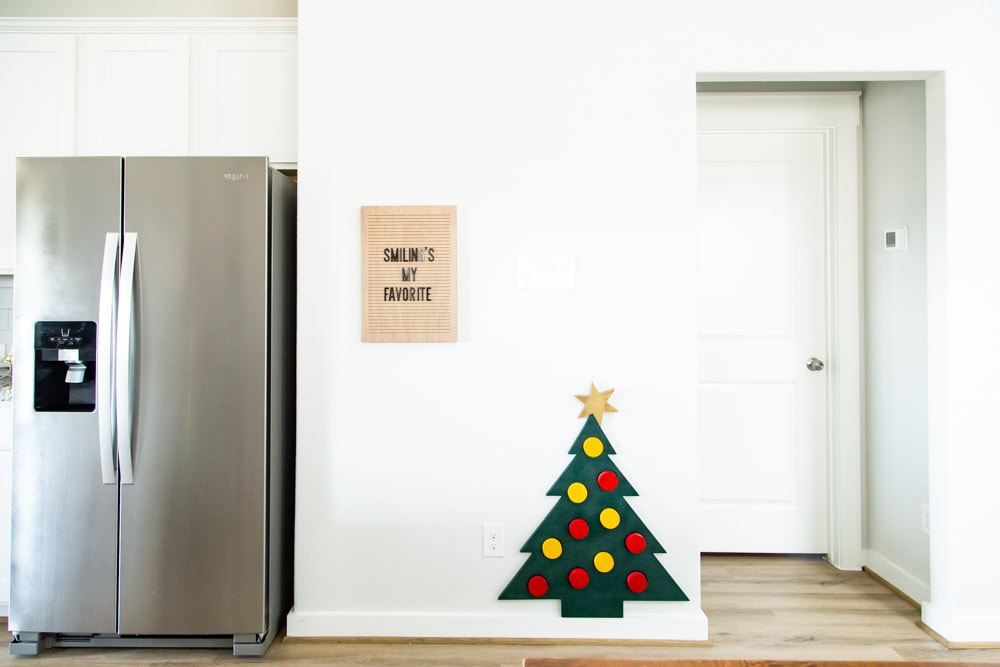
Learn how to make this adorable DIY wood Christmas tree that’s interactive for your kids. It doubles as holiday decor and a fun game!
This post is sponsored by Inventables and contains affiliate links.
This year, Grant is at a really interesting (and kind of challenging) age for the Christmas season. He’s about to be 16 months old, so he’s very mobile and is interested in everything, and simultaneously wants to be a part of everything but also isn’t good at listening or, you know, not breaking things.
He’s been so good about leaving the tree and our other decor alone for the most part, so I really wanted to have something up in the main living area for him and Jackson to just have a blast with. When Jackson was a toddler at Christmas we had a really cute felt Christmas tree that he could decorate (and un-decorate) and he played with it constantly. However, the felt always ended up falling off and making a mess all over the house, so we didn’t keep it for Grant.
I made this project with my Inventables X-Carve and that’s what the tutorial will focus on. However, this project is absolutely doable with other power tools (like a jigsaw and a router) if you don’t have one. So, keep reading even if you don’t have an X-Carve!
And, if you’re new around here and aren’t familiar with the X-Carve yet, let me catch you up. You can…
- Click here to learn more about it and see the first project we ever did
- Click here to see the gorgeous bread boards we made (and use almost daily),
- And click here to see the adorable DIY fall pumpkins I made with it!
It’s such a versatile (and, frankly, fun) tool to have in the workshop, and one of my goals for 2020 is to get even more familiar with it and start using it for more projects!
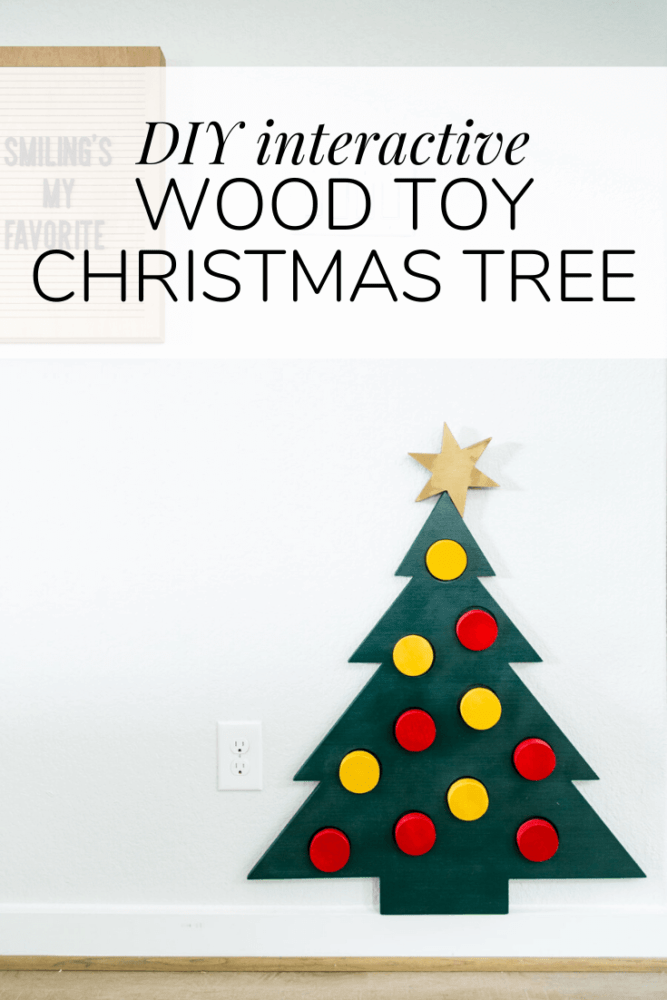
DIY WOOD CHRISTMAS TREE
materials i used
- Inventables X-Carve 3D Carver
- 1/8″ X-Carve Bit
- Christmas tree SVG file
- 3/4″ Plywood
- Power sander with 120-grit sandpaper
- Green spray paint
- Red spray paint
- Yellow spray paint
- Gold spray paint
- Velcro
Step One: Cut the shapes
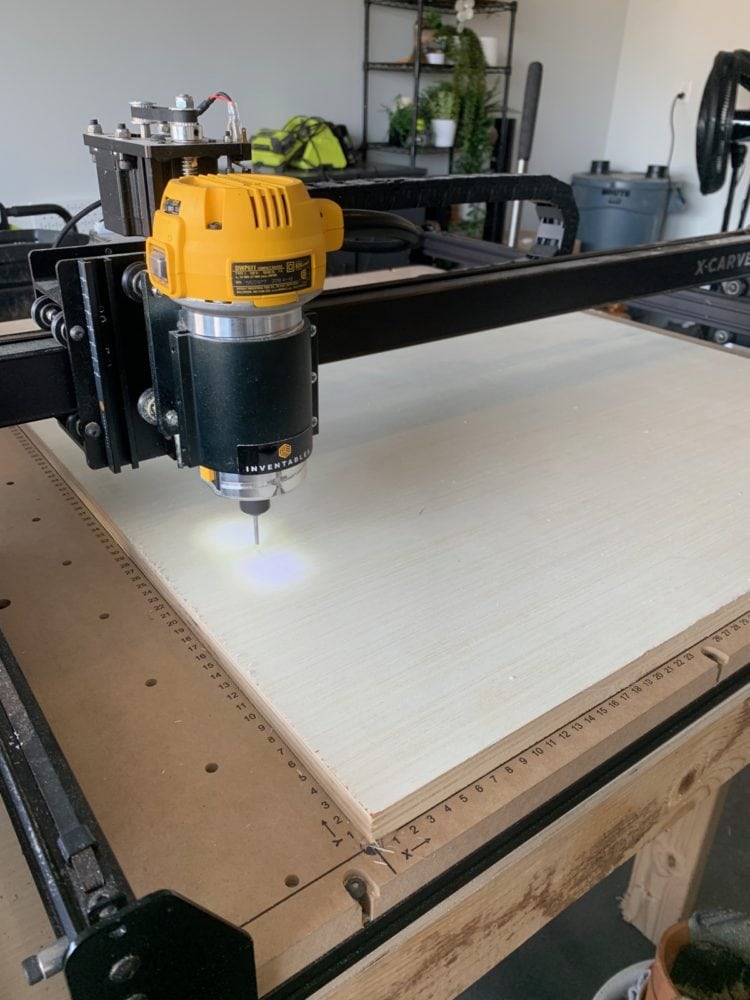
Your first step is to set up your X-Carve machine, clamp the material in place, and let the machine do aaaall the work for you!
We found that working with this large of a piece of plywood, the best clamping method was actually to hot glue the board directly to the X-Carve base, then use a heat gun to remove it afterwards. It was incredibly solid and made it to where we didn’t have to worry about cutting around the clamps.
If you don’t have an X-Carve, you could draw the tree on your plywood and cut it out using a jigsaw (I did something similar a few years ago!). The circles could be cut with a hole saw attached to your regular drill. It’d be harder to do the carved-out pieces for the ornaments without an X-Carve, but if you know your way around a router it shouldn’t be too bad. Otherwise, I’d recommend just cutting all the way through and your kids can slide the ornaments into the hole (and if you hang it on the wall, they should stay fine!).
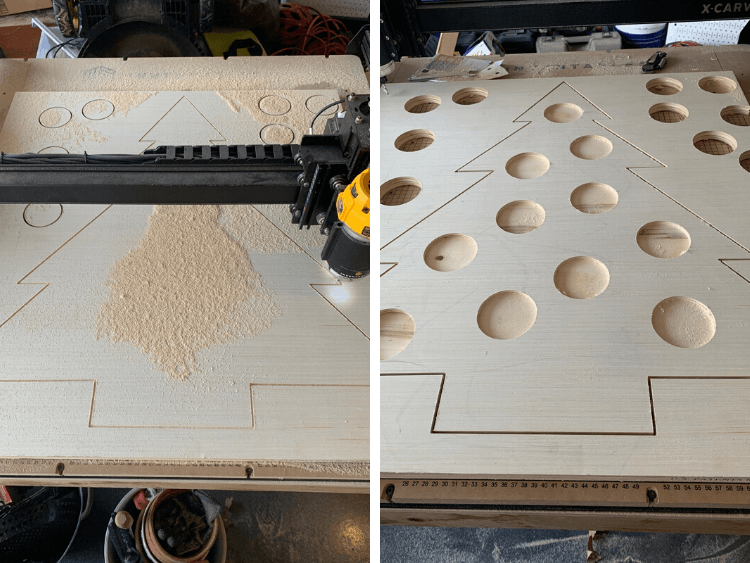
This carve took a few hours – the beautiful thing about using the X-Carve is that I was able to get some other things done around the garage (like, um, unpacking some of our moving boxes) while it worked for me. You know I love to multi-task!
Sand and paint the pieces
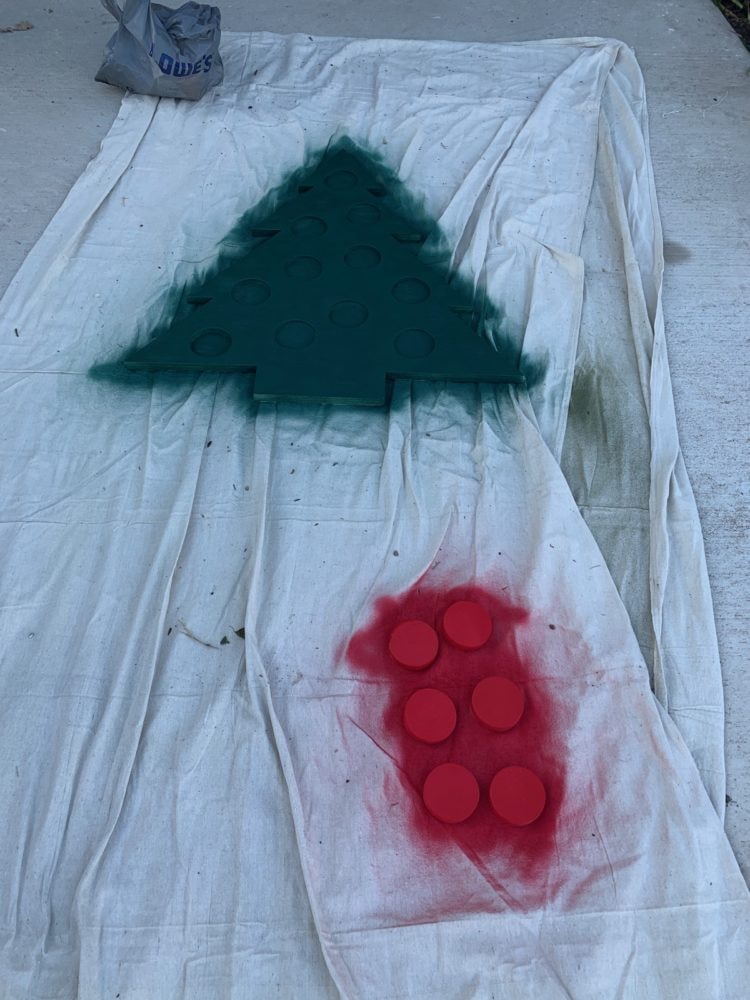
Once your X-Carve is done cutting our your tree and ornaments for you, you’re almost done! I used my power sander to sand down all of the edges and get each of the pieces totally smooth (and ready to be put alllllll up in Grant’s mouth). After sanding, I just spray painted all of the pieces.
I used a dark hunter green on the tree, and a mix of red and yellow on the ornaments, with a nice metallic gold for the star.
Hang it up!
I originally had planned on making this a freestanding piece for the game room, but the more I thought about it the more I realized that was just inviting trouble. The boys are rough and it would surely get knocked over and whack someone in the head within minutes of me putting it into place.
So instead, I decided to hang it on the wall in the dining room. I think the boys will play with it more in the main living area, and it’s cute enough that I don’t mind it being front and center! I didn’t want to make any permanent holes for a seasonal decor piece, so I just grabbed some Command strips and used those. They worked great, and it’ll be really easy to take it down when Christmas is over!
The finishing touch was to add some velcro to the back of the ornaments and inside the holes for them. Again – my original plan was to just have them fit into place like a puzzle, but in the interest of keeping things as safe as possible, I figured it was probably best if they aren’t super easy to remove, get knocked out, or fall out.
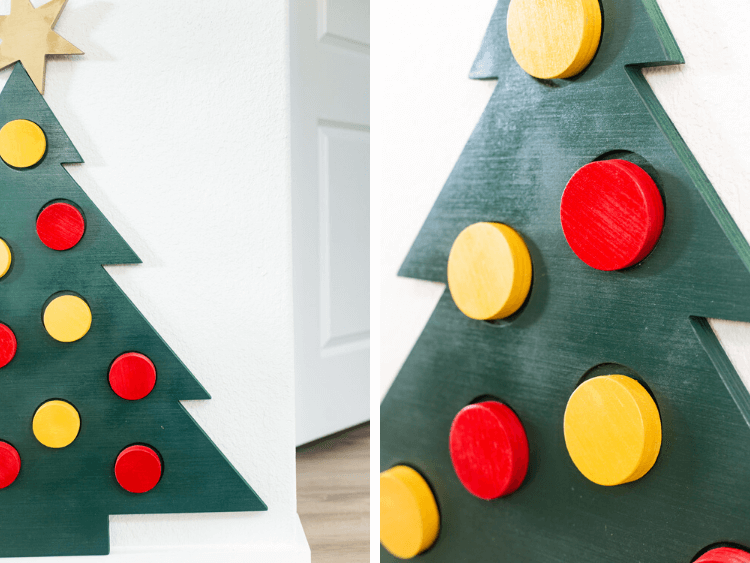
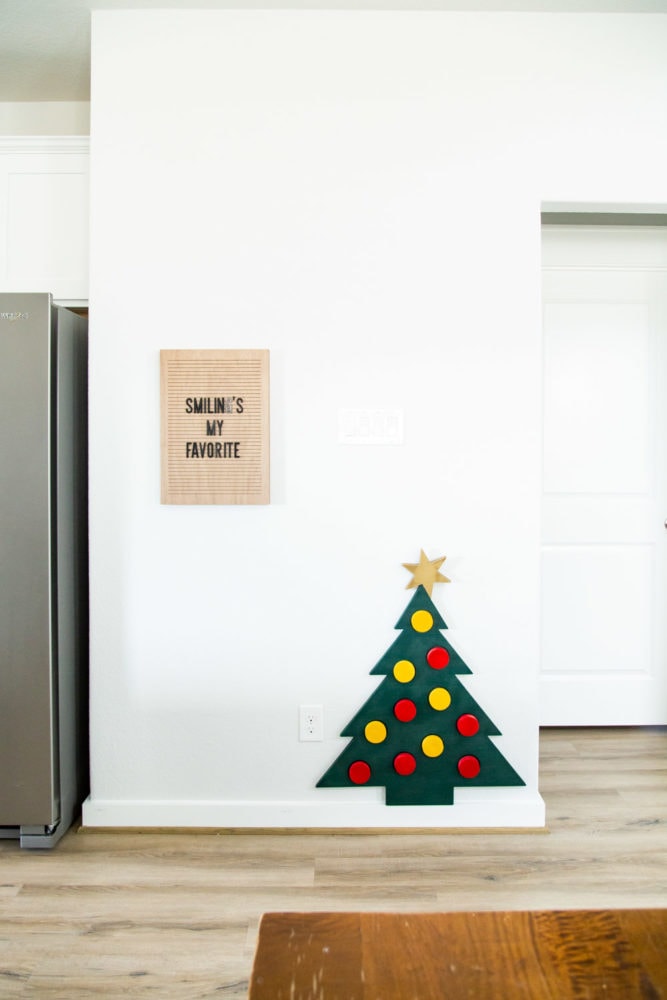
The boys have both been loving this cute little tree, and I love that it’ll last us for years (unlike those silly felt ones that fall apart so easily).
I could see this being an activity and craft that would be so easily transferrable to all of the holidays. We could do a big heart for Valentine’s Day! An Easter Egg with polka dots for Easter! A big pumpkin with various face pieces for Halloween! A turkey and feathers for Thanksgiving!
This could be the start of a very time-consuming new hobby for me.
If you’re at all curious about the X-Carve and want to learn more about if it might be a good fit for you, click here to read all about it. It has been a wonderful addition to our workshop, and it has really helped expand my creativity when it comes to thinking up things we can do!
