How I Make Our Family Yearbooks
Every year, I put together a photo album for our family of all of the events of the year. We call them our family yearbooks, and it’s one of our very favorite traditions. I get asked about it all the time when I mention it on Instagram, so I figured it was high time I put together a blog post with all the details on how to make a family yearbook in one place!
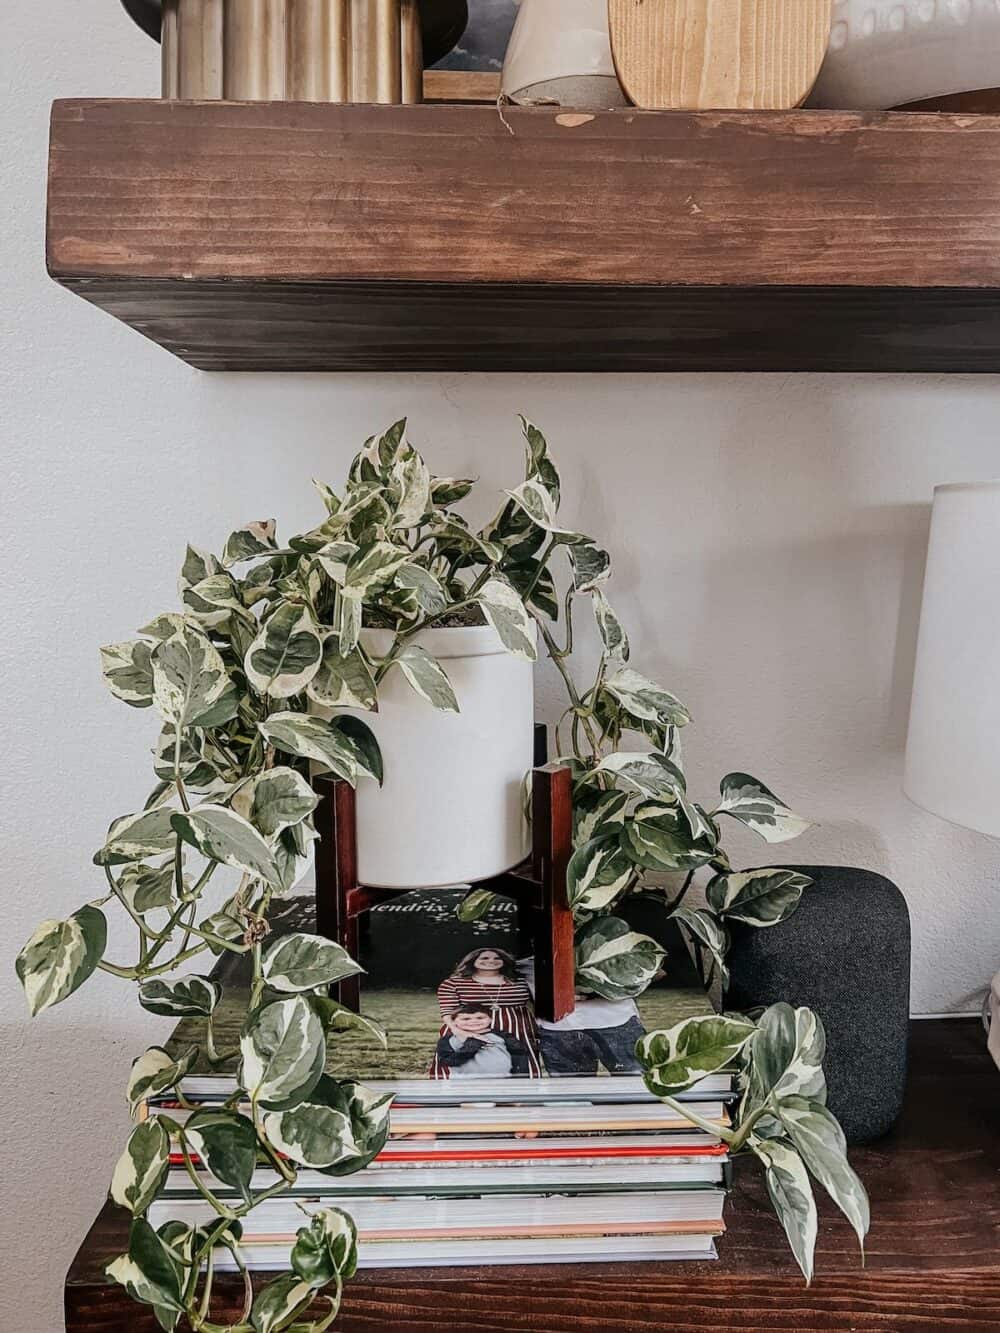
how i make our family yearbooks
There are a lot of different photo album companies out there. I’m sure you can’t go wrong with any of them, but I use Blurb to make our family yearbooks. I trust the quality of their books, I like how easy the program is to use, and they’ve never let me down!
When it comes to the actual work, I do a little bit every month. I used to do it all at once at the end of the year, but I find this process much easier. At the beginning of the month, I go through all of the photos I’ve taken that month, then I create a folder on my computer for the ones I want to use. Then, I put together the pages for that month. It takes me about half an hour each month from start to finish. Then, at the end of the year I’m ready to order!
blurb’s book wright program
Blurb has a program for your computer (and one for mobile as well) that allows you to fully design and customize your family yearbook from start to finish. I find it really intuitive and easy to use!
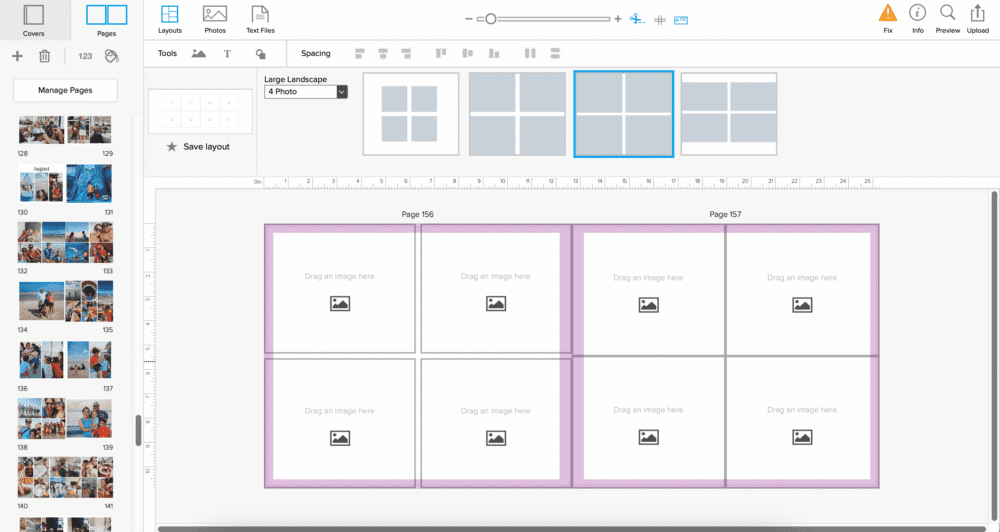
Here’s a peek at what the computer version of the design program looks like. You can have the book automatically insert the images into a pre-made template, but I like to make my own. There are lots of page layouts to choose from! I find that for me, it works best to choose 4-5 different layouts and rotate them throughout the book. The ones I use most are:
- 1 single, full-page photo
- 2 vertical images
- Grid of 4 square images
- Grid of 6 vertical images
I also have a specific layout I use for the first page of each month. It has the month written across the top, and three images underneath it.
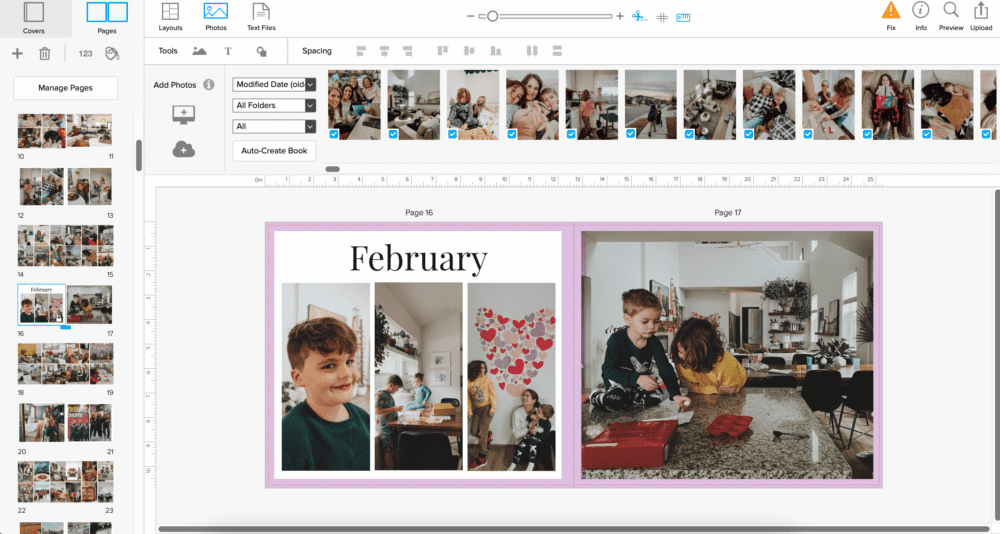
I use use those layouts repeatedly throughout the book for a really cohesive look. I usually repeat the same pattern of layouts for each month, adding more in as needed.
choosing a book size + other options
I like for my yearbooks to be nice and big! Because of that, I always order the 13×11 size (called a Large Landscape). It makes the book more expensive, but it’s 100% worth it to me.
I never upgrade the paper on my book. I’m sure it would be well worth the additional cost, but mine have so many pages! It would add up fast. I’m really pleased with the regular paper, so it’s no big deal!
choosing + editing photos
I usually end up with anywhere from 25-75 images to use on any given month. Some are busier than others! If I have a month with fewer photos, I’ll do more layouts that only have 1-2 photos. On super photo-heavy months, I use more of the 6-photo layouts!
I try to choose photos that represent the fun activities we do, plus plenty of regular life moments. I’m not always great about taking day-to-day photos, but working on the book monthly always keeps it fresh in my mind!
I do edit all of the photos I put in our family album. I do this in Lightroom on my phone. There are some presets I like to use to keep things consistent (currently, I’m really loving these). There are free apps like YouCam, VSCO, and Snapseed that allow you to adjust lighting or add basic filters.
Editing your photos is 100% not a necessary part of creating a family yearbook! Personally, I love that it creates a cohesive look between all of the photos, no matter when or where they were taken. But, you can absolutely pop the photos into the family yearbook just as they’re taken if you prefer.
Typically, I edit my photos throughout the month as I take them. Every few days I’ll spent 5 minutes going through my latest photos and editing them in Lightroom. It takes almost no time at all, and can easily be done while I’m watching TV!
when to order your family yearbook
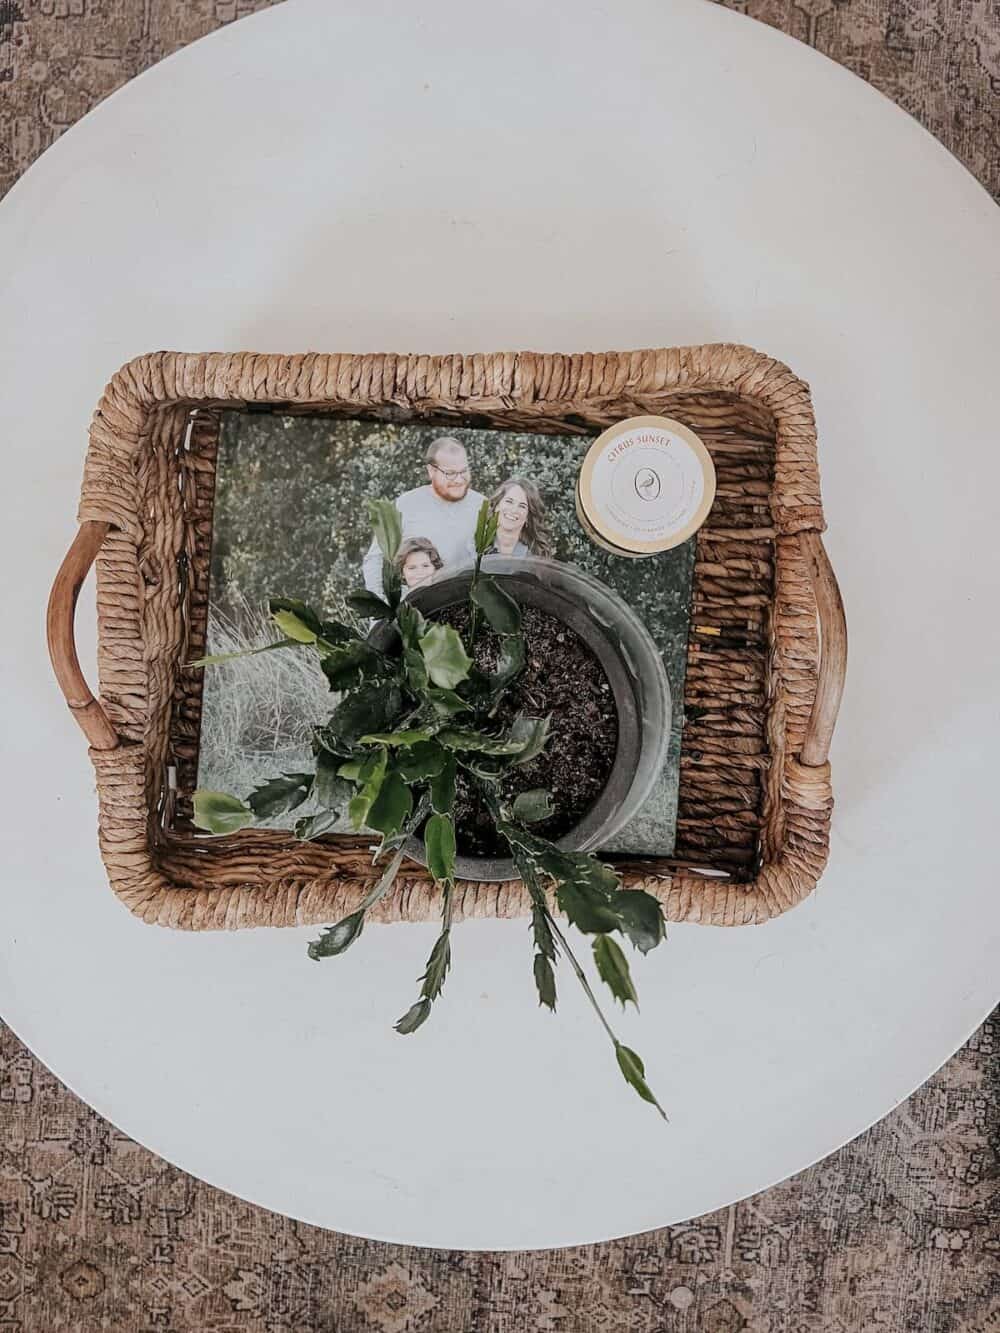
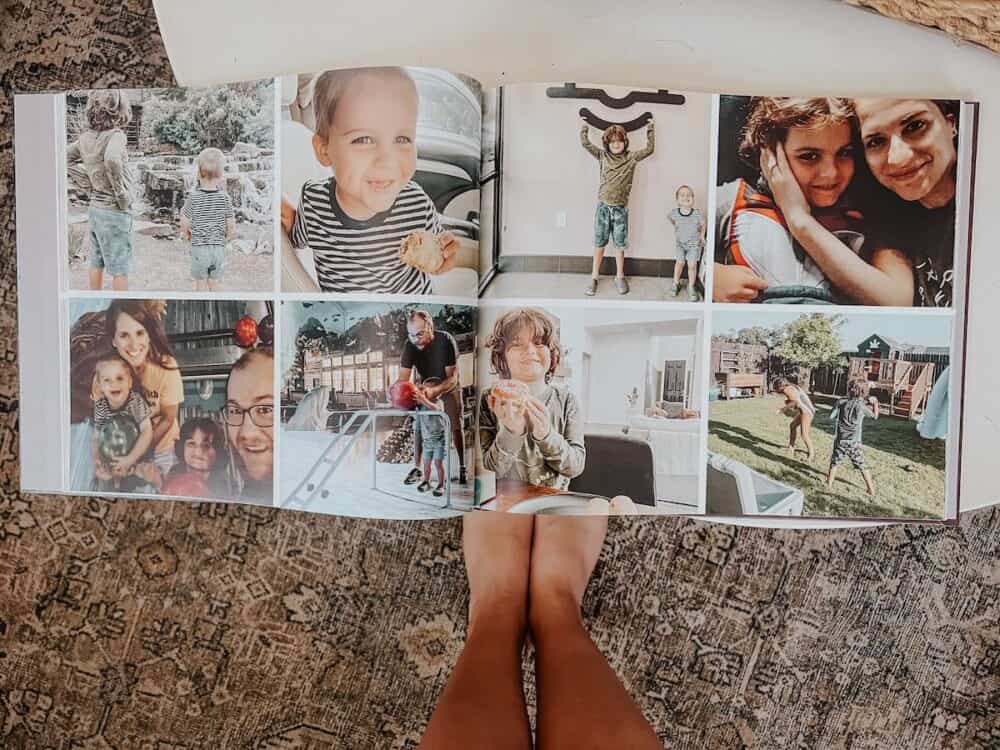
It’s worth noting that I absolutely never order my family yearbook unless there’s a sale! Blurb does occasional 40% off sales, so I won’t order at full price. Sometimes that means I have to wait several weeks into the year to order a book. I don’t mind the wait at all, especially since these books often cost in the neighborhood of $150!
I recommend signing up for emails from Blurb so you know when they’re running a sale.
And that’s it! The process of creating family yearbooks can feel really overwhelming if you’ve never done it, but I promise it’s simple. You’ll never regret taking the time to do it! I often hear from people who don’t want to start because they already feel behind. To that, I say – it’s never too late to start! Make them starting this year, then if you have time in the future you can go back and do previous years. Or, you can just start now and move forward!
Whatever you decide, I promise it’s worth the effort!
