
DIY Photo + Artwork Display
Last updated on February 28th, 2023 at 07:51 pm
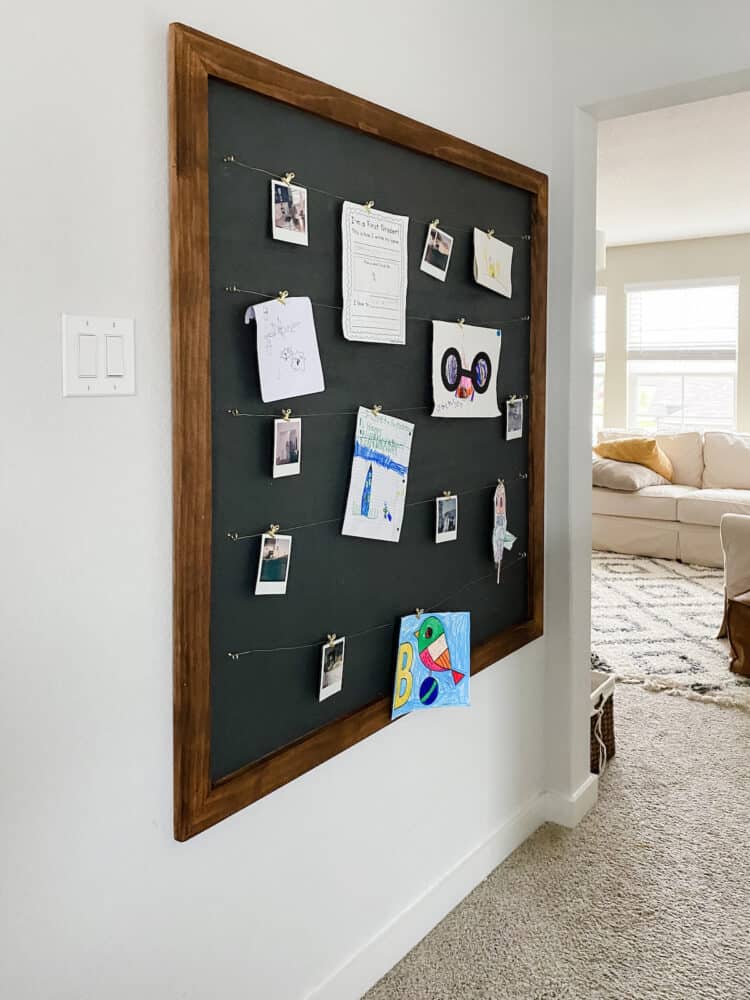
Learn how to make this super cute DIY display for your family photos, kid’s artwork, and more!
This post is sponsored by Wagner. Thanks for supporting the brands that support Love & Renovations!
Every once in a while there’s an old project that we have to get rid of or change for one reason or another that I end up missing terribly. Most of the time, I’m the type that likes change and is okay with letting go of things that aren’t working for us anymore, but sometimes I just can’t move on.
Today’s project is one that we had in our first house – we couldn’t bring it with us when we moved because there wasn’t space for it in our second house. But, man, I feel a little wistful every time I see a photo of it because it was just so fun and made me so happy
So, I decided to make it again!
You may remember this isn’t the first time I’ve re-created an old project in this home. Just a few months back I added the exact floating shelves to our living room that we put in our second home’s living room. I’ll admit – I questioned if it was “okay” to repeat blog projects (because isn’t it my job to come up with new stuff?!), but in the end what’s most important is that we love everything in our house…and we love this!
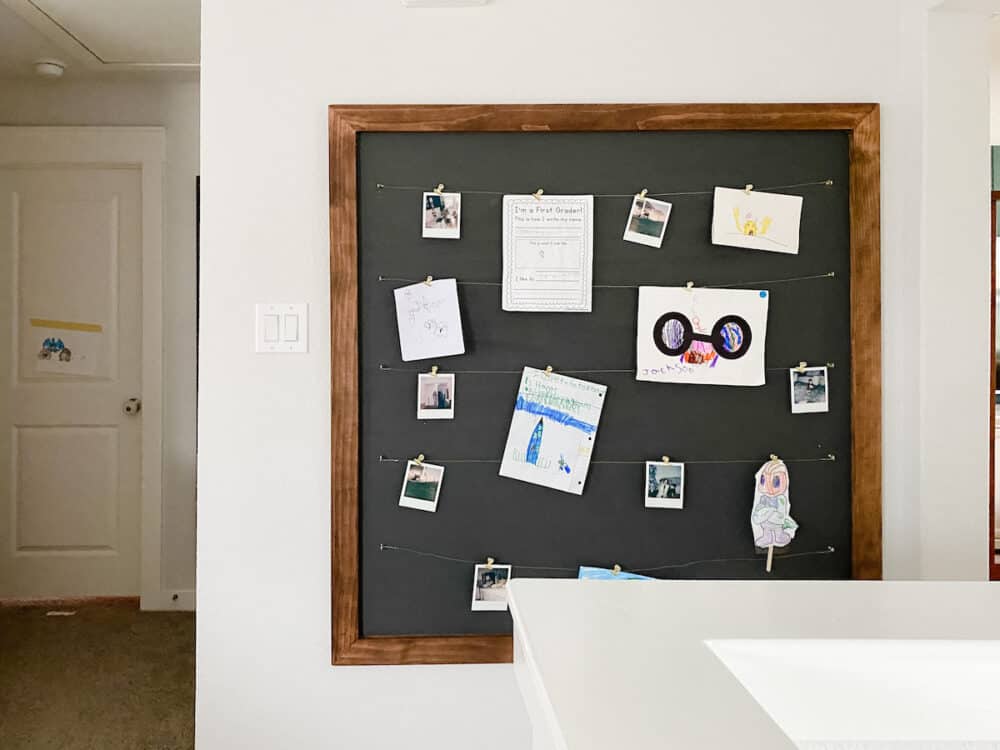
One of the things I love most about this DIY photo display is that it’s so flexible and easy to switch up, and it’s a really beautiful way to display family photos. I used to swap them out every season, and my favorite was always filling it with photos from previous Christmases every holiday season.
It shouldn’t surprise you to hear that I’ve already ordered a batch of Christmas photos for this year.
But, it doesn’t have to just be for photos! Since we’re still pretty early on in the school year, right now I’m using it mostly as a display for some of Jackson’s school and artwork. He loves to see it proudly displayed on the fridge, but I prefer to keep our fridge mostly clear so it’s so great to have a dedicated place to put things.
This project is incredibly simple, and only took a few hours to put together – the hardest part is waiting for the paint to dry!
How to Make a large-scale photo display
Materials Used
- 1/4″ piece of plywood (make it whatever size works for your space, but I used a 4’x4′ piece)
- (2) 8′ 1X3 pine boards (again, this will vary depending on the size of your display)
- Wood glue
- Wagner FLEXiO 3000
- Pin nails + pin nailer
- Paint (I used Carbon Copy by Behr)
- Stain
- Eye hooks
- Picture wire
- Photo clips
- French cleat
- Gorilla Glue Clear Grip
Paint the backing
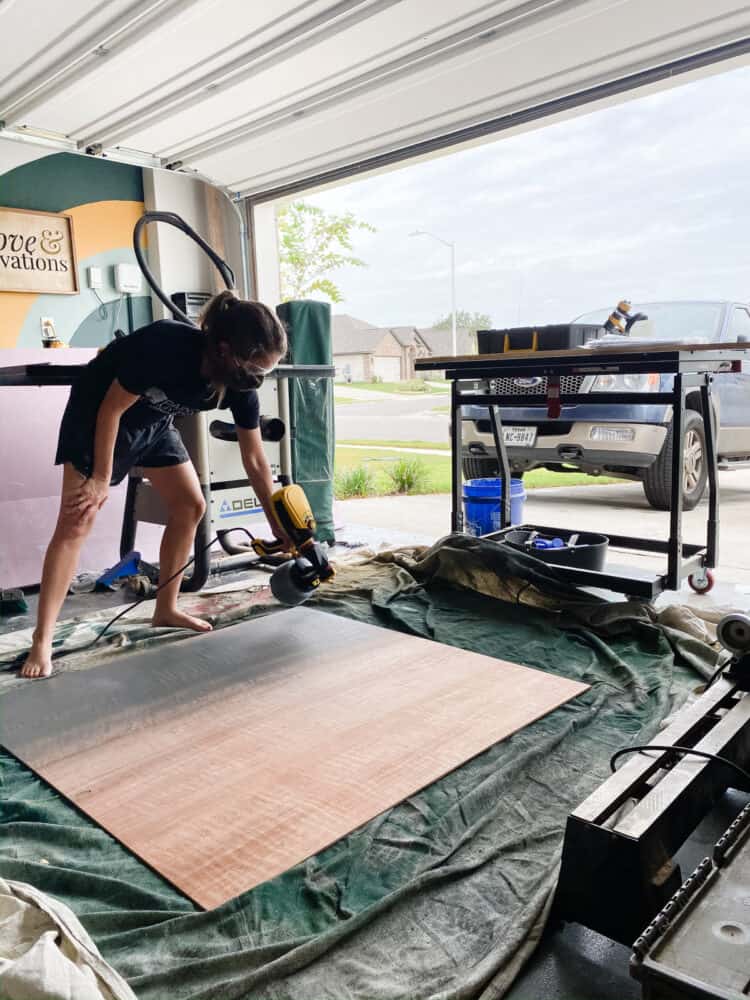
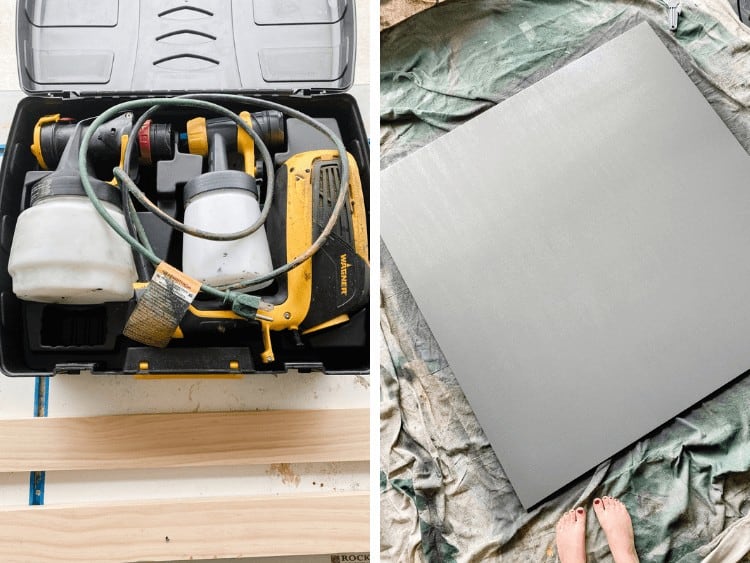
Step one is to paint the backing of your photo display. You can do whatever color you want but I like to keep it dark and neutral to let the photos really shine! My last photo display had a black backing, but this time around I had a ton of dark gray paint left over from painting my kitchen island, so I decided to use that instead.
You can easily use a foam roller to paint it, but if you really want it to go fast and have a perfectly smooth finish, I recommend a paint sprayer! I love to bust out my sprayer for projects like this because it makes it go so, so much faster, and pretty much guarantees a great finish.
If you haven’t ever used a paint sprayer before, this post has a really great, thorough tutorial to help you get started!
For this project, I used my Wagner FLEXiO 3000 – it took less than 10 minutes to get the entire backing fully painted, and there was no mess all over my hands like there always is when I paint with a roller!
Win-win, right?!
Build the frame
While your paint is drying, it’s time to build the frame. I tried this a couple of different ways and I can assure you that this method is by far the easiest and most fool-proof. Just trust me on this one.
Start by cutting your frame pieces to be slightly smaller than the sides of the plywood, with a mitered edge. I used my miter saw – if you aren’t familiar with how it works, click here to see a tutorial for how to use a miter saw!
My backing is 4×4, and I cut my frame pieces to be 47″ on the inside of the mitered edge (measuring the shortest part of the wood). The exact sizing doesn’t matter much as long as it fits your space and is about and inch shorter than each side of your plywood.
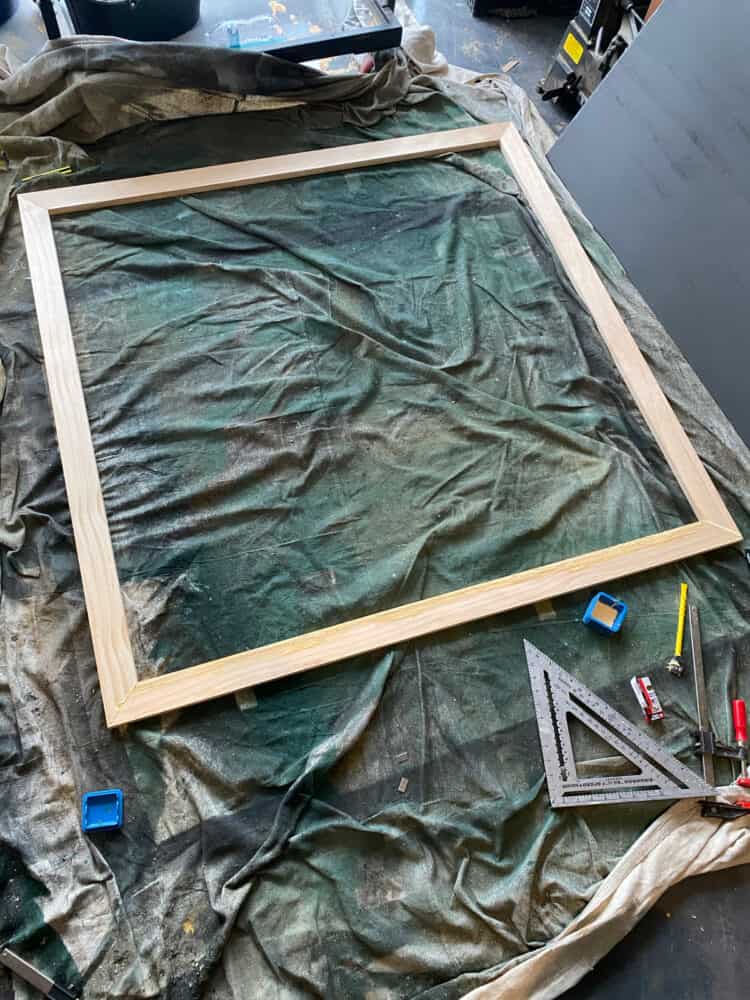
You’ll fully assemble the frame on the floor prior to adding the backing. I used a speed square to help me make sure it was all straight and square, and I simply added wood glue to the corners and added a couple of pin nails to hold everything in place while it dries.
Here’s a detailed rundown of the process:
- Grab two frame pieces, and add wood glue to one end of each of them.
- Lay the pieces on the ground (or on a large table, if you’ve got the space) and hold them up against a speed square to line them up appropriately.
- Once they’re in place and you’re sure the corner is square, add a couple of small pin nails to hold it in place.
- Continue with all four corners until the frame is assembled.
(Psst: I also have a nail gun tutorial if you don’t know how to use one of those!)
(Oh, and pssst: You can also click here for my Instagram highlight with this project that will show it all play out a little more visually!)
Once your frame is assembled, the hard part is over!
Add backing
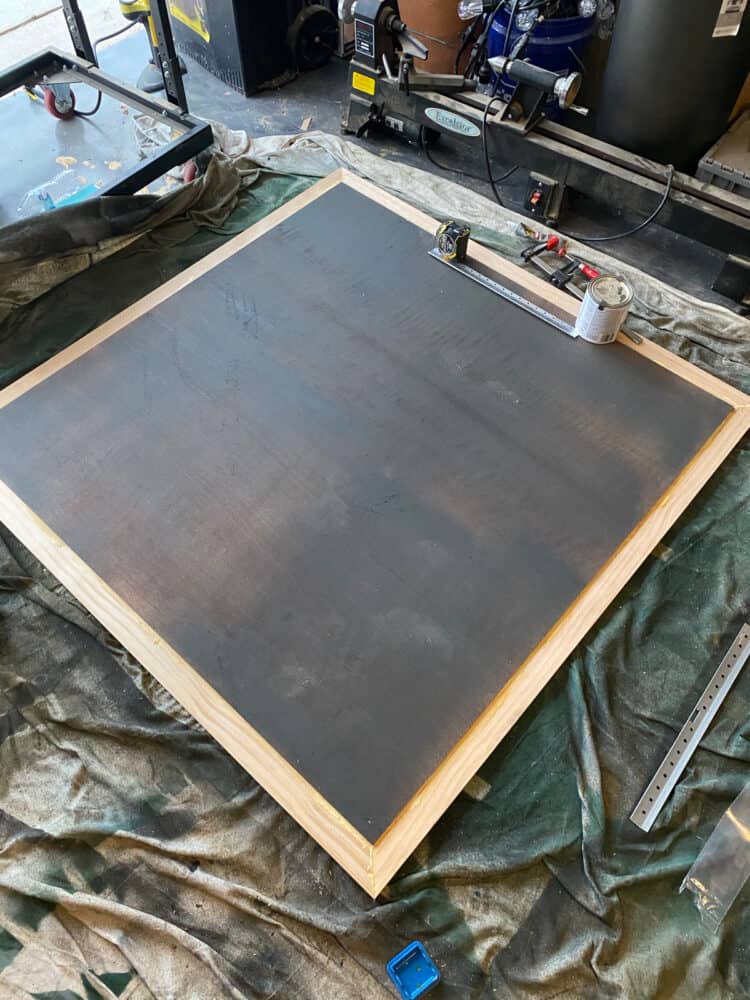
Grab the backing of your photo display and lay it over the frame (with the front part of the backing facing down – you’re looking at the back of the display). Adjust it until all four sides are slightly overlapping the frame, making sure that there’s an overlap all the way around.
Slightly lift up the backing and add wood glue to the frame to all parts where the backing will touch – you don’t need a ton, but you want all four sides to have wood glue attaching it to the frame.
Follow up with some pin nails all the way around to hold it all in place while it dries.
attach french cleat for hanging
Now you’re ready to attach your hanging mechanism. You can use whatever you want, but I like to use a french cleat – it’s really easy to use and super sturdy.
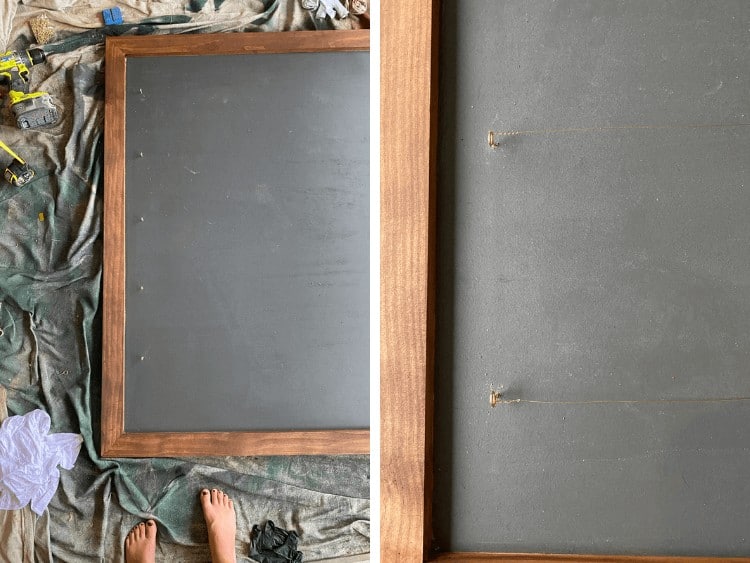
Because the plywood is so thin, you can’t attach the french cleat with screws (it’ll go right through!), unless you attach it directly to the frame – which is totally an option. I just used some Gorilla Glue Clear Grip to attach it directly to the backing. You can see it in the photo above drying with a couple of heavy objects on top to help hold it in place!
At this point, I left everything to dry for about 24 hours before doing anything else. You don’t have to wait quite that long, but do check the directions on your glue to see how long it has to dry before you do anything with it!
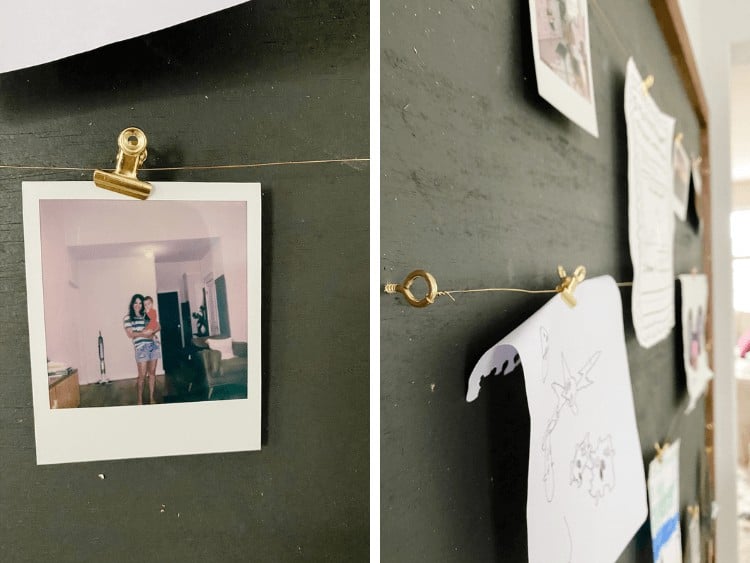
Attach eye hooks & PIcture wire
Now it’s time to attach the actual hanging mechanism for your art and family photos!
I used these gold eye hooks for mine. I just played around with spacing until I found something I liked. Each hook is 2″ in from the side, and the first row is 5″ from the top. After that, they’re placed every 8.5″.
Place hooks all the way down on both sides, then grab your picture wire and wrap a piece around the hook on one side, then pull it over and attach on the other side.
You should end up with rows of perfectly-spaced picture wire just ready for your photos!
Fill it up!
And with that, you’re done!
Hang your photos display up in your desired spot and fill it up with your kids’ artwork, your family photos, or whatever else you want!
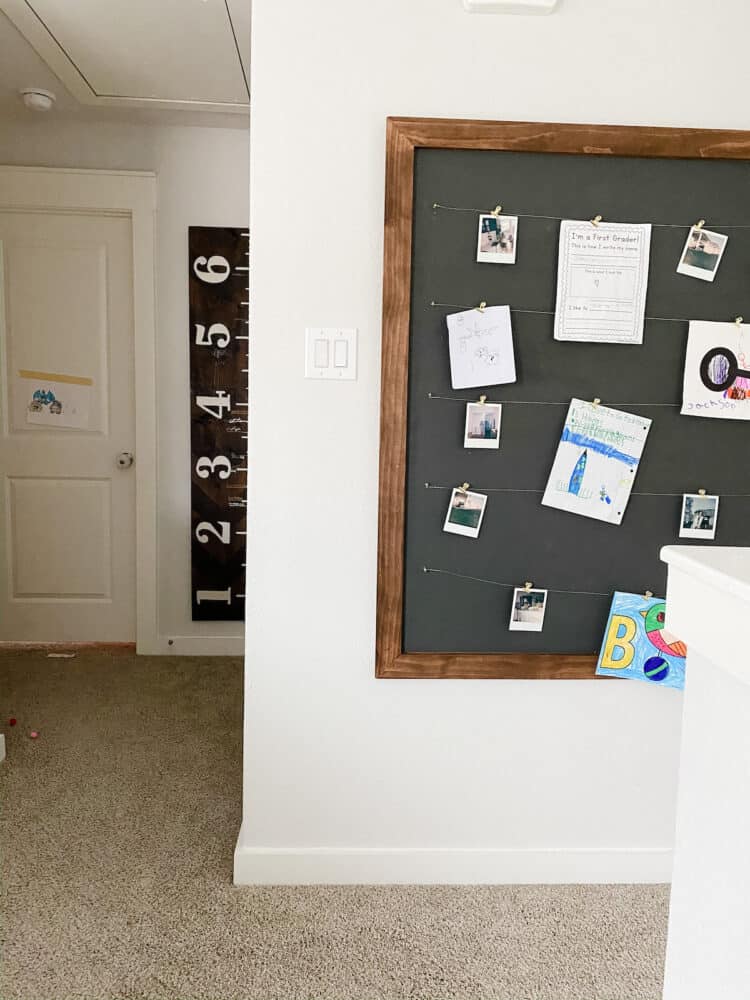
I ended up hanging ours at the top of our staircase, on a big blank wall that was just begging for something fun. I love how it turned out and I find myself pausing to admire it almost every time I head upstairs.
And, of course, what’s even more important is that the kids love it too! There’s nothing better for them than seeing some of their hard work displayed right there on the wall.
If you haven’t ever taken the time to check out Wagner’s paint sprayers, let this post be your gentle nudge that maybe it’s time to treat yourself to one! I use mine all the time, and it’s easily one of the hardest-working tools in my garage. Click here for more info on the exact model I have!