Our DIY Electric Fireplace {Part 2: Shiplap + Painting}
Last week, I made some serious progress on the fireplace and things are looking so, so close to done! Here’s an update and all the details on how we framed out our DIY two-story fireplace. This post is sponsored by DAP.
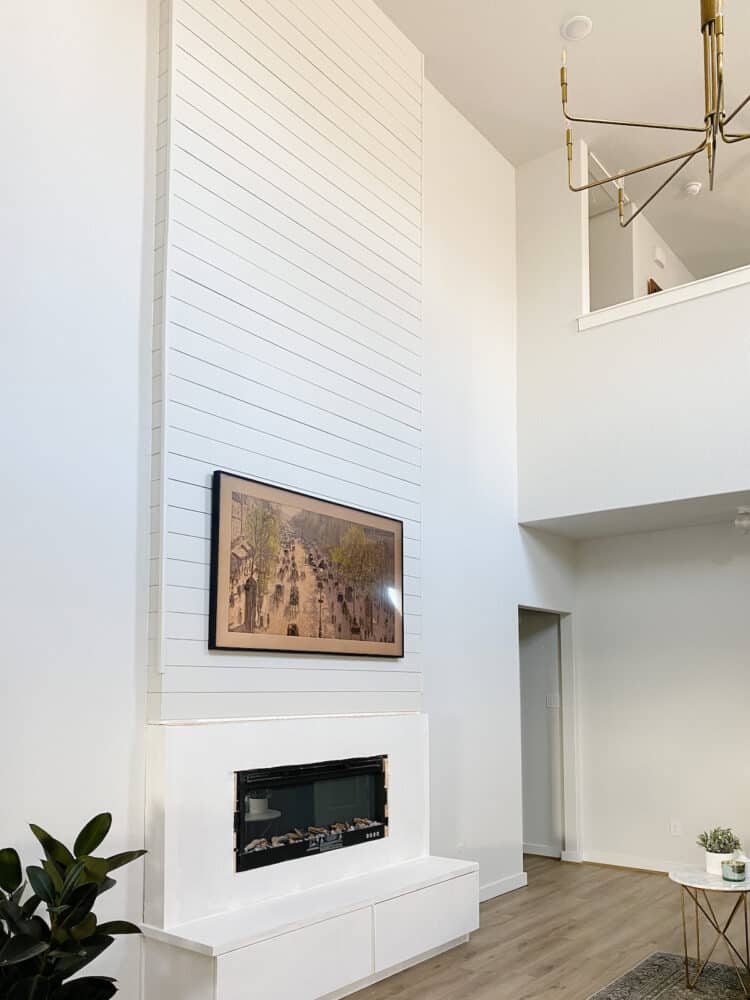
When we last left off on the fireplace, we had done a little bit of framing and built a hearth. Since then, things have come a loooooong way and the fireplace is actually looking like, well, a fireplace!
If you need to catch up on this project so far, here’s what you may have missed:
Today, we’re talking about the next steps which included framing out the wall, adding shiplap, patching and painting it, and installing the actual fireplace!!!!!
Let’s jump right into the details!
** UPDATE: Here’s the big reveal of our fireplace!
Framing the two-story fireplace wall
In order for the fireplace to appear recessed into the wall, we needed to build out the wall a bit. We also wanted to create some dimension with the fireplace and help it feel a little grander, so instead of just building out the wall around the fireplace itself, we decided to take the framing aaaaaall the way to the ceiling.
Our ceilings are 18′ tall. So, in order to accomplish this we had to frame out two separate 8′ “walls”. The bottom wall needed to house the fireplace (so it required some special planning) and the top wall just needed to have studs spaced appropriately for nailing the shiplap into place.
The fireplace insert you’re using here will determine exactly what your framing needs to look like – my instructions came with a diagram and measurements of what I needed my opening to be. The only mistake we made was using 2x4s for the framing instead of 2x6s (because the fireplace is too deep for 2x4s alone to work). We made it work by building out the area where the fireplace was a bit more and it worked out just fine, but if I was doing it again, I’d build a frame specifically for just the fireplace out of 2x6s, then build the rest of the framing out of 2x4s.
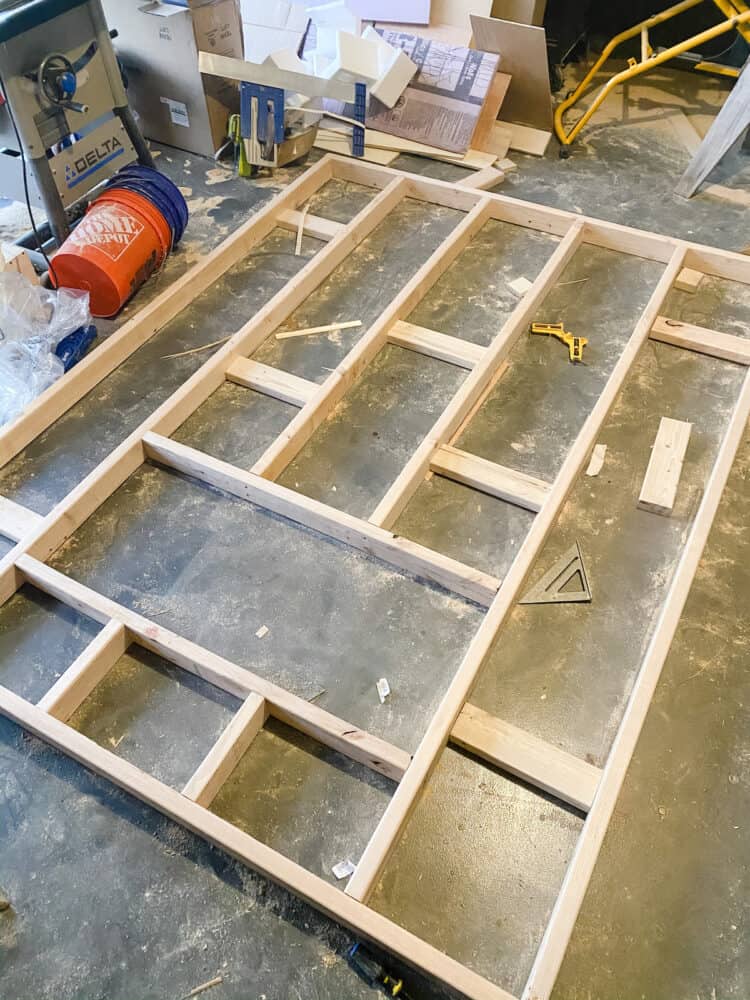
To build the framing, you’ll just need a whole bunch of 2×4 (or 2×6, depending) lumber and some screws. I like to use these screws that don’t require pre-drilling because they make the job so much faster.
Start by building a rectangle that’s the exact width you want your fireplace wall to be (I used corner clamps and a speed square to make sure everything was square!), then add in the center pieces according to the directions that come with your fireplace.
We added bracing in-between all of the studs on the fireplace, and that’s what allowed us to attach it to the existing wall. When it came time to install it, we simply set it on top of the hearth and drilled through the braces directly into the studs in our existing wall.
After the first wall was built, I created the second one using the same method (and just did 16″ spacing between the studs), and we (very carefully) pulled that frame into place on top of the first one.
We rented scaffolding from Home Depot for this project. It cost about $80 a day and was a total lifesaver. The interior scaffolding goes up to 12′ tall, which was perfect for our ceilings. If yours are any taller than about 18′, you’d need to rent the exterior scaffolding (which goes up to 15′ tall).
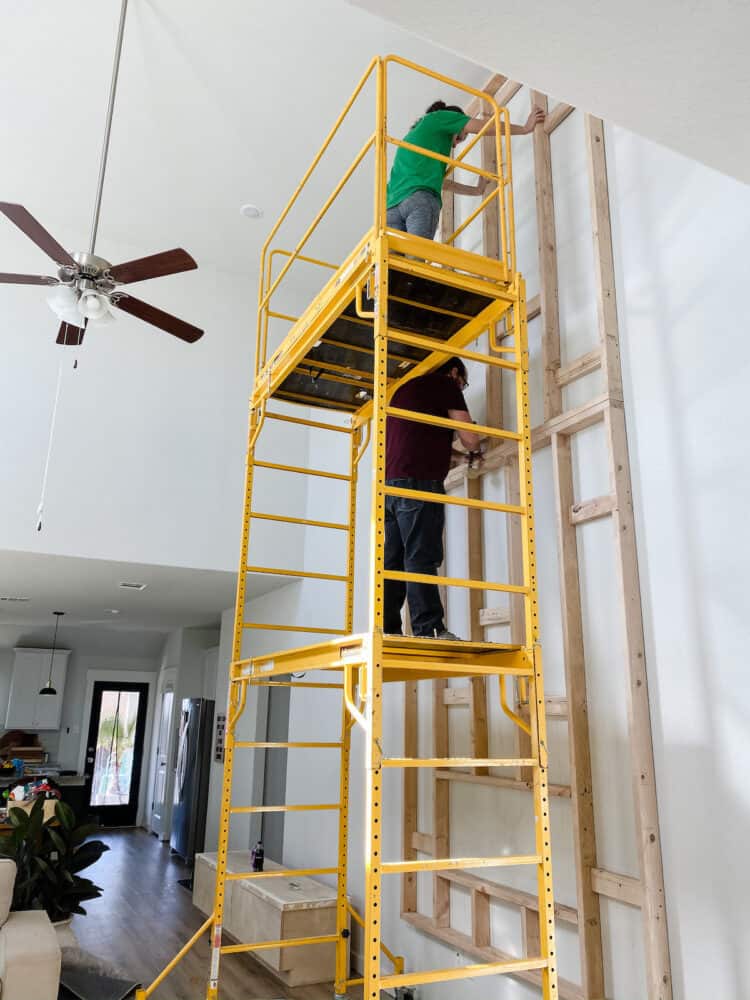
We had a small gap between the second frame and the ceiling, so I just added a 2×4 up at the top to give me something to nail the shiplap into.
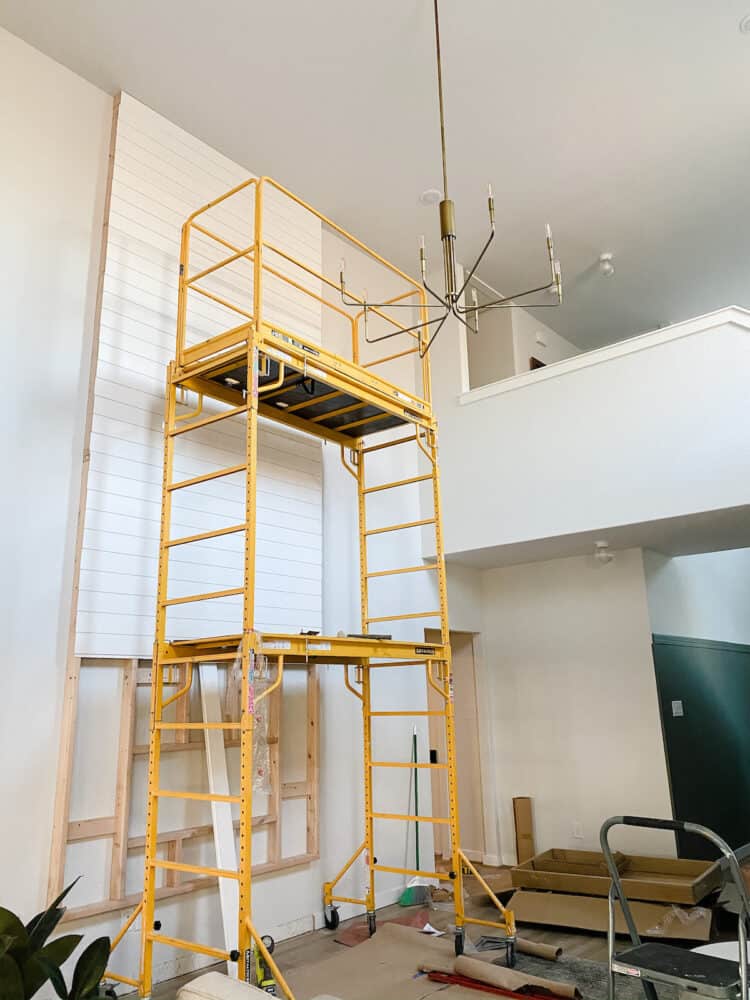
With all the framing in place, it was time to install the shiplap. I always prefer to use real shiplap for projects like this over the faux approach of ripping down MDF into strips – it’s much easier to work with because the boards have built-in spacing, and I think the finished result overall usually looks a bit more professional.
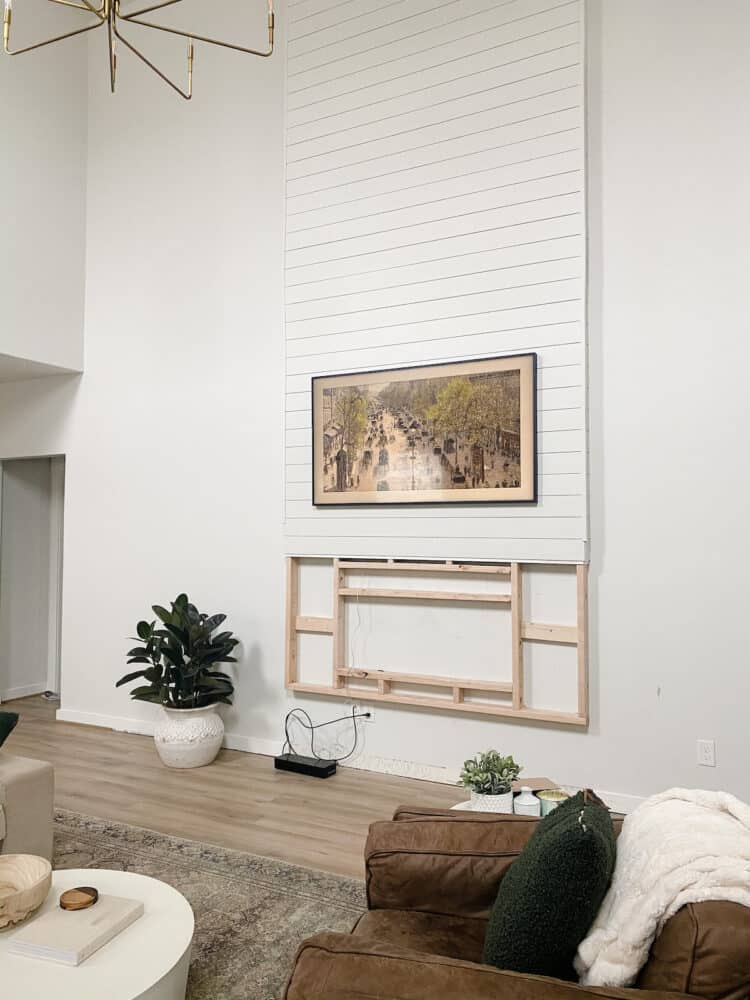
We took the shiplap all the way down to where the top of the fireplace framing ends. There are about 9″ between the top of our electric fireplace and the bottom of where the mantel will be.
I also wrapped the shiplap around the sides of the frame and used these corner trim pieces to help the edges look a little more polished and finished.
Once all of the shiplap and trim was installed, it was time for the most satisfying part of the whole process: caulking, patching, and painting!
finishing work on the shiplap
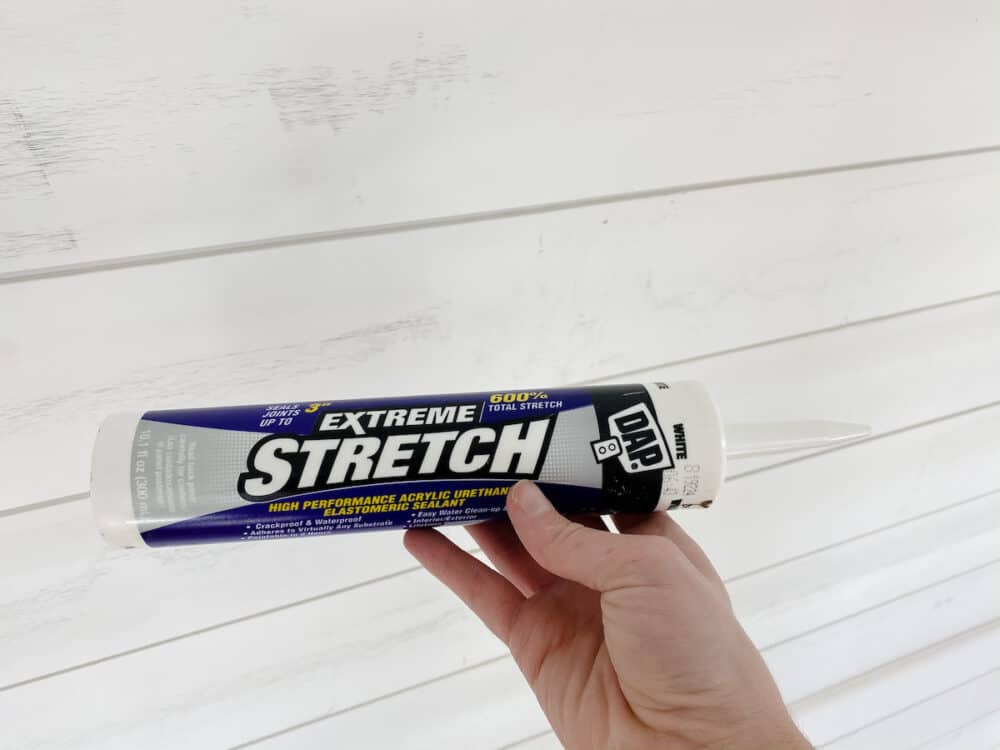
My go-to brand for all of my wood patching and repair work is DAP. I’ve used them for years and I know I can always trust their products to work well, last, and be easy to use.
For this project, I used:
- DAP Premium Wood Filler
- DAP Extreme Stretch Caulk
- And, if I had needed to use construction adhesive on the shiplap, my plan was to use DAP DYNAGRIP Construction Adhesive – I ended up not needing to glue the shiplap into place because I was working with just studs, but this is what you’ll want to use if you can’t hit all studs or if you want the extra security of gluing it into place!
I started by caulking all of the seams where the shiplap met the wall or ceiling, and where the shiplap met the corner trim. This gives a super polished look and helps hide any little gaps. A lot of people find caulk intimidating, but it’s actually really easy to work with (and so, so incredibly satisfying). If you aren’t familiar with it, you can click here to learn more about how to use caulk, how to choose which type is right for you, and anything else you could possibly need to know.
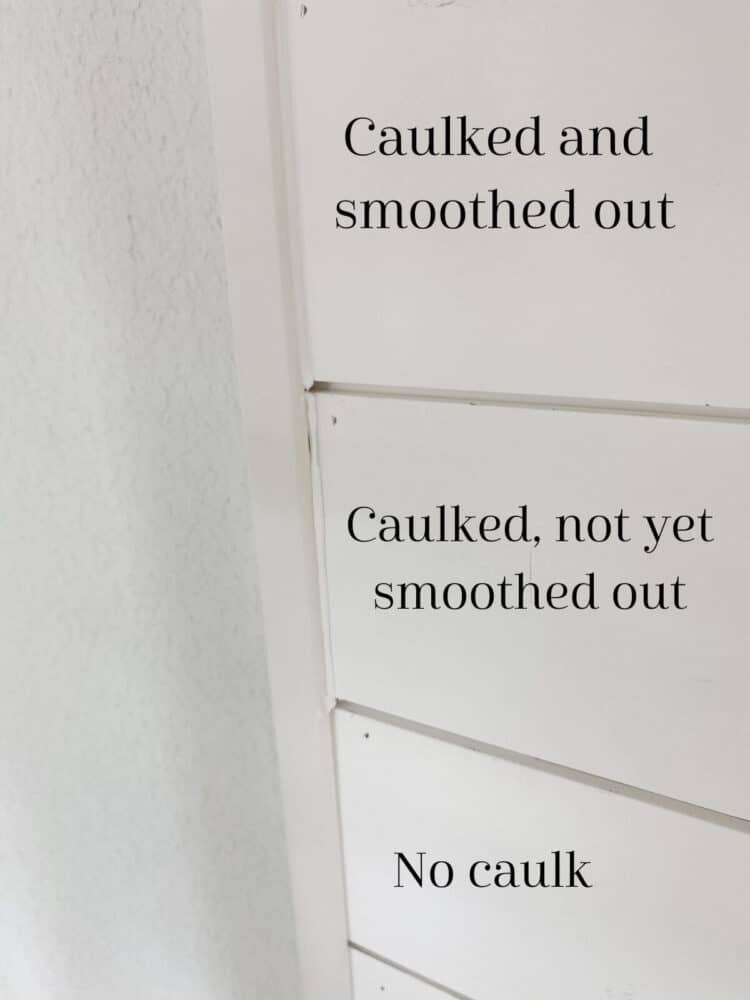
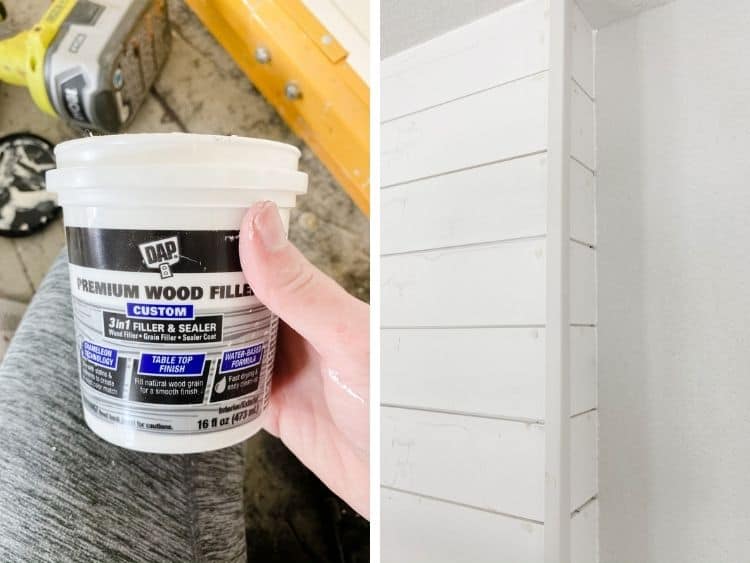
Once the caulk was done, I moved on to wood filler. This is for patching any holes in the wood – I used it for all of the nail holes, and any places where I had seams in the shiplap. When working with wood filler, you’ll simply apply it to the hole or seam you’re covering (you can use a putty knife, I like the plastic ones), making sure to slightly overfill it (like you see in the photo above).
Once it dries, you’ll come back in and sand off all of the excess – it will leave you with a perfectly smooth and beautifully hidden nail hole!
Caulk and wood filler are two steps in this process that can feel tedious or overwhelming if you haven’t done them much, but they’re 100% non-negotiable and will make a world of difference in the finished product!
Once the wood filler was dry and sanded and the caulk was fully dry, it was time for paint! I wanted the fireplace to really feel like it was a part of the living room that had always been there, so I went with the exact color that’s on the walls – First Star by Sherwin Williams. I was able to have it color matched to my favorite paint, Behr’s Marquee line, and the color is a perfect match!
We were able to take down the scaffolding and return it (thank goodness!) after I finished up the painting. And, at that point, the top 2/3 of the fireplace were done!
There were a few other finishing touches that I added to the hearth with the help of my DAP products – for starters, I used wood filler on the hearth anywhere that I had nail holes or seams in the wood as I was building it. It creates a really professional-looking project, and once you learn how to utilize these two tools it’ll be your favorite, most satisfying part of any project you take on!
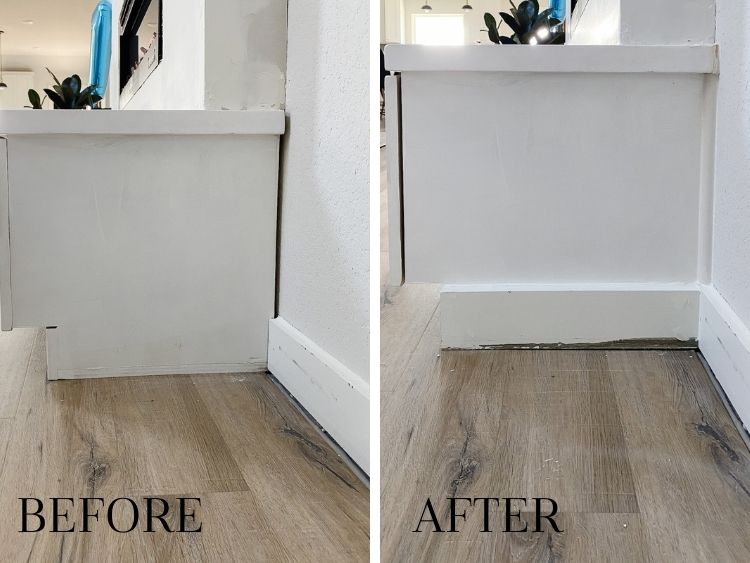
And then once it was in place, in order to make it look built-in, I needed to add some trim and caulk everything. We re-used the baseboards that we had removed on the sides of the hearth to hide the seams where the plywood meets, and I used wood filler on all the holes and on the end-grain of the baseboards (since it doesn’t go across the front), and then I caulked the seams where the baseboard met the hearth, and where the hearth met the trim on the wall.
It all works together to create a really seamless look – below is a before and after with just caulk, wood filler, and one coat of paint. Next week, once you see the finished product with the second coat of paint (and the shoe molding back in place) it will look even more polished!
As you can see, I’ve also already added drywall around the fireplace surround, and I’m getting ready to finish things up this week! Our next update should be the final one – my goal is to finish the drywalled area and install the mantel this week, so stay tuned! And, if you want to watch the project unfold in real time, be sure to follow my Instagram stories to see every step of the way!
