
Everything We Planted In Our Front Flower Beds
Last updated on March 3rd, 2023 at 05:57 pm
This week, I crossed a task off my to-do list that’s been bothering me for over a year. I finally ripped out all of the old, dead plants in the front bed of our house and started fresh with some new ones!
Replacing plants in a flower bed is always a little intimidating to me. What if I hate how they all look together? What if I plant them in a weird spot? Or, what if they just don’t grow? I always overthink it and put it off for far too long.
But, man, the end result is aaaaalways worth it!! I can barely believe how much better things are looking now.
Eventually, I plan to pull up the plastic border around the beds and have an actual stone border done. But, for now, it feels really really great to just make things look a little better. It was tempting to wait to do anything until I could do everything, but sometimes it’s worth it to take a baby step or two and just do what you can!
I’m no pro when it comes to arranging and designing flower beds, but here’s a look at the process I used to decide what to plant.
how i chose plants for our flower beds
- I started by spending a lot (and I mean a lot) of time looking at other houses in our neighborhood. I run in our neighborhood 5 times a week, and for weeks I spent every run studying all of the other houses to see what I like. Over time, I started to notice patterns in what I liked (and what I didn’t). There were a few plants I saw over and over that appeared in all of my favorite houses’ beds, so I took note of that.
- I talked to Corey! At first, I assumed we’d keep the two large bushes that we had near the front of the house and just add to them. But, when I mentioned that to him he balked and said he can’t stand those! He had stronger opinions than I expected, and I was more than happy to accommodate. He prefers an emphasis on plants that are flowering, and he mentioned that he really likes to see native grasses incorporated into the beds!
- Once I had a good idea of what I liked and what he liked, we walked the neighborhood together. We creepily snapped photos of a few people’s beds and discussed everything we liked and didn’t like. By the end of that walk, we had a solid idea of what we wanted and I was ready to go shopping!
The bottom line? Research is key! I prefer to look specifically in my neighborhood because all of the homes have the same general feel and style as mine, so I know what will work. It also helped give me a good idea of what would be allowed within our HOA! If I saw a plant a bunch of times, I knew the HOA wouldn’t have a problem with it.
The other benefit of looking around your neighborhood is you can get idea of what’s good locally! All of the plants I chose for our front bed are really common Texas plants that are drought-tolerant, really hardy, and require low maintenance. If I chose plants that aren’t native to my area, I’d have a lot harder time keeping them alive!
the plants we ended up choosing
In the end, I chose three different plants to add to our front bed. It’s a pretty small bed, so we didn’t need much, and I wanted to keep it really simple and easy to maintain.
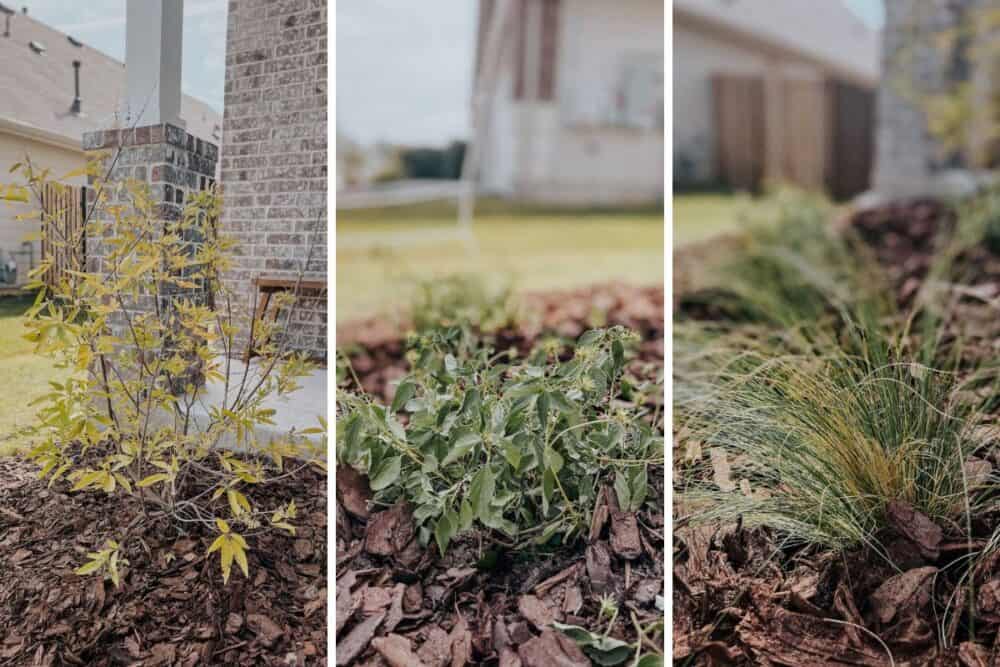
- In the back of the bed (closest to the house), we have a Vitex tree. It’s one that I saw a few times around our neighborhood, and it made me smile so big every time. It has really beautiful purple flowers, and can grow up to 15′ tall. Some people in our ‘hood have them pruned down smaller like a bush, and some have ginormous trees! I also noticed that almost every house that had one had it planted pretty close to the house, so I didn’t worry too much about the roots messing with the foundation. It was clearly a common place to put one!
- In front of the Vitex, we have two Lantana bushes. They can grow up to 4′ tall, so they’ll layer in really nicely in front of the tree and will eventually fill in that whole middle space. They have really beautiful yellow blooms and, like the Vitex they’re super hardy and can handle a lot of difficult growing conditions. We also planted these at our last house and didn’t have any trouble keeping them alive, so I know I’m okay with them.
- And finally, in the very front I planted three Mexican Feather Grass plants. These are aaaaaaaall over our neighborhood, and I love the willowy, breezy look they have. It can grow up to 2-ish feet tall, and it’s super easy to care for.
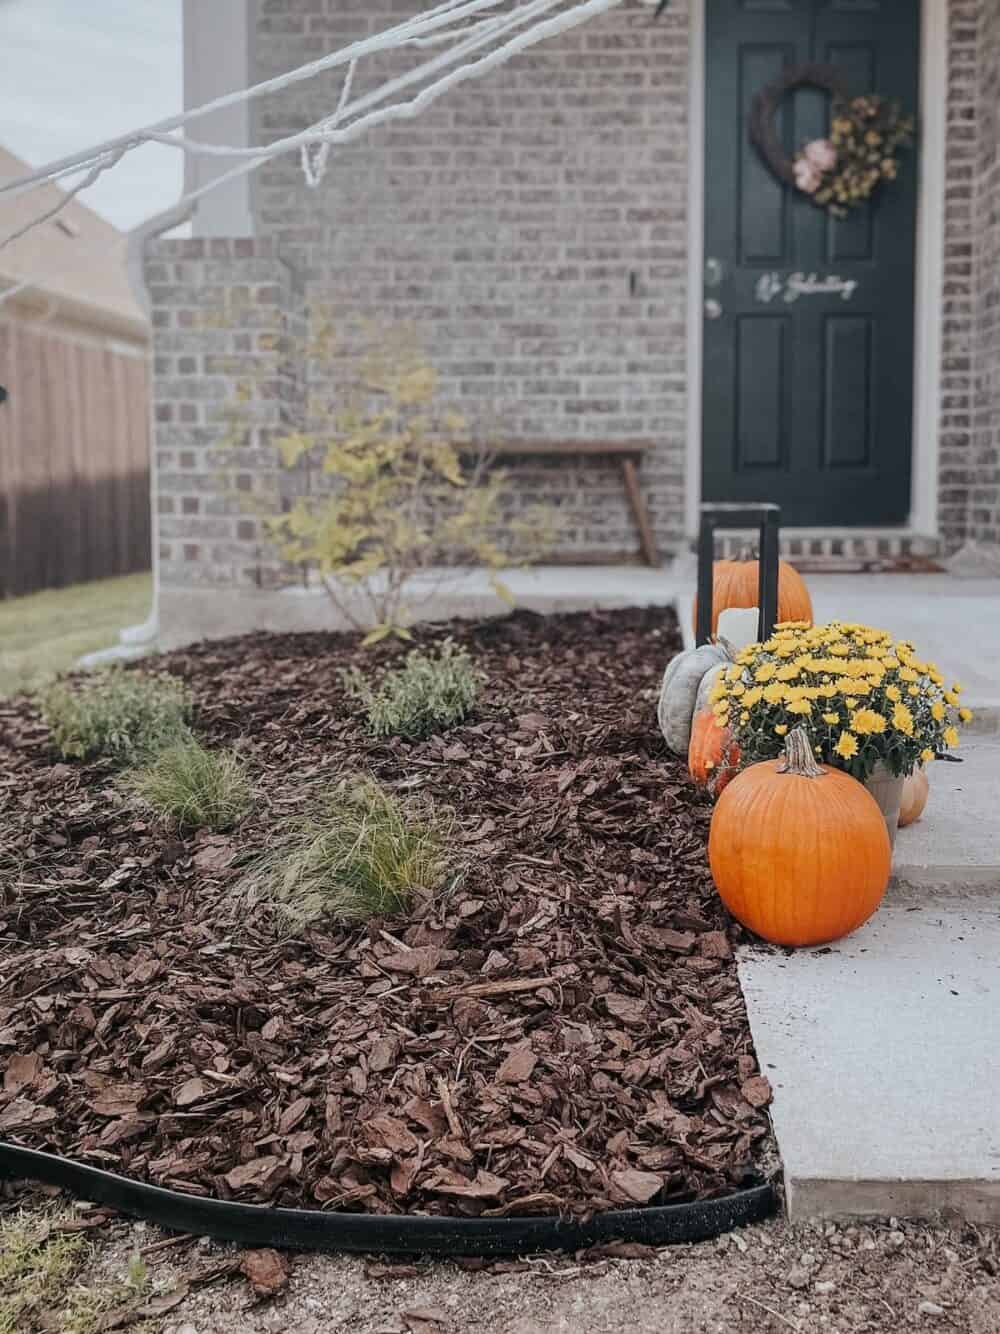
And that’s it! Three really hardy, hard-to-kill plants that should fill in over time and look absolutely beautiful. I’m truly blown away by the difference a few new plants and some mulch can make. Someone remind me of this next time I’m putting off working on a flower bed!
what i used to update this bed
Here’s a quick rundown of everything I used to get this bed ready for planting, and to spruce it up once my plants were in:
- I started by removing the grass (and weeds) with my shovel and digging down about 2-3 inches.
- Then, I laid down some landscape fabric (using these garden staples) over the entire area.
- After I planted everything, I put down some mulch. I used four bags for this bed (for a total of 8 cubic feet of mulch), and I think it was just about the perfect amount!
- And finally, I used this little plastic no-dig landscaping edging around the bed. It really polished things off nicely, and it’s the perfect temporary solution until we add the stone.
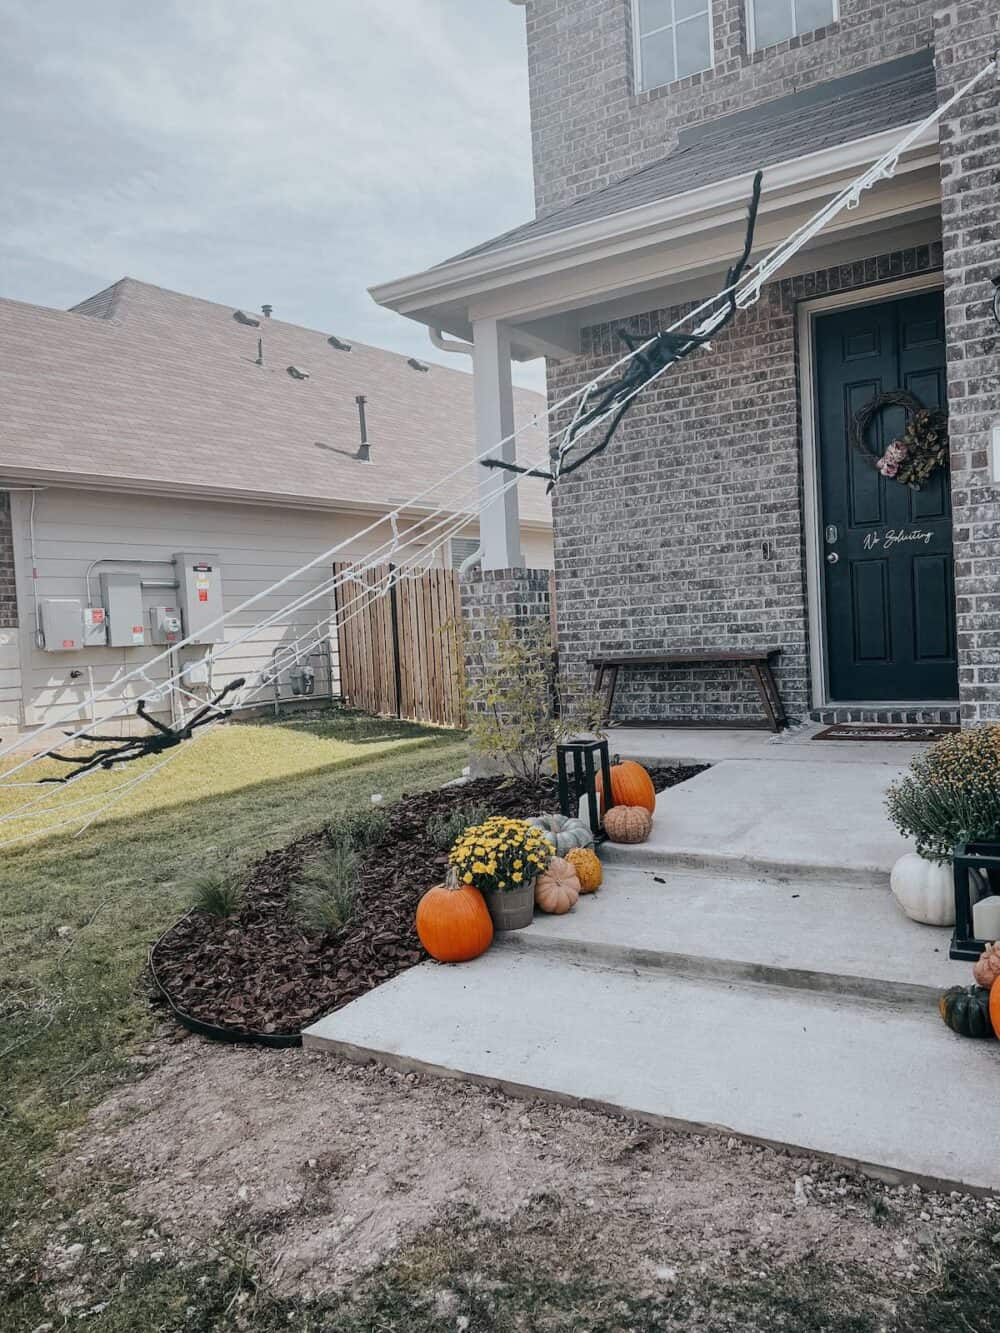
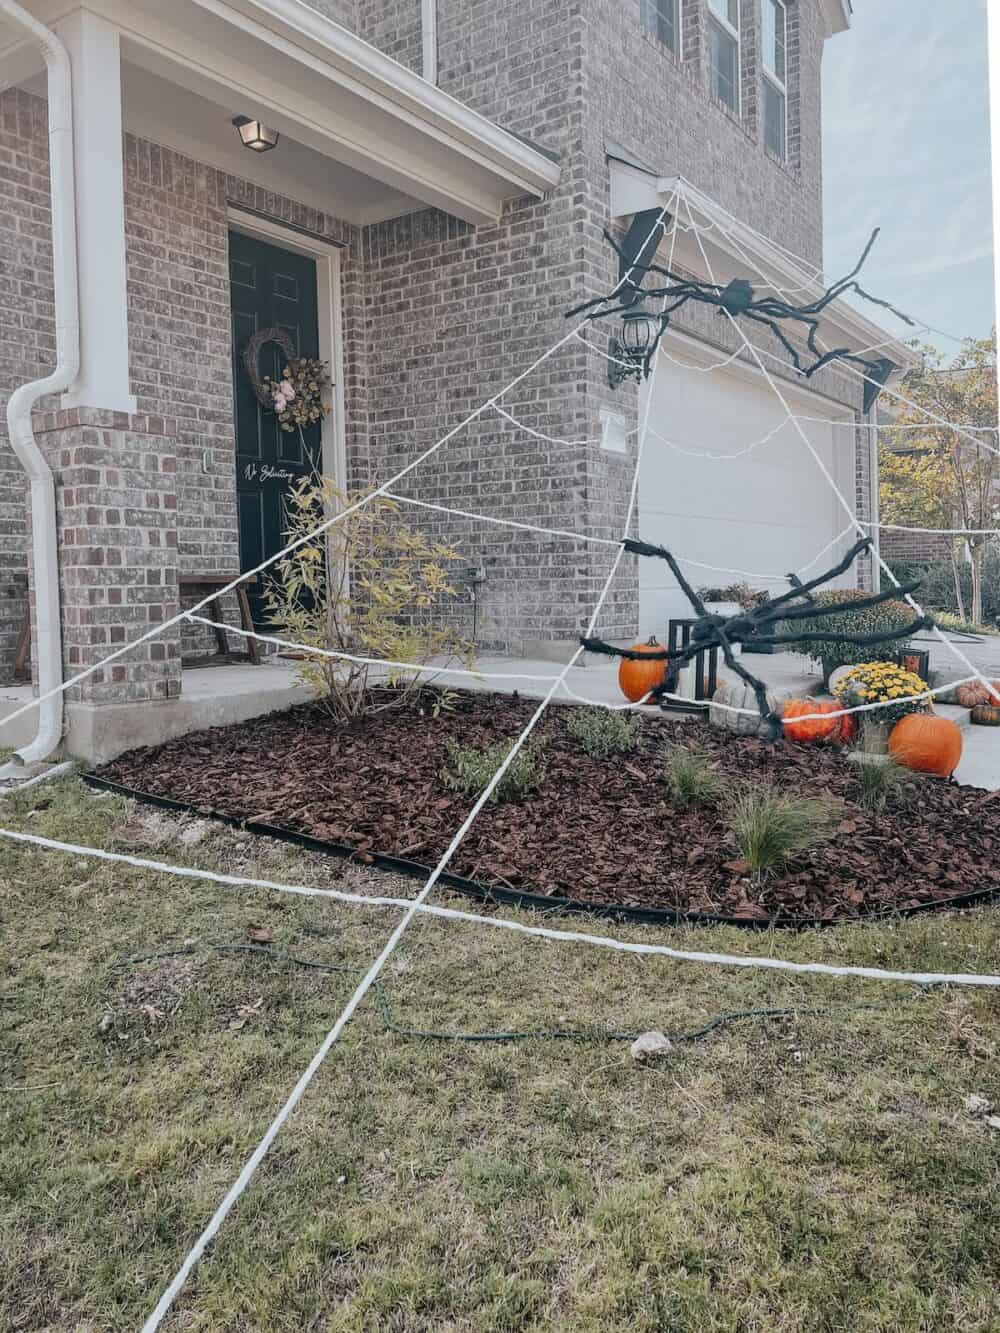
Oh, and once it was all done I added this giant faux spider web because it’s October and my kids have been begging for one.
Let’s all wish these little guys luck – fingers crossed they make it through winter and next year I can come back here with an update on how healthy and lush and full they’re all looking!
Saw an idea while scrolling my home pg. Saw something beautiful n now i can’t remember what it was. So im on a mission to find it on ur site. Looking forward to what all u have.