The Simplest DIY Fall Wreath
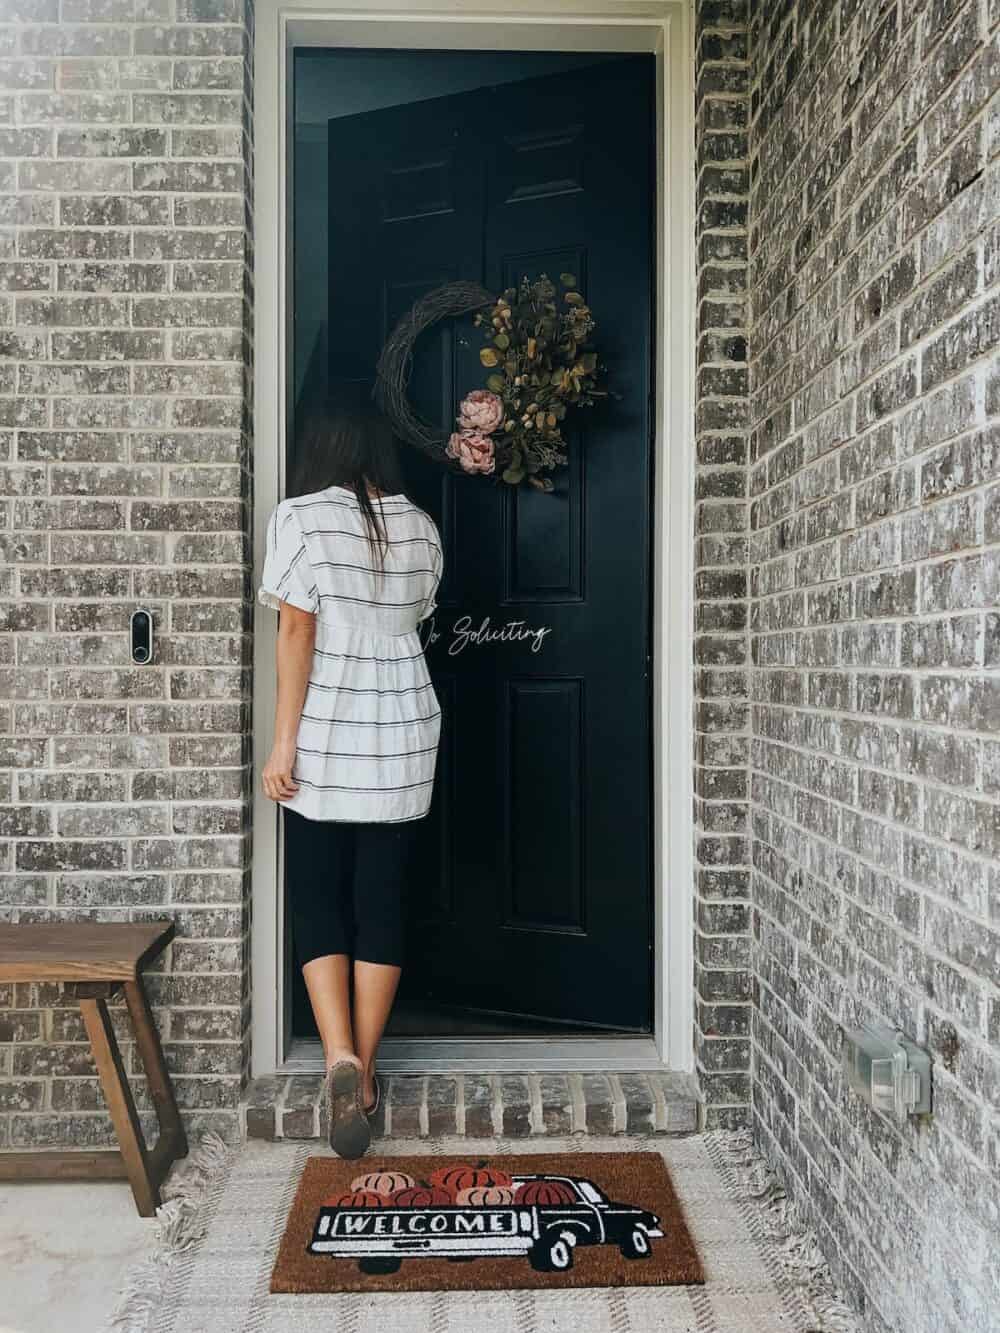
I love making DIY wreaths – it’s one of those really simple, basically fool-proof projects that feels so satisfying when it’s all done. I’ve made a bunch over the years – one of my favorites is this spring wreath from a couple of years ago. But, it’s been a while since I had a good front door wreath for the fall season! So, this year I decided it was high time to make a DIY fall wreath. It took me about 30 minutes from start to finish, and made the front entry feel so much more cozy and fall-like.
And I’m all about anything that gives me a little serotonin boost every time I come home! I just need to add a few pumpkins to the porch and it’ll really feel like fall around here.
How to make a DIY Fall Wreath
It’s honestly almost silly to even write a full tutorial for a project like this – making a DIY wreath is so simple. But, I know that these kinds of projects can feel a little overwhelming if you haven’t ever given it a shot, so let me walk you through what I did.
I might be able to build furniture and renovate rooms, but I promise you I’m one of the least crafty people on the planet. So, if I can do this, anyone can do this.
Here’s What I Used:
- This 18″ grapevine wreath (I would have preferred 24″ with our tall door, but this was all I could find)
- Two of these eucalyptus stems
- Two of these faux peonies
- One of these osmanthus stems
- And one of these berry branches
- A hot glue gun
- This wreath hanger
There was no rhyme or reason to what I chose – I just walked into the store and held a bunch of things together until I found a combo I liked. But, now I’ve done all the hard work for you! So, I promise if you just order everything I linked up there, you’ll end up with a gorgeous wreath!
step one: plan + attach “base” leaves
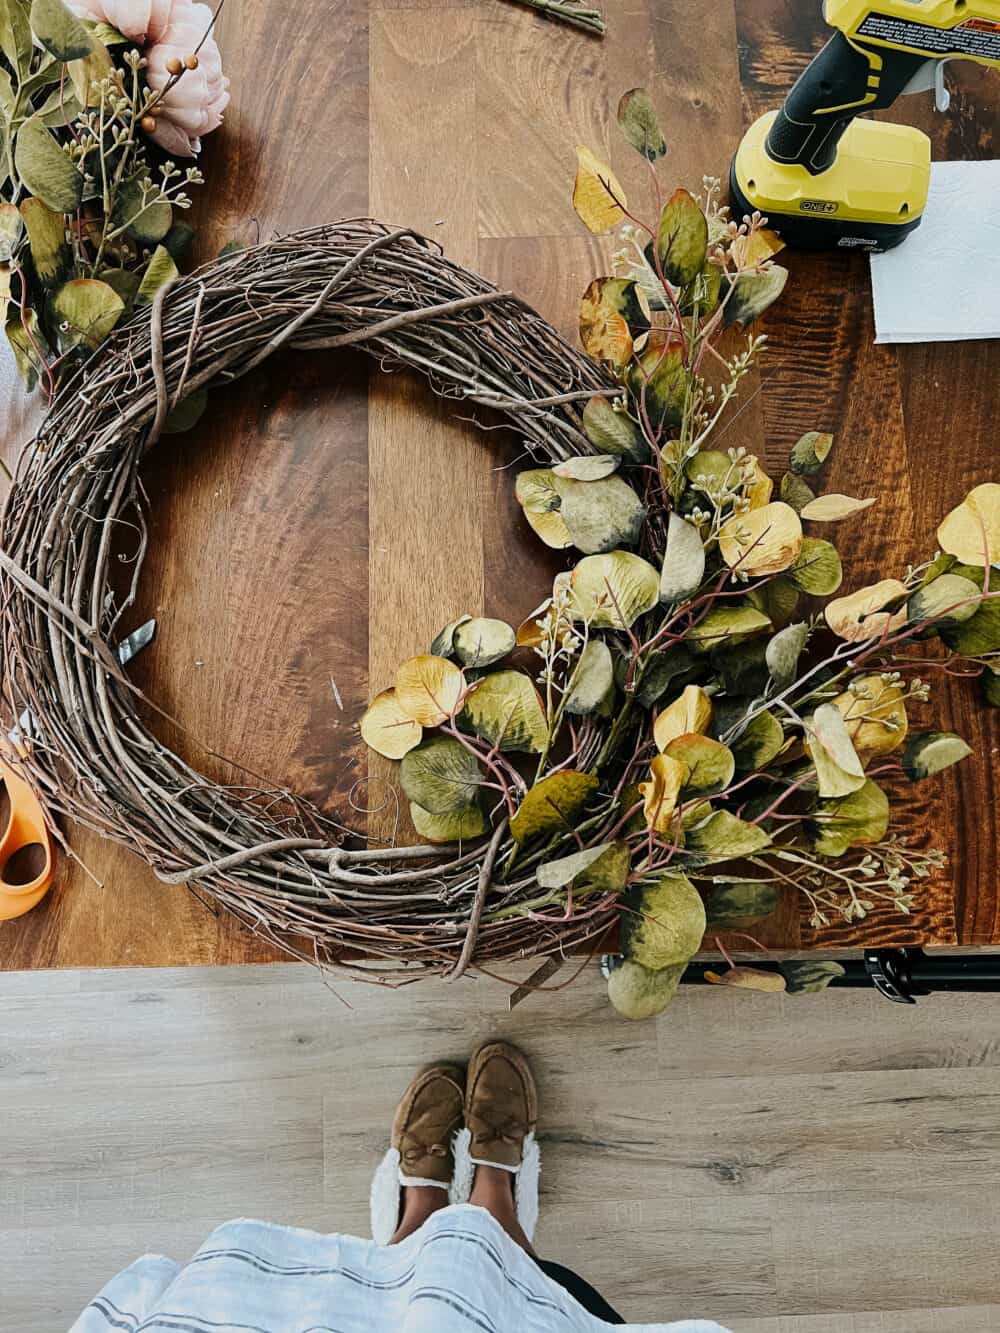
My basic formula for this wreath was to start with a solid base of fall-feeling leaves, then add in a few flowers and some extras (like the berries and osmanthus). So, I started by cutting down and attaching all of the eucalyptus leaves to the wreath.
All there is to this is to cut down the stem into manageable pieces (I cut each stem into two parts). Then, tuck the stem into the grapevine wreath and add some hot glue to hold it into place.
I wanted an asymmetrical look, so I only attached the leaves to about 1/3 of the wreath. You can go all the way around if you prefer a more full look! There are no rules here, just do what feels good.
step two: Add flowers
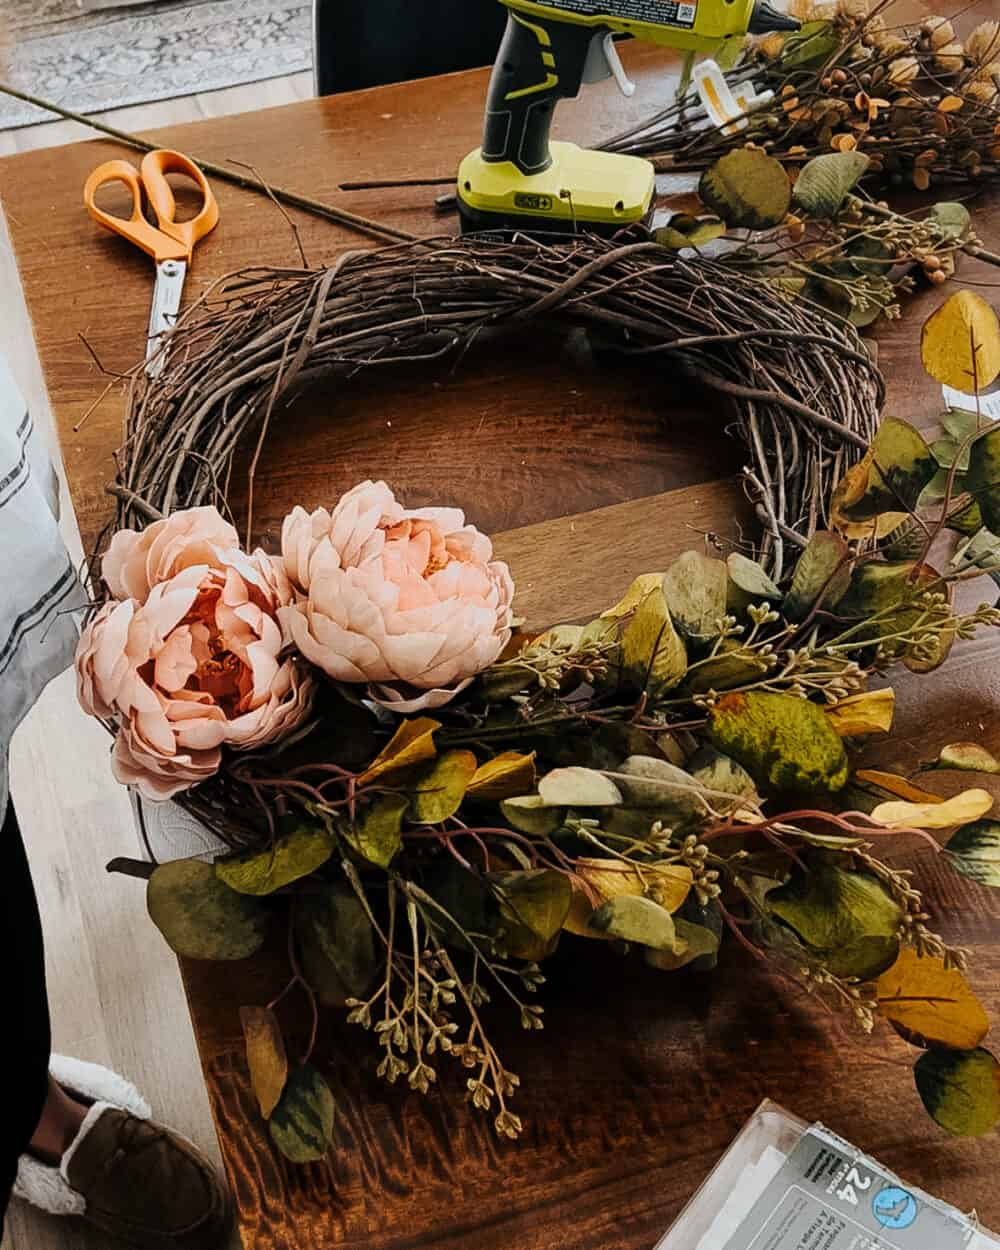
Next up, I attached the peonies. I think three flowers probably would have looked even better than just two, but I didn’t have it in me to go back to the store. Maybe I’ll attach another one later.
Or maybe I won’t. That feels like a lot of work.
I cut the stems of the peonies much shorter, because I wanted them to sit towards the bottom of the eucalyptus leaves. Just tuck the stem into the branches, then add glue to hold it in place. Easy peasy!
I recommend waiting a few minutes in-between each phase of adding things, to allow the glue to dry fully. Otherwise, you may have things falling off as you work, and that’s no good.
step three: add in the extras
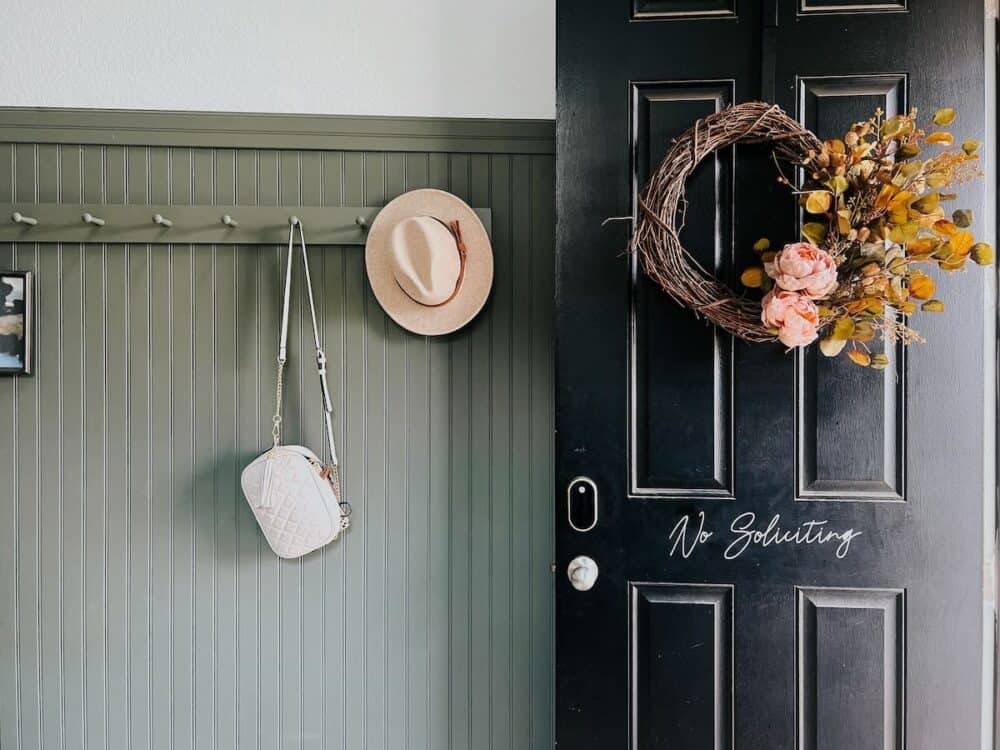
And finally, you’re ready to add in the extra little accessories! This is what adds some extra texture and really brings it to the next level. For this, I snipped off the stems into individual little branches and just tucked them into the branches of the wreath. Again, add some hot glue to it as you work to help it stay in place for the long haul!
And then, you’re ready to hang it!
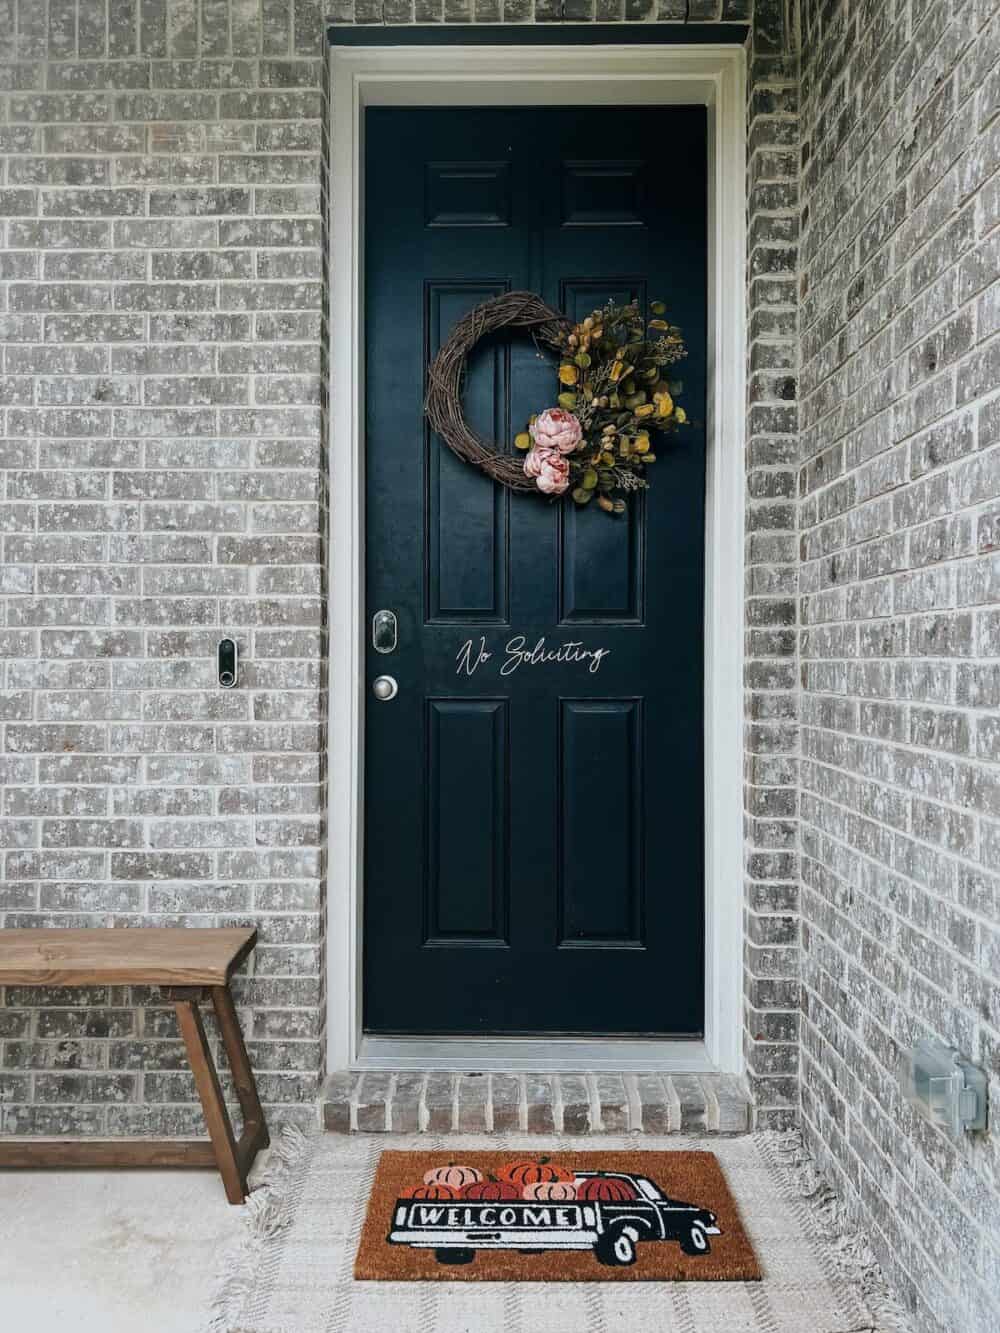
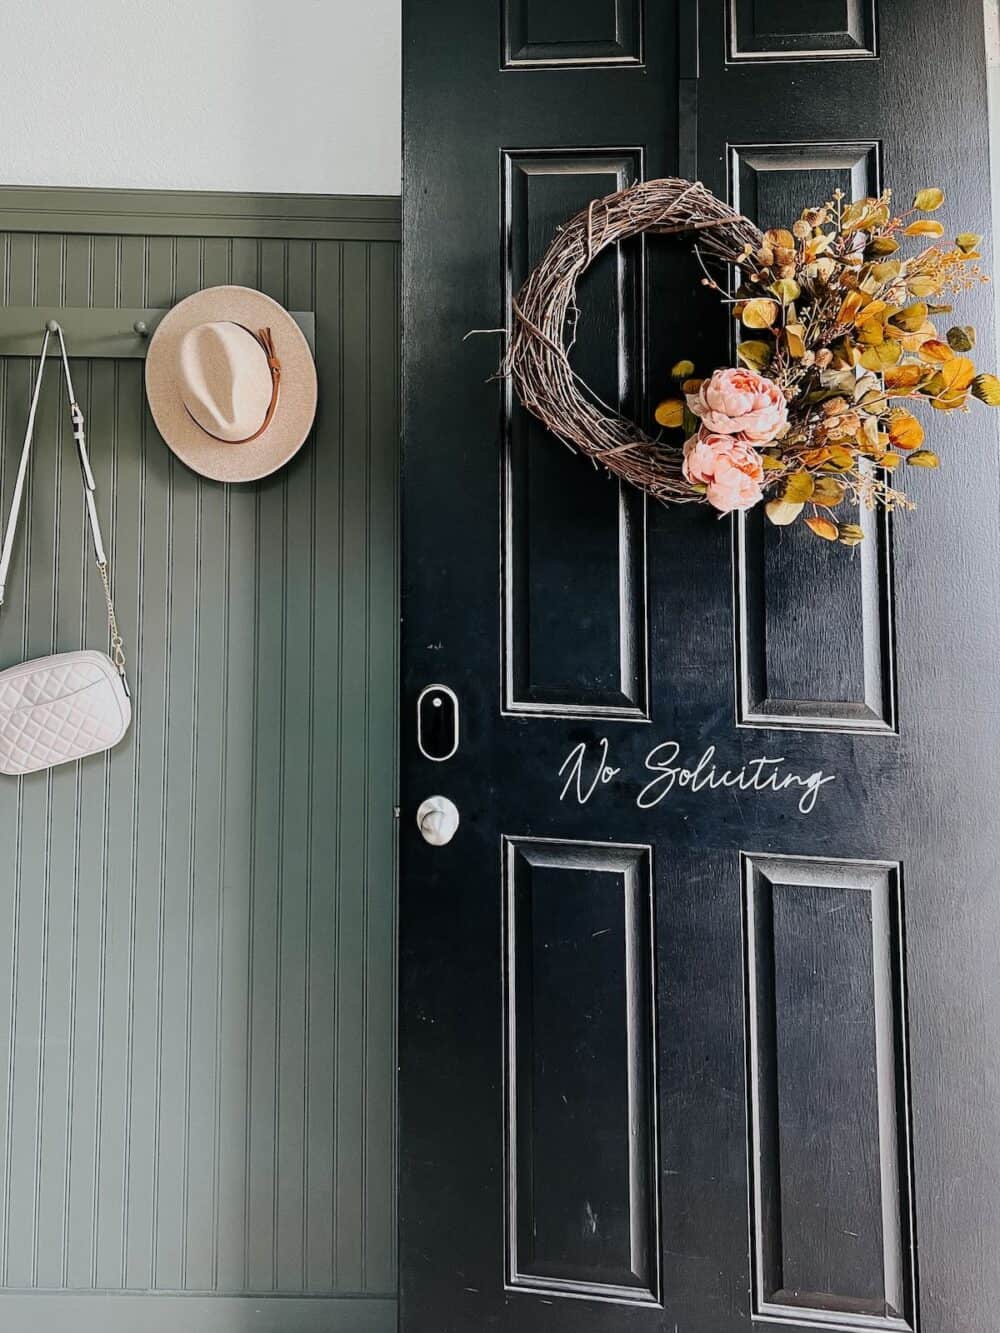
My front porch still needs a bit of sprucing for the fall season, but adding this little wreath made a huge difference. No matter how many times I hang one, I’m always surprised at how much it does for our curb appeal!
