A Simple Kid Art Display Using A Wire Curtain Rod
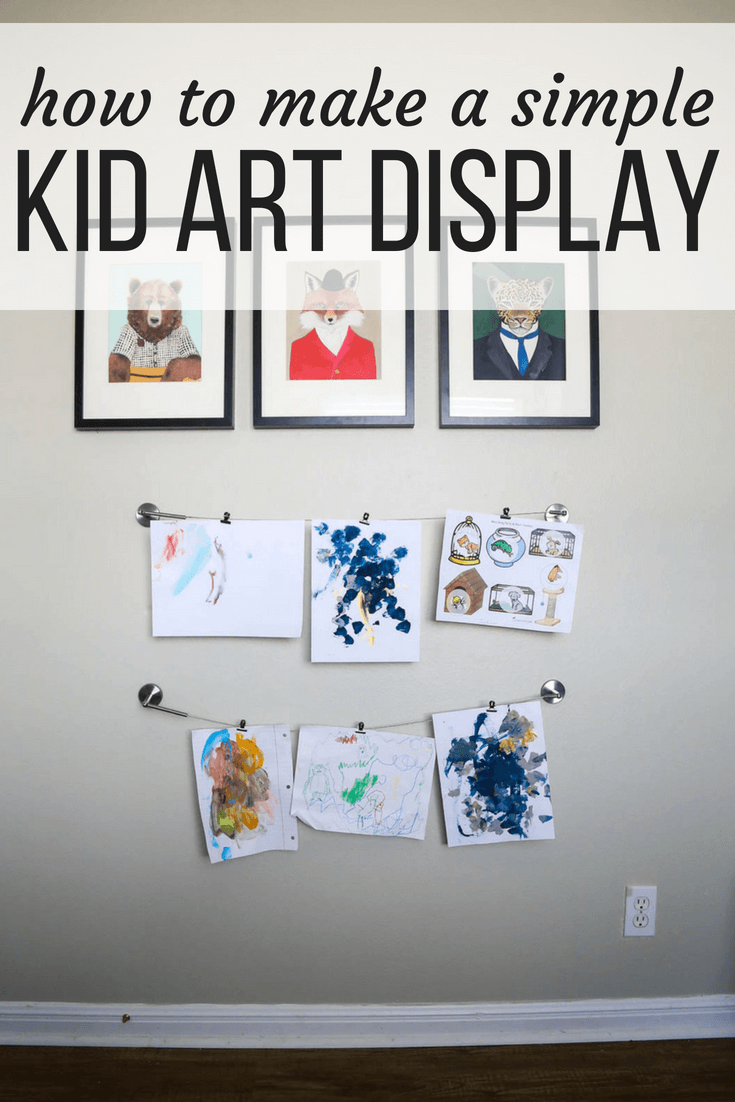
I’ve been looking for a simple solution for displaying all of our son’s art. I found the perfect one for just $30! And, as a bonus, it has totally cut down on the stacks of papers all over my house. See how to make your own DIY kid art display here.

Our four-year-old, Jackson, has been very into art lately. And, of course, he wants to save every single creation forever and ever amen. It’s sweet, but I’ll admit – I’m not the super sentimental type when it comes to kids’ artwork. Obviously, there are a few special pieces that I love to save. We even have a special memory box just for that sort of thing! But more often than not, I find myself sneaking dozens of half-colored papers to the trash can after Jackson goes to sleep.
I mean, let’s be real – ain’t nobody got room to display all of that kid art!
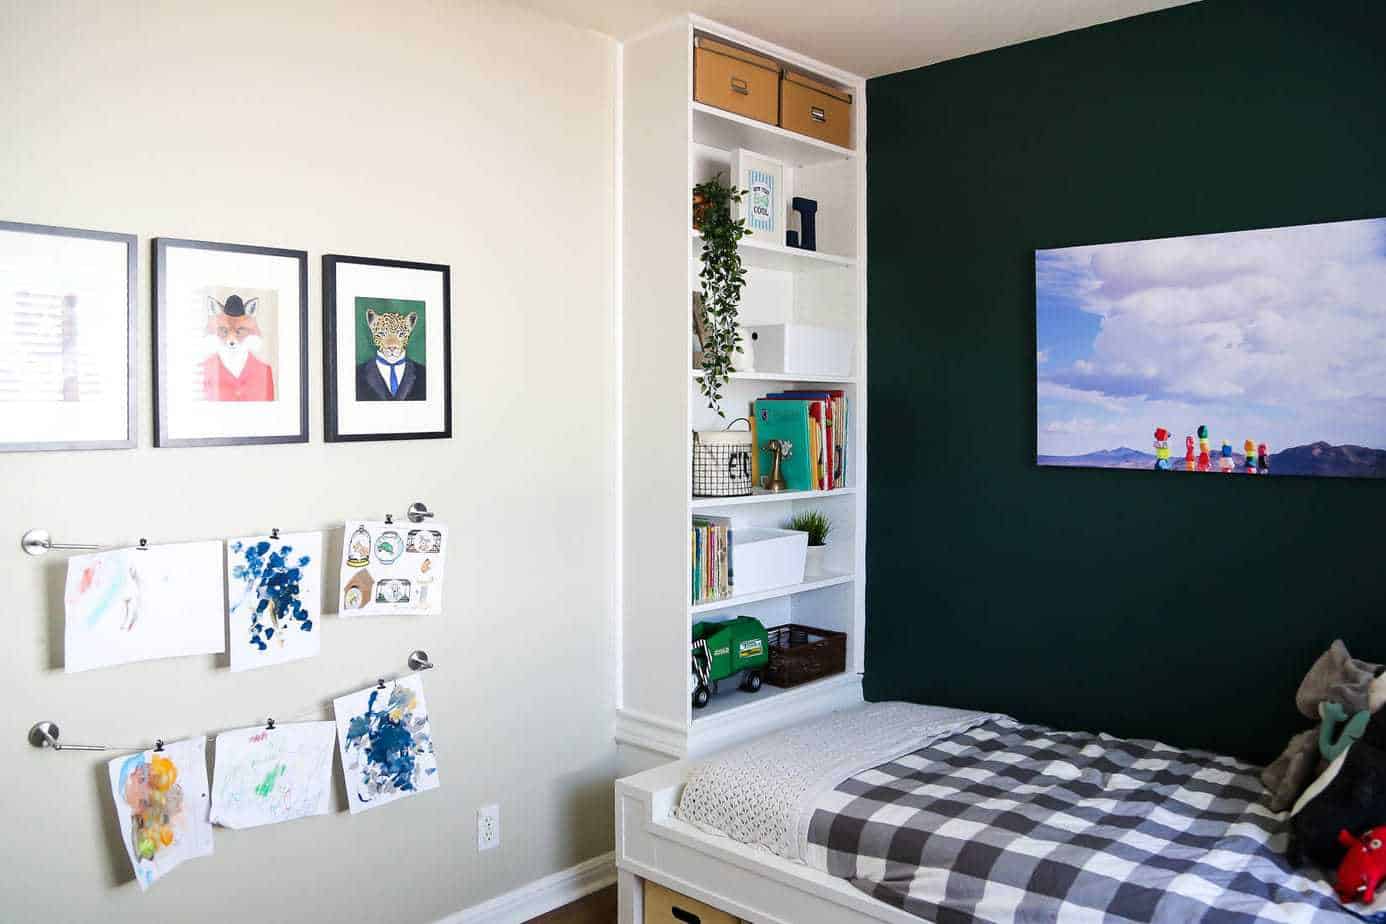
Since we’ve been working on wrapping up Jackson’s room makeover, I decided it might be helpful to come up with a way that he can display a few favorite art pieces in his own room. It saves space on the refrigerator (I really don’t love a cluttered fridge)! And, it gives him some control over what gets saved. I wanted to keep it simple and low-key, but I wanted it to be cute. Enter a simple wire curtain rod.

How to Make a Simple Kid Art Display
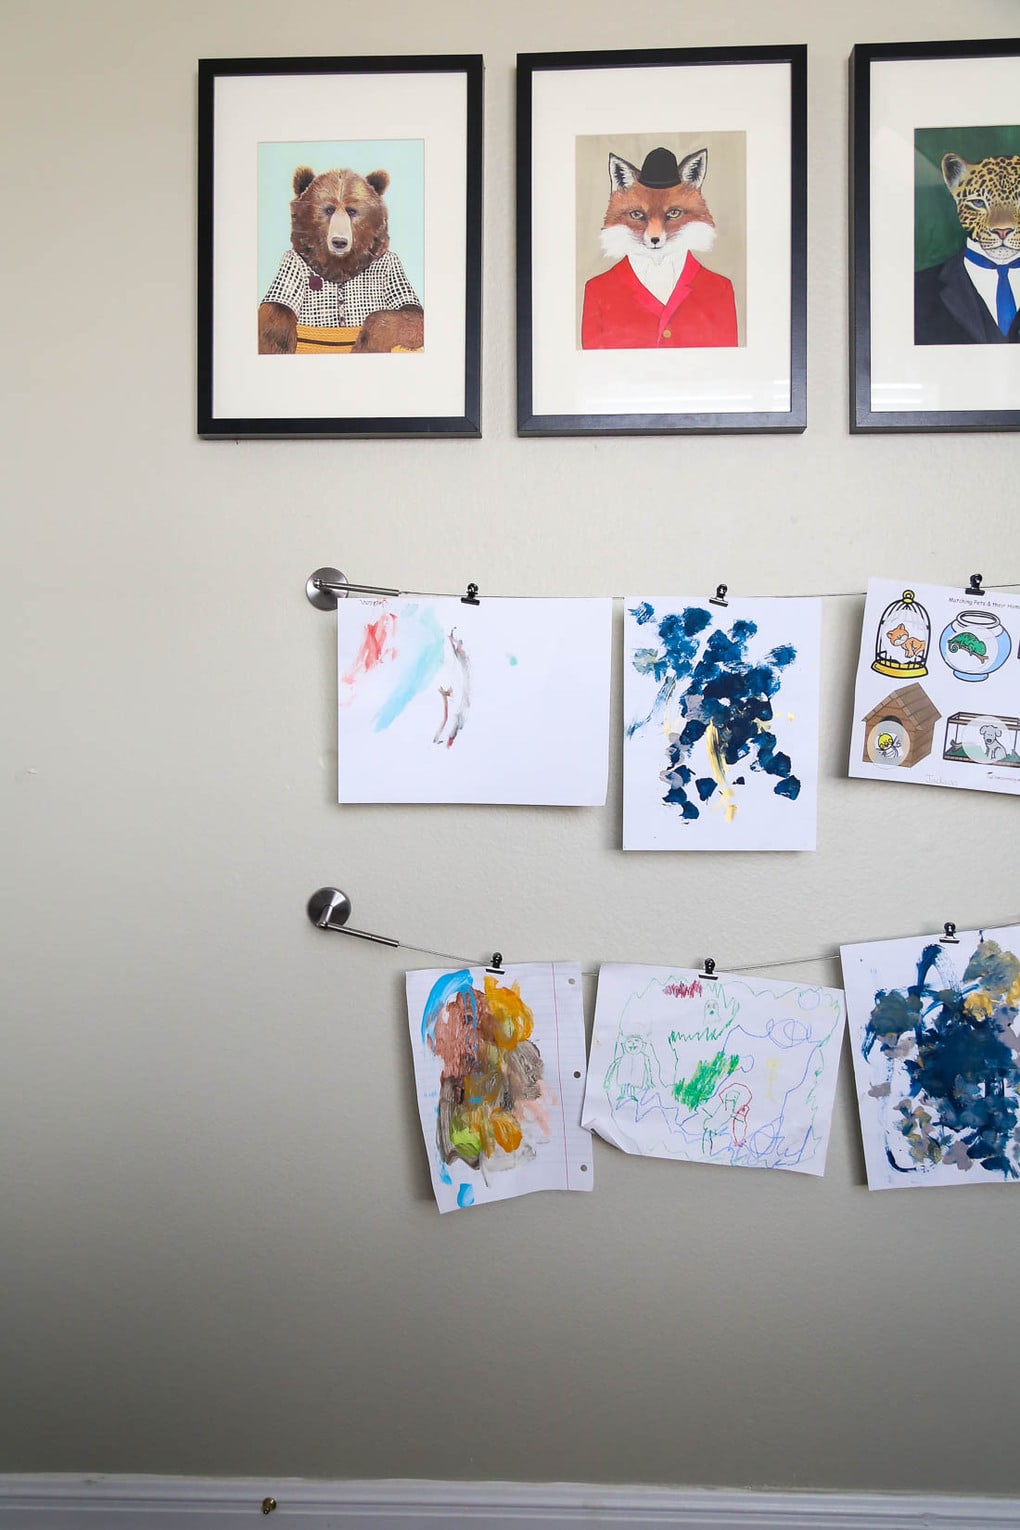
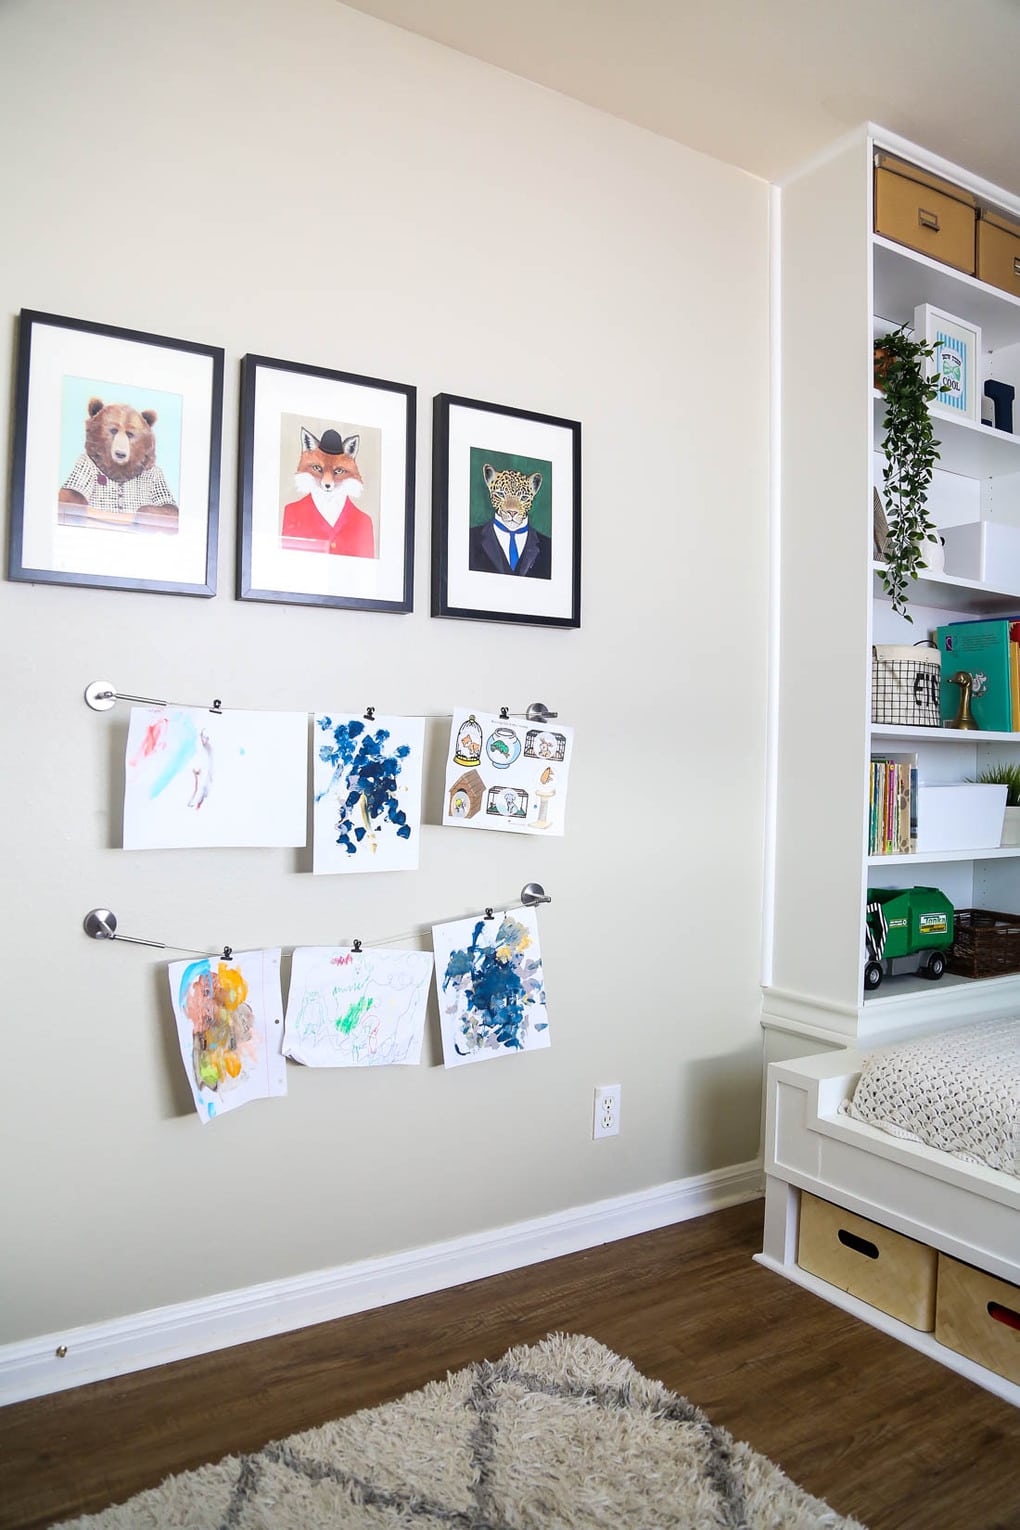
I grabbed two of the wire curtain rods for right around $25. You can make these just about as long as you want! But, since Jackson has a small room, I wanted to keep things nice and proportional. I ended up with a length of about 36″ for each of the rods. It only took me about 15 minutes to install each one. Then, I grabbed some of these metal clips to hang the art, and that was all it took!
Jackson is in love with having this little art display in his room. It has totally eliminated any arguments about whether or not we’re keeping any new art he creates! He knows that once his art display is filled up, he has to get rid of something. And, of course, I can still grab my very favorites to save in our memory box. This just means I don’t have to worry about saving every single scribbled-on paper. Which is nice, considering he can produce 5 or 6 of them in one 10-minute “art session”.

We’ve also been working a bit on wrapping up some of the details in his room. After we finished building his built-in bed and shelves, we kind of moved on to other things around the house. We’ve been neglecting the finishing touches! Half of the shelves on his built-in bed were still empty, and there was nothing on the walls. Thankfully, we have a ton of art left over from his room in the old house. So, I raided our stash to hang a few things up, and finally spent some time actually styling his shelves.
With all of this storage in his room, we’ve finally reached a point where we don’t constantly have toys floating all over the house. He has a basket dedicated to all of his different toy categories. We’ve even got a couple that are mostly empty, which will be great as we start to bring more baby stuff into the house over the next few months.

If you want to catch up on all of the progress in Jackson’s room (and catch a peek at what his room looked like in the old house, here are a few links you may enjoy!
Kids’ Room Ideas
- Planning Jackson’s Room: Phase 1
- Jackson’s Room Mood Board
- DIY Built-in Bed & Bookshelves
- Jackson’s Room in the Old House
Have you found any creative solutions for displaying the plethora of kid art in your home?
