Jackson’s New Bed (DIY Storage Bed)
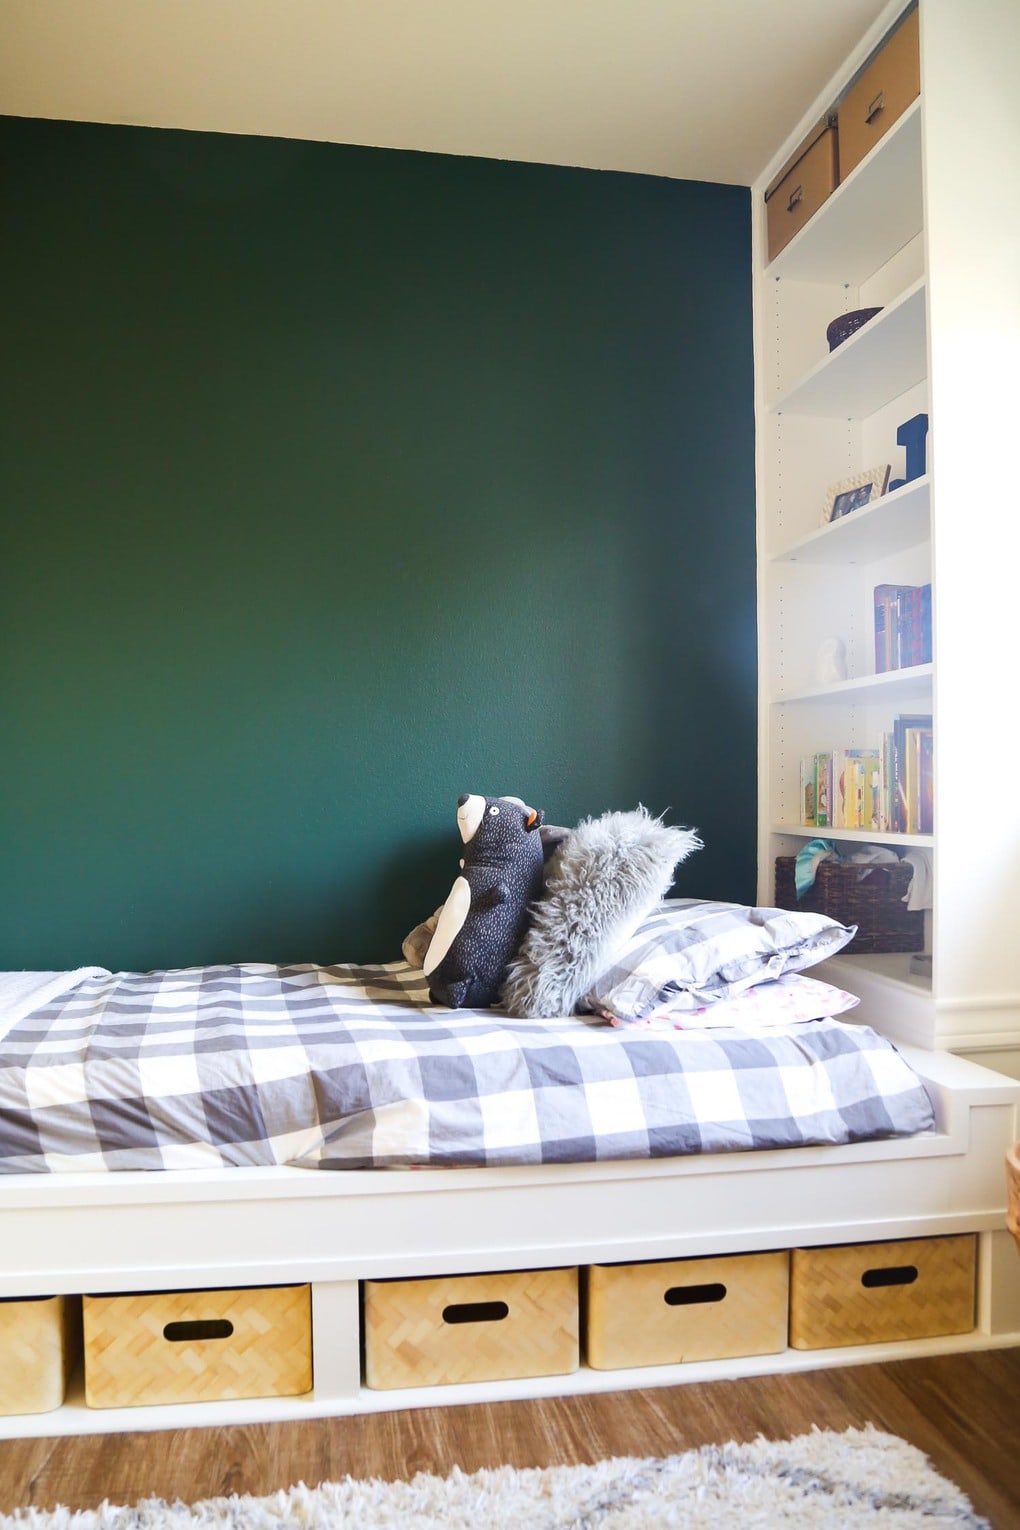
Have a room that needs some organizational help? Here’s a great solution! This easy built-in bed and DIY built-in shelves provide tons of storage and look gorgeous to boot.
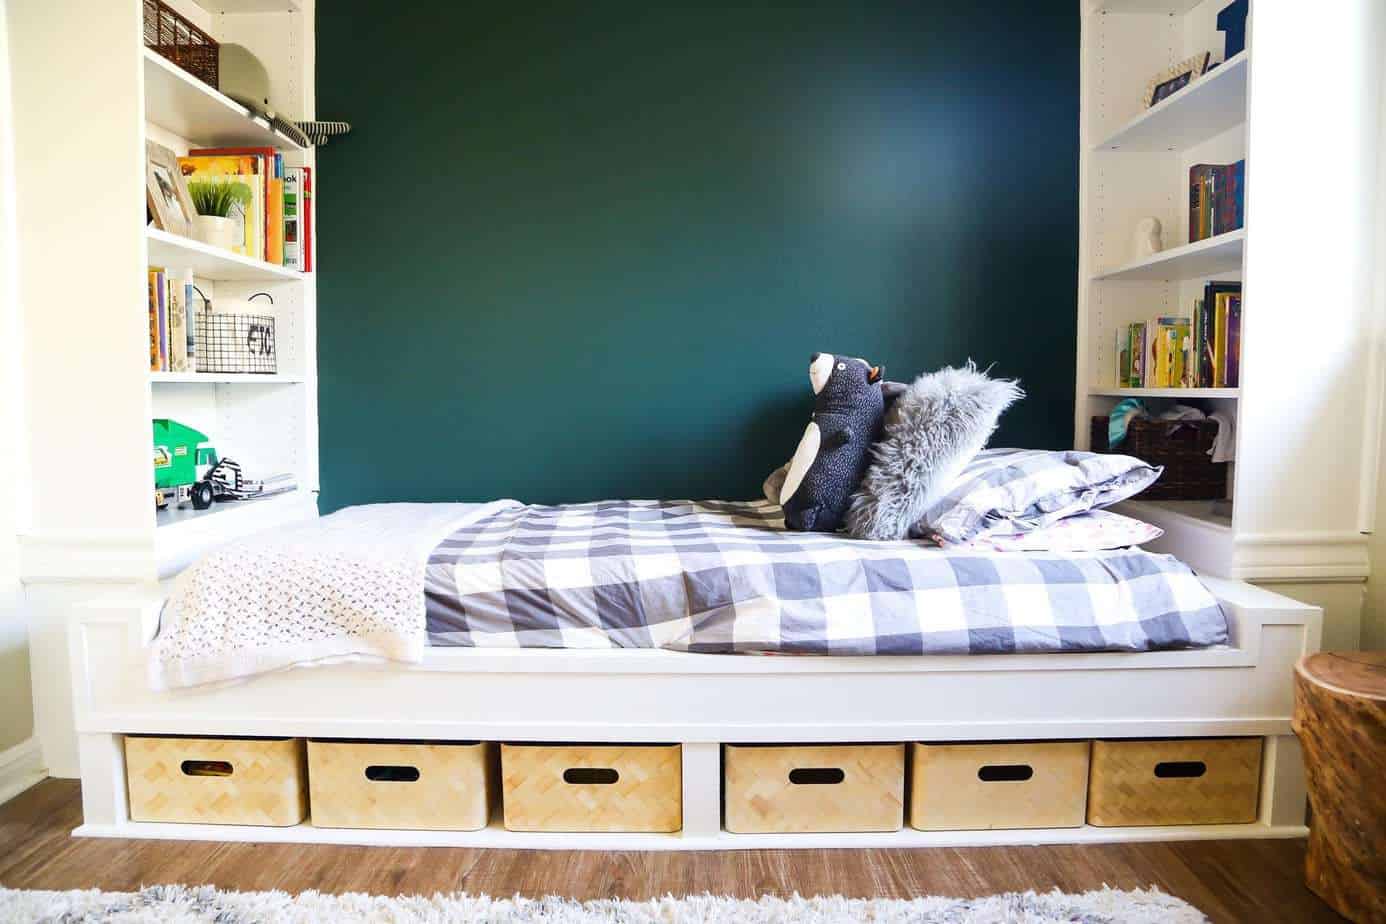
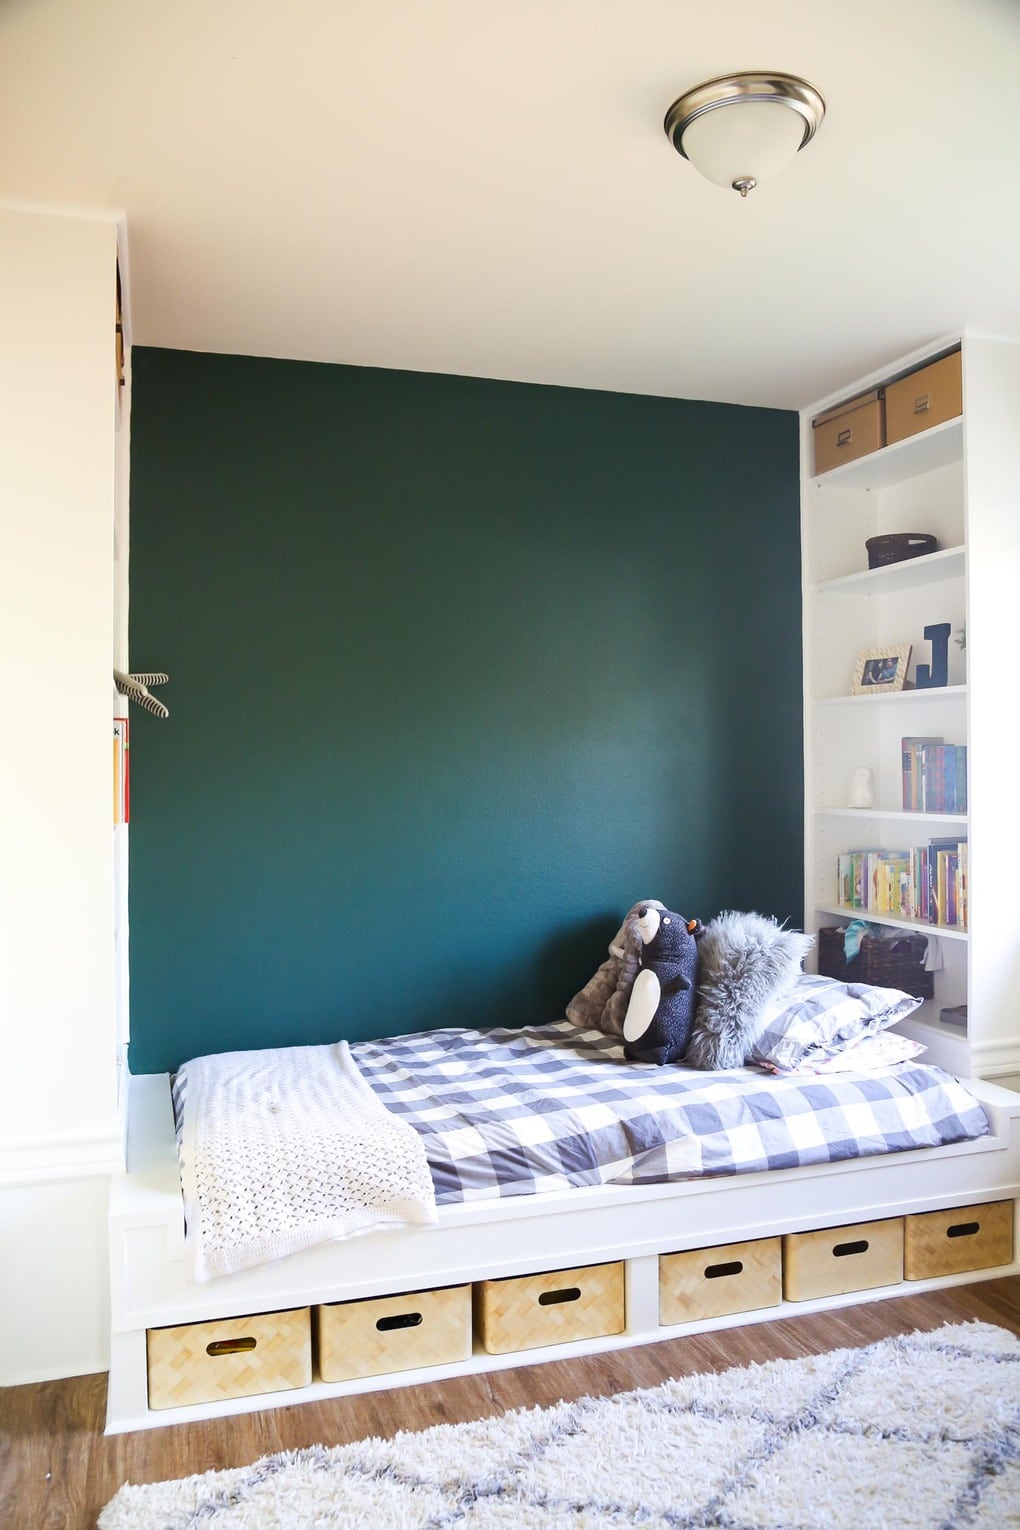
If you’ve been following along as we’ve planned the renovations for Jackson’s bedroom, then you’ll know that the biggest (and most daunting) part of the entire process is that we decided to build a giant set of DIY built in shelves into the back of his room with bookcases, toy storage, and a bed. This project has been on our minds for several months now, and I cannot even begin to tell you how excited I am to call it finished!
If you don’t know what I’m talking about and want to get caught up, check out this post for the initial planning stages of Jackson’s bedroom, and this post for the mood board and the general direction we’re aiming to go in here.
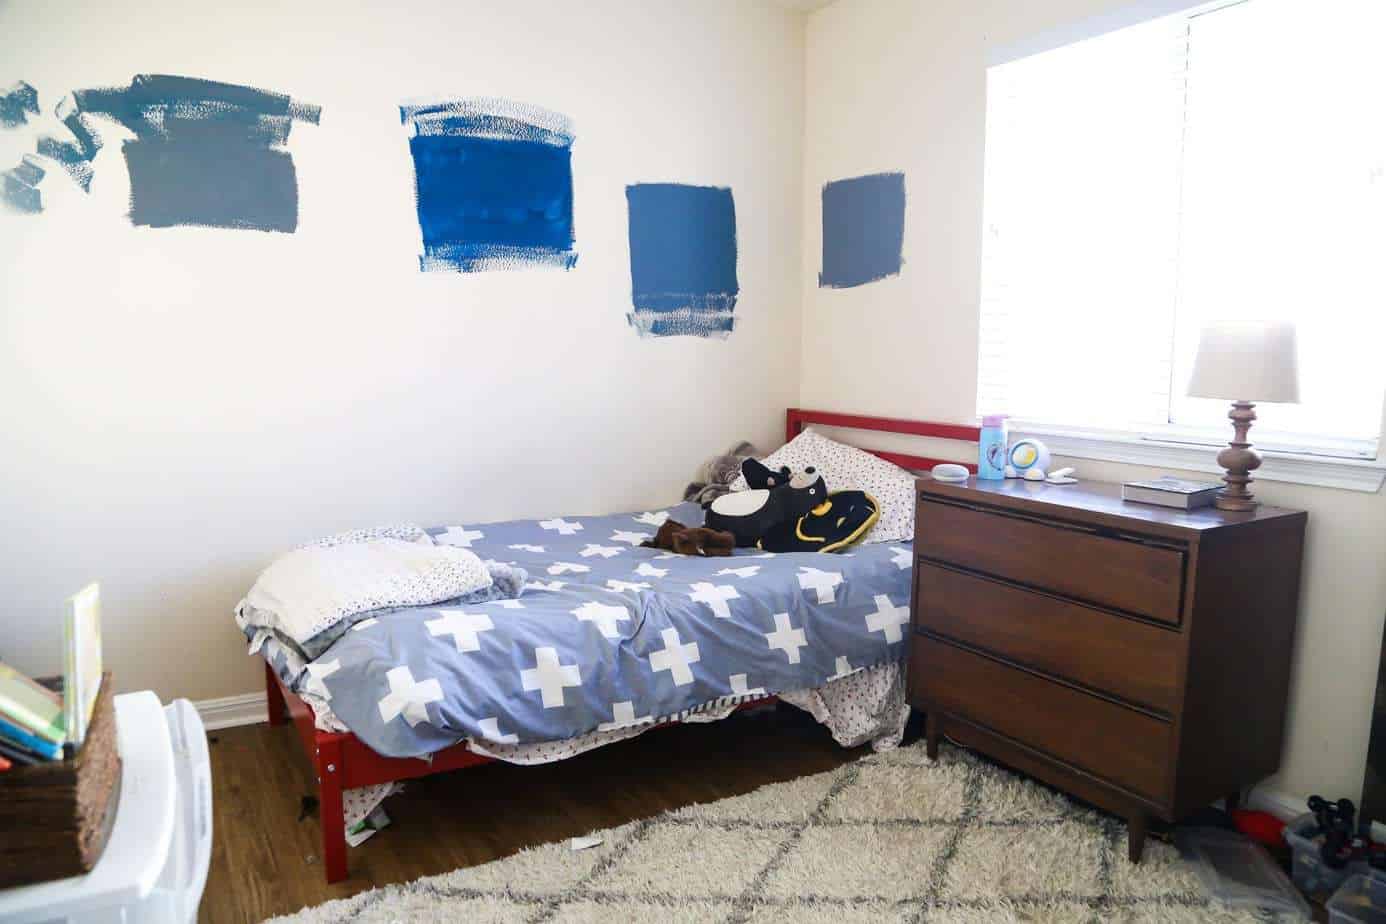
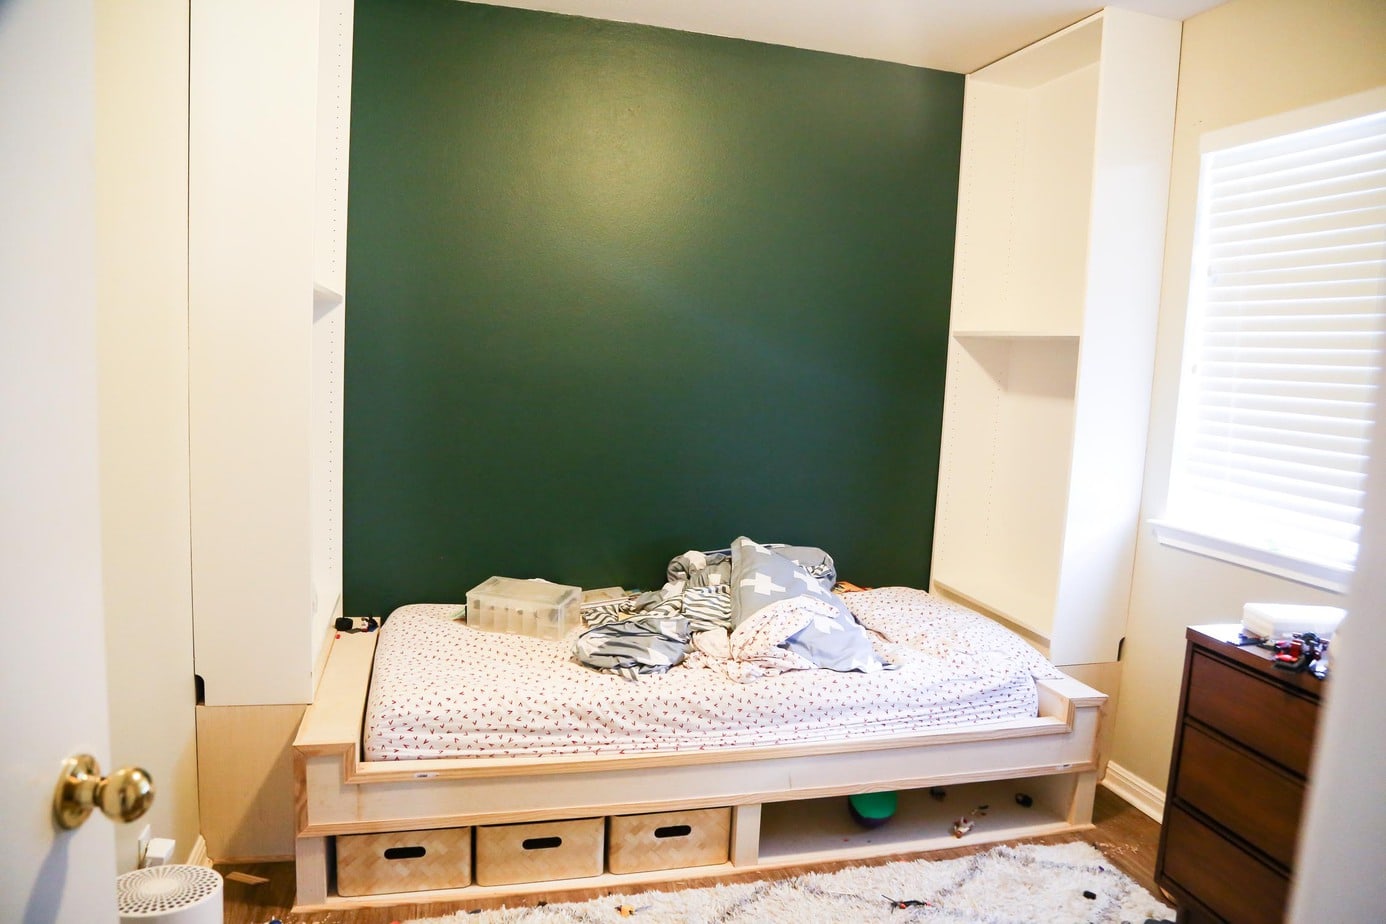
After hours of work and a bit of blood, sweat, and tears (listen, when a pregnant lady is involved there are always tears, right?!), we’ve finally finished this monstrous project, and I’m so (SO SO) happy with how it turned out. As a reminder, here’s what Jackson’s room looked like the last time you saw it…
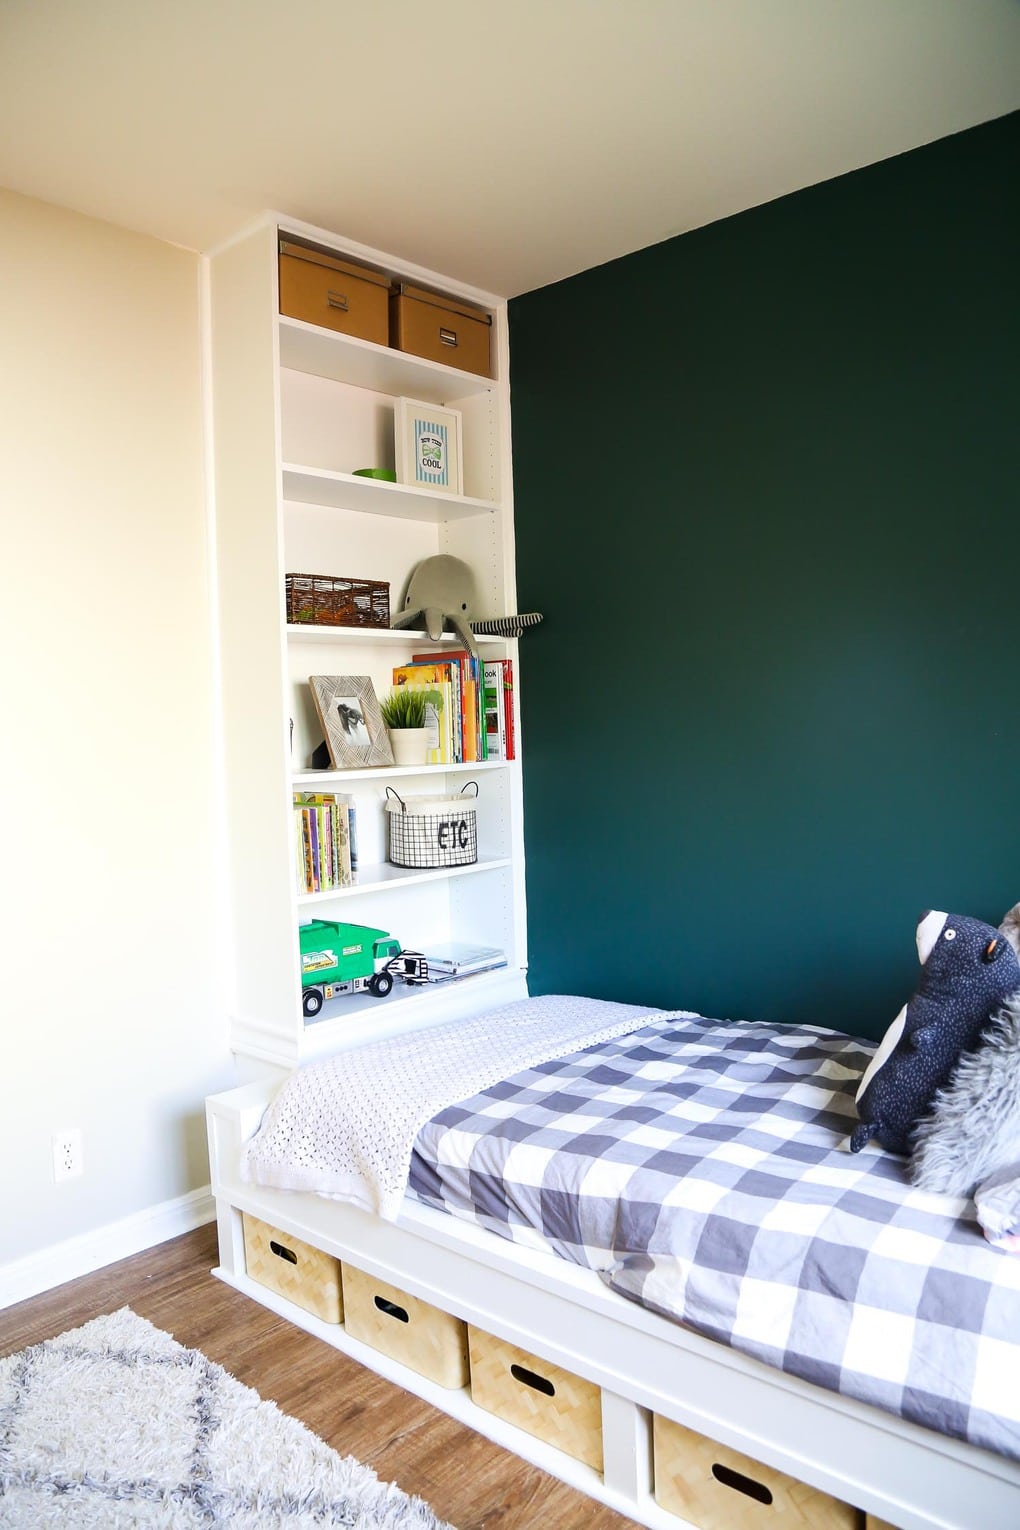
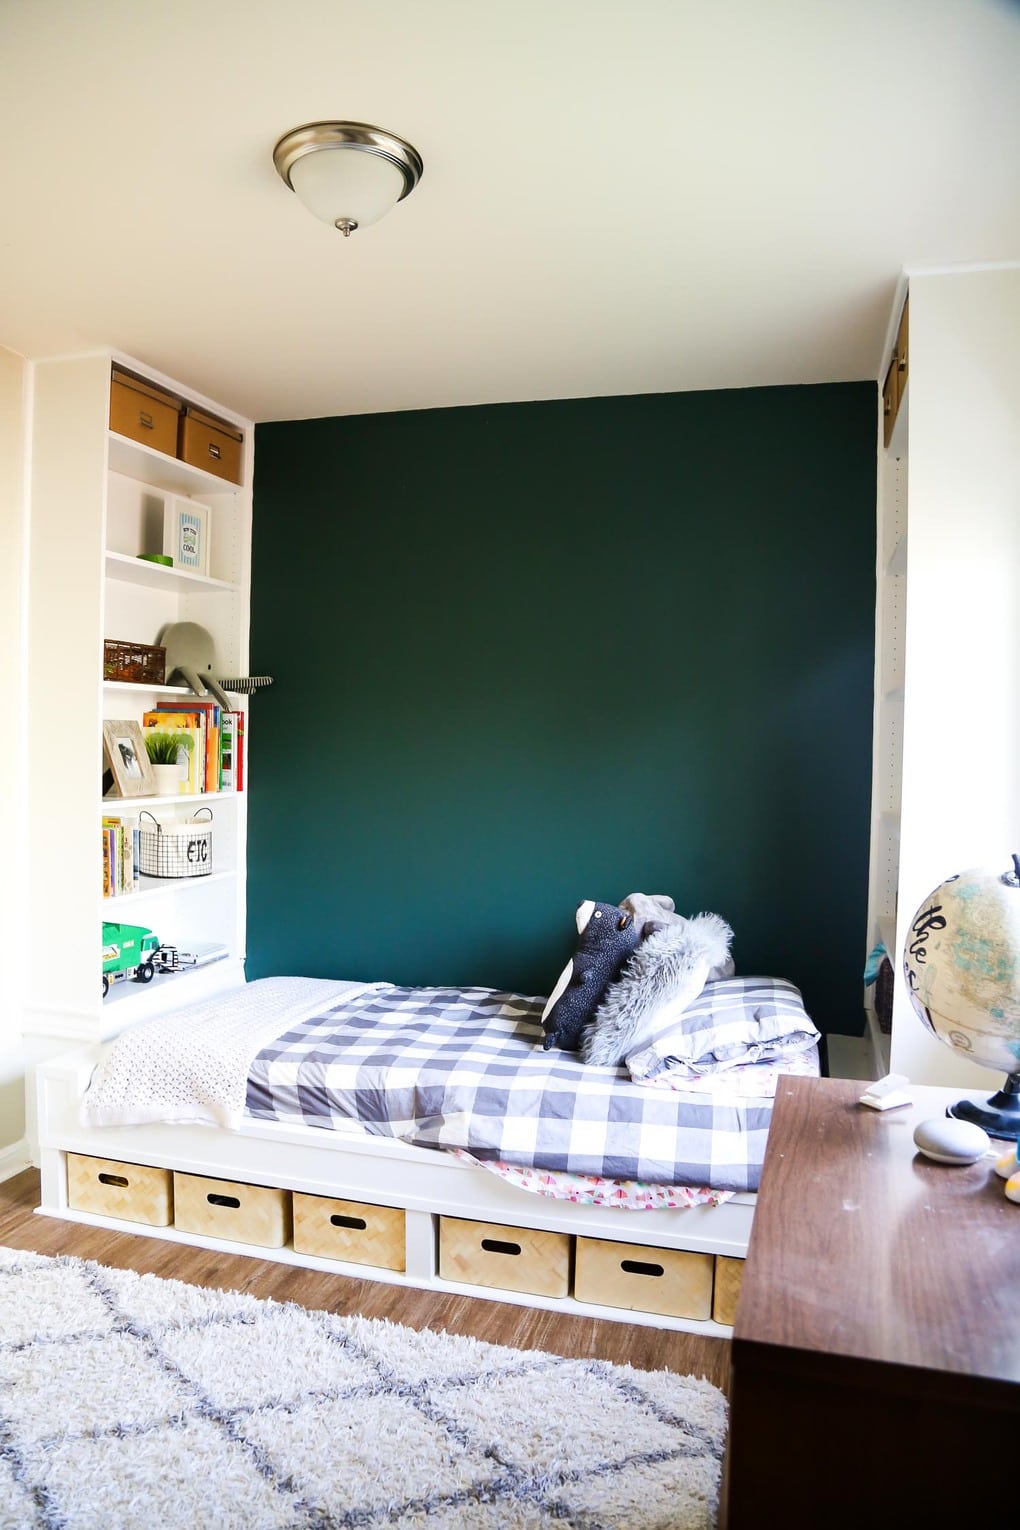
Are you ready for the big reveal of how it’s looking today?
This post is sponsored by Wagner and contains affiliate links but all opinions are 100% mine. Thanks for supporting the brands that support Love & Renovations!
Ahhhhhh!!
So good, right?!
Obviously, the room as a whole isn’t finished – but since I promised to take you along on the entire journey of designing this room step-by-step, I wanted to show you where we’re actually at right now and take a look at what the next steps will be.
The first thing we had to do before we could even think about getting started on the built-in shelves was get the room painted. I thought it would be fun to highlight a few of the different tools that I use to paint as we go through this project, because over the years I’ve gathered a few things that make me hate painting a lot less – in fact, I don’t really even dread it at all now that I’ve got these babies in my arsenal!
PAINTING TOOLS I USED
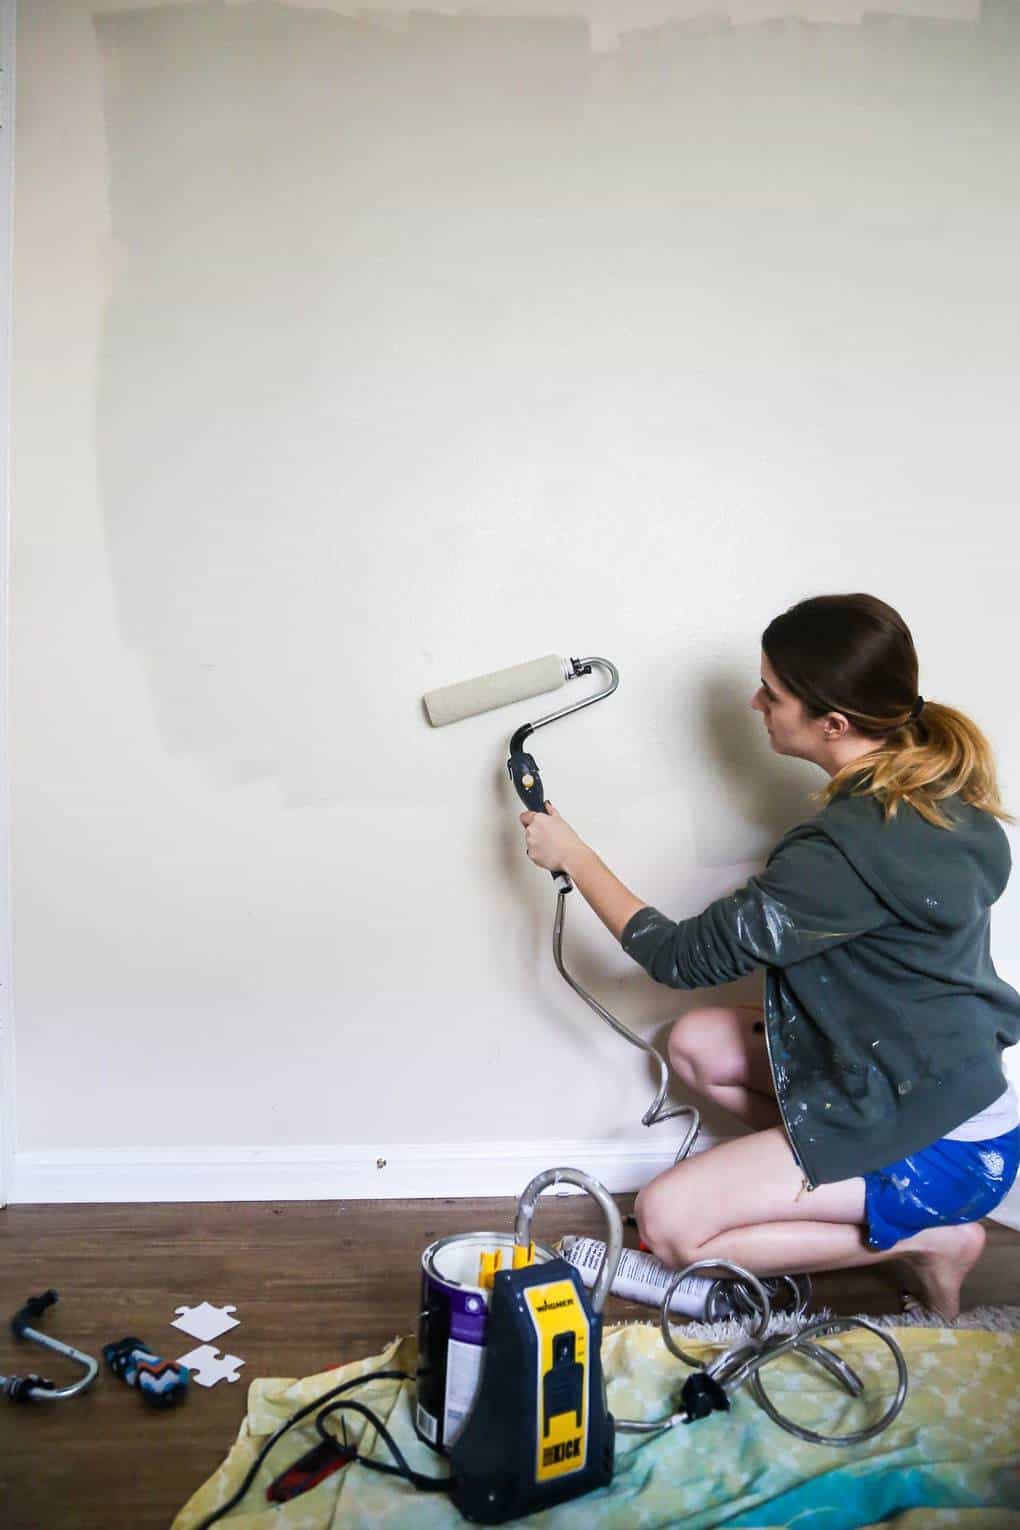
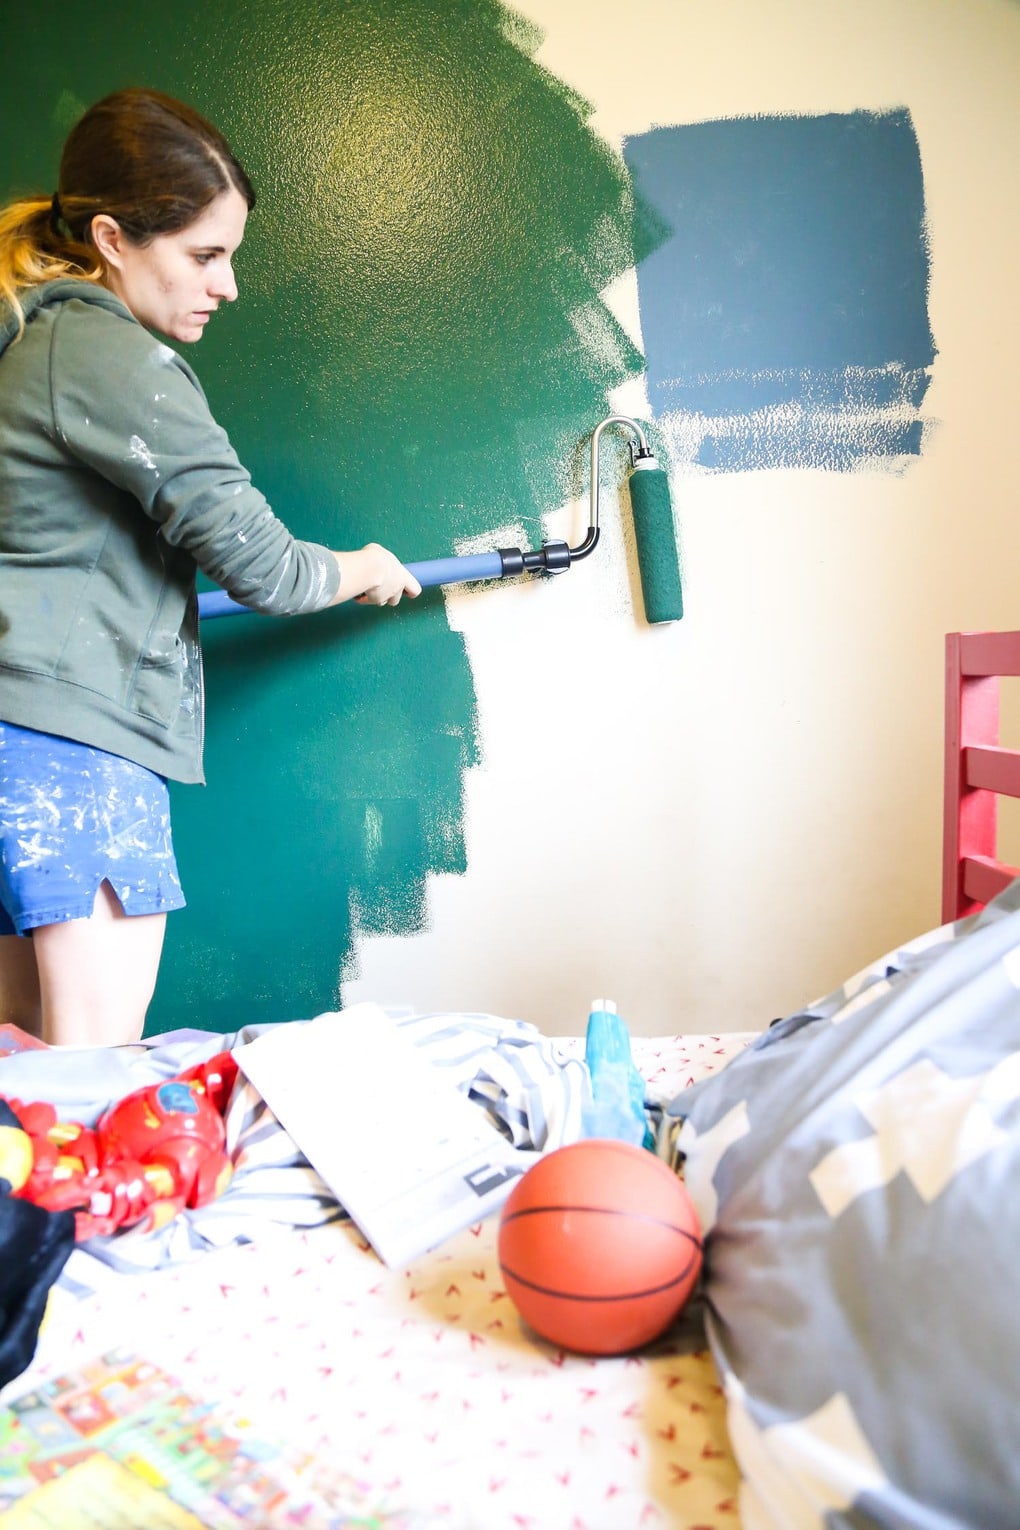
The first tool I used was the Wagner Smart Sidekick Power Roller. I showed off how much I love this little guy a while back when we talked about painting our master bedroom and the living room, so I was excited to bust it out and try it again. One thing I’ve heard often from people who have tried similar types of tools in the past is that they feel like they’re essentially one-time-use tools because of how hard they are to clean. That’s not the case with Wagner’s version – I’ve used this thing in three different rooms so far and it’s worked just as well as the first time every single time I’ve pulled it out. I’ve said it before and I’ll say it again – I will never paint another room without using this thing. I used my sidekick to paint the three main walls in Jackson’s room – we used Behr’s Coliseum Marble for the main color in the room.
Since we were doing two different colors on the walls here, we ran into an interesting issue – it seemed like kind of a pain to fully clean out the Sidekick and refill it for just one little wall, but I’m so spoiled by it at this point that I can’t imagine painting with a regular old roller (I know, but I get to be picky if I want). So, we decided to use Wagner’s Smart Roller for the accent wall – it’s the same basic concept as the Sidekick, but it’s not electrically powered (you just pull a trigger to refill it with paint) and it’s perfect for smaller projects like this. I was able to knock out this little wall in under an hour and using the Smart Roller was way easier than a regular roller would have been. For the accent wall, we used Behr’s Secluded Woods.
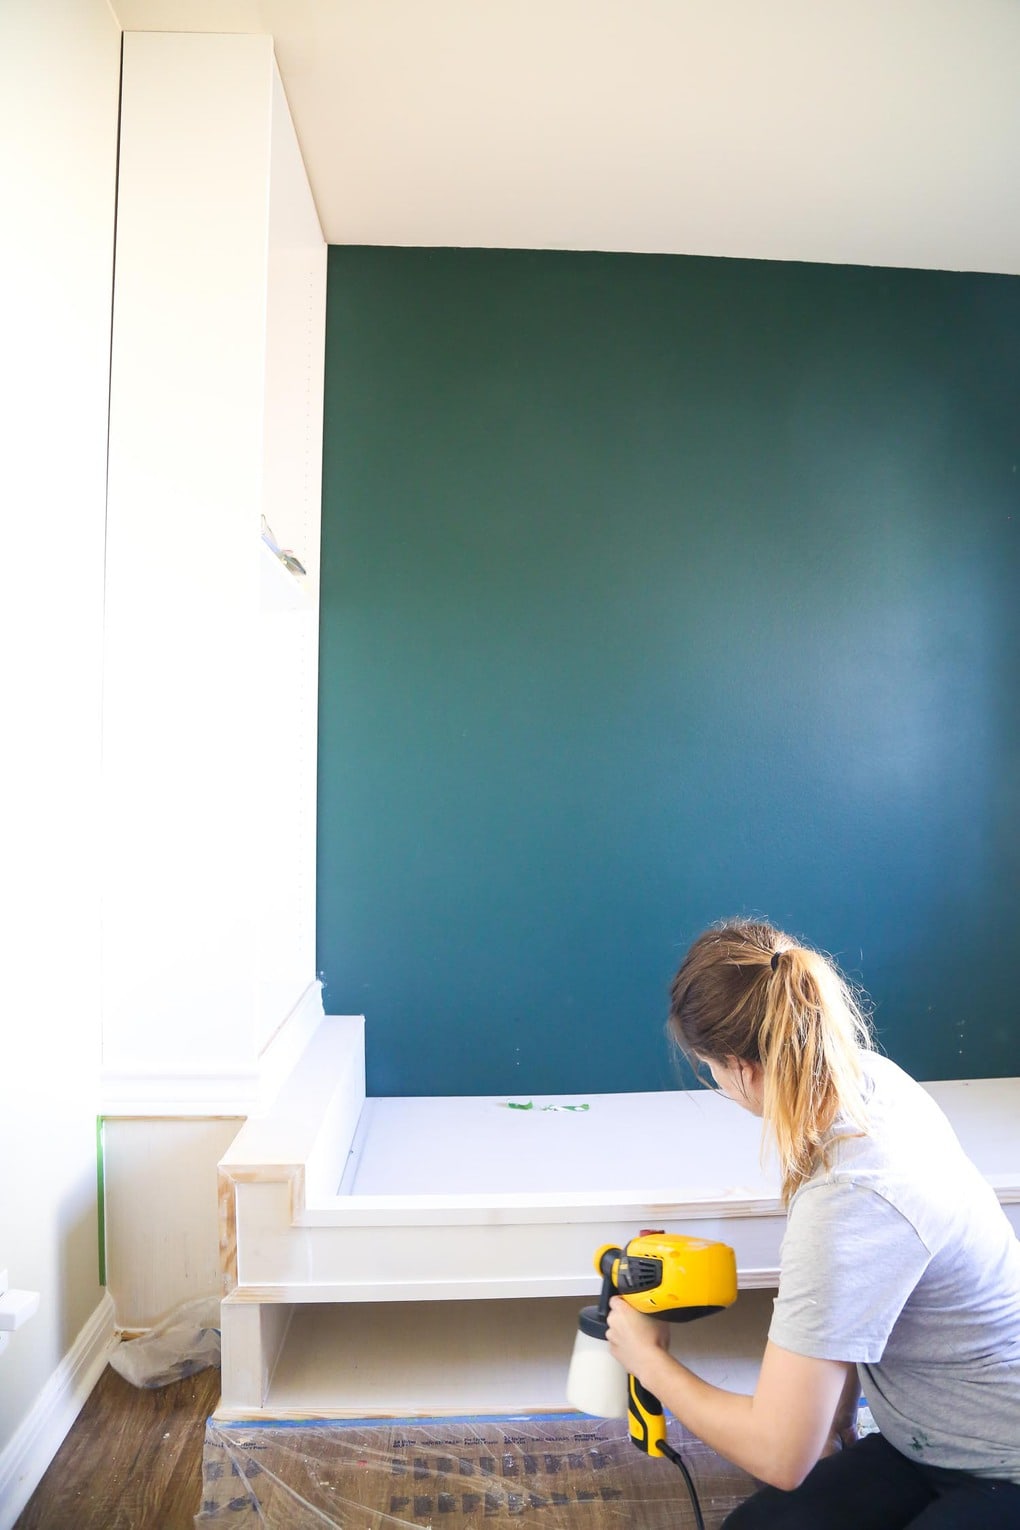
And finally, to paint the built-in shelves, I used a combination of my Wagner FLEXiO 3000 and a regular old paintbrush. Because I was painting it in place, I couldn’t spray the entire built-ins like I normally would, but I decided to give the sprayer a shot in the name of a smoother finish. And, I’m so glad I did! All I had to do was take a bit of extra time to tape off around the bed (I used this tape, which has a dropcloth attached to it and is so handy) and make sure to hold my sprayer super close to the bed as I was working to reduce overspray. I was able to paint the most of the bed using the sprayer (and a lot of painter’s tape!), which means that the part that’s the most visible is sure to have a perfectly smooth finish. I used a paintbrush to knock out the hard-to-reach spots that the sprayer just couldn’t get with the bed in place, and I’m really pleased with how it turned out!
Here’s a quick reference guide to help you find all of the painting tools we used for this project!
Once the room was painted, we were finally ready to start building. I’m going to do my best to give you a solid tutorial for how we built this bed, but just know that this was built to the exact specifications of Jackson’s room (since it goes wall-to-wall), which means the measurements will all be a little different for each room you’re working in! If you want the quick and dirty version, here’s a short little video giving you an overview of the steps – but, of course, the full tutorial is much more detailed!
HOW TO BUILD DIY BUILT IN SHELVES
MATERIALS & TOOLS:
- 2 IKEA BILLY bookcases
- 1/2″ plywood (we used about 3 sheets)
- 2X4 lumber (we used approximately 5)
- Kreg Jig
- Wood glue
- Nail gun
- Trim pieces (we used 3/4″ thick lattice pieces for most of our trim, along with some shoe mmoulding- what trim you use is really a personal preference, though!)
- Wood putty (because no one is perfect)
- Caulk
- Wagner FLEXiO 3000 Paint Sprayer
- Paint
STEP 1: Build Boxes to Raise the Bookshelves
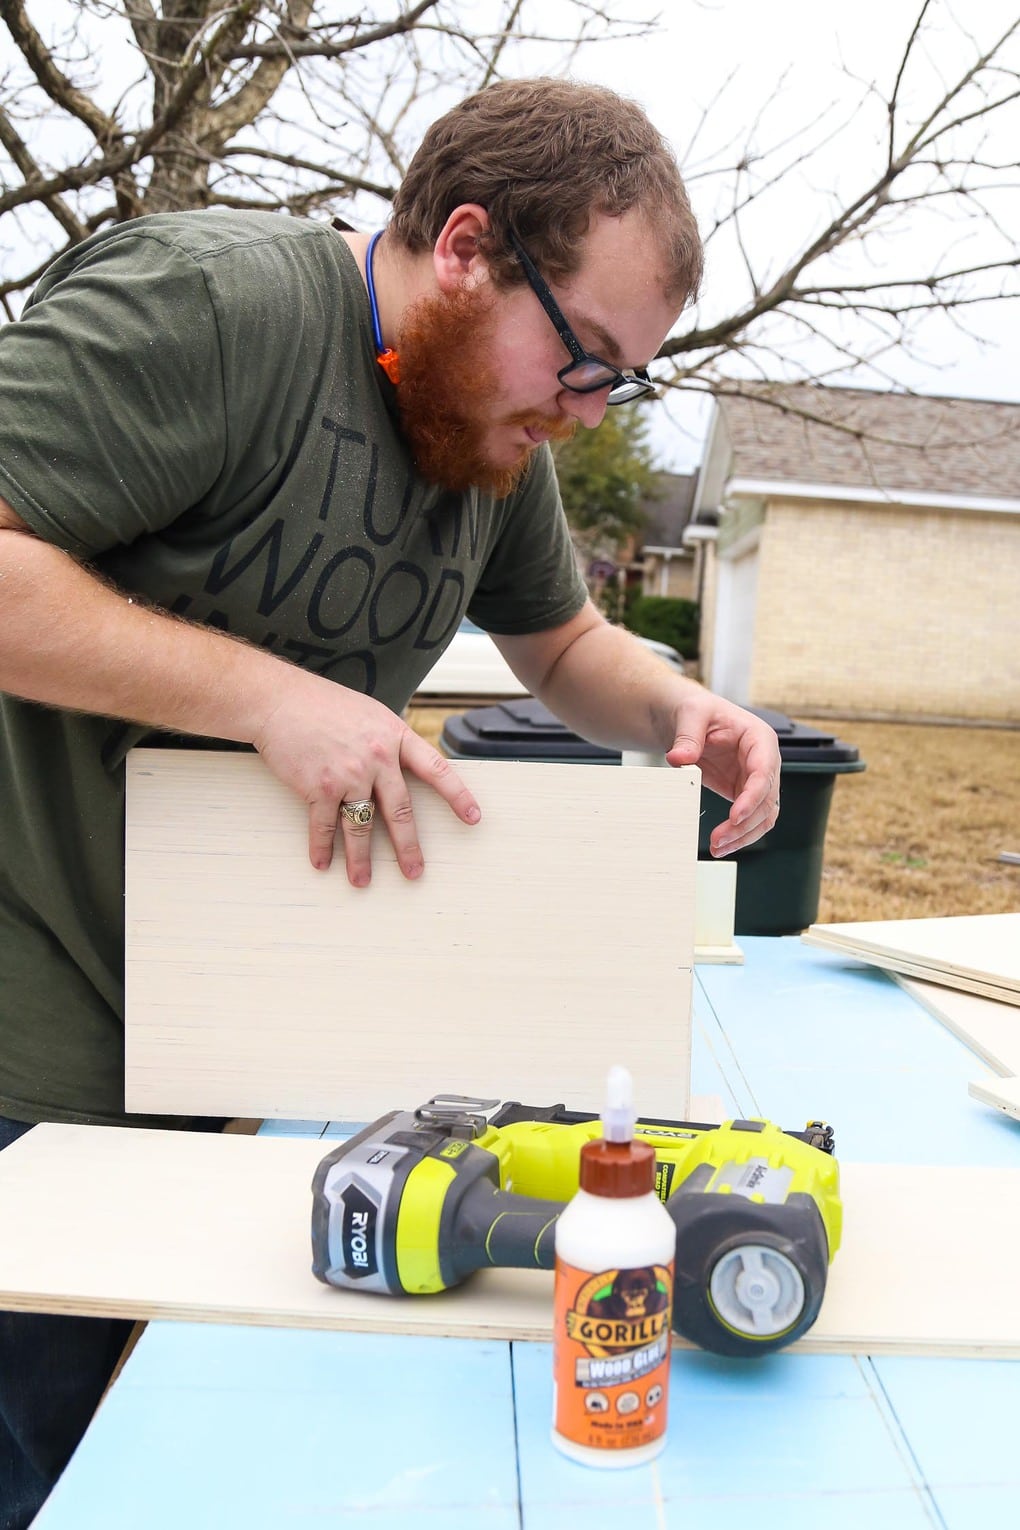
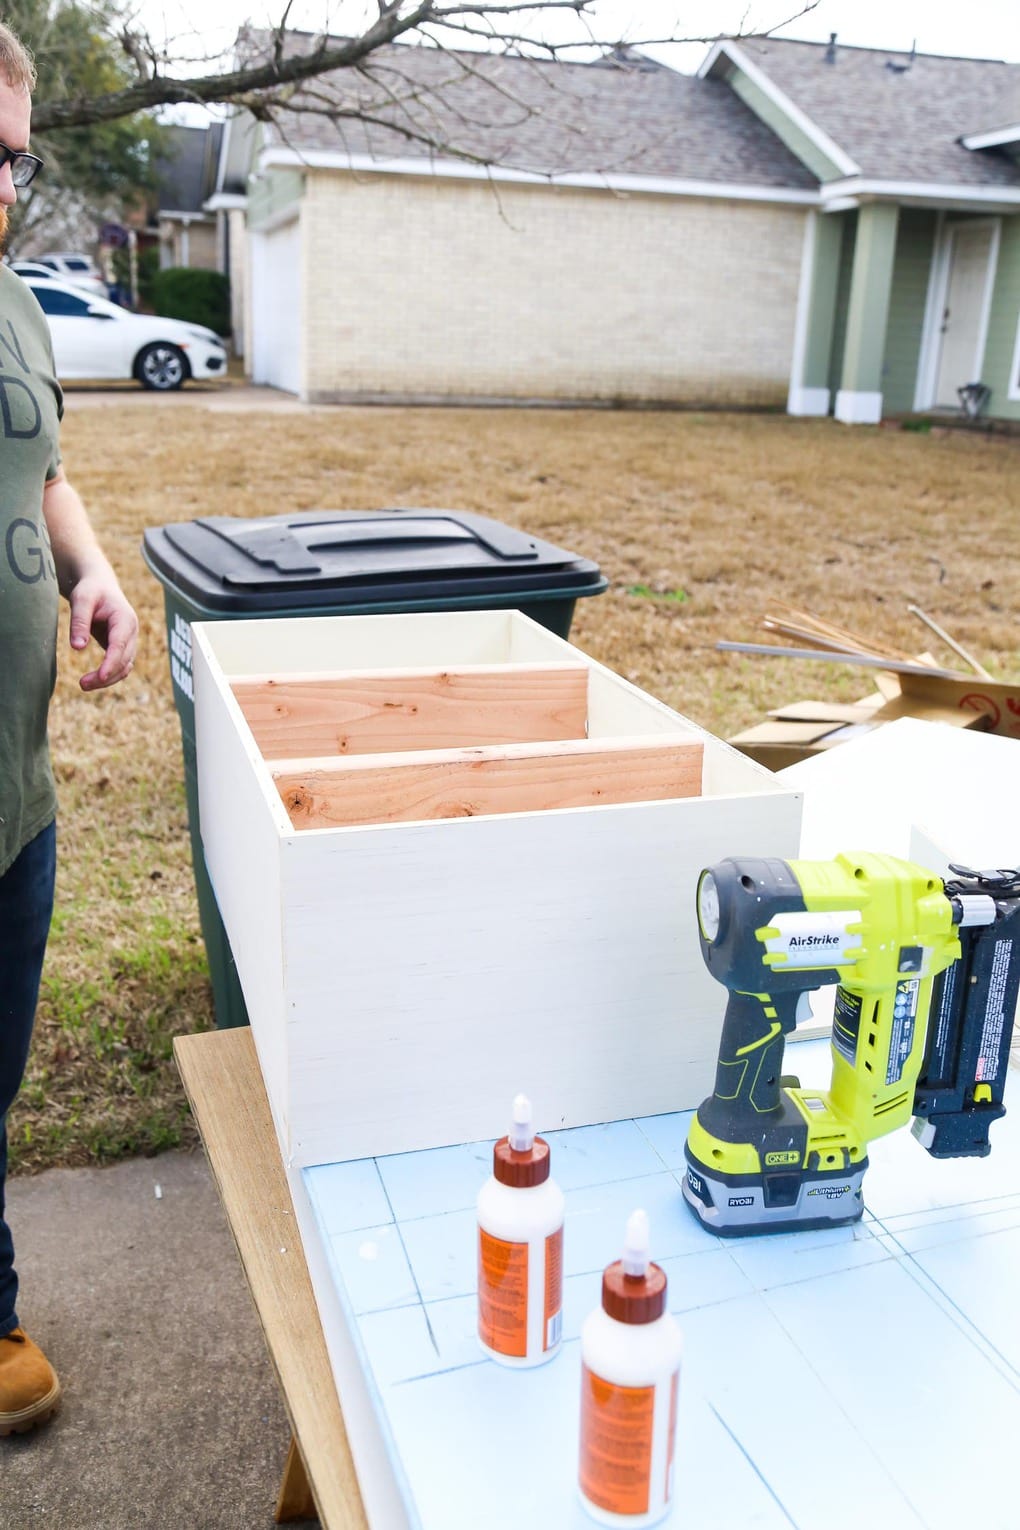
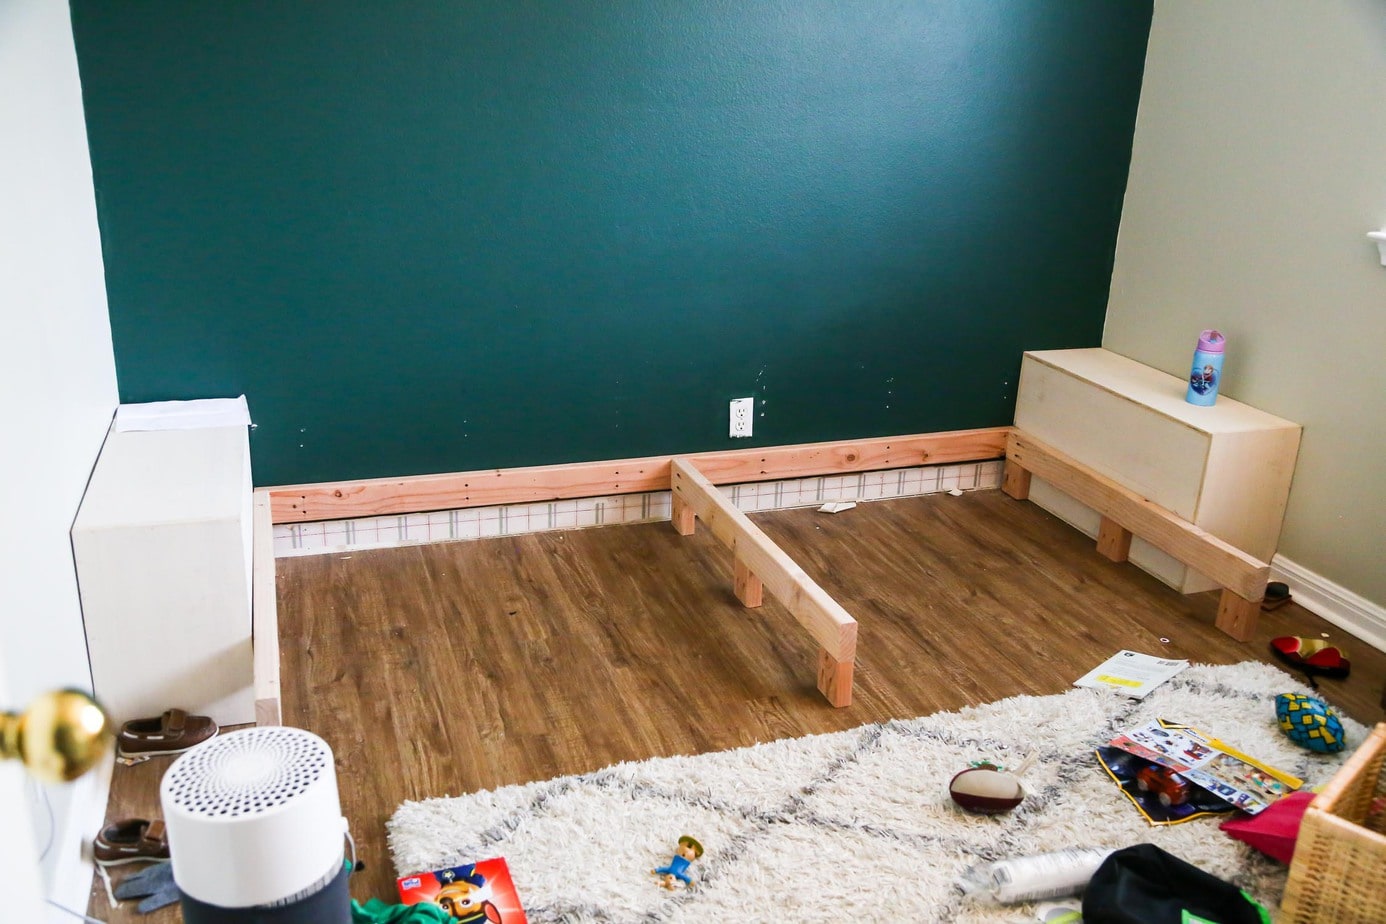
- Our first step was to build some boxes on either side that would raise the BILLY bookcases to reach the ceiling. We made the base of the boxes the exact size of the bookcases we were using (so they’d sit perfectly on it with no overlap), and measured our ceiling height to make sure they were exactly tall enough. We used our Kreg Jig to build the boxes and set them in place once they were done (as you can see from the above photo, on the side that is up against the wall we just used 2x4s for support instead of additional plywood).
STEP 2: Build the Supports
- Next up, it’s time to frame out the bed. We started with a 2X4 going along the back of the bed (we installed it at the exact height we needed based on the baskets we would be using for the nooks at the front – be sure to take into account the width of your plywood when measuring!)
- Then, Corey made three M-shaped supports using the 2X4s and our trusty Kreg Jig to act as the base of the bed. He installed another 2X4 going across the bed at the back of where our storage nooks would eventually be (we measured these nooks to perfectly fit the baskets we chose – these from IKEA). You’ll see that support in the following photos:
STEP 3: Frame Out the Bed Using Plywood
- Once the supports were in place, we framed out the nooks and the front of the bed using plywood.
- This is where I got a little foggy on photos because Corey worked on the bed while I was out of town with Jackson one Saturday. But, Corey used the plywood to build the platform and framing of the bed itself – it consists of one large piece of plywood for the bottom and two small boxes on either side that are essentially only there to fill in the space between the mattress and the bookcases (we had about a foot of extra space, so we made these little bases on either side of the mattress – they ended up being a great place for Jack to set a water bottle at night!). He also built a narrow ledge across the front of the bed to help hold the mattress in place.
STEP 4: Add the Platform Bed and Trim Out
- At this point, the bed was essentially finished – although it still looked a long way from finished! Thankfully, wood putty and trim goes a long way to making things look better. I filled in all of the obvious gaps with wood putty and sanded them down, then we trimmed out the entire thing – basically, any place where two pieces of wood met, we added trim. We also used some thick trim between the bookcases and the boxes that they’re sitting on to hide the hole in the back of the bookcases (which is there to account for baseboards when the bookcases are placed on the floor). You can see an example of what that looked like right here – this is before we finished the trim around the bookcases:
STEP 5: Caulk and Paint!
- Finally, I caulked the entire thing (which is exhausting but oh so satisfying!) and gave it a couple of coats of paint! Rather than spend a ton of time trying to find the perfect color, we just grabbed one of the shelves, brought it into our local hardware store, and asked them to color match it for us. At first, the guy at the paint counter tried to tell use we should just buy white paint but we assured him that IKEA white was not actually white, so he agreed to color match it – and it’s pretty much a perfect match! I detailed the process for painting this above. We’ve heard that the best way to avoid yellowing on white painted pieces is to allow the paint to fully cure before sealing it, so I’m giving it a couple of weeks before I add a top coat – but I plan to use this one.
As a quick reference, here are links to ALL of the tools and supplies we used for this project:
Whew. This bed was a lot of work but it was so worth it. I’m so so pleased with how it turned out and I can’t wait to get started on the rest of the room!
So, what’s next in here?
The fun part!
Now that the bed is complete, we’re ready to start doing a bit of decorating – as you can see in the post, the shelves are partly styled but I’m definitely not finished. I’ve been working on organizing Jackson’s toys and planning how it will all be laid out in the bookcases, and we’ve started to make plans for some art and other fun projects in here. We still need to figure out a good solution for window treatments (there isn’t really a ton of room for curtains, but I’d like to do something fun), and have a few other things we’re still pondering, but we’ll talk about that later. For now, let’s just bask in the glory of our completed built-ins.
Mmmm. I’m in love.
I’ll be checking in again (hopefully within the next couple of weeks) with the next steps for this room – we’ve already bought some art to hang above the bed, just need to have it printed and get it hung, and I’m hoping to tackle a fun project for the empty wall next to the bed soon. Stay tuned!
Be sure to check out Wagner’s painting tools if you’ve got a big project like this coming up and you need something that will make the job easier – I can’t even tell you how often I recommend these tools to people in my real life, and how much easier they make my projects!




What settings did you use on the Flexio?
Looks great! Is this a twin? We were thinking of doing a double bed for our built in.
Yes, it’s a twin!
The dark green wall is overwhelming. How about a wallpaper or large painting, picture of a window with birds, something that would open up the space,
,
Hi Schari – As I discussed in the post, this room is far from complete. 🙂 We’ll still be adding some art to that wall, along with finishing styling out the bookcases and a few other things!
I love this! I wish I’d had a bed this cool when I was little!
This looks great! I love the color of that accent wall.