
How to Seal Tile {Miracle Sealants Review}
Last updated on June 28th, 2024 at 10:13 am
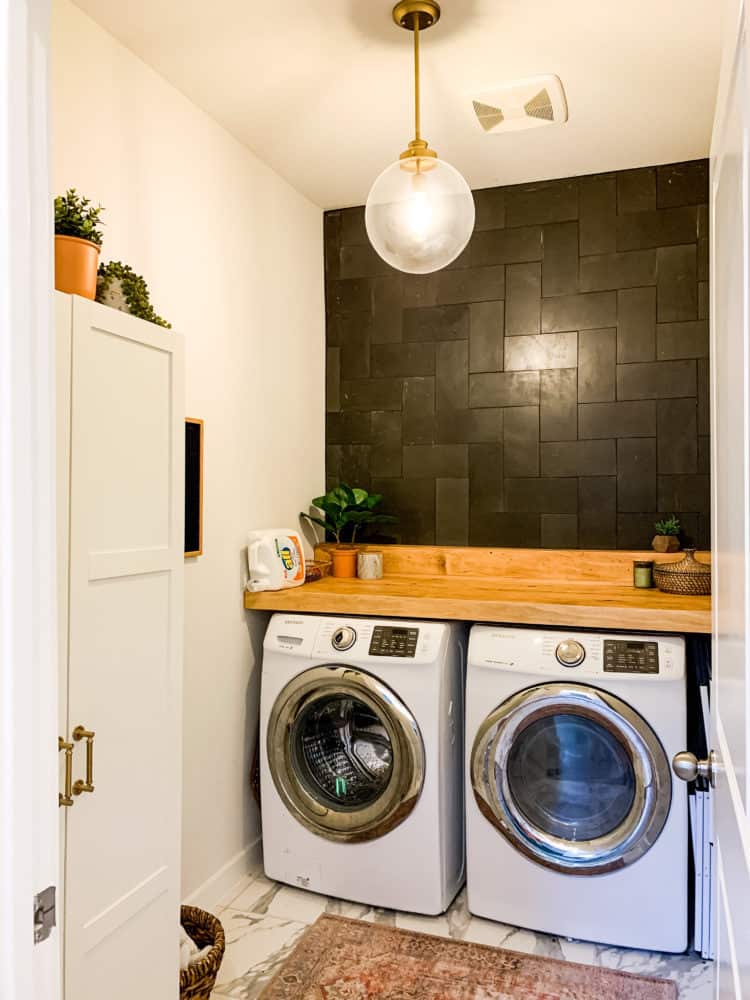
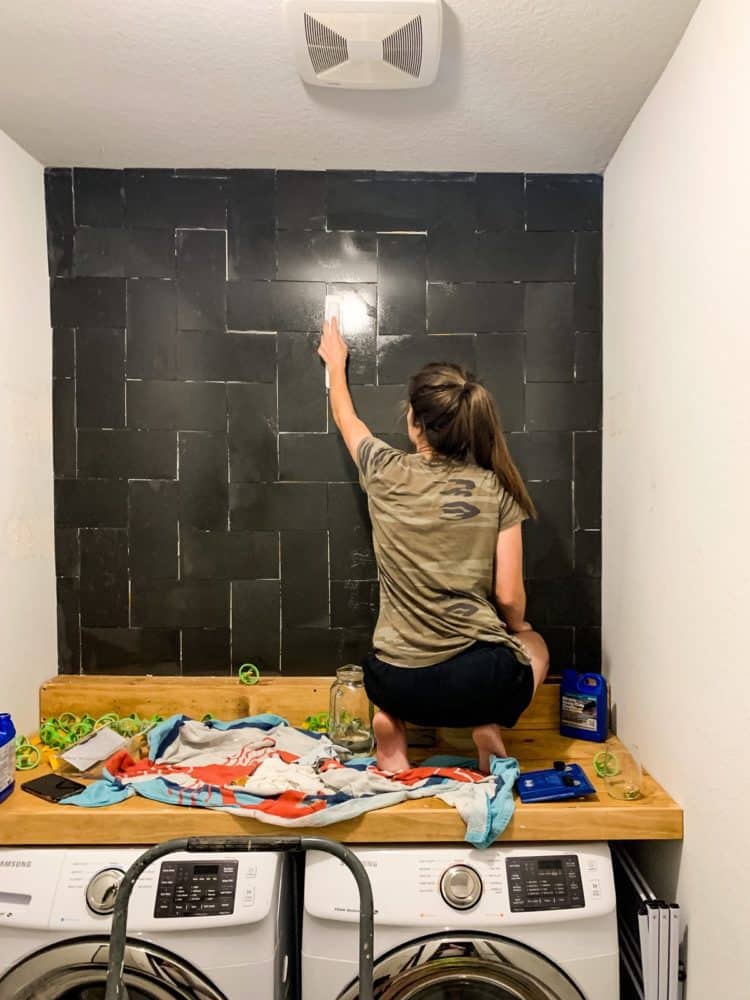
Our laundry room tile wall is officially sealed! Today, I’m sharing a little update on the room along with all of the details of how to seal porous tile with Miracle Sealants.
This post is sponsored by Miracle Sealants.
Welcome back to our laundry room tiling saga!
If you’re new around here, we’re currently working on a laundry room makeover. We started off with a DIY wooden counter above our washer and dryer. Now, we’re tiling an accent wall.
This is part three of a trio of tiling posts designed to help give you aaaall the info you need to tackle your next tiling job.
- Part one is how to install tile and it can be found right here
- Part two is all about the revolutionary tile spacing and leveling system I used for this wall
And now we’re to part three – sealing the tile!
Why Should I Seal My Tile?
I think that often, people think of tile sealing as some big job that only the pros do. But, that couldn’t be further from the truth! Sealing your tile is an important step of any tile job, and is also an important part of on-going tile maintenance. Depending on what kind of tile you have and where it is, it might need to be sealed as often as once a year!
I was using basalt tile for my accent wall, and it is notorious for being very porous and staining. I didn’t want to take any chances, so I sealed the tile multiple times. But, we’ll get to that in a second!
First of all, let’s take a moment to address why you should seal your tile in the first place. Depending on the type of tile you have, it can be difficult to keep clean or could easily take stains on. Ceramic and porcelain tiles don’t have this issue, but most stone tile will. So, if you have marble, slate, travertine, or any other type of stone tile, it’s vital to seal it regularly!
Even if you do have a ceramic or porcelain tile that doesn’t need to be sealed, your grout still does! Grout is prone to staining and can be very hard to clean. If it’s sealed and properly maintained, it’ll stay looking great way longer.
So, now that you know why you should seal, let’s talk about the how…
How to Seal Tile & Grout With Miracle Sealants
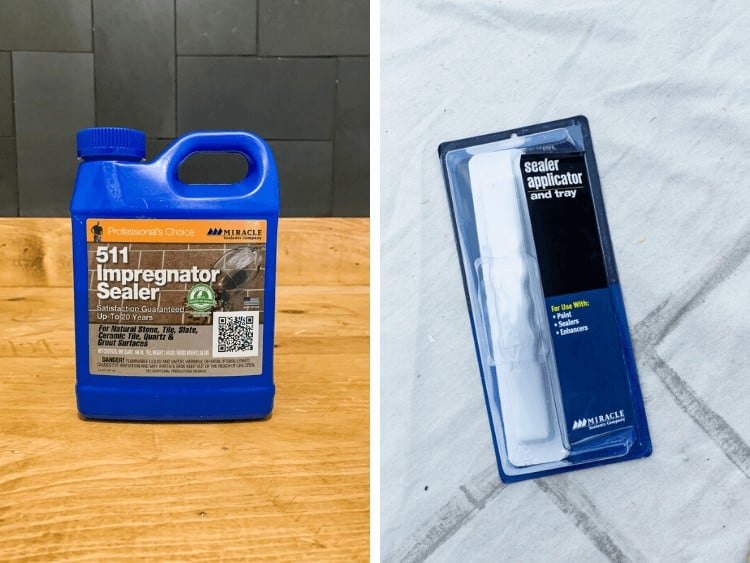
I used Miracle Sealants’ 511 Impregnator for this tiling project. It is designed for medium to dense porous surfaces. It forms an invisible barrier that resists moisture and stains, while still allowing vapor to escape. This is important because if your sealer doesn’t allow vapor to escape, it can cause chipping or discoloration on your tile. 511 Impregnator also doesn’t leave a film on your tile at all. So, it’ll look just as good as it did the day you installed it!
When Should You Seal Tile?
With most tiles, it’s fine to just seal after you grout. Allow it to cure for about 72 hours, then seal the tile and grout.
However, if you’re working with a more porous tile (like my basalt tile), you’ll need to do a bit more work. I sealed my tile prior to installation (to help prevent thinset from soaking into the tile). Then, I sealed prior to grouting, as well as after grouting.
Again, this isn’t necessary for all tiles! My recommendation is to do a little bit of reading on the specific tile that you’re using to learn about how porous it is.
How to Seal Tile & Grout
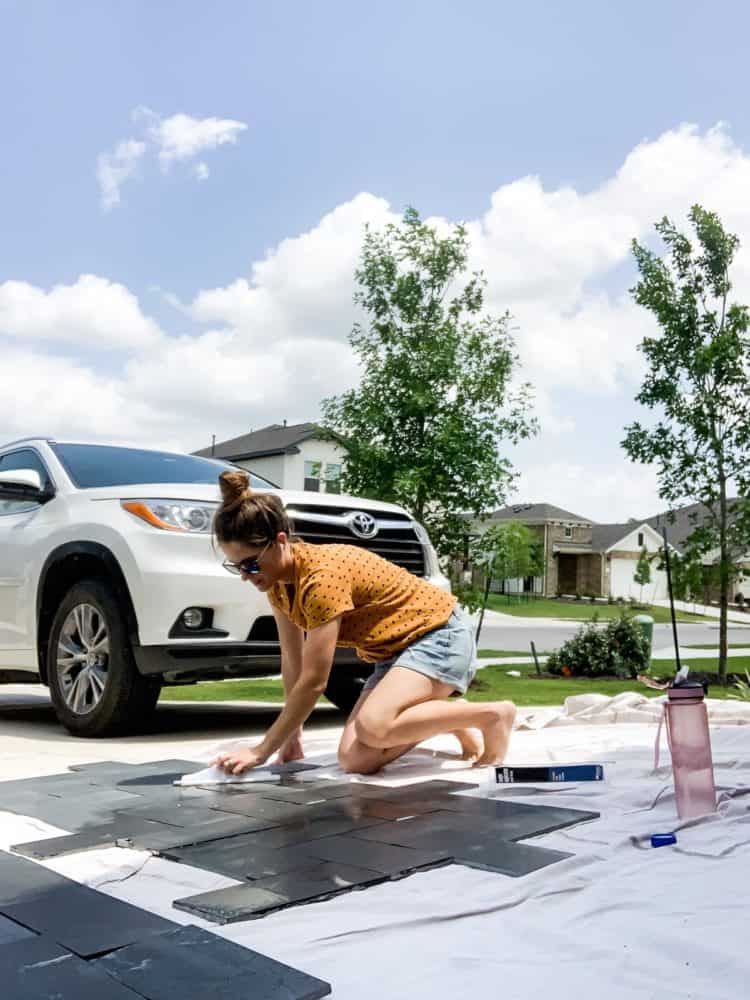
After you’ve installed your grout and it has had a chance to dry, it’s a good idea to do a really thorough cleaning of your tile. For this, I used Miracle Sealant’s Heavy Duty Cleaner. It helps remove thinset, grout haze, and other stuff that may be on your tile. It also is an acid substitute, meaning it won’t damage tile that’s sensitive to acidic cleaners.
You can use the cleaner undiluted for really intense jobs, or you can dilute as much as 5-1 if you’re just doing a light cleaning. Mine was somewhere in the middle. So, I went with a 1-1 ratio of cleaner and water. I simply mixed my solution, applied it to the tile with a towel, and allowed it to sit for about 10 minutes (it can sit for up to 20 minutes). Then, I wiped it off with a lint-free cloth!
Here’s a peek at how the tile looked before and after cleaning. This was when I was sealing it prior to grouting.
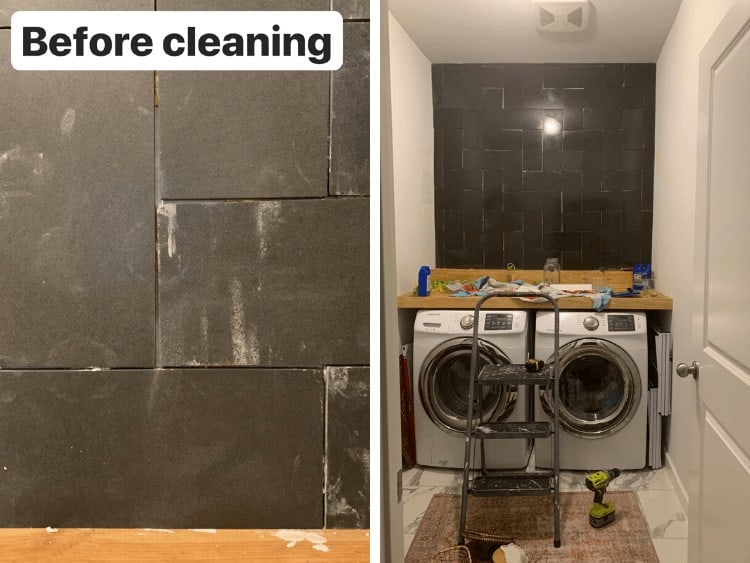
Pretty dramatic, right?!
Once the tile has been fully cleaned and is dry, you’re ready to seal.
Sealing your tile is really simple. I used the Miracle Sealants Sealer Applicator, which comes with a handy tray to hold the solution. You simply dip the foam applicator into the solution and spread it onto your tile until your tile is fully saturated. Allow it to sit for 3-5 minutes, then wipe up the excess with an old t-shirt or a lint-free cloth!
Again, with most tiling jobs you’ll probably only need to seal after grout in order to protect the grout and tile from stains. But, do your research! I was really glad I discovered that my tile would need extra sealing before I installed it!


That’s alot of sealing for basalt tile! 3 times? Was it worth the effort? You like the aesthetic more than normal tile?