DIY Laundry Room Tile {Using Levolution Spacers}
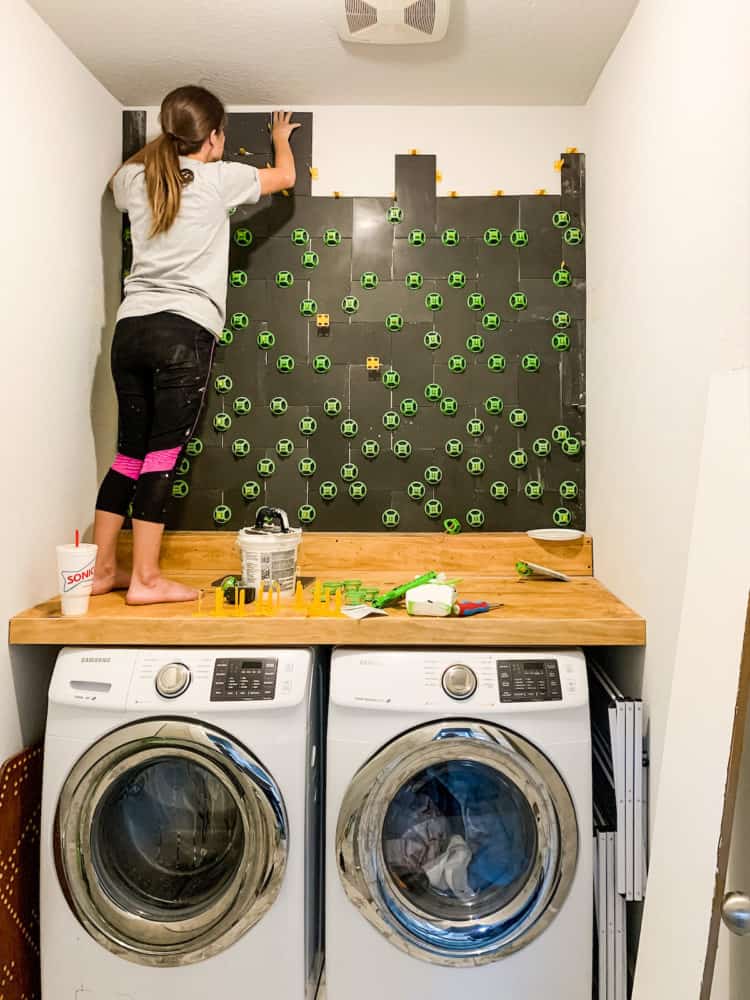
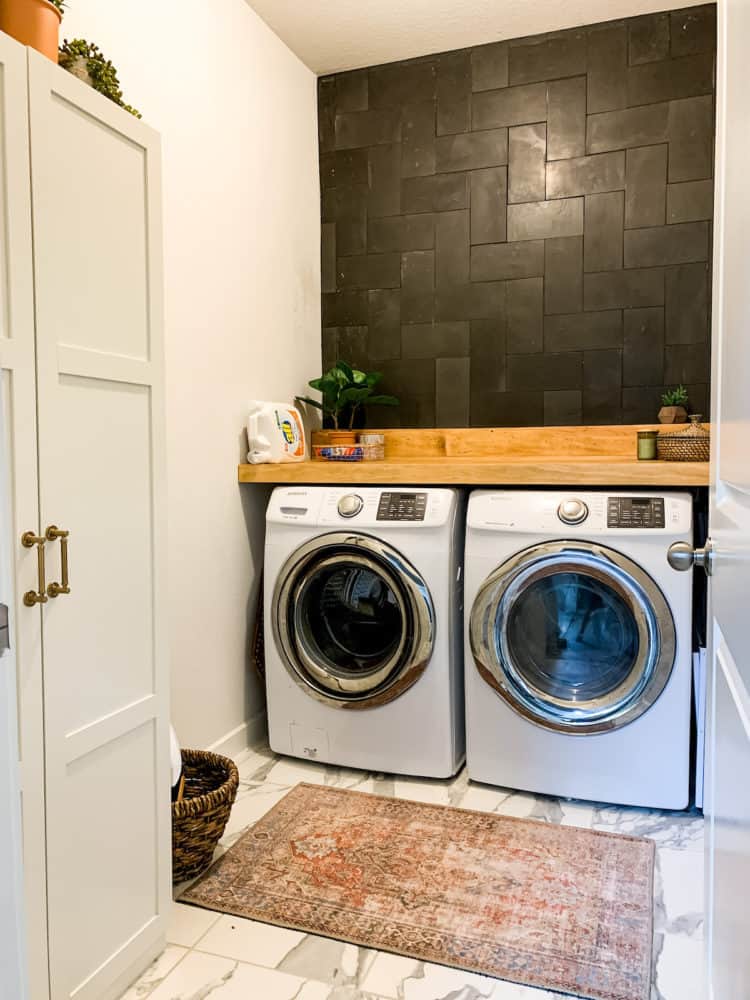
Our laundry room tile is finished! Today I’m sharing how I got it done using Levolution’s simple-to-use tile spacing and leveling system – you’ll never want to use another tile spacer again!
This post is sponsored by Rust-Oleum.
If you’ve been following along on our laundry room journey you’ll know that we decided that since we’re stuck at home ALL THE DANG TIME these days, we might as well take the time to give our laundry room a little makeover.
Because when your family is home all the time, it somehow doesn’t mean there’s less laundry. We actually have more. How does that happen?! Why aren’t we all just wearing pajamas all day?!
We started off by chatting plans, and then Corey and I installed a DIY wooden countertop above our washer and dryer.
The next step was the part I was looking forward to the most – tile!
When my friends at Rust-Oleum heard that we’d be working on a tiling project, they asked if we’d be interested in using their Levolution tile spacing and leveling system. I always struggle to get my tile perfectly level when I’m working on a tiling project so I jumped at the chance to give it a shot.
There was quite a bit that went into this tiling job, and so I thought it might be helpful to break everything down, deep-dive style.
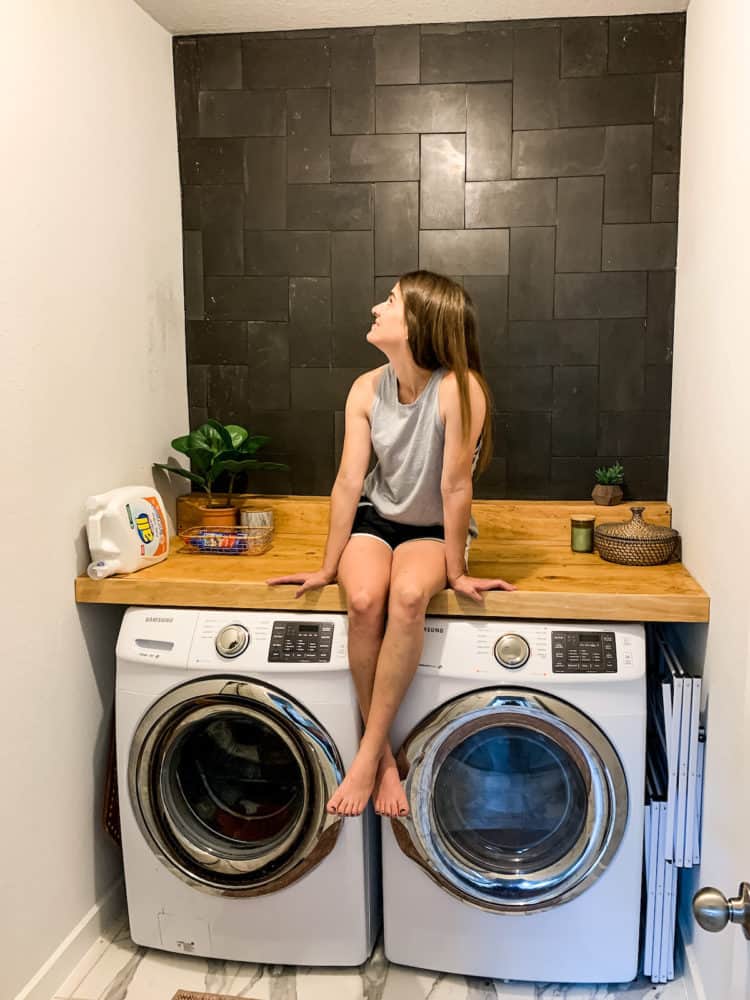
Today we’re going to talk about the spacers and leveling system, and I’ll give you a look at the completed space (because I’m not mean enough to make you wait!). Later this week, I’ll be back with a post all about sealing the tile which is a vital step – especially if you’re dealing with real stone, like I was!
Before we dive in, if you’ve never tiled before and aren’t even sure where to start, allow me to point you to this post all about how to tile a wall. It should answer any initial tiling questions that you have!
Alright – now that you’ve got all of the basic tiling info, we’re ready to chat about the spacers!
how to use levolution Universal spacers
Products I used:
Step one: Install the spacers
Levolution spacers come in 1/8″, 1/16″, and 3/16″ spacers. They’re universal spacers which means that they can be used for tons of different tiling patterns:
- You can leave them as-is for a cross profile (perfect for grid patterns)
- You can break off one side to make a tee profile (which is great for a brick pattern)
- Or, you can break off both sides for a flat profile, which is great for flat edges along the walls and ceilings.
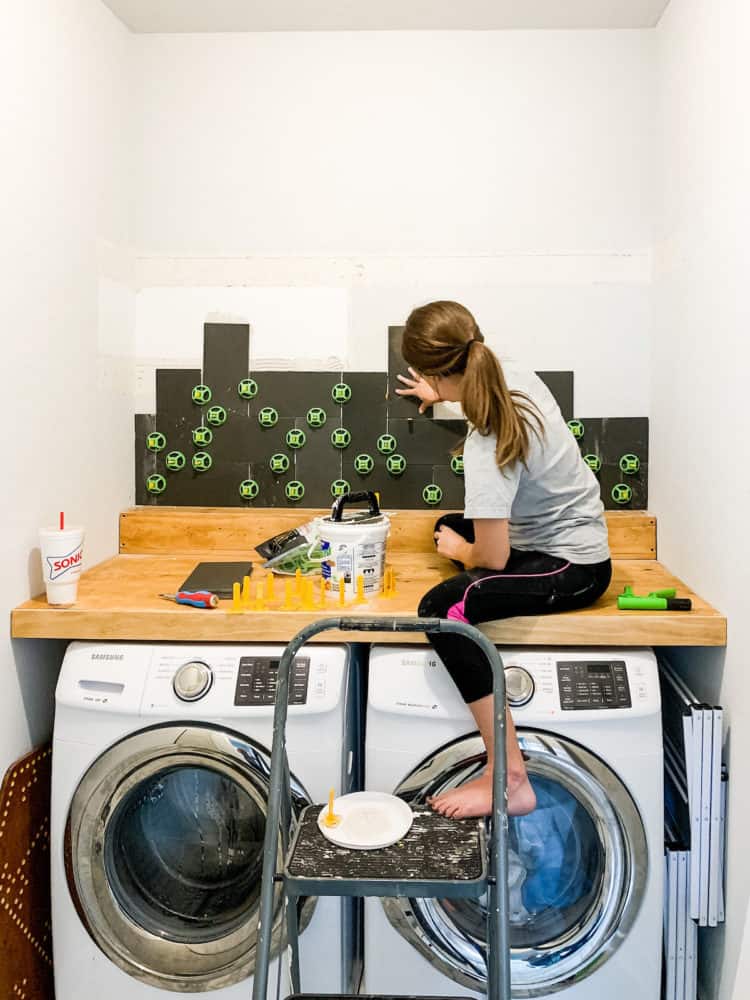
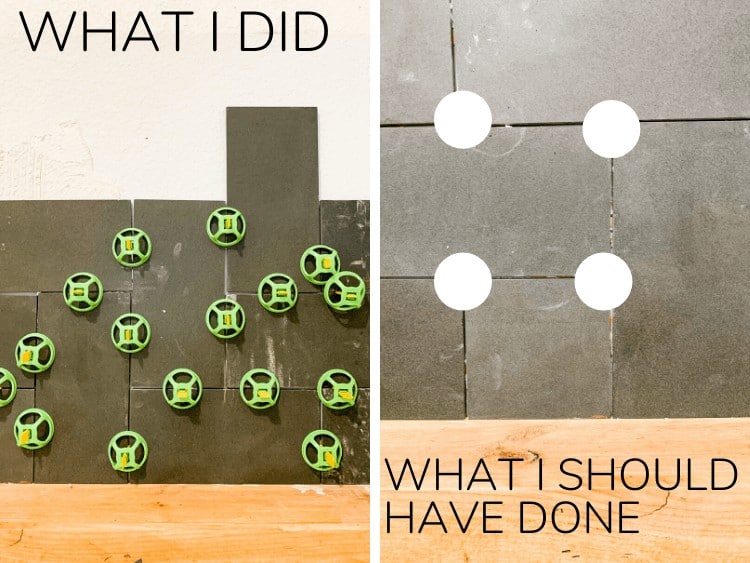
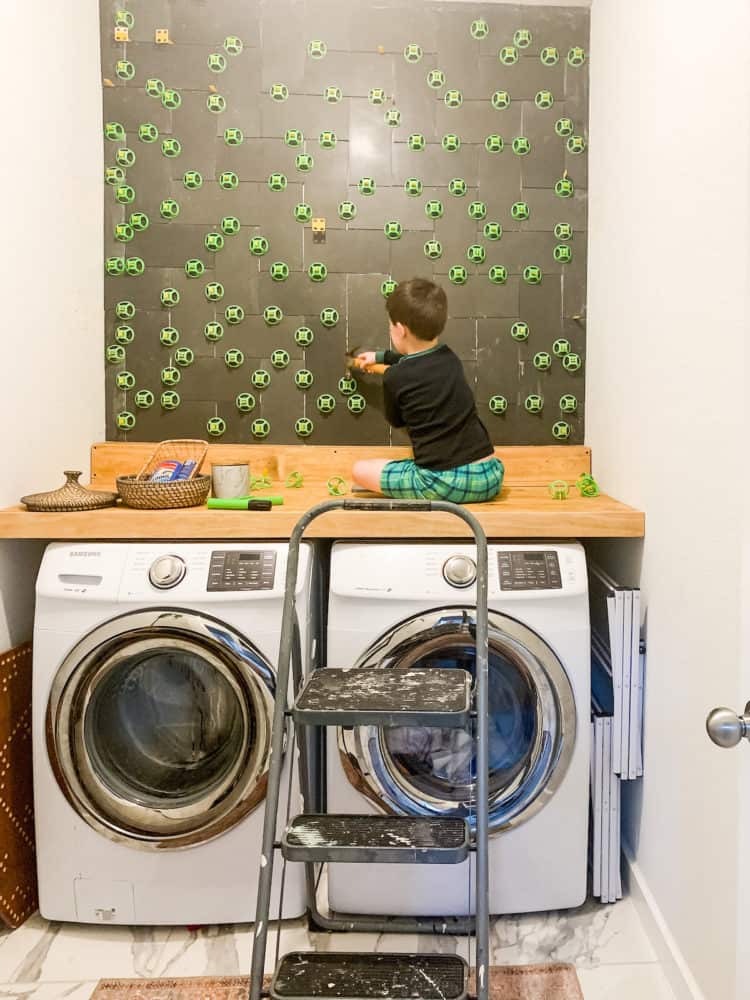
You might notice in my photos that I actually made a mistake when using these – you’re supposed to install them at all of the grout joints where the corners of the tile meet. I missed that step and instead just installed mine on the sides of the tile – whoops! Do as I say, not as I do my friends. I made this mistake because so many other spacers that I’ve used in the past require spacers every few inches – so that was ingrained into my method! One of the best parts about Levolution’s system is that you only need to put spacers at the joints!
If I would have done this properly, I would have needed far fewer spacers and it would have made the job a little easier (maybe let’s just pretend like I did it on purpose so I could make all of the mistakes for you so it’s even easier when you try it).
I have a little graphic below that will hopefully help demonstrate the mistake I made – so you don’t have to make it too!
You simply slide the spacer into place at the intersection of each tile – the base on the bottom has holes in it so it doesn’t block the tile adhesive from still touching the tiles (and helps keep your installation super strong!).
step two: level the tiles using the caps
Once you’ve got a spacer in place, you can grab a Leveling Cap and slide it on top of the spacer. These are universal and will work no matter which spacing profile you’re using! Simply slide it into place, then use the Evolver Tool to tighten it – this helps bring all of your tiles perfectly level with one another and is quite literally foolproof!
This is one small extra step that takes you maybe 5-10 seconds per tile to do but saves you hours of work in the long run. When I installed tile in our hall bathroom in the last house I use a little level on each individual tile to help keep things flush and I still had challenging areas!
If I had this system when I was working, it would have made life so much easier – it would have easily cut several hours off of my work time, and would have saved a few headaches too!
This little guy helps you achieve zero lippage on your tiles, and your toes will thank you if you’re installing it on the floor.
As you’re working, it’s also a good idea to remove any tile adhesive that squeezes through the gaps – that’s one of the reasons the caps have holes in them – so you can easily see it! Each bag comes with a little tool that makes it easier to pull any stray thinset out.
step three: break ’em off!
When I shared this on Instagram, the number one question was how in the world do you remove them?!
That’s the fun part – they break right off!
If you’re tiling on the floor, you can simply kick the caps once your tile adhesive has dried and they will pop right off, leaving the base of the spacer below the tile.
If you’re tiling on the wall, you can use the Evolver Tool to remove them (simply adjust it to the max tension and use it on the caps again, and they should pop off) or you can do what I did and hand your kid a hammer and let him go to town.
I’m kidding – mostly. I did let Jackson pop off some of the caps using a hammer but we were very careful! Don’t just go whacking around your tiles with a hammer – you might break them.
Also, the caps are easily re-used for future projects. You can remove them after breaking them off, and next time all you’ll need to purchase is new spacers!
step four: finish your tiling project!
That’s all there is to the system! This spacing system is so easy to use and it makes your life so much simpler when you’re working on tiling projects. I would never attempt another tile floor without using this system – it’s a game-changer for sure! This would be the perfect system to use for first-time tilers because you don’t need any experience or fancy tiling knowledge – it’s intended for people just like us who aren’t pros!
Later this week, I’ll be back with details about how I cleaned and sealed this tile (before AND after grouting!) and hopefully this set of posts will be the perfect handy little guide to all things tiling!
You can click here to learn more about the Levolution tile spacing and leveling system!


Levolution spacers were a revelation for me on my most recent tile job. I like them because they make it easy to achieve perfectly even grout lines. The stress of tiling is drastically reduced!
Hi. Where did you get the wood counter for your laundry room? Thx.
I made it!