
All the Details on Our Boys’ New Playhouse
Last updated on March 4th, 2023 at 11:18 am
We got our boys a big wooden clubhouse for the backyard, and today I’m sharing all of the details on how I sealed + painted it to keep it looking great for the long haul!
This post is sponsored by Wagner.
This post has been a long time coming, y’all!
If you follow along on Instagram stories, you’ll know that a while back we ordered a cute wooden clubhouse for our boys so that they’d actually have something to do in our backyard (and to hopefully encourage them to be out there a little more!).
It took some time to be able to get it all painted and sealed (thanks, quarantine and super-deleyed-shipping on everything!), but it’s finally all done so today I wanted to share all of the details on how we’re enjoying it, what I did to seal it, and how we added that little slide to the front!
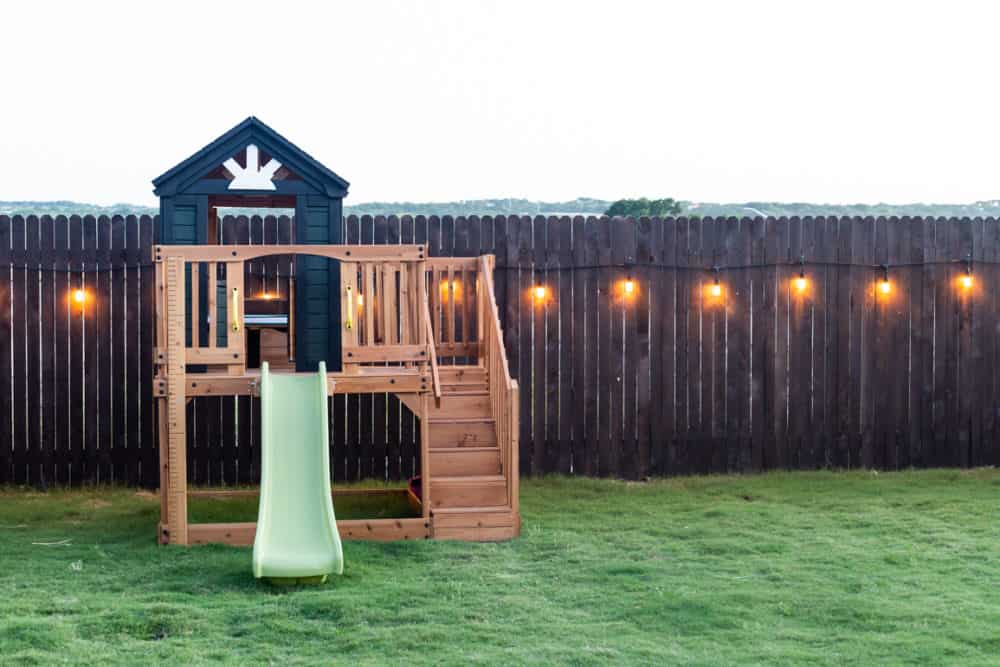
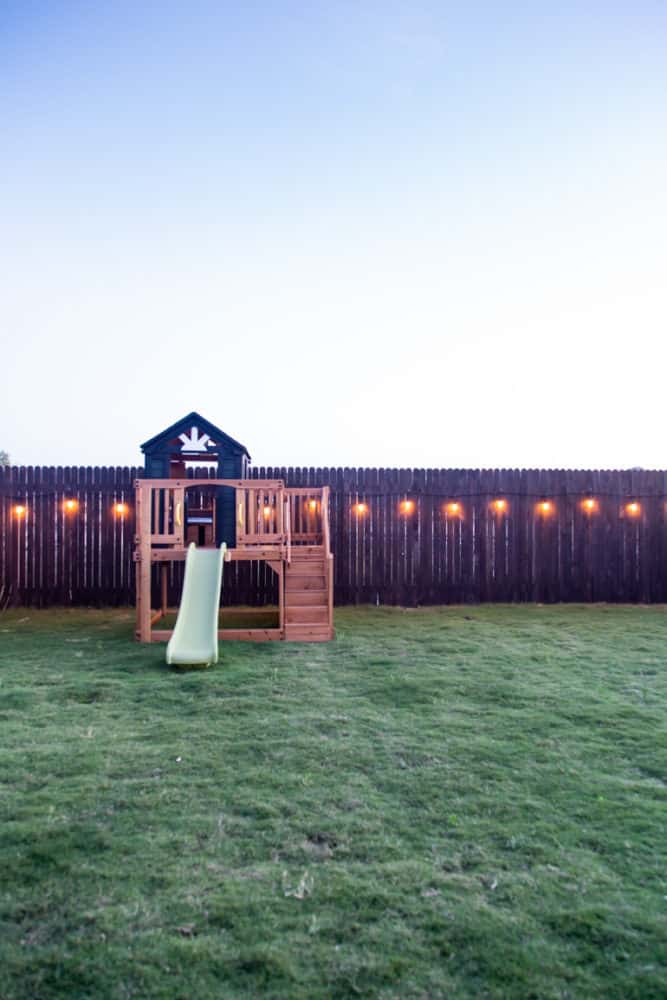
First of all, we went with this clubhouse – it’s the Backyard Discovery Scenic Heights Cedar Playhouse. It was perfect for us because it was small enough that it wouldn’t take up our entire yard but has enough features that they won’t be bored. It’s tall enough on the inside for Jackson to comfortably stand up (he’s 6 and tall for his age), but Grant can also access everything in it. Basically, it was the perfect small-but-not-too-small clubhouse for our little backyard!
We knew right away that we wanted to modify it so that the ladder on the front could be a slide. Grant loves slides and we figured it’d appeal to Jackson a little more with that feature too. Thankfully, it was a really easy swap! We grabbed the Step2 Big Folding Slide after reading a review where someone else said it was the perfect height to line up with the deck of the clubhouse. It’s hard to find a slide in this exact height, so be sure to double check if you decide to order anything different!

To attach the slide, here are the steps we followed:
- Corey used an angle grinder to remove one of the end caps from the metal rod holding the slide together. He pulled the rod out and took the steps off of the slide and sanded down the rough ends.
- We set it in place and measured the distance from the holes in the slide to the frame of the deck.
- Then, he grabbed some spare 2×4 lumber and cut it so that it would reach from the deck to the holes on the slide (plus a little extra).
- Before attaching the 2x4s to the clubhouse, he drilled holes in them large enough to fit the metal rod from the slide (it should be snug).
- We attached the 2x4s to the decking from behind using lag screws.
- Then, we slid the metal rod through the 2x4s and the slide to essentially re-create the same setup it had before. We secured the end that we cut off using a bolt and nut (pictured above).
If you have paint on hand and are able to paint and seal your clubhouse before putting the slide on, that will make your life a little easier. We had to disassemble things a bit because we had to wait a couple of weeks between assembling the playhouse and receiving our paint (again, thanks Corona!).
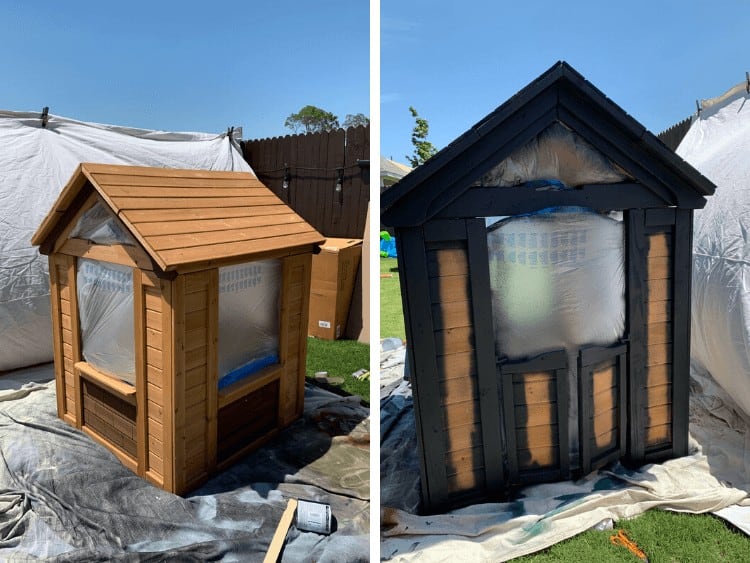
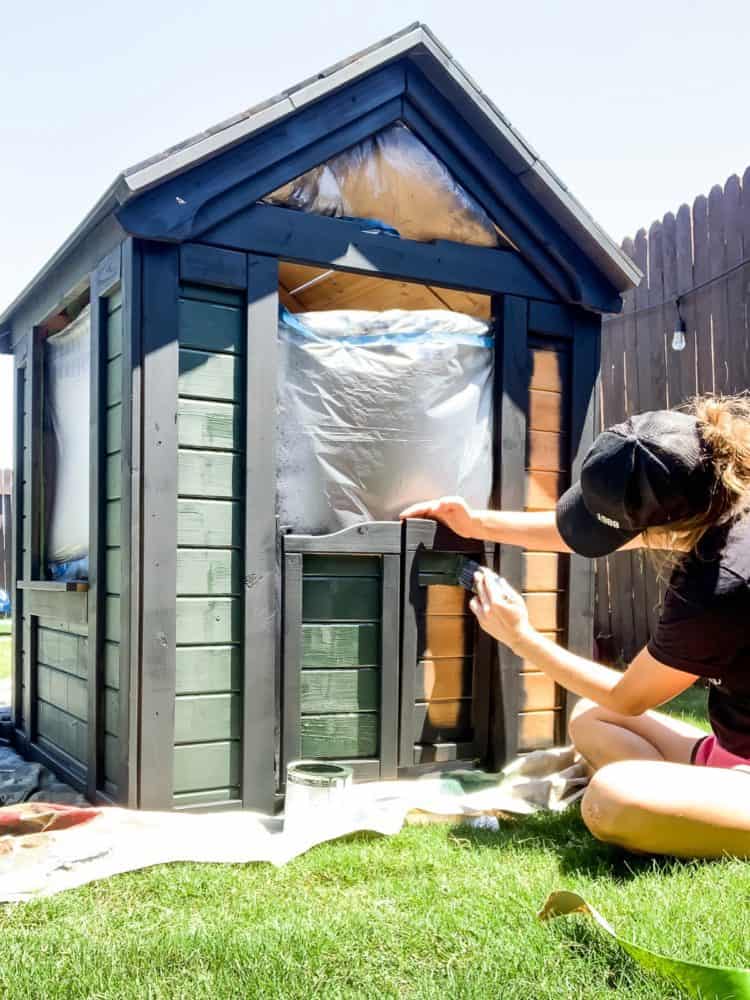
When we finally got our paint, I was so excited to dive right in. We ended up using Jasper by Sherwin Williams for the siding of the playhouse and Tricorn Black for the trim and the roof.
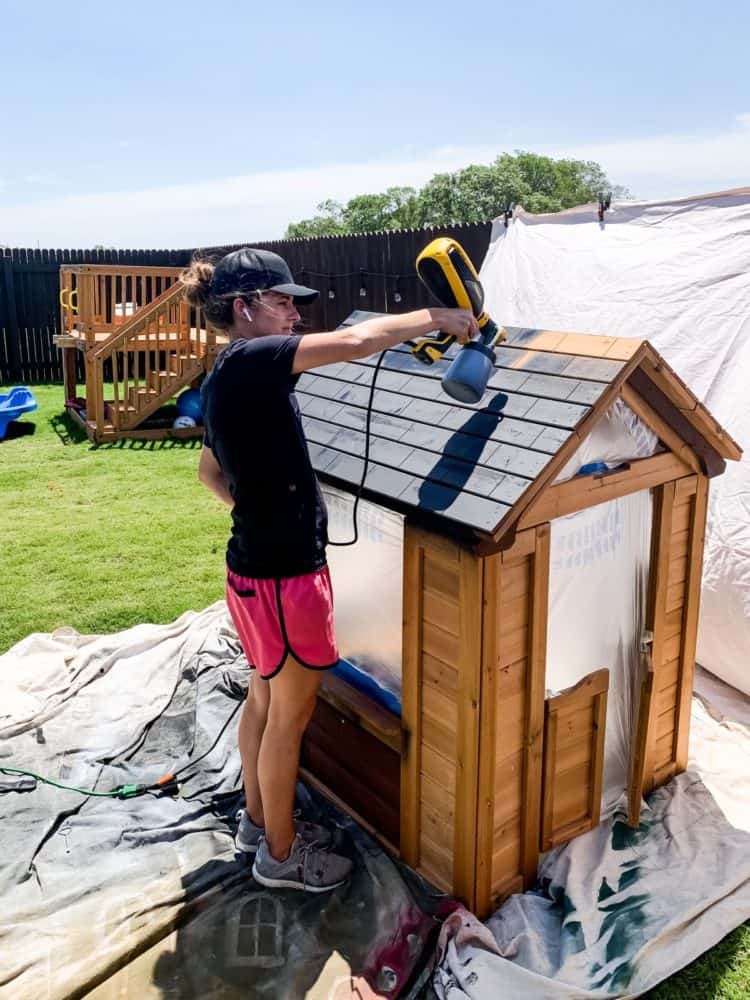
As with most projects like this, I used my paint sprayer to get it done quickly. I love using the Wagner FLEXiO 3000 for projects like this because it’s lightweight and easy to use, but powerful enough to handle knocking it out really quickly!
I wrote an entire post on how to use a paint sprayer (including how to clean it!), so if you haven’t ever used one, that should help you a lot.
Paint sprayers require a bit of extra prep work, so I draped some dropcloths over our fence to protect it, and I also taped off the windows and doors of the playhouse using my favorite painter’s tape that also has a plastic dropcloth attached (which, incidentally, I was introduced to on a trip to visit Wagner’s headquarters a few years back!).
I chose to use my sprayer for the roof of the playhouse and for all of the trim – then, once it was done I used a paintbrush to get the siding. I could have easily used my sprayer for that part too, but it would have required a lot of taping and it was such a small space that it honestly was faster to just do it by hand.
But you know what wasn’t faster by hand? Sealing the deck! We debating painting the deck of the playhouse, but in the end we decided that just sealing it was a classic look that would probably also stay cleaner-looking in the long run. I used some Spar Urethane and my FLEXiO 3000 and it was very quick to knock out sealing the entire deck. I even timed myself and it took less than 20 minutes to do the first coat (which included setting up the paint sprayer). The second and third coat probably took closer to 10 minutes!
Obviously, sealing all of those nooks and crannies by hand would have taken hours so I was very grateful to have my sprayer on hand!
We let everything dry overnight, then we put it all back together. It turned out so cute and the boys really love that it feels like their own little house.
We’ve only had this playhouse for about a month, but so far I can highly recommend it. It’s packed full of features for how small it is – there are some wooden baskets that hold toys, a little kitchenette, adorable swinging doors, and a little bench they can sit on. I’ve seen some people turn the area underneath the playhouse into a little sandbox or rock box too – we don’t have plans to do that right now, but the boys love bringing toys underneath it and treating it as basically a second story, so it’s working out well!
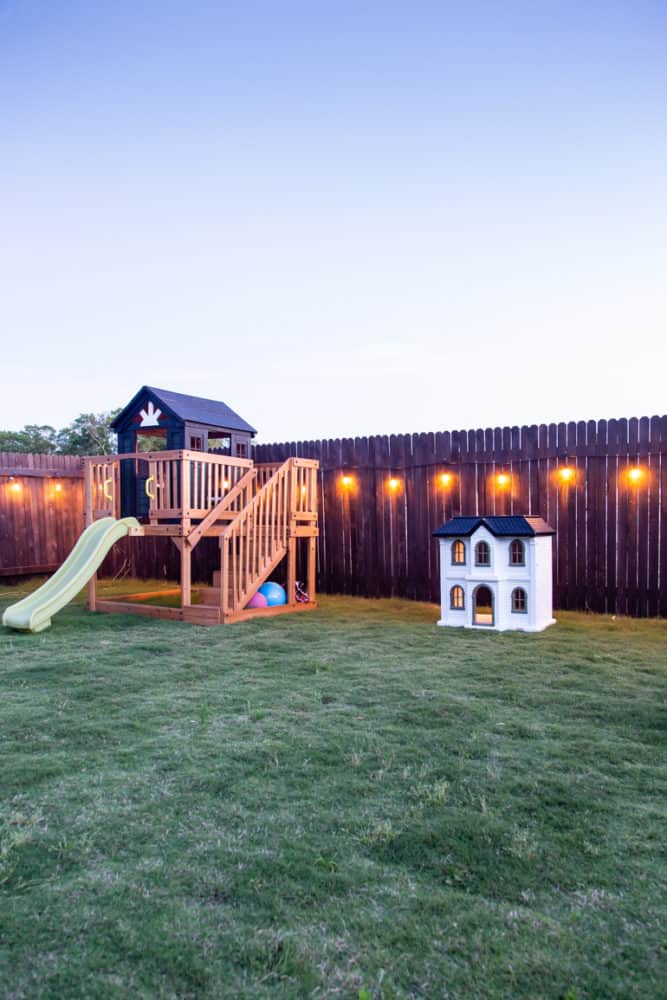
I honestly never anticipated we’d be buying something like this when we moved to this house, but I’m so beyond glad that we did. It’s been such a great way to keep the kids occupied – and their favorite activity is tossing the baby pool at the bottom of the slide so they can slide right into it…so I imagine it’ll get used even more this summer as the weather heats up!
There maaaay even be some plans for some shade in the corner soon, too…more on that soon!
If you want to learn more about Wagner’s awesome selection of sprayers, just click right here to check out their website, or click around at the links below for more ways we’ve used our sprayer for projects around the house!
I loved it! Very complete and easy to understand. Thank you for sharing that.