DIY Elevated Garden Bed
Learn how to build an easy (yes, easy!) DIY elevated garden bed. It’s a perfect, mobile solution for a small backyard. This post is sponsored by Wagner.
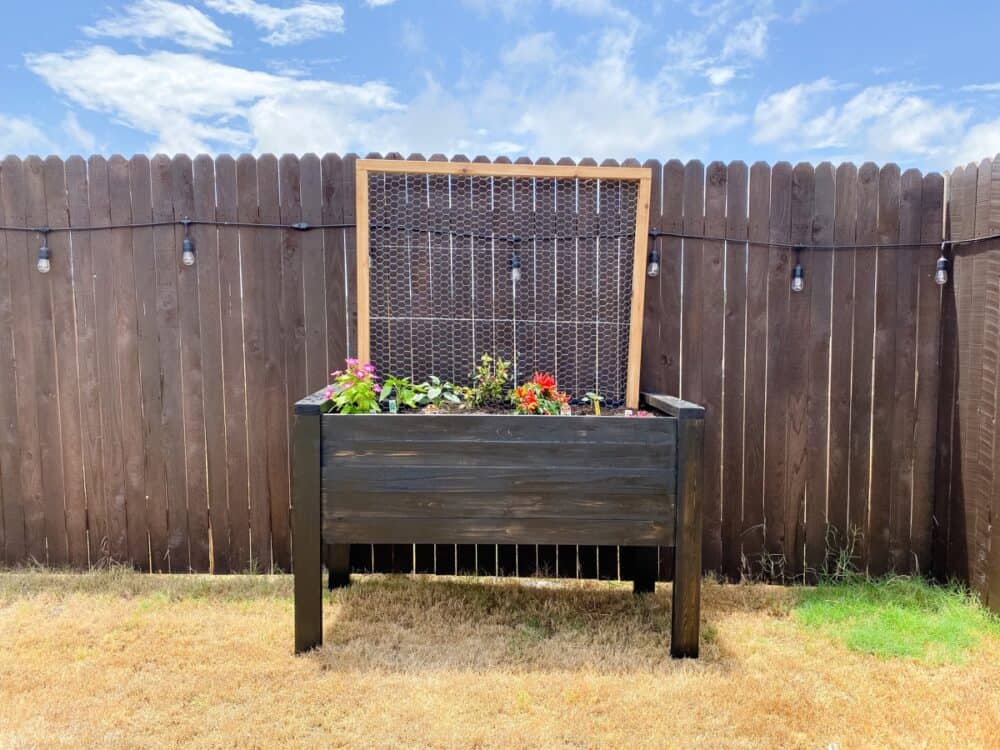
As we get closer to the start of the school year and things look more and more like Jackson won’t be attending in-person school for a long time, I’ve been spending a lot of time thinking about how I can add to and enrich the virtual curriculum at home to make things feel a little more fun and exciting.
I’ve been really into plants and gardening lately (as evidenced by the plant explosion on my patio, my plant wall, and the house full of plants I’ve gathered over the last few months), and Jackson has shown a lot of interest in helping out. So, I decided to build him a small elevated garden bed of his very own – it’s a great way to teach him some responsibility, help him learn more about gardening, and give him some ownership of something at our home.
He’s thrilled with how it turned out and so excited to take care of it – and Corey has already hinted that he might like me to build another one so we can grow even more, so I think it’s a hit!
Today I’m sharing all of the details on how I built the elevated cedar planter, what we put in it, and how I plan to have Jackson help me take care of it.
DIY elevated garden bed
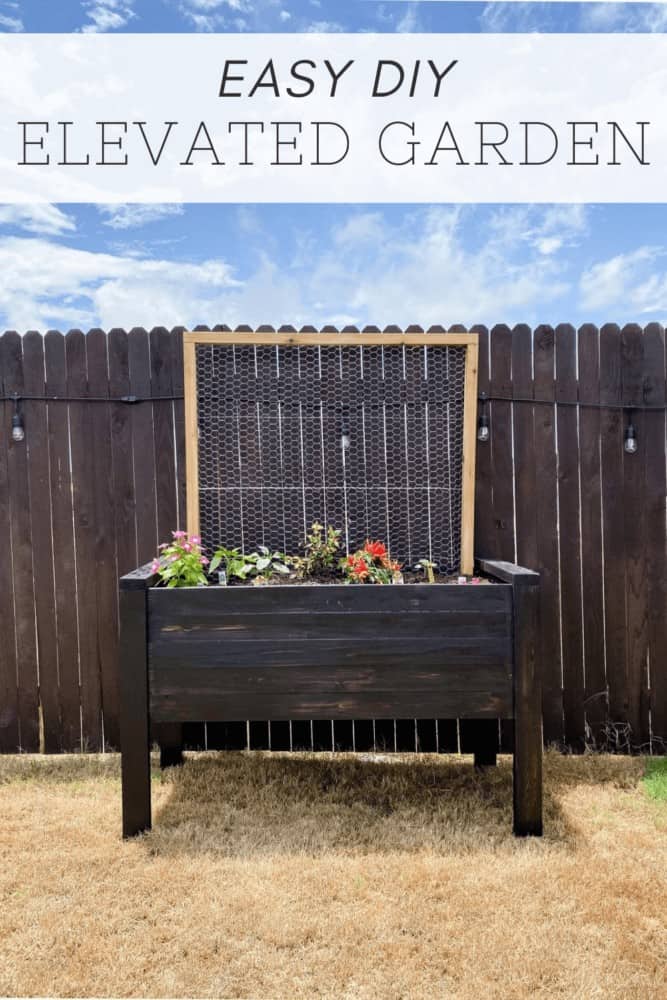
Materials Needed {for a 4′ by 2′ garden bed}:
- (10) 8′ cedar 1×4 boards
- (4) 8′ cedar 2×4 boards
- 1 roll of 2′ wide chicken wire
- 1 roll of landscaping fabric
- Kreg Jig + pocket hole screws
- Staple gun
DIY Elevated Garden Bed
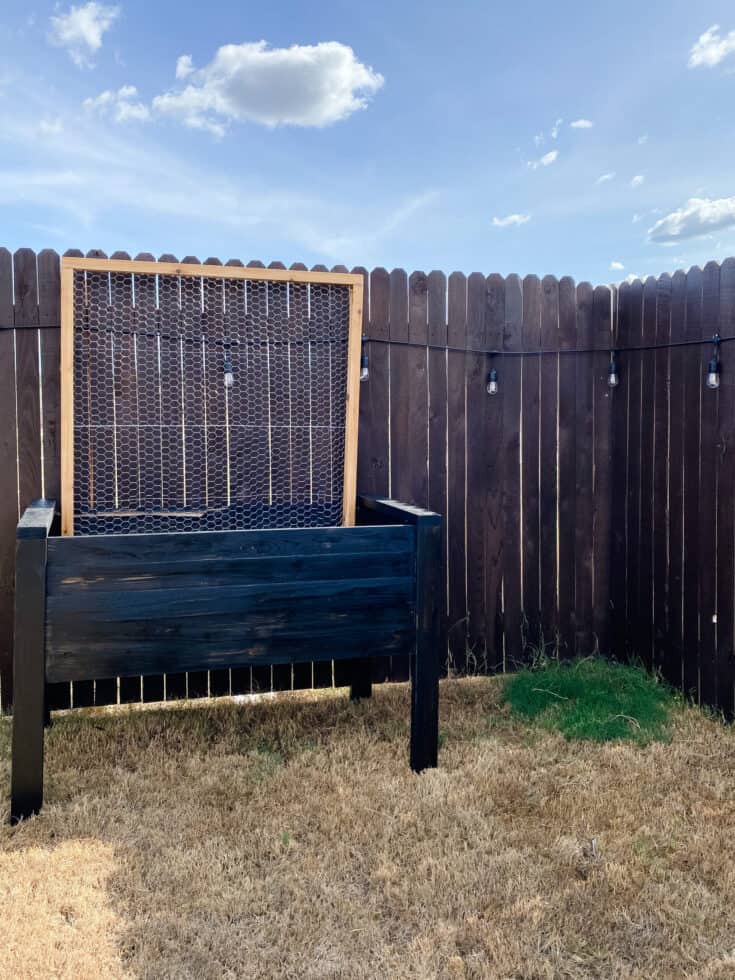
A simple, beautiful DIY elevated cedar planter. The perfect mobile solution for a small space!
Instructions
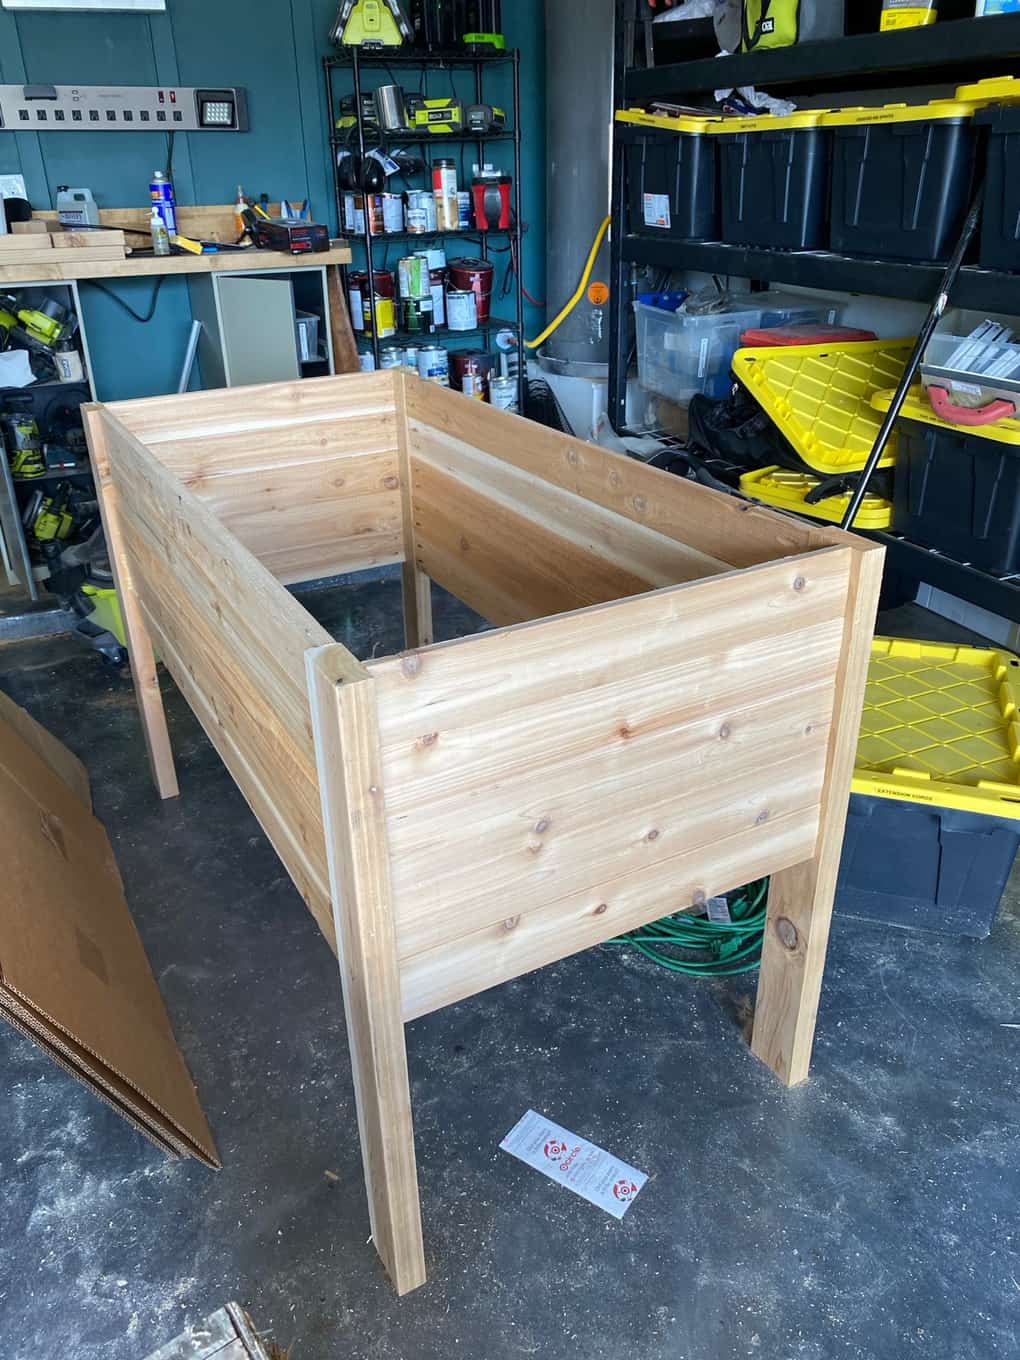
- Cut side planks: Start by cutting the side planks for your planter from the cedar 1x4s. You'll need 10 pieces cut to 4' and 10 pieces cut to 2'.
- Cut legs: Cut four 30" legs from the cedar 2x4s.
- Assemble short sides: Drill two pocket holes into each side of your 2' planks. Use wood glue and pocket hole screws to attach five planks to one of the legs, then attach the other leg. Repeat for the other short side.
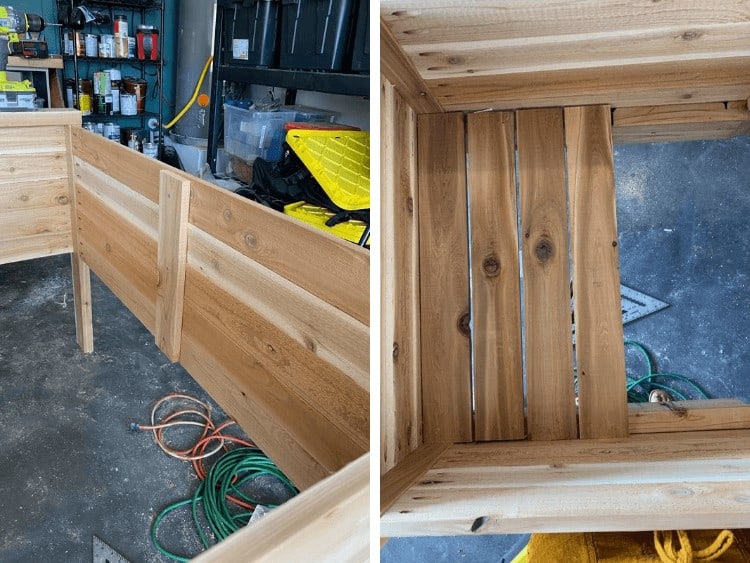
- Attach long planks: Once your short sides are built, you can grab the long planks and use the same process to attach them to the sides to create the box for your planter. Drill two pocket holes in either side, then attach them to the short sides to create a box. Be sure to use a speed square to make sure that the box is square and straight.
- Attach support pieces: Cut one piece of scrap 1x4 material for each side of the box and use wood glue and regular exterior screws to attach it to the inside of the box to act as additional support for the planks. This will help prevent bowing.
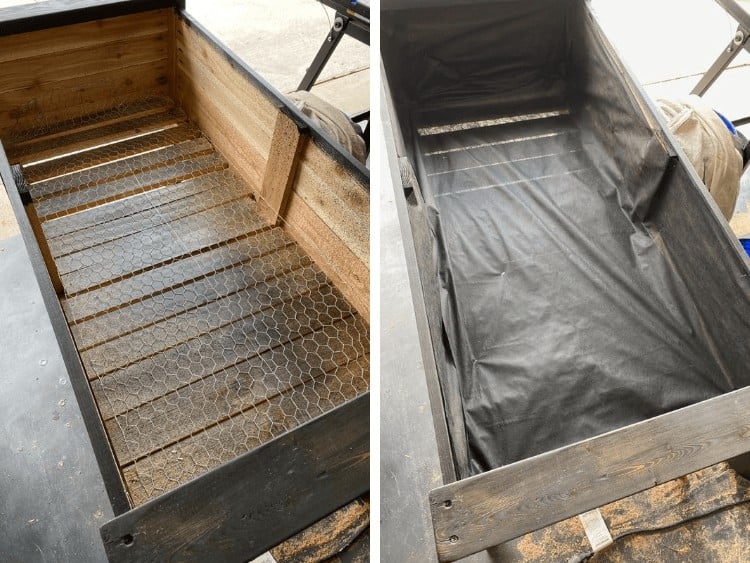
- Install bottom of planter: Using 2x4 material, cut and install support pieces at the bottom of the planter box for the planking that will go across the bottom. Use wood glue and screws (be sure to pre-drill your holes) to attach them where you want the bottom of the planter to be. Note: You don't need to install the bottom of the planter at the bottom of your side planks- mine sits about 1/3 of the way from the bottom to make the planter box a bit shallower. Once the side pieces are installed, cut 1x4 material for the bottom planks and attach them to these side pieces all the way across the planter. I used a nail gun, but screws would work as well. I spaced mine a little closer than they needed to be, and ended up removing a few planks.
- Attach top trim: The final touch for the base of the planter is to cut and install 2x4 pieces to go across the top of the two short sides. Pre-drill two holes on each side of the 2x4 and apply wood glue before drilling it into place.
- Stain or paint planter. See below on the details for how I stained and sealed mine!
- Line the planter box: Cut chicken wire to fit inside the length of the planter and use stapes to attach it to the bottom. This will help distribute the weight of the soil more evenly and provide extra stability to your planter box. After installing the chicken wire, use the staple gun to attach a layer of landscape fabric on the entire inside of the planter.
- Build trellis: I built the trellis by ripping a 2x4 cedar board in half and cutting two pieces to 3' tall and one piece to 4' tall. I used pocket holes to create a U-shape with the boards, then attached chicken wire to the back for the trellis!
- Get to planting! My planter box used 7 bags of soil.
When you’re building an outdoor planter, you can (obviously) choose to finish it however you’d like – but, I tend to prefer stain over painting for these types of projects that will be fully exposed to the elements.
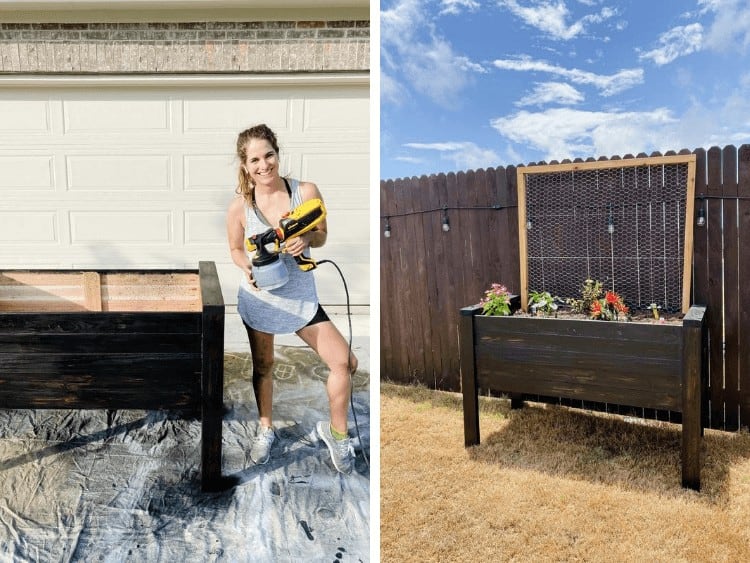
One of my favorite (but honestly, often forgotten) ways to stain a big project like this is with my paint sprayer! You’ve heard me wax poetic about my love for my sprayer many times over the years, but we don’t often talk about staining with it. It’s so much faster than staining by hand, and it gives you such beautiful and even coverage. I don’t know why I don’t bust out my sprayer for every staining project I have!
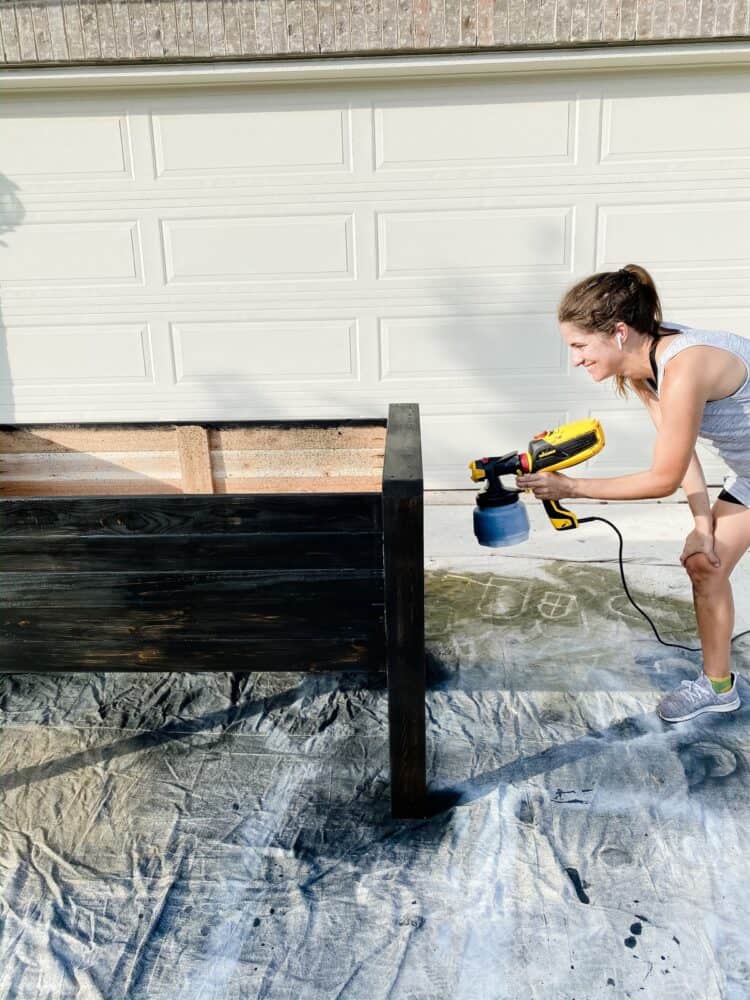
For this project, I used my Wagner FLEXiO 3000 – it’s my go-to sprayer for every project. It’s so versatile, trustworthy, and easy to use. If you do a lot of staining, Wagner also has a ControlPro Stainer (it’s what I used to stain my fence) that is meant specifically for use with stain!
There’s nothing special you need to do to stain a project with your Wagner paint sprayer. No thinning, no extra prep – just pour the stain in and you’re good to go just like with every other project (if you don’t know how to use a paint sprayer, click here and I’ll teach you!).
The only important or unique thing to know about staining with a sprayer is that cleanup isn’t done with just soap and water like it is with latex paint – any time you’re staining or using an oil-based paint, you need to clean up with mineral spirits afterwards. It’s still simple and quick, just a little bit smellier!
If you want to learn more about staining with a paint sprayer, you can check out these posts where I’ve done it in the past:
- I used my sprayer to apply the sealant on this DIY bar cart
- I spray-stained the floating shelves in our last living room
- When I built my plant wall at our second house, my sprayer was a total life-saver
- I sealed the boys’ play house with my paint sprayer (after using the sprayer to paint it!)
- And I used it to stain my entire back fence (and, if you follow my on Instagram stories you’ll know that my friend just did the same in her backyard and it looks SO GOOD).
And, if you haven’t ever tried a sprayer, I’d definitely recommend the FLEXiO 3000 as your first one. It’s so user-friendly and reliable, and even though I’ve tried tons of sprayers over the years it’s always the one I gravitate back to!
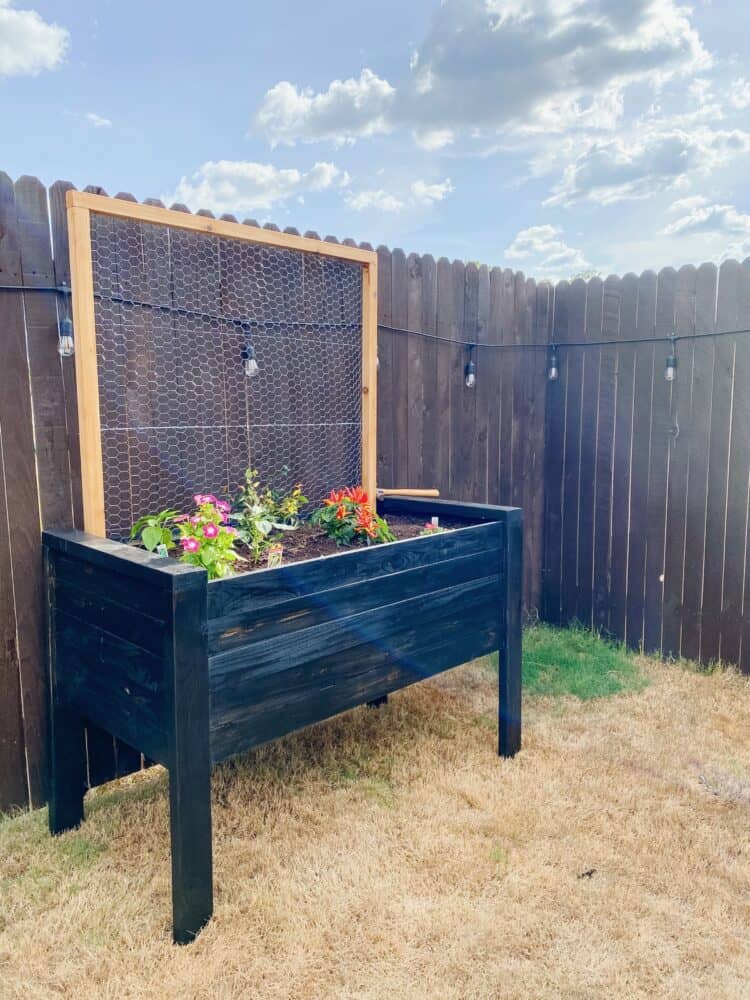
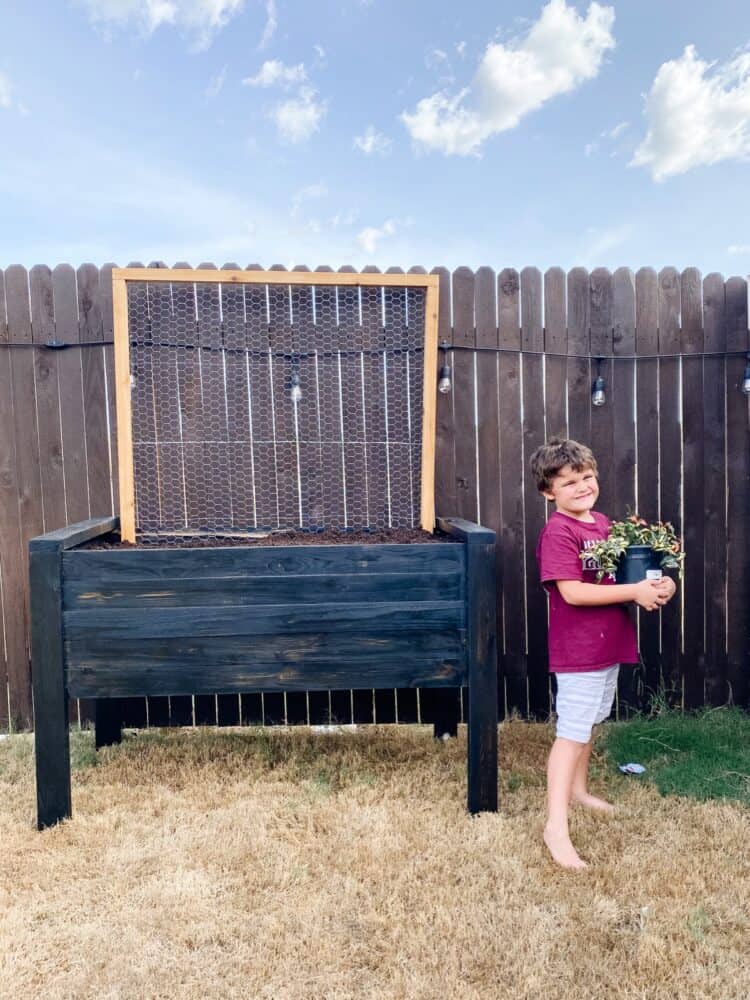
Now, for the details on what we planted!
I let Jackson take full control of picking our the plants for his garden bed (because I’m a big believer that if he’s gonna be excited and buy into it, he needs some ownership over it!), so we planted:
- Jasmine (on the trellis)
- Green Bell Peppers
- Okra
- Ornamental peppers (which we’ll likely never eat but they sure are pretty!)
- Sweet Banana Peppers
- And two types of flowers
It’s a fun mix of useful and just plain pretty plants, and he’s already named all of them (mostly after dragon species from Harry Potter – the Jasmine is named Hungarian Horntail) and is currently working on a plant notebook to help him know how to take care of them.
It’s been a great learning opportunity for him already, and I’m so excited to keep working on it with him and watch his gardening skills grow!


Very good workable plans, You have given me a lot of enthusiasm to build one at least.