Simple Over the Toilet Storage Shelves
If you’re looking for some inspiration for adding some storage to your bathroom or water closet, you’ve come to the right place! Today I’m sharing my simple over the toilet shelves and how I added them to our bathroom. Plus, I’ve got some great toilet shelf ideas for you if you’d rather not DIY!
Storage in the bathroom can be tricky. Your needs in there are so utilitarian, but you still want the bathroom to be pretty. How do you balance keeping everything you need in easy reach with making sure you actually like being in your bathroom?!
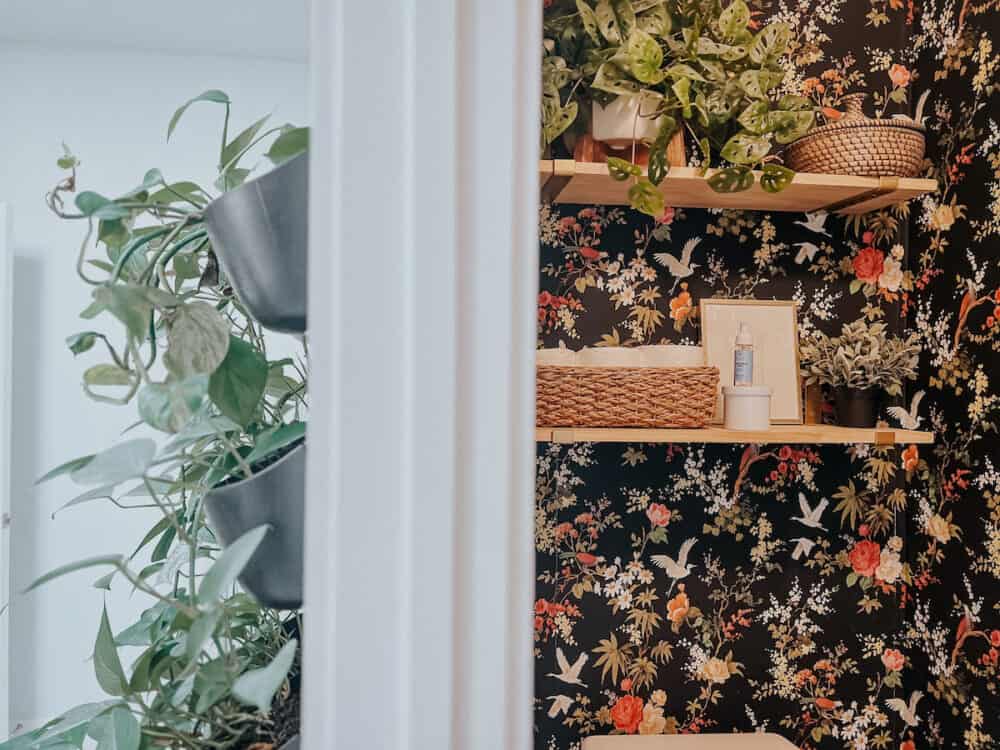
I love a good over the toilet shelf, and I’ve had a lot of practice making it work for us. Today, I’m sharing how we store all those not-so-cute things in our bathroom, and sharing some great toilet shelf ideas to get you inspired to make your own bathroom a tad more functional.
Adding DIY Over the Toilet Storage
Materials Needed
- 1×10 piece of wood (I used pine)
- Shelf brackets
- Stud finder
- Level
- Anchors (I recommend these)
- Drill
- Stain or paint
Step One: Decide How High to Hang Your Shelves
A good rule of thumb is to plan on having at least 24″ between the top of the toilet tank and the bottom of your shelf. This should give you plenty of room to not hit your head, but it won’t feel awkwardly high.
If you’re doing two shelves, I recommend about 18″ between the shelves – it helps fill the space up nicely and everything still looks connected!
Step Two: Install Shelf Brackets
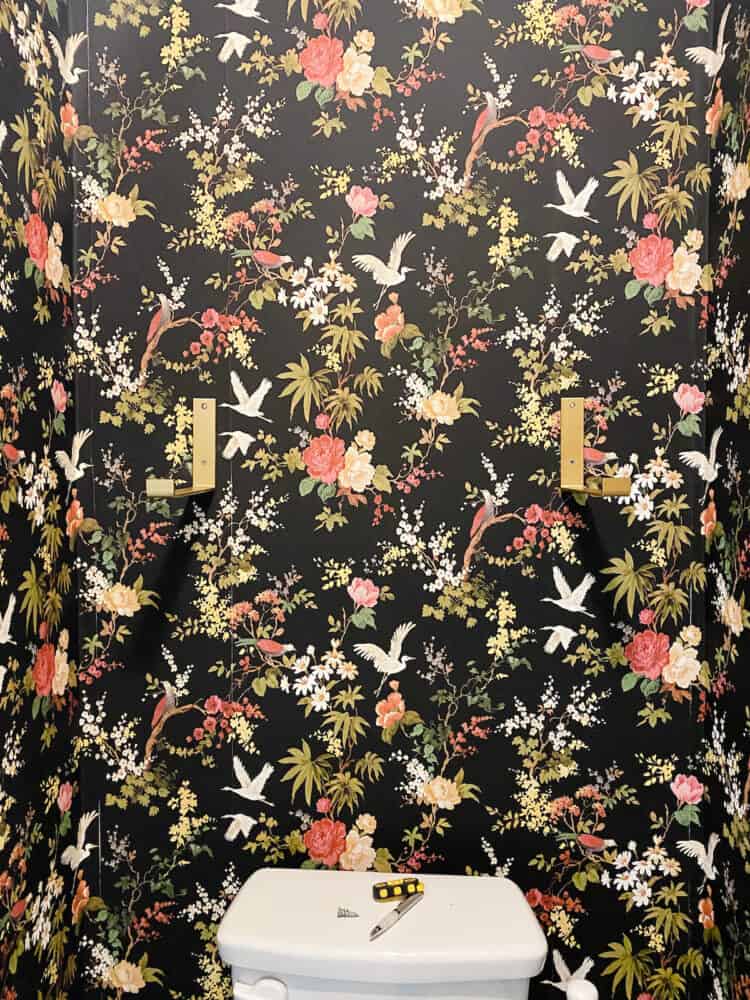
To determine where the brackets need to go, here are the steps you’ll follow:
- Measure the width of the toilet room (mine was 40.75″)
- Subtract the length of the shelves you want (I went with 32″)
- Take the remaining number and divide it by two
- The number you end up with is how far you want the shelf to sit from each wall.
- The bracket will sit in on the shelf a bit – I went with 4″. So, add the two numbers together to determine exactly where you need to hang the bracket – for me, 8 and 6/16 from the wall!
Hold the bracket on the wall exactly where you want it to be hung. Then use a pen to mark on the wall where you’ll need to drill your holes.
Use a stud finder (I like this one!) to see if you’ll hit a stud. If not, be sure to install some anchors before attaching the bracket to the wall. If you don’t know how to use anchors, I have a guide for you!
Repeat the same process for the other side – but I recommend grabbing a level to make sure the brackets are level with each other before you drill anything for the second one!
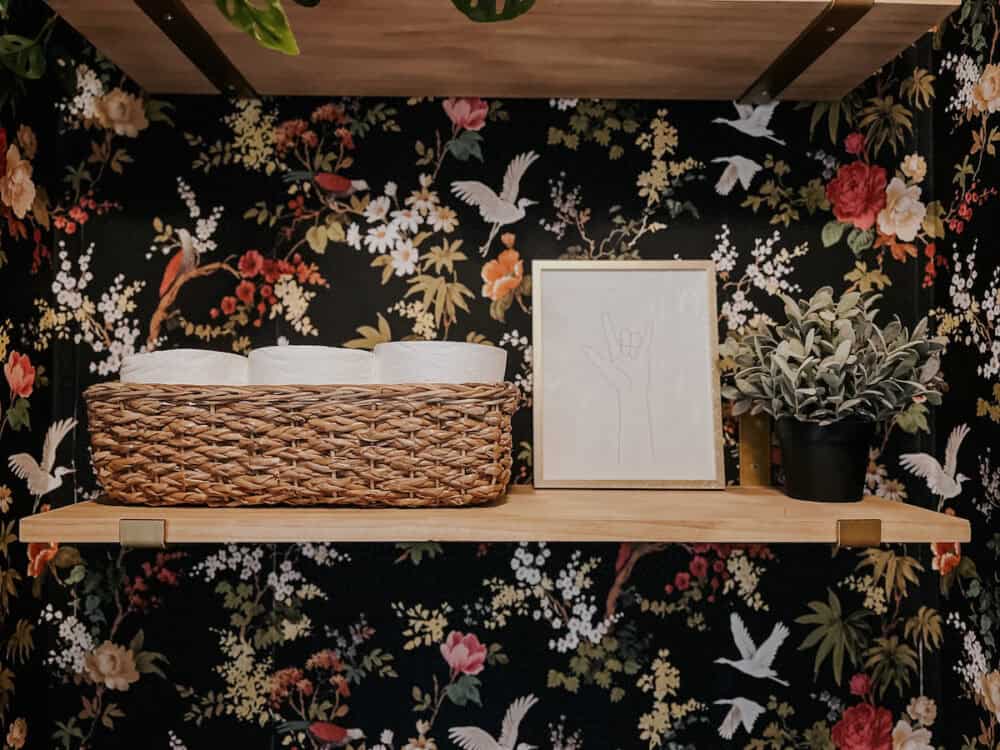
Step Three: Add a Shelf to the Bracket
Once your brackets are in place, literally all you have to do is plop the shelf on top and attach it with some small screws from underneath!
If you’ll be staining or painting your wood, I recommend sanding and finishing it prior to installing it.
Other Over the Toilet Shelf Ideas
Don’t want to hang your own toilet shelf? Or, prefer something with some closed storage? I’ve got you covered there too! This is a really simple project to DIY, but you definitely don’t have to do your own thing here. There are so many really great and simple options out there for over the toilet storage. Here are a few of my favorites.
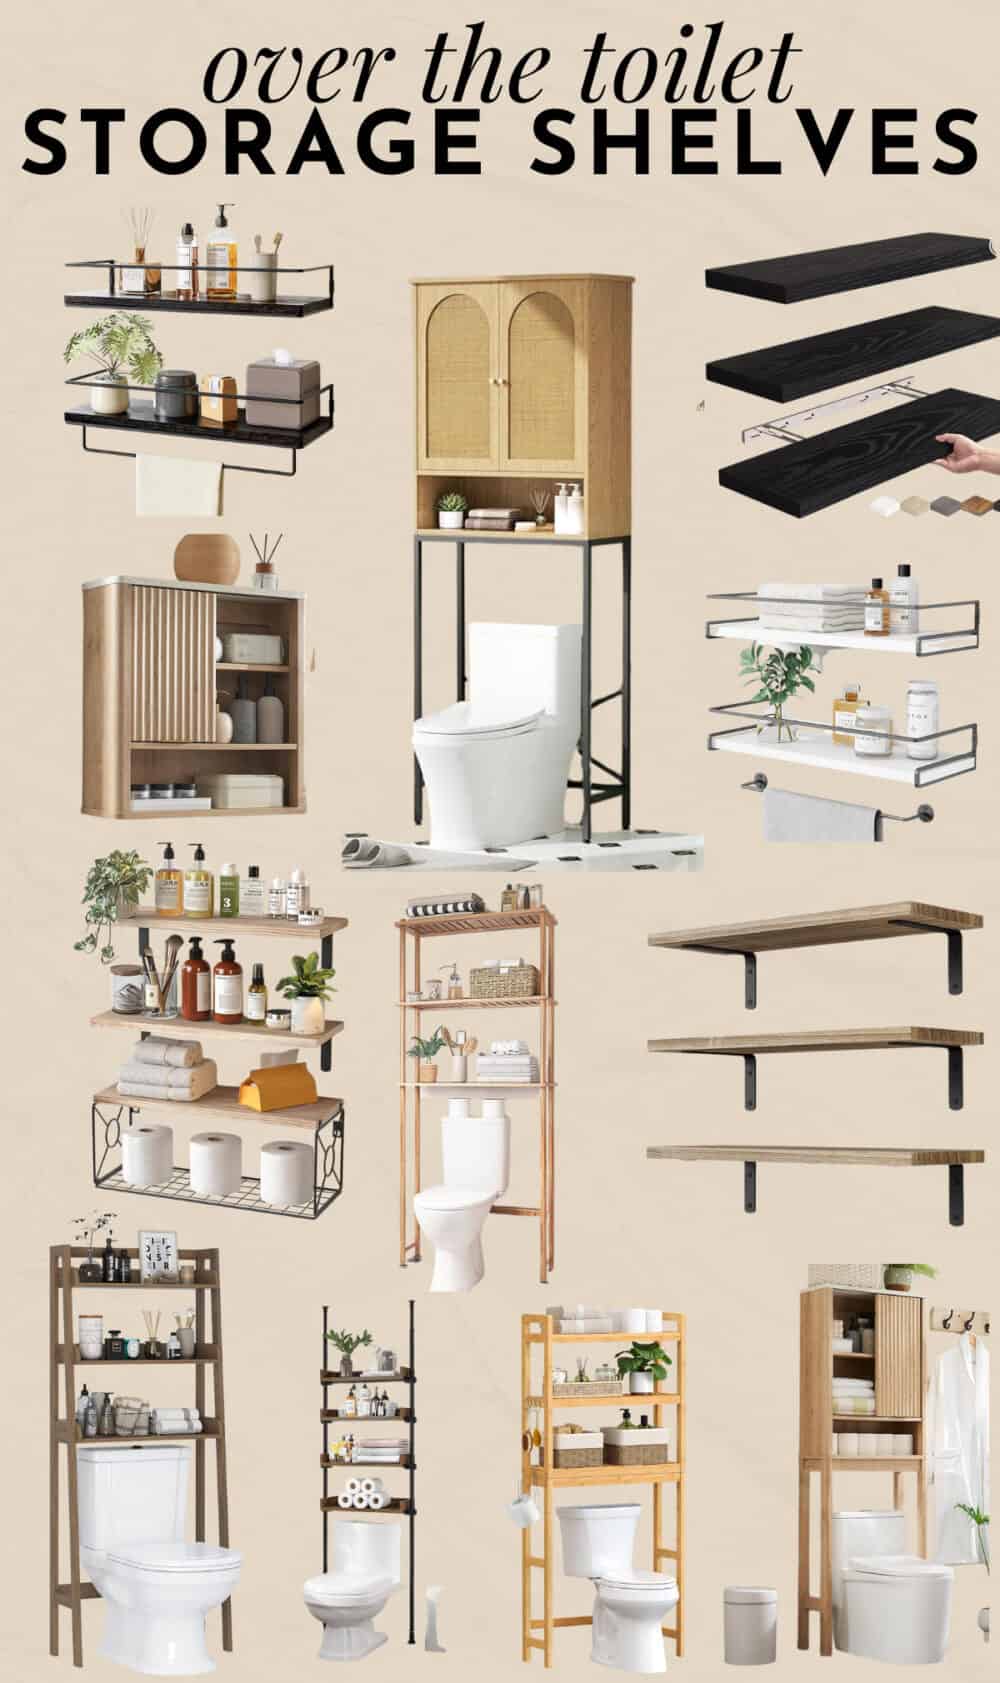
- Set of 2 Metal Floating Shelves
- Rattan Toilet Storage Cabinet
- Floating Wood Shelves (multiple color options)
- Fluted Cabinet with Sliding Door
- White & Metal Floating Shelf
- Set of 3 Wall Shelves
- Bamboo Freestanding Storage Shelves
- Set of 3 Shelves & Brackets
- Wood Grain 3-Tier Storage Rack
- Metal & Wood Industrial Over the Toilet Rack
- Light Wood Rack with Hooks
- Tall Fluted Door Cabinet
Water Closet Sources