
Rust-Oleum EpoxyShield Garage Makeover
Last updated on May 1st, 2024 at 01:09 pm
I helped my friend, Parisa, give her garage a total makeover using Rust-Oleum EpoxyShield garage floor kit. Here are all the details on how we did it! This post is sponsored by Rust-Oleum.
I’m no stranger to the power of Rust-Oleum epoxy kits for garage floors. We used their RockSolid kit in our garage-turned-media room in our first house. It was also the first project we took on when we moved into this house!
So, when my best friend Parisa mentioned that she had really been wanting to do an epoxy flooring in her garage, which she works out in almost daily, I jumped at the chance to help her out with it.
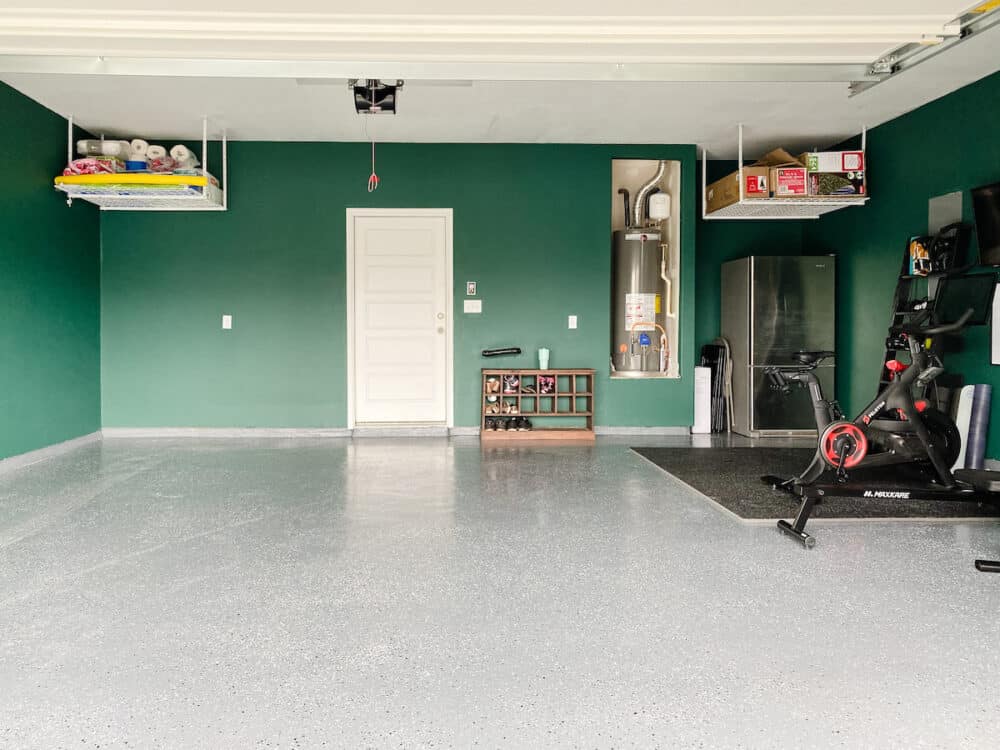
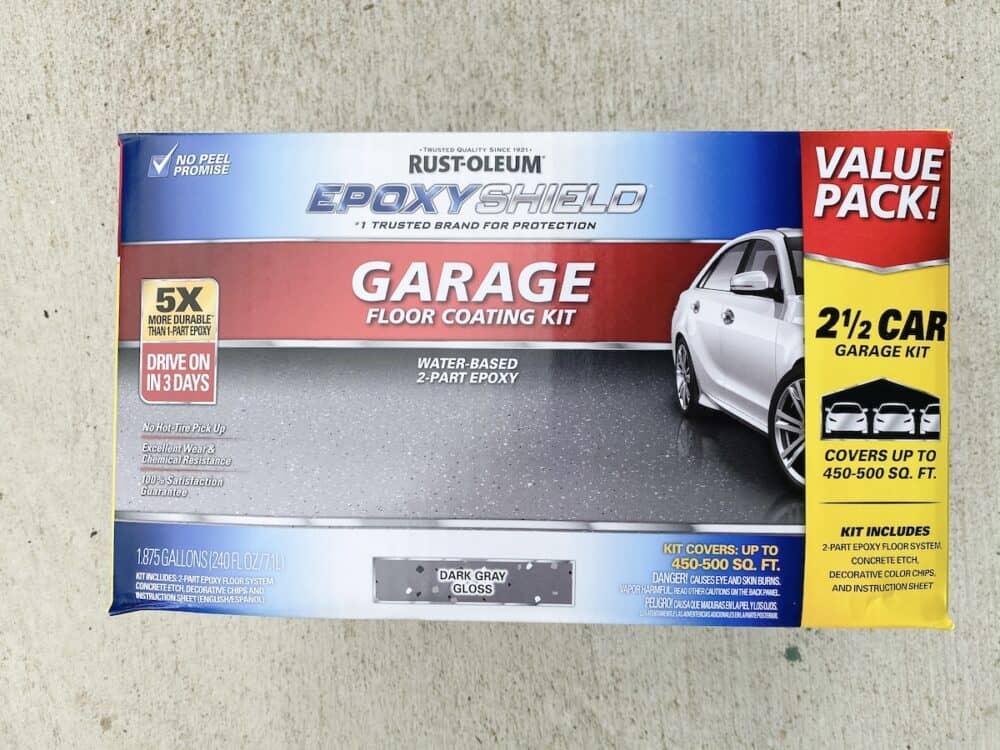
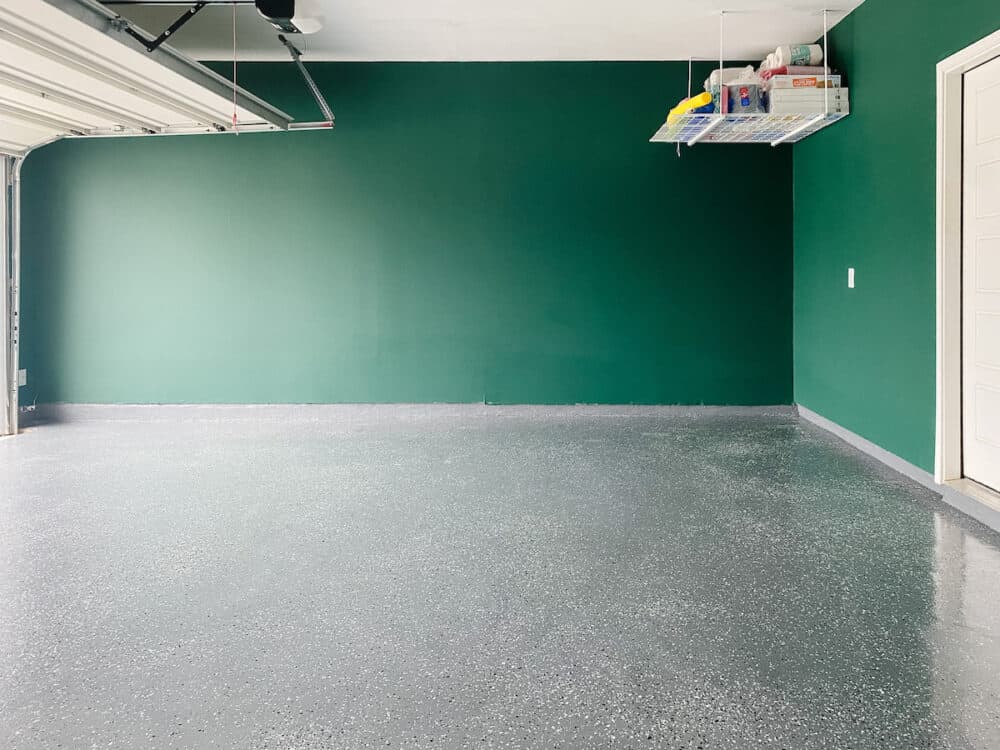
This time around, we used the RustOleum EpoxyShield Garage Floor Kit. It’s less metallic-looking than our floor and has flakes throughout. I was excited to get to try a new style and I love how it turned out! We used the Dark Gray color, and the chips included are black, white, and gray!
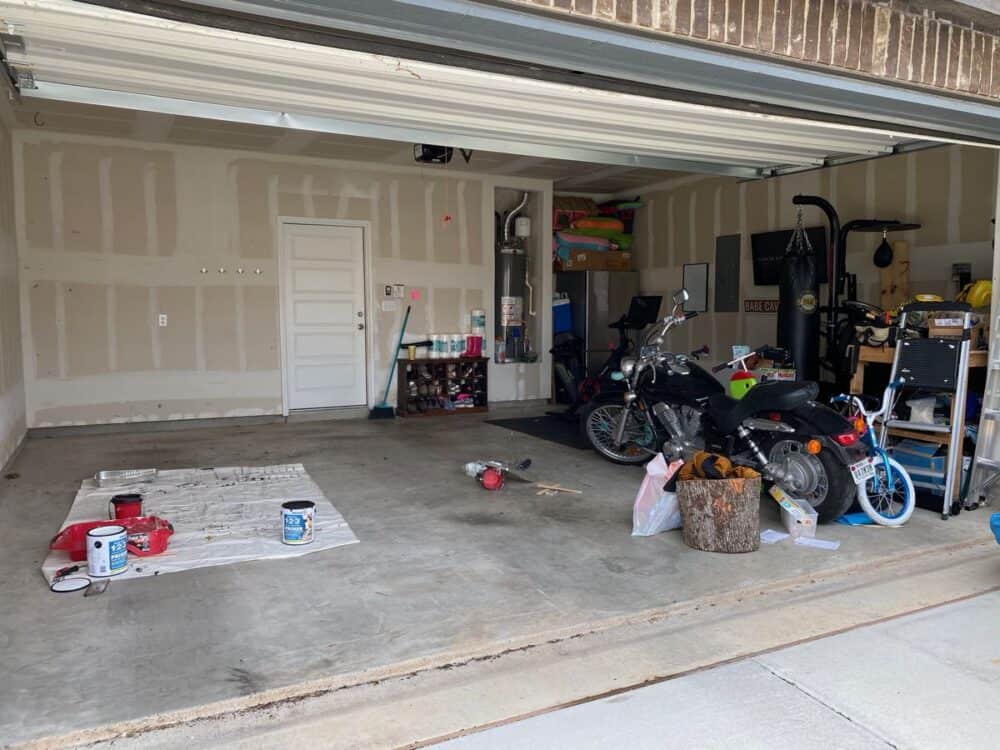
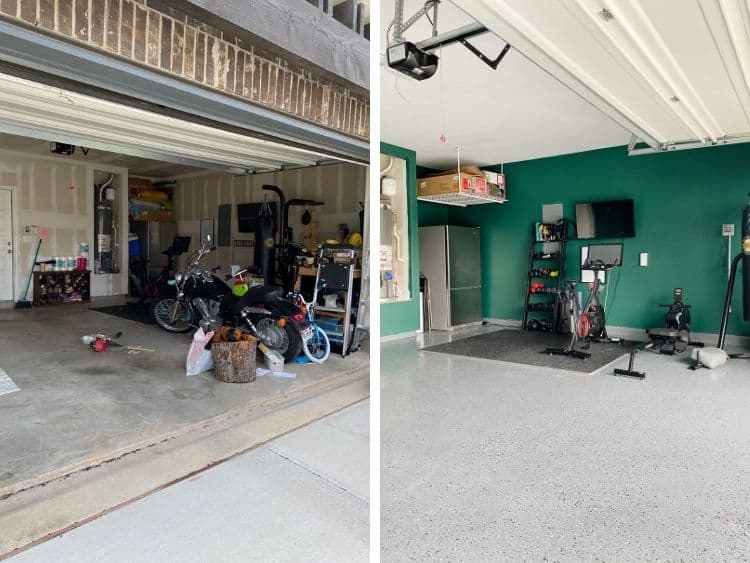
The Before
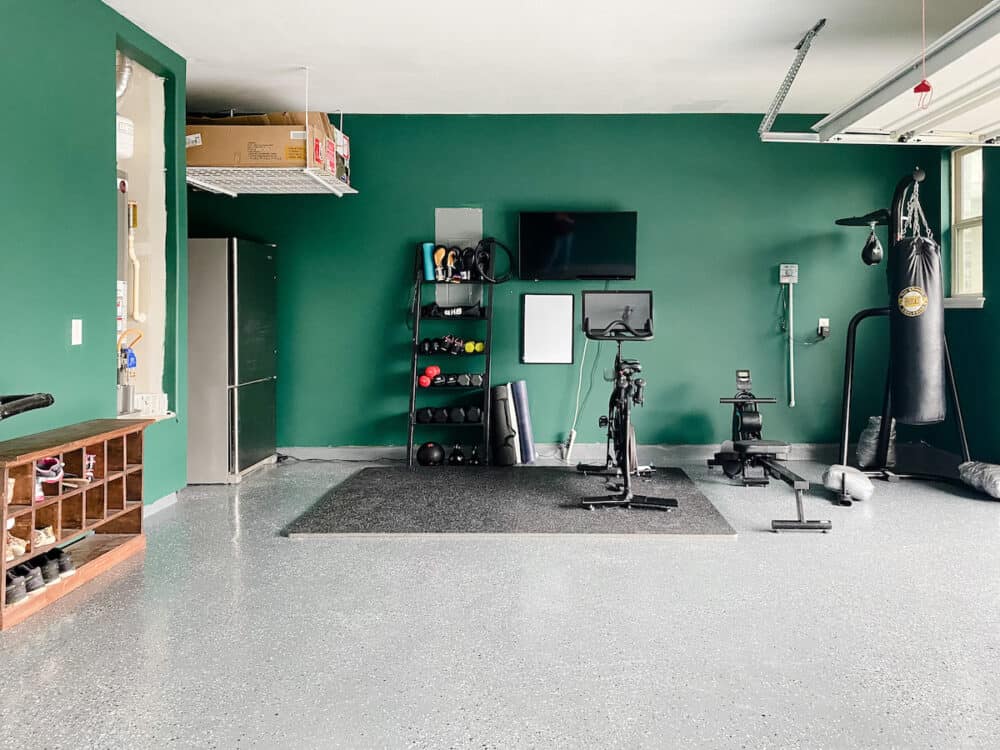
Let’s take it back a couple of weeks, though, and talk about the before. Parisa has a 2.5 car garage. Aside from parking one car and a motorcycle in it, it’s mostly used as a home gym. Parisa works out in here almost every single day. Despite her best efforts to spruce things up a bit, it just wasn’t really the most, um, enjoyable place to be.
Her top annoyances were the fact that it always felt dusty and dirty. Also, it was cluttered with a lot of random tools and things they don’t use often.
Oh, and the bare drywall really wasn’t doing it any favors in the looks department.
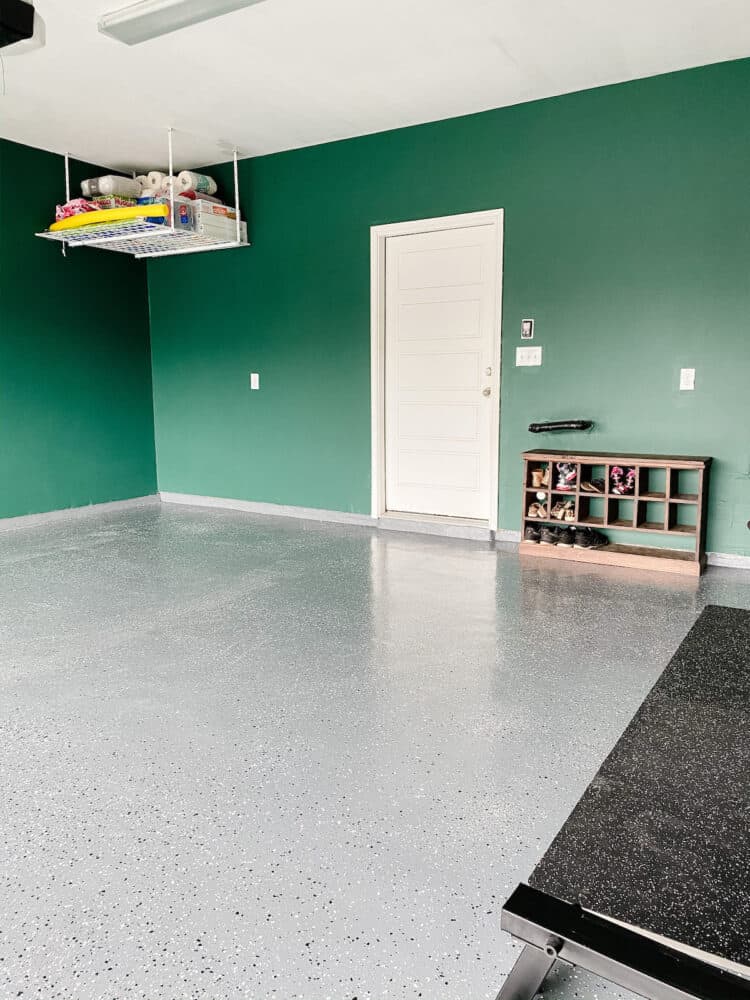
Our first step was to prime the walls with Zinsser Bulls Eye 1-2-3 Primer. Then, we painted them a nice, deep blue-green. That step alone made a huge difference in how the garage felt.
Next, it was time for the floor! I made a full, detailed video with a look at the entire process, so be sure to watch that below if you want to see the entire process play out.
DIY Rust-Oleum EpoxyShield Floor Coating {Video Tutorial}
As you can see, it’s a multi-step process that took place over a number of days. The longest and most intensive part of doing the flooring is the prep work. You want the floor to be completely clean and fully prepped, or the epoxy won’t adhere properly.
Here’s a detailed rundown of the process if you’re more of a reader than a watcher:
How to Use The Rust-Oleum EpoxyShield Garage Floor Kit
Note: This directions are meant to be an overview of the process and shouldn’t replace the official instructions that come with the kit! Be sure to thoroughly read the instructions and follow all of the steps as you work.
Materials Needed
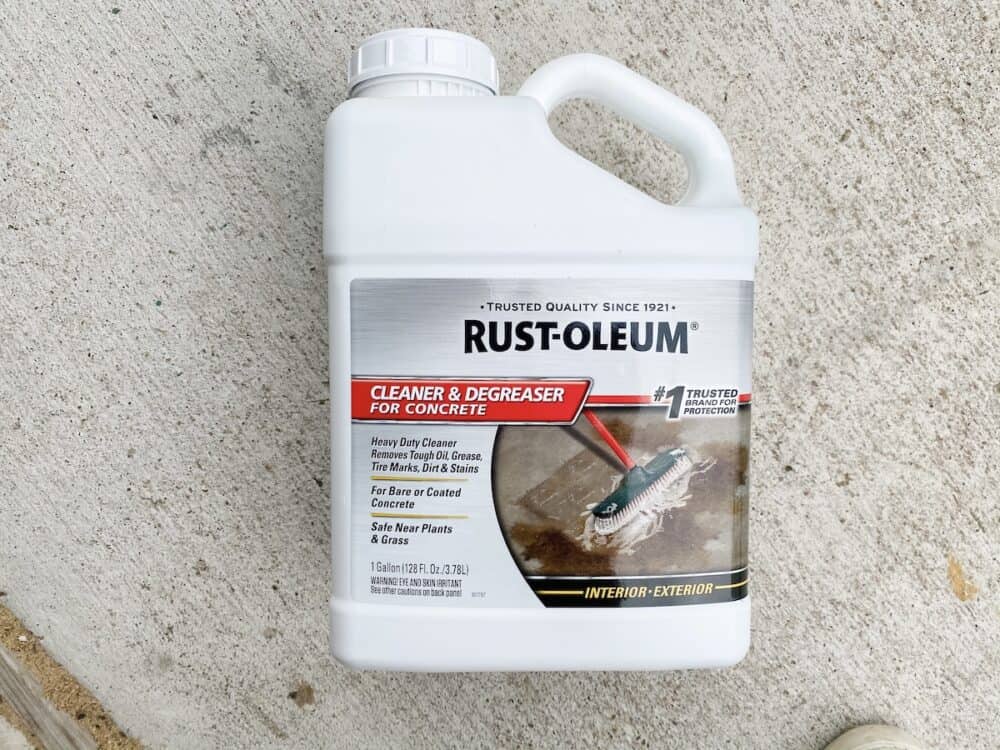
- Rust-Oleum Concrete Cleaner & Degreaser
- Pressure washer (not required, but recommended)
- Rust-Oleum Concrete Patch + Repair (if you have cracks or small dings in your flooring)
- Rust-Oleum Moisture Stop Sealer
- Rust-Oleum EpoxyShield Garage Floor Kit (We used the dark gray color)
- Rust-Oleum EpoxyShield Premium Clear Coating
Before You Begin: Check for Moisture
Prior to starting on this project, you’ll want to do a quick moisture test in your garage (following these steps). This help you see whether or not you need to use Moisture Stop in your garage to help seal the floor from moisture.
This is a really important step that will have a large effect on the durability of your floor over time. Don’t skip it!
When we did the test, we discovered a small amount of moisture in the garage. So, we knew that once the floor was cleaned and prepped we’d need to add the Moisture Stop to the floor to help seal things. Keep reading for details on how that’s done!
Step One: Clean & Etch the Garage Floor
First up, you’re going to want to clean the floor – and when I say clean, I mean clean.
The epoxy flooring won’t adhere properly to a floor that has grease stains or other things sitting on top of it. Having a perfectly clean surface is key for a durable finish.
You’ll want to start by using Rust-Oleum’s Concrete Cleaner & Degreaser to get any spots up and thoroughly clean the floor. Pay special attention to grease and oil stains in the floor. That’s what will cause the most issues later!
Use a stiff-bristled broom to scrub it into the floor. Then, rinse the floor thoroughly. I recommend using a pressure washer to get an even deeper clean.
Once the floor is fully cleaned and scrubbed, open up your EpoxyShield kit and grab the concrete etching. You’ll mix it according to the directions in the kit, then spread it evenly on the floor and scrub it in.
The etching solution will fizz and bubble up a bit as it cleans – this is a good sign and means your floor is getting even cleaner.
After you’ve etched and scrubbed the entire floor, you can rinse it off. If you’re following the directions included (which, please do!) you’ll rinse a total of three times for a really thorough clean. If there is still a powder on the ground after it dries, you’ll need to rinse again. It’s very important that you don’t skimp on this step if you want your flooring to last!
Step Two: Patch any Cracks
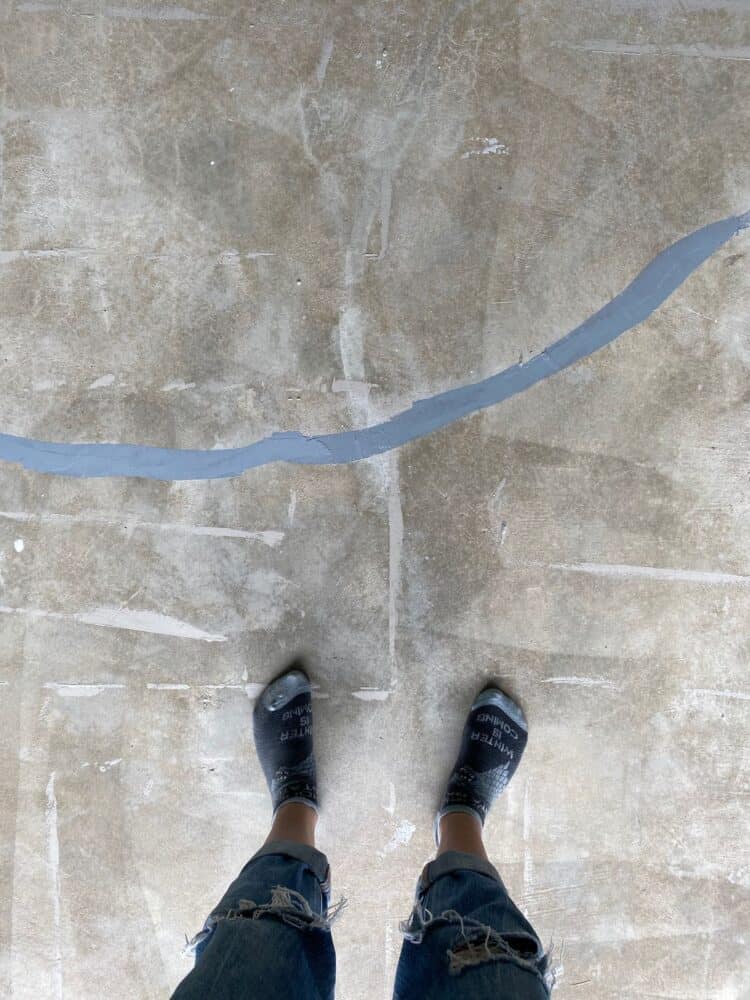
Once the floor is fully dry, you’re ready to patch any cracks or dings in the floor. For this, I used Rust-Oleum’s Concrete Patch + Repair Kit. It’s a two-part epoxy that you mix and spread into the cracks. Then, you smooth it out and sand it smooth. It fills in the cracks and prevents them from getting worse on you. It also ensures that your finished product will be nice and smooth with no cracks showing through!
Follow the directions on the kit to thoroughly patch the cracks and let them dry and cure properly before moving on to the next step. I also took the time to really thoroughly sand down the patch once I was done. I wanted to make sure that it was level with the rest of the floor and didn’t feel different from the parts that hadn’t been patched.
Step Three: Moisture Seal the Concrete (optional)
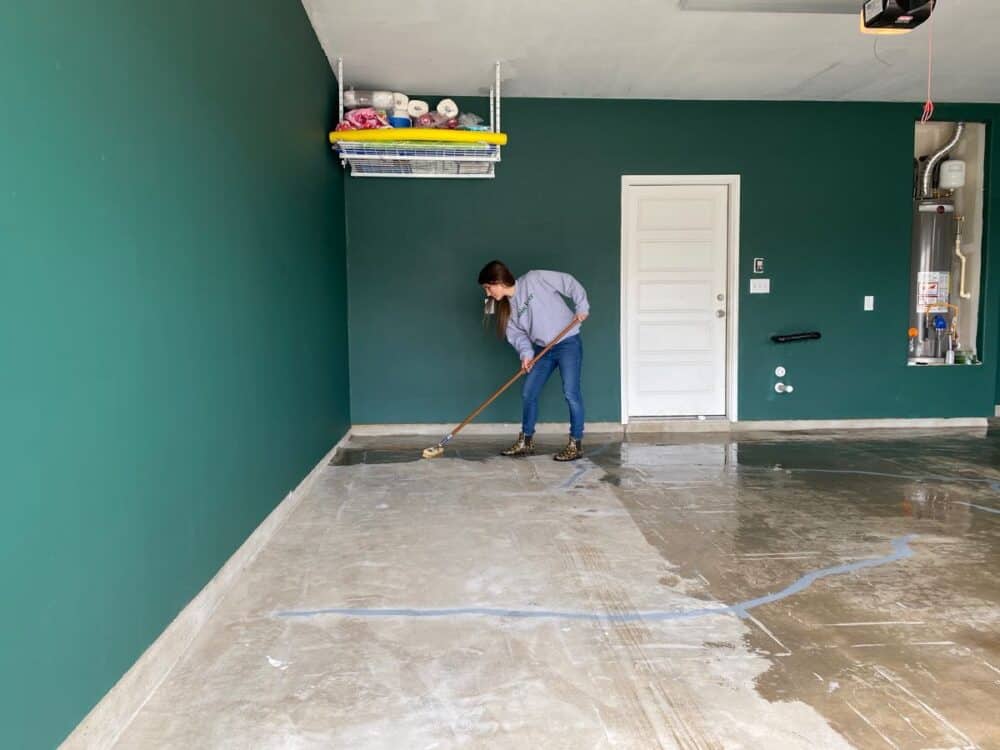
This is the step where you seal your flooring from moisture if you need to. This will vary depending on your specific space, so be sure to do the moisture test linked above before you begin! Our moisture test showed signs of moisture, so we used Moisture Stop to prevent it from compromising the coating.
This is a really important part of getting a great, durable finish. Don’t skip it if you find that you need it! Once you reach this point in the process it can kind of feel like you’ve been working forever and not actually doing anything. But, I promise it’ll be worth all of the prep work in the end.
If you do need to use the Moisture Stop, it’s a pretty quick process. Simply spread it evenly on the floor and work it into the flooring using your stiff-bristle brush. Keep the floor wet for about 45 minutes, then squeegee out the extra water and let it dry. One more rinse a couple of hours later, and you’re finally ready for paint!
If you’ve got a garage floor that passes the moisture test linked above, congratulations! You get to move onto painting without taking the time to do this step.
Step Four: Paint the Floor Using the EpoxyShield Kit
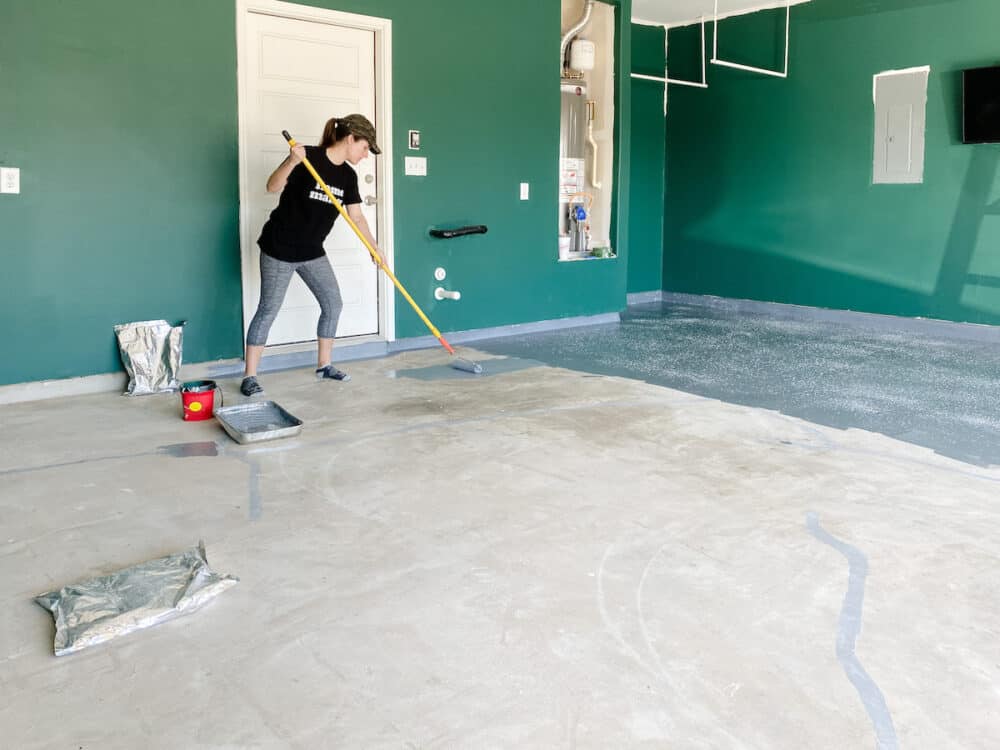
Now, the fun part begins.
Again, please thoroughly read the directions that come with the kit before you start this part of the process. But, for the most part it’s very straightforward. You’ll start by cutting in around the edges. Then, you’ll use a 3/8″ nap roller with an extension to paint the epoxy coating on the floor.
You will want to work in about 4×4 sections of flooring. I found I got the best coverage and smoothest texture when I back-rolled each section after painting it. After you’ve painted a section, grab some of the decorative color chips and toss them into the air in that area. The higher you toss them, the more evenly they’ll disperse!
Make sure to overlap your edges a bit when painting, and be sure not to throw the chips all the way to the edge of the section you’ve painted. This is the best way to make sure everything looks seamless when all is said and done.
I went a little heavy on the color chips because I like a more flake-y look. You can purchase extra in 1-lb increments, so I’d recommend grabbing an extra bag if you think you might be a little heavy-handed as well!
Be sure to plan out your painting route ahead of time so you don’t accidentally paint yourself into a corner. Work from the back to the front of the garage, and make sure to end in a spot that’s really easy for you to access from right outside the garage.
Once the last section has been painted, you need to allow it to dry for a minimum of 12 hours before stepping on it at all. I recommend leaving the garage door at least cracked for some extra airflow and to help it dry quickly and evenly.
Step Five: Optional Top Coat
Once the floor has dried for at least 24 hours, you’re ready to top coat it! One coat adds years of extra protection, so I’d highly recommend doing it!
This step is technically optional. EpoxyShield is incredibly durable on its own and doesn’t require a top coat. However, after aaaaaall that cleaning, prep work, and painting, I wasn’t about to skip any steps. Plus, who can turn down a super shiny, high-gloss finish on those brand new painted floors?!
The EpoxyShield Premium Clear Coating also comes with an anti-slip additive that you can mix in to help add a little extra grip to the floor. Epoxy flooring alone can be very slippery, and we didn’t want Parisa slipping while she’s working out, so this was a must.
The top coat goes on the same way as the base coat. Just work in 4×4 foot sections, and backroll for perfectly even coverage. It can be hard to see where you’ve added the sealant and where you haven’t, so I recommend that after every section you pause to bend down and let the light hit the floor in a few different directions.
We didn’t really double-check until the end and had to do a few Mission Impossible-style moves to reach tiny spots we had missed without stepping on the floor!
Once your clear coat has been added, you’re done! Allow it to dry for at least 10 hours before stepping on it, and 3 days before driving on it…and then bask in the beauty of your new garage floor!
The Finished Product
It’s honestly pretty staggering how different the garage looks now! It went from feeling like, well, a garage to an actual extension of the house. It feels like a room now, and not just a dirty, messy garage, and Parisa says she’s already gotten so many compliments from neighbors walking by!
I’ve said this before and I’ll keep saying it over and over – adding an epoxy floor to your garage is an incredible project that does so much more than look pretty. It helps to cut down on concrete dust (in turn, keeping your house cleaner since you aren’t tracking it in!), it makes the garage feel more like an extension of the home, and it’s so so fantastic for resale down the line. It’s definitely one of those projects that can feel intimidating thanks to all of the prep work. But, it’s 100% a beginner-friendly project that anyone can tackle, as long as you follow the directions!
I’m so excited for Parisa and this garage, and I can’t wait to go work out with her in it.
We still have a couple of small steps we’re taking to make things feel even more like an extension of the home, so stay tuned for that! But, for now, let’s all just sit here and stare at those pretty floors for a while, because I cannot get enough of them.
Click here to learn more about Rust-Oleum’s EpoxyShield Garage Floor Kit!
What color of paint did you use for the garage walls?
Hi! It’s Rainforest by Behr!
Awesome project, it all looks great!!