Refreshing The Back Door
This post is sponsored by HANDy Paint Products, but all opinions are 100% my own. Thanks for supporting the brands that support Love & Renovations!
This week, I made a small change to our house that went a long way to making it feel more like ours. I don’t know what it is about these tiny little projects, but every once in a while I just land on something that makes a much bigger difference than I ever would have expected, and it feels like it was always supposed to be there.
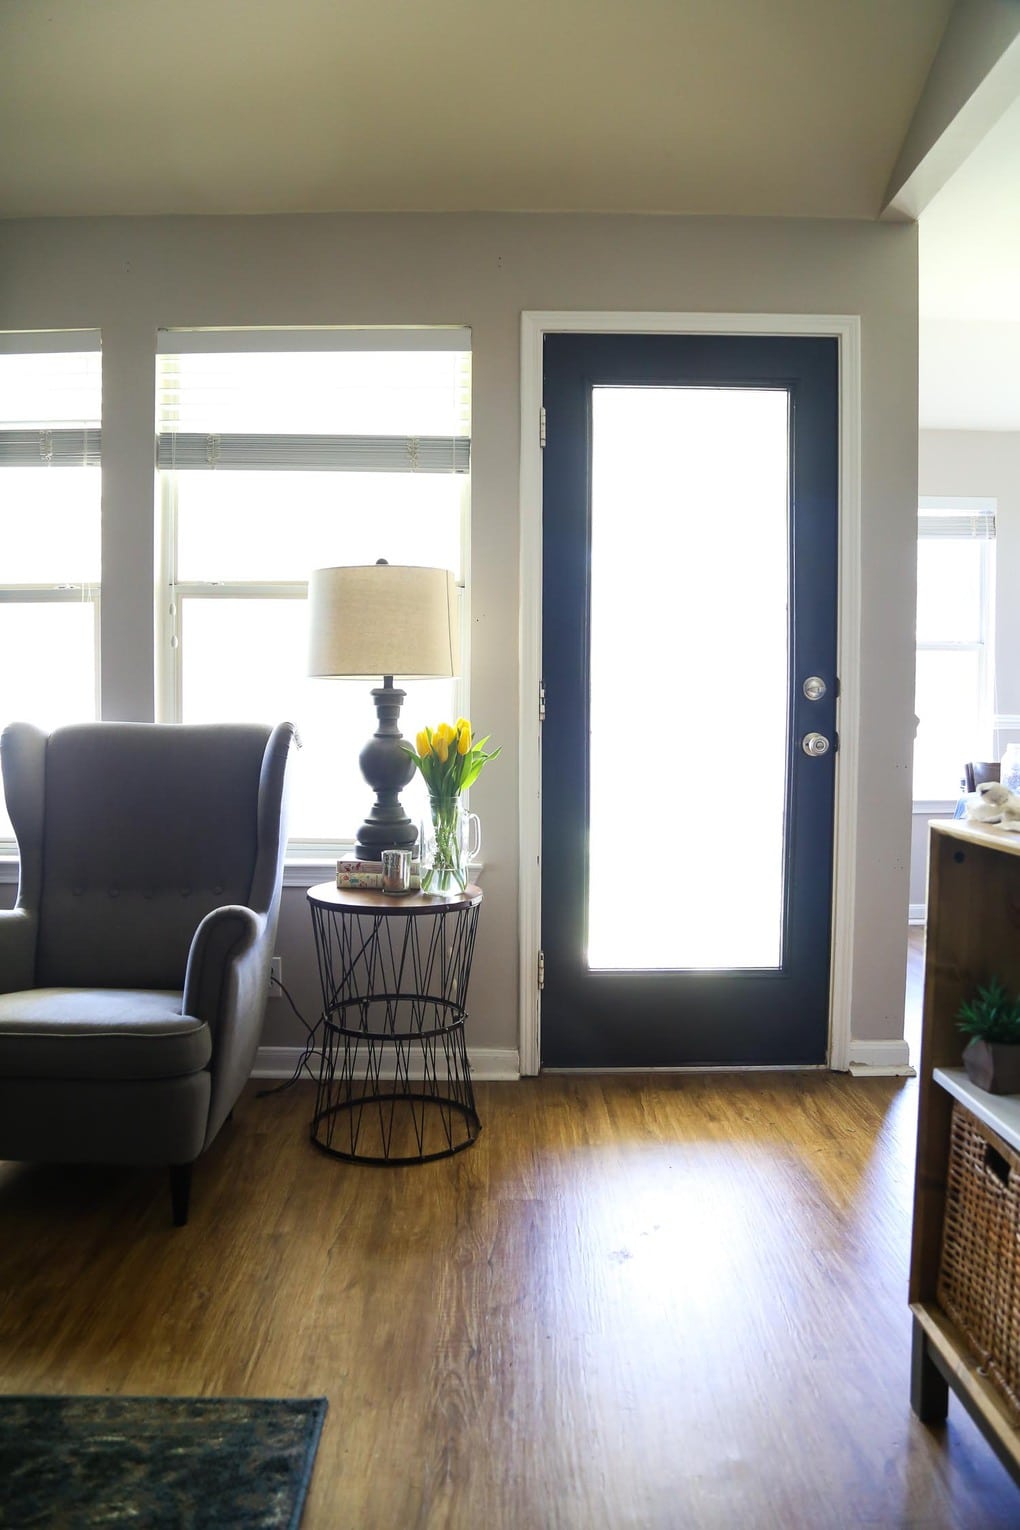
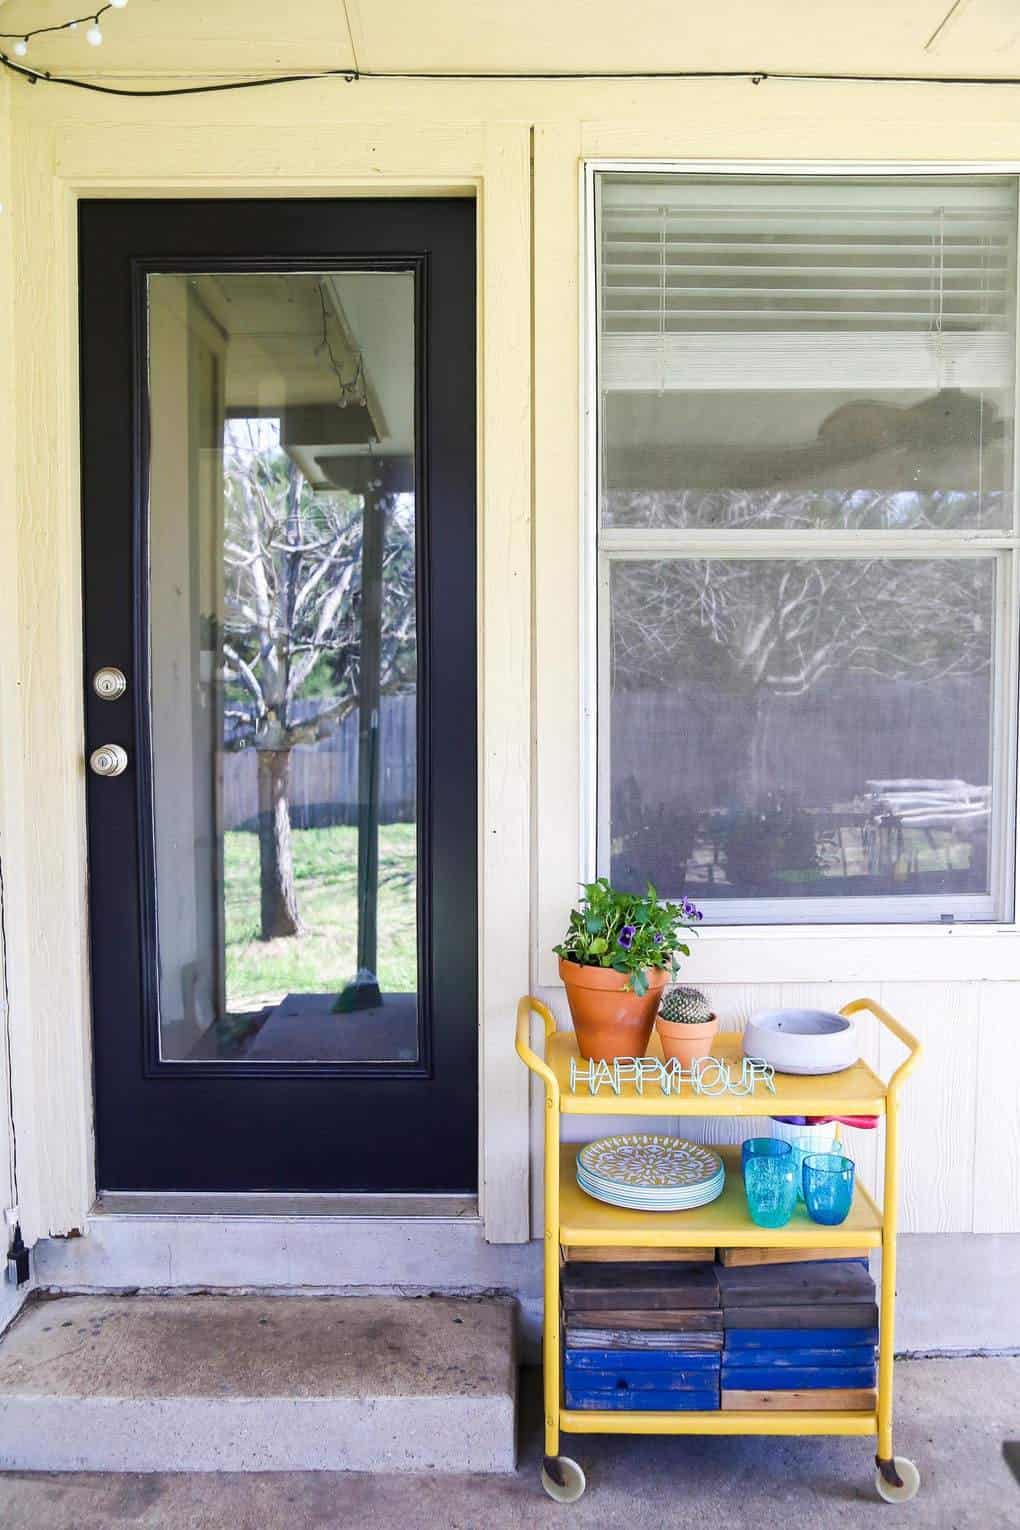
This week, it was painting our back door.
As soon as it was finished, I texted Corey a photo and said that I felt like this door was just meant to be painted.
Because, seriously, the room just feels a little more “right” now that it is.
This is one of those projects that we’ve done a time or two before. We painted the back door in our old home black and I always felt like it was one of the best decisions we made for that home – you know I’m a big fan of black doors, and I think it just adds such a great depth to the room. I haven’t decided yet if we’ll paint all of our interior doors black in this home (the tiny hallway by Jackson’s room has a plethora of doors – 6! – and zero natural light), but I think this is a pretty good start.
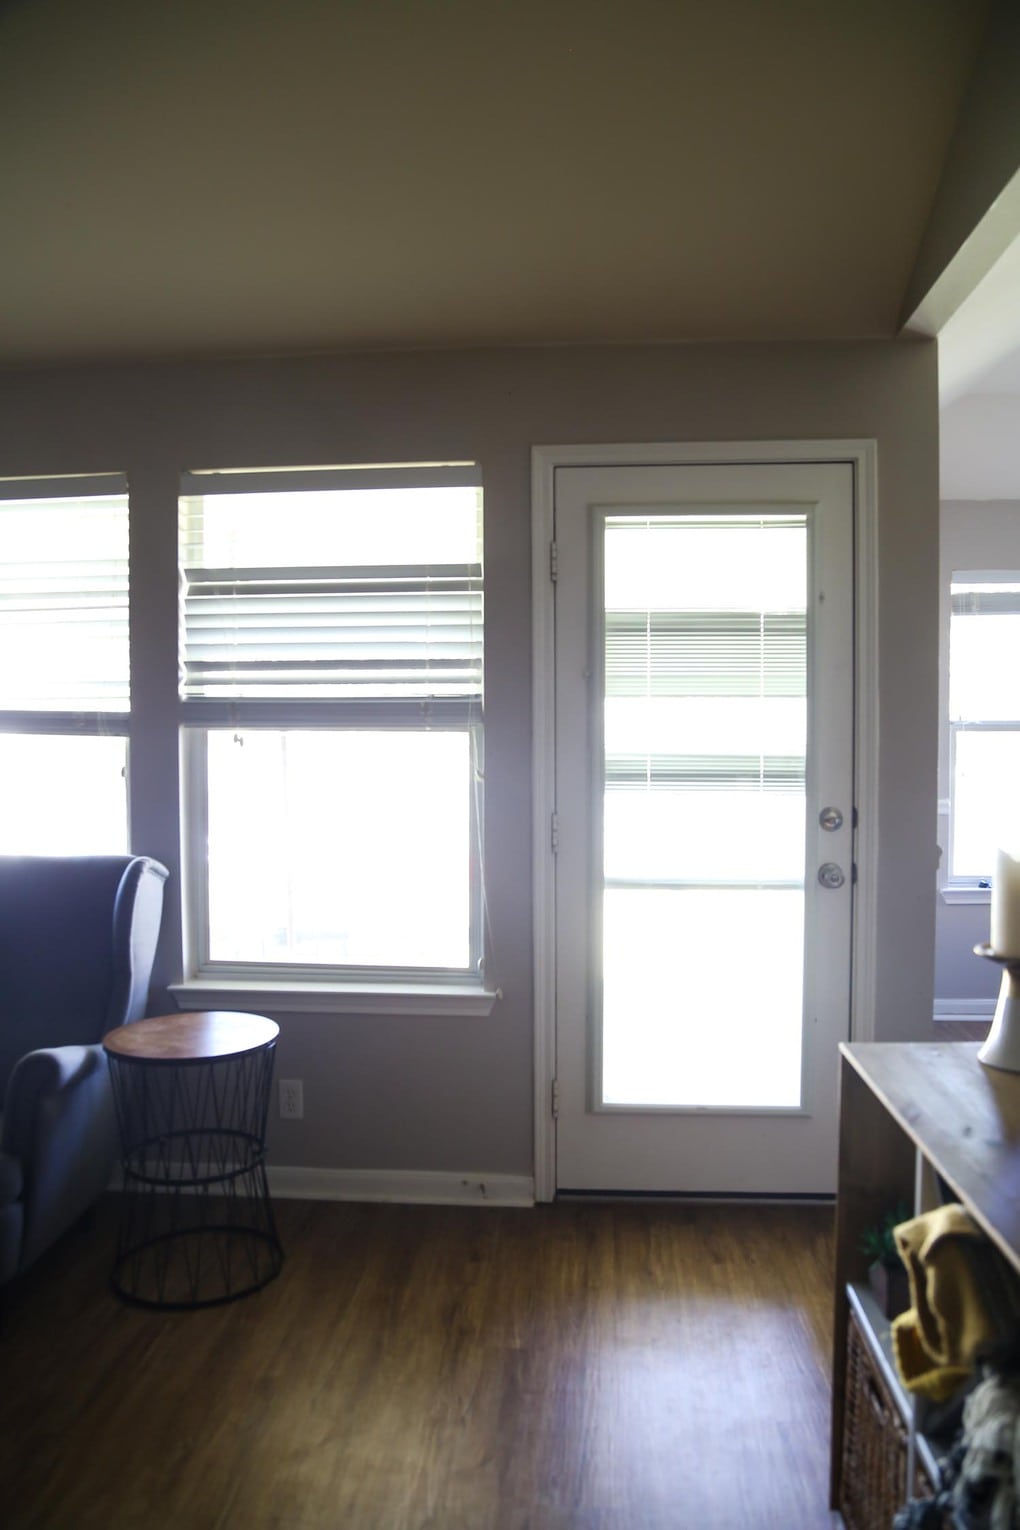
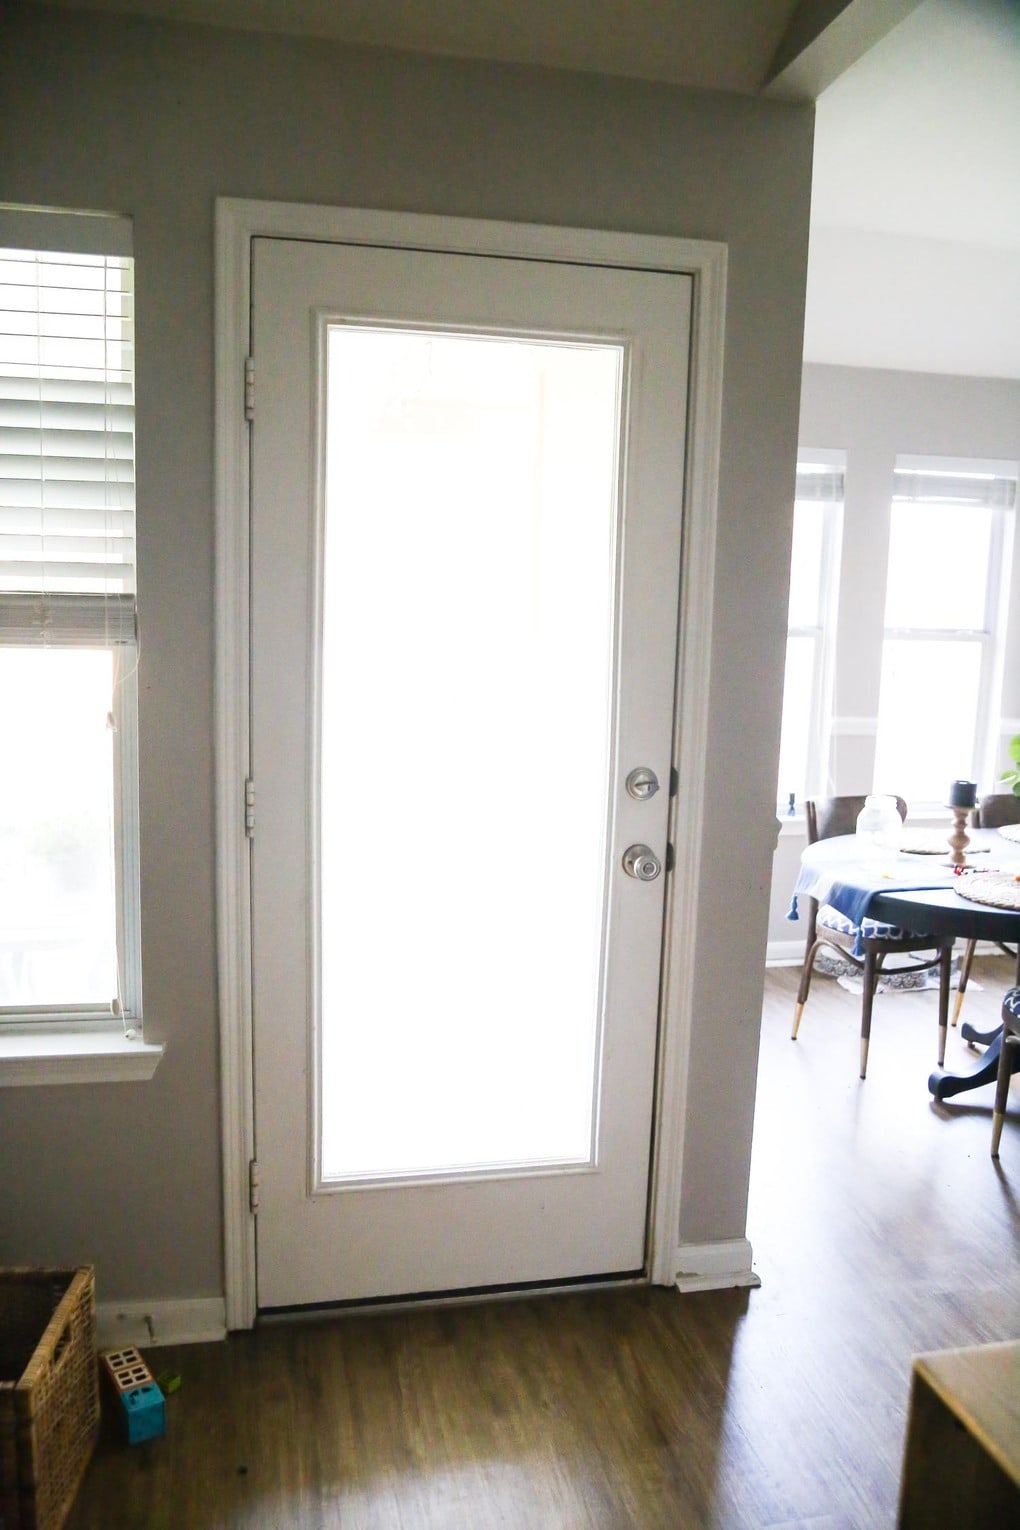
Allow me to introduce you to the “before” of the back wall of our living room. This little space has given us a hard time ever since we moved in because it’s just a little awkward to decorate. There isn’t much room to put furniture because of the layout of the rest of the room, and there’s very little actual wall space. But, if you leave it blank, it just looks awkward and bare.
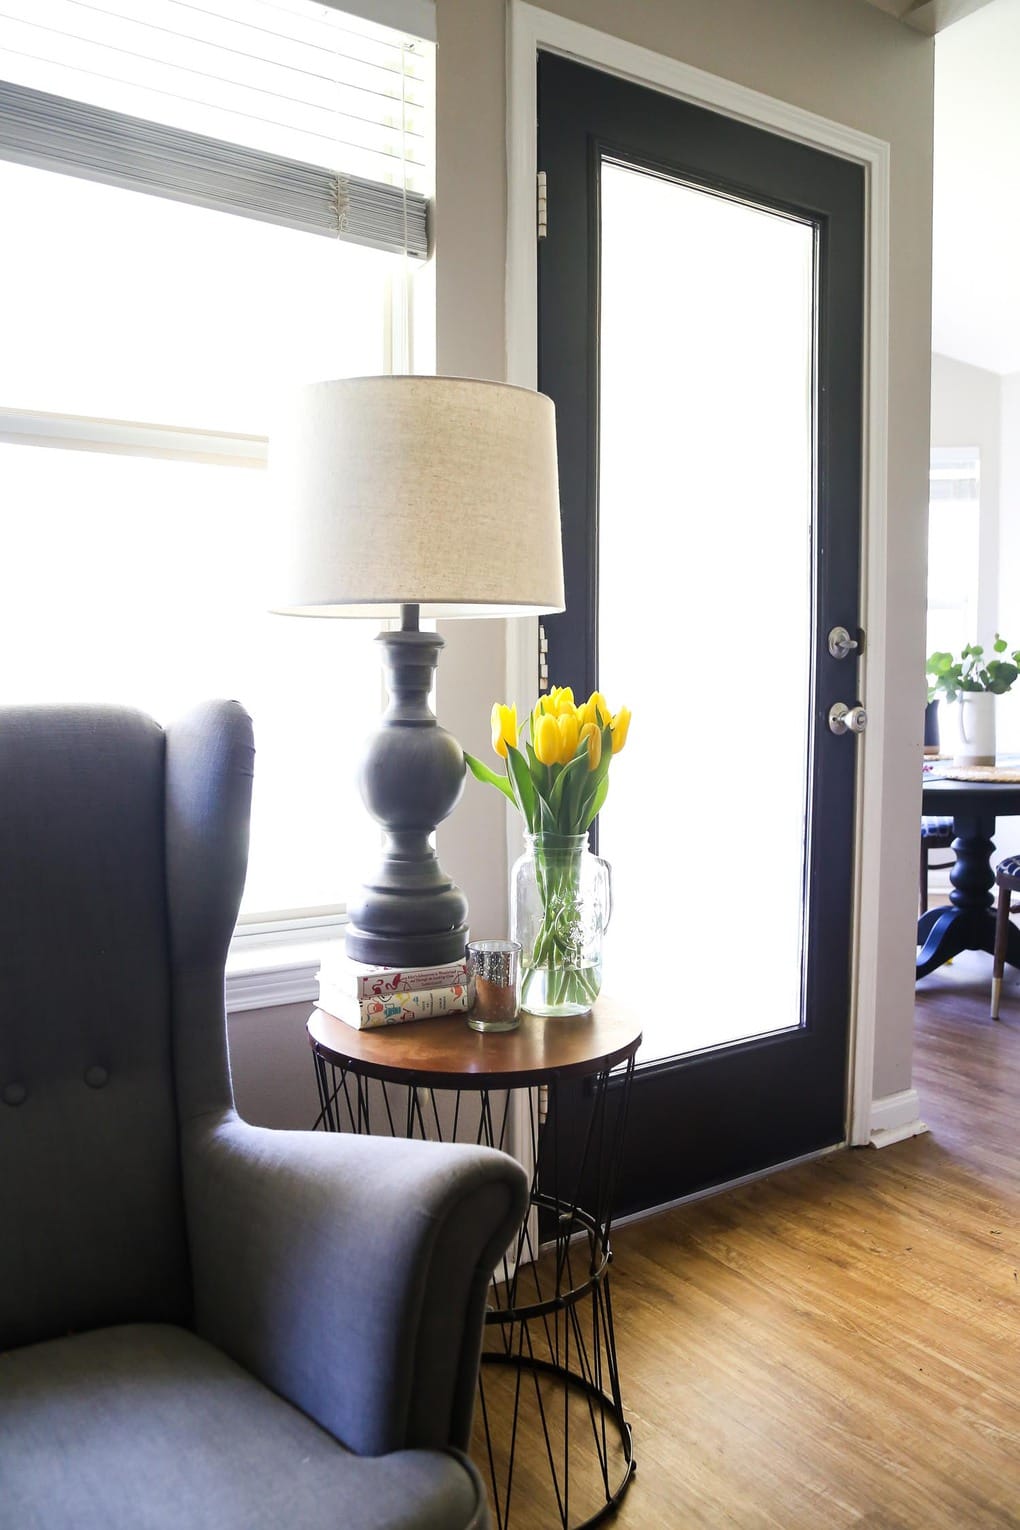
We’ve basically ignored the spot so far, but when we decided to paint the back door I figured I had to do at least something to spruce it up a little bit. It’s still a long way from done – the armchair is getting swapped out for a recliner, and we’ll be DIY-ing a new table to go next to it. We also need to figure out a solution for the window treatments, but we’re still debating the options (there really isn’t enough room for curtains, we don’t want to blog too much light, blah blah blah – it’s a tough decision!). But, since the door was going to look all nice and pretty, I decided to at least try to work with what we have and style the area a bit. Moving a lamp over here, along with a few other pretty accessories makes things feel much cozier – and I have to say, the black door really helps the wall not feel quite so bland!
The first step to making the door look a million times better was removing the blind attachment (you can see it in that first “before” photo if you scroll up a bit). I get that these are great for blocking out unwanted light, but thanks to the covered patio we get very little natural light flowing into this room to begin with, and the blinds inside of it are broken and can’t be adjusted at all, which makes it more or less useless. Thankfully it was pretty easy to uninstall – Corey just pulled them right off the door (it happened so fast I didn’t even see how it was attached!), and the room instantly felt brighter and airier.
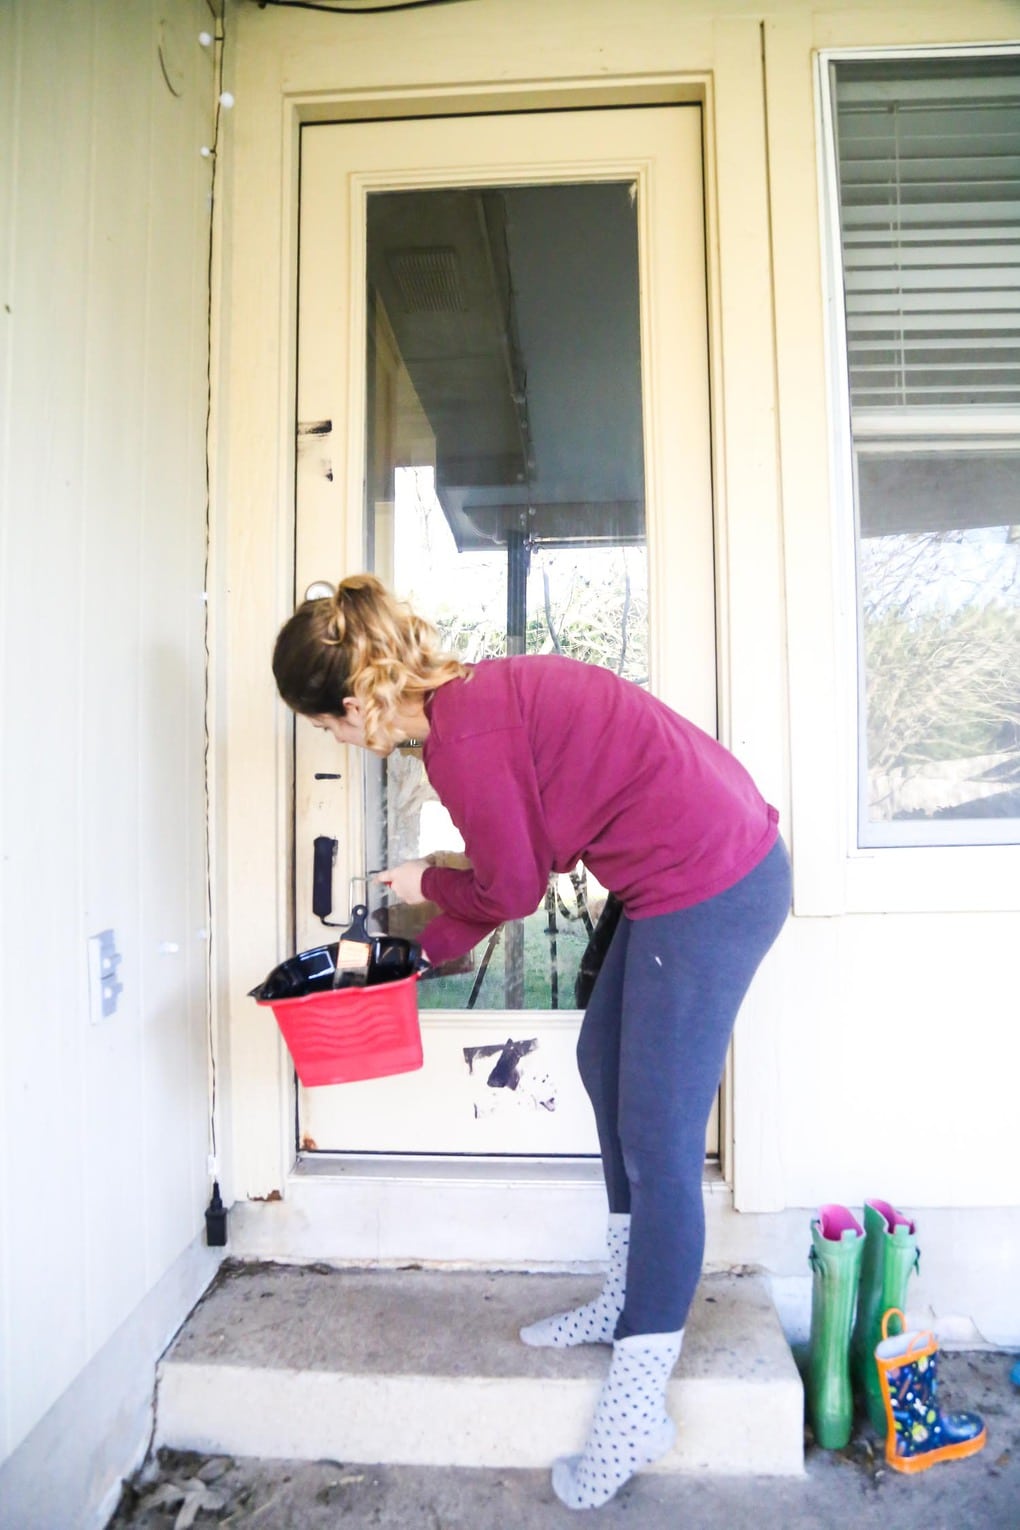
Once the blinds were removed, it was time to get to painting. I used the same paint that we used on our master bedroom door, and it only took me about half a day to get it done. Funny enough, the day before I painted this door I had a friend ask me for tips on how to paint an exterior door, so it was kind of perfect timing for this post!
Here are a few of my best tips for painting an exterior door:
- You don’t have to remove it from the hinges – it just depends on the paint method you’re using. For this project, I just left my door on the hinges and left it open while the paint was drying (and, to be honest, this is the route I usually go).
- You’ll want to use a small foam roller and a high-quality angled paintbrush for the best results. If you can live without the door on the hinges for a while you can use a sprayer instead, but I like to go the easy route for exterior doors and just paint ’em in place.
- Don’t forget to give the door a good wipe down before you paint to remove any dirt or fingerprints. Exterior doors get really dirty, and you don’t want that mixing in with your paint!
- Typically, you’ll want to use exterior paint on the outside and interior paint for the inside. I cheated on this project and just used plain ol’ interior paint on both sides – the exterior side of this door is covered by the roof on our patio and gets very little actual exposure to the outside, so I figured the interior paint would get the job done just fine. I’ll let you know if this ends up being a horrible decision, but I have a feeling it’ll work out fine.
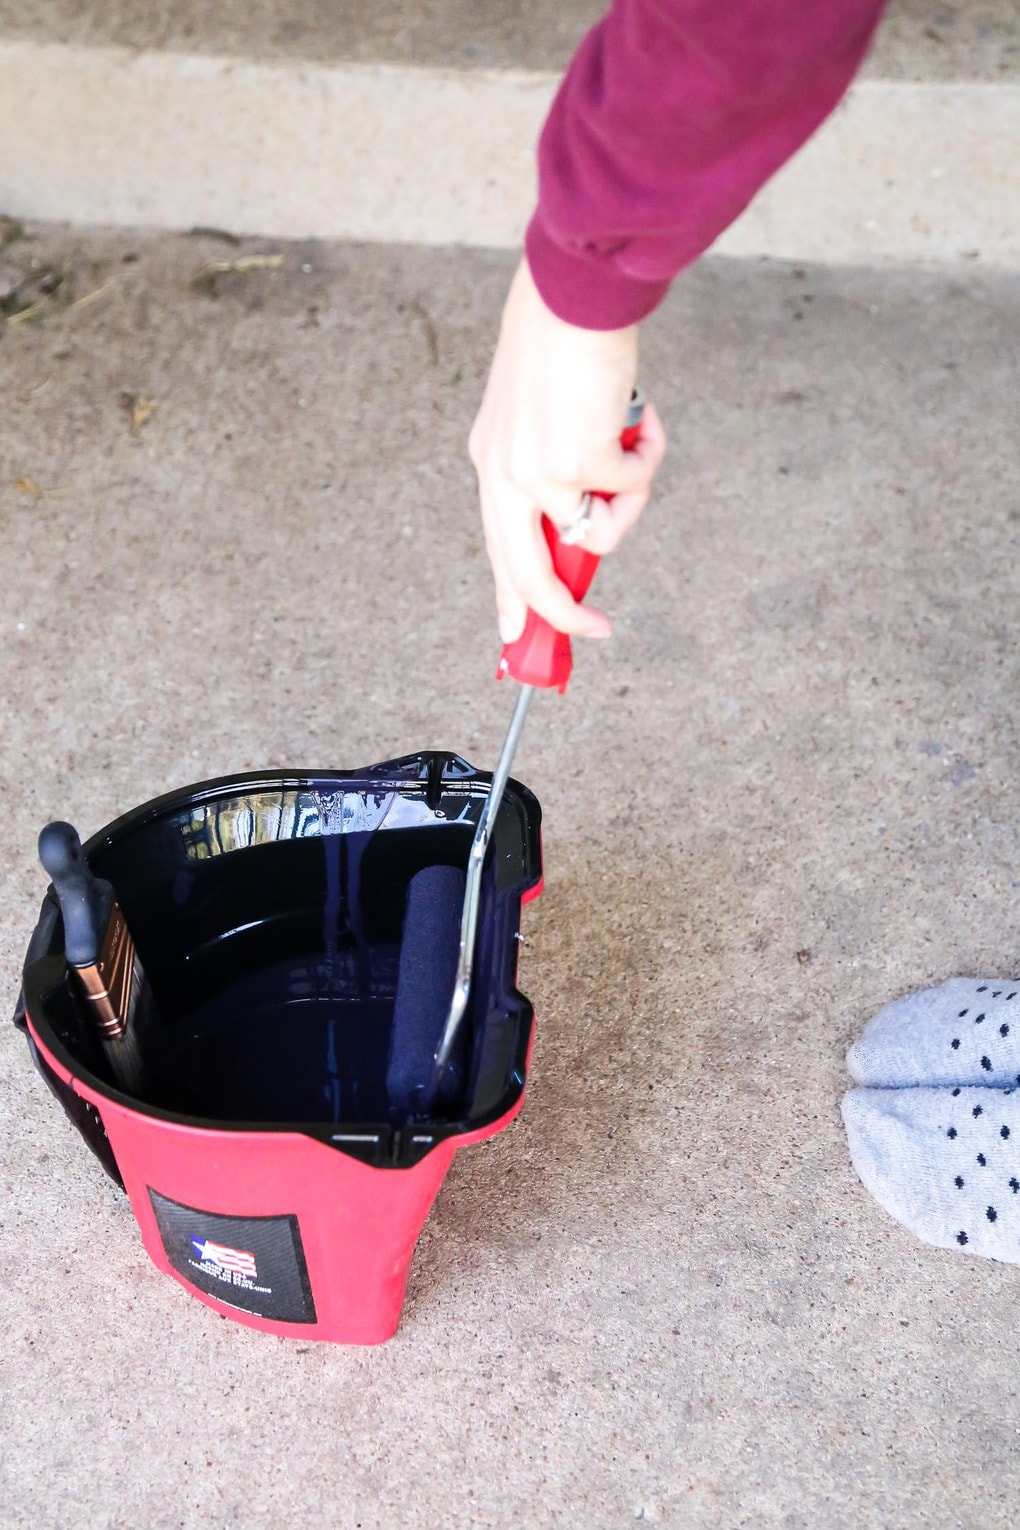
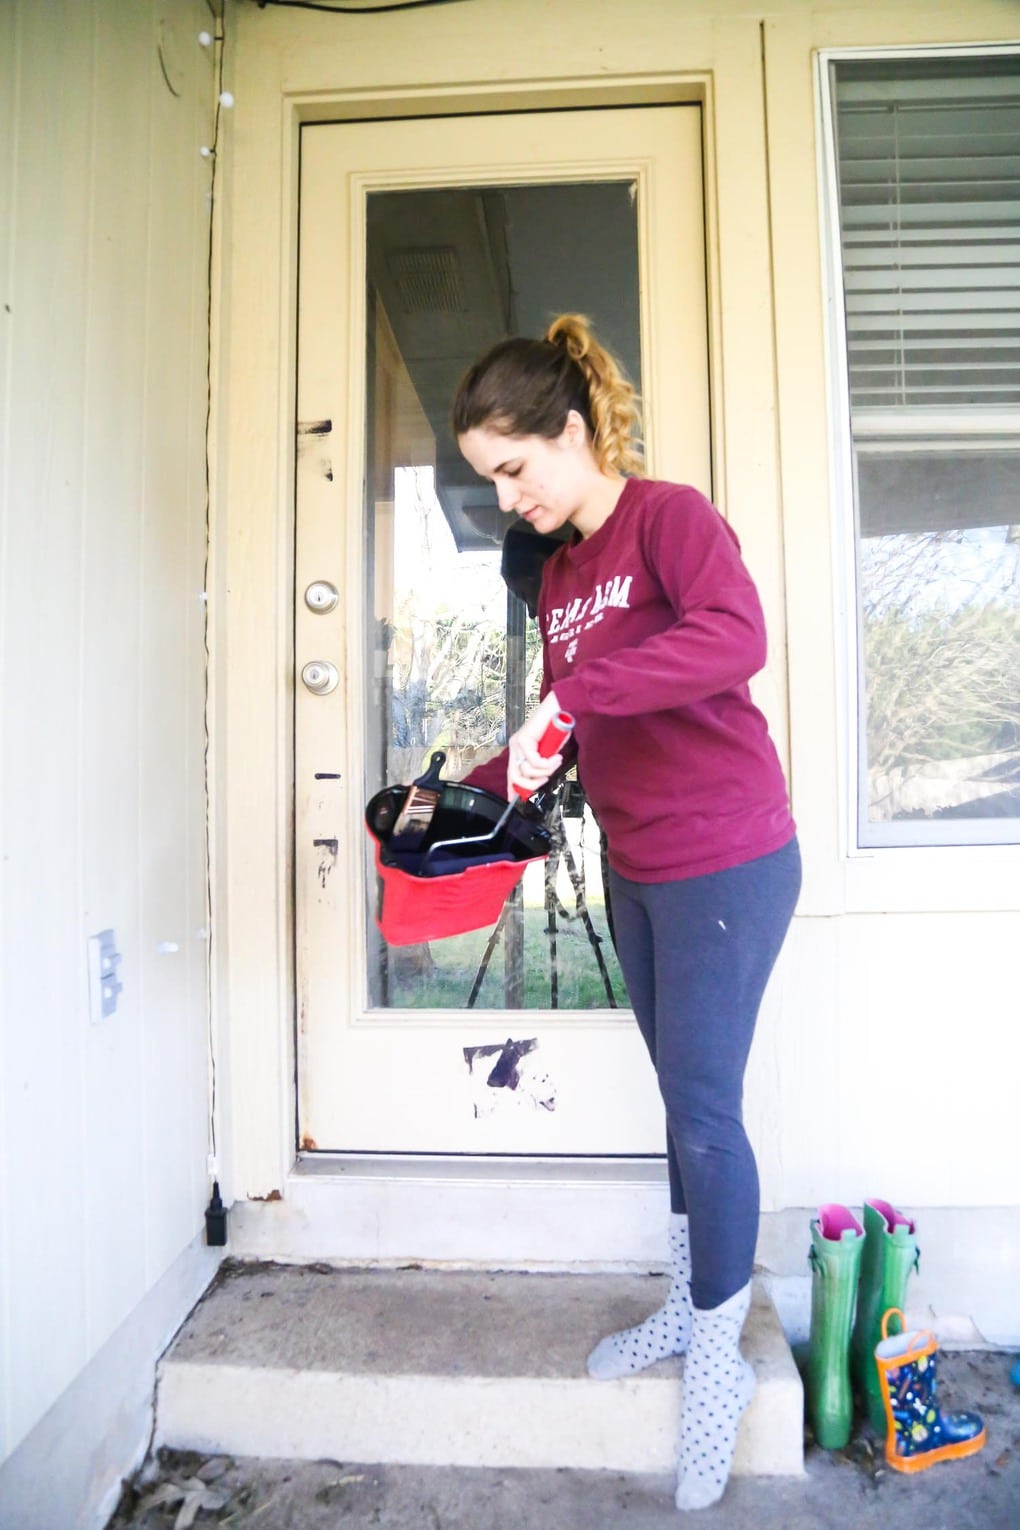
Oh, and one more tip – I wouldn’t even try to paint an exterior door without my HANDy Pro Pail. It sounds dramatic, but I’m serious – you already know that I’m obsessed with my HANDy Paint Pail and Paint Tray (I talked about them in this Facebook Live about painting our kitchen cabinets!), but this thing is the perfect solution for projects like this where you also need to use a small roller. It’s kind of a hybrid between the Paint Pail and the Paint Tray – it holds just over a quart of paint or stain and it has all of my favorite features of both of the other two products. There’s an angled side with bumps to help you load up your roller, and on the other side, there’s a magnetic strip to hold your paintbrush.
With the Pro Pail, I was able to keep everything I needed right next to me the whole time I was painting. I don’t know about you, but my biggest annoyance when it comes to painting projects like this is switching between the brush and the roller and constantly having to get back up to walk across the room and grab different tools. I feel like it can be so difficult to keep everything corralled when you’re working on this kind of a project, but this little guy makes that a non-issue. I kept my roller, brush, and paint right next to me the entire time I was working and I didn’t ever have to stop to switch things up.
And we all know I like any tool that helps me keep things nice and lazy when I’m working on projects.
Another favorite thing about the Pro Pail (and really, all of the HANDy Paint products)) is that you can buy liners that fit perfectly inside it and make it to where the cleanup time is basically nonexistent. That’s right – just pull the liner out, toss it in the trash, and you’re done.
What’s lazier than that?!
I originally debated whether or not I would actually paint the exterior of the door – we aren’t really tackling the patio area quite yet and I wasn’t sure if I wanted to put the time in when we don’t even know if it’s what we want to do out here in the long haul. But, once I put some thought in I quickly realized that it would probably add less than an hour of extra time to my project – and an hour’s worth of work is totally worth the end result!
In fact, now that the exterior of the door is looking so fresh and clean, it’s inspiring me to do a few more things out here. Maybe I will tackle a few patio projects this season, after all!
So, if you’ve been thinking about giving one of your exterior doors a little makeover, let me go ahead and be the one who tells you to go for it. It’s such an easy and affordable project, and it makes a major difference in how your home looks and feels. You absolutely will not regret it!
Also, if you’ve been putting off any painting projects because you’re tired of all the grunt work that goes into painting, look into the HANDy Pro Pail – you just might be surprised at how much time it saves you and how much easier it makes your project feel!

Looks great! What’s the name of the paint? Is it matte? Thanks.
Hi Rachel – No, I used a semi-gloss paint, which is generally one of the more wipeable and durable finishes (perfect for outdoors!).The color is called Domino by Sherwin Williams.
I think I need to get me one of those hand pails as I’m about ready to paint our front door. Thanks for sharing this on Merry Monday.
PS! Where did you get that side table! Love it! laura
It’s from Target a few years back! 🙂
It looks so good. I painted the exterior side of my garage entry door so when I open the garage my door looks so pretty! love this! love the paint outfit too! thanks for sharing on Merry Monday. laura
Thank you!