
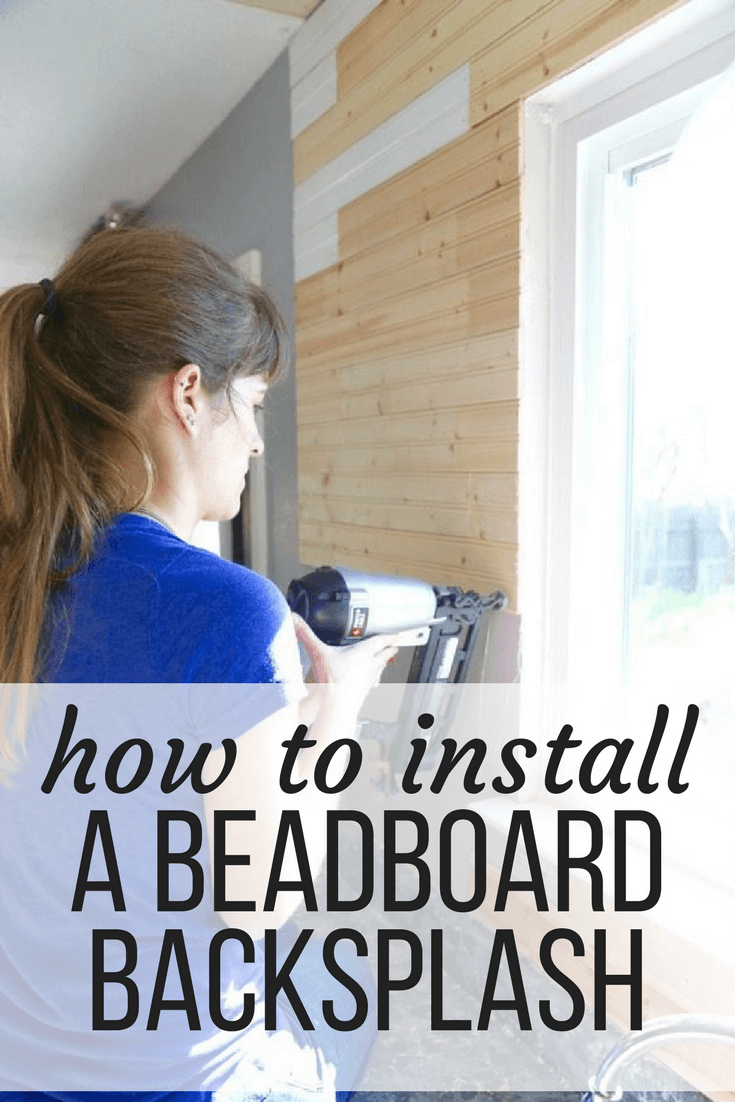
Installing a Beadboard Backsplash in the Kitchen
Last updated on May 2nd, 2024 at 12:36 pm
This post will show you how to install an affordable, modern, and beautiful beadboard backsplash in your kitchen or any other room. Installing a beadboard backsplash is an affordable and gorgeous way to update your kitchen!
I’m a huge fan of any DIY project that can make a huge change in your home on a budget. We have been working on making some budget-friendly changes in our kitchen, but the backsplash area has been a problem. I would love to tile it, but that’s out of the budget right now. And honestly, outside of the scope of time I’m willing to put in!
Recently, my mom offered up some beadboard that they had leftover from renovating my grandmother’s house. I jumped at the chance and decided that instead of a tile backsplash, I’d install a beadboard backsplash. I had plenty of people look at me kind of funny for saying I was going to install a beadboard backsplash in my kitchen (including my husband, let’s be honest). But, I knew it would look fabulous so I stuck to my guns.
And boy, am I ever so glad I did.
How to Install a Beadboard Backsplash:
Materials Needed:
- Beadboard (I used tongue and groove planks, but beadboard paneling works great too!)
- Trim (whatever style you like, for finishing off the edges)
- Liquid Nails
- Nail gun + Nails
- Caulk and caulk gun
- Primer
- Paint roller + paintbrush
- Paint (I love white for a kitchen backsplash, but do whatever you want!)
Step One: Prep Your Wall
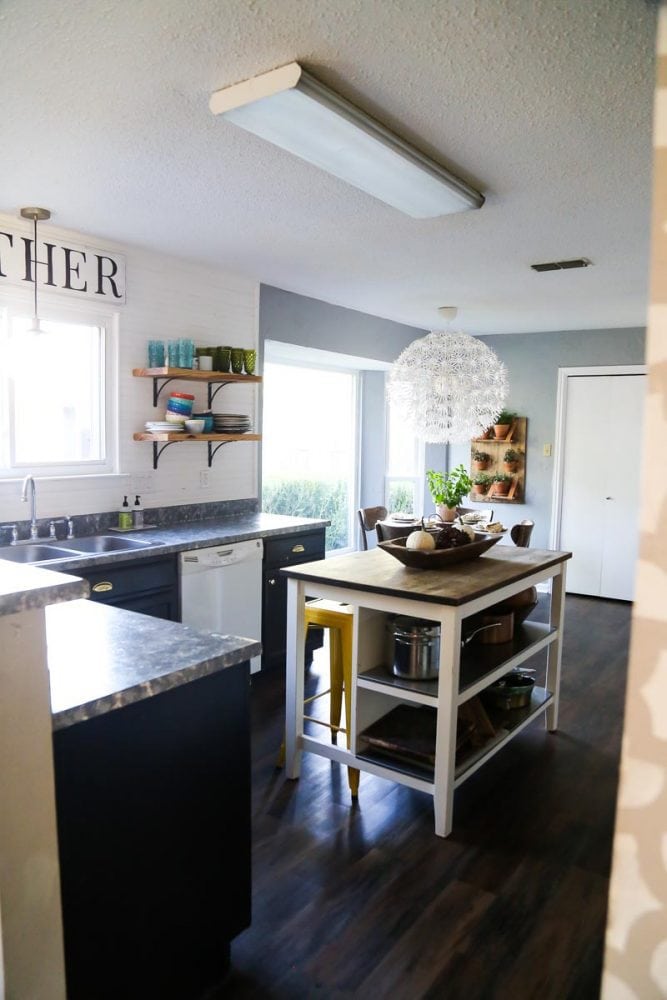
If you’re new around these parts, let me show you what that wall used to look like:
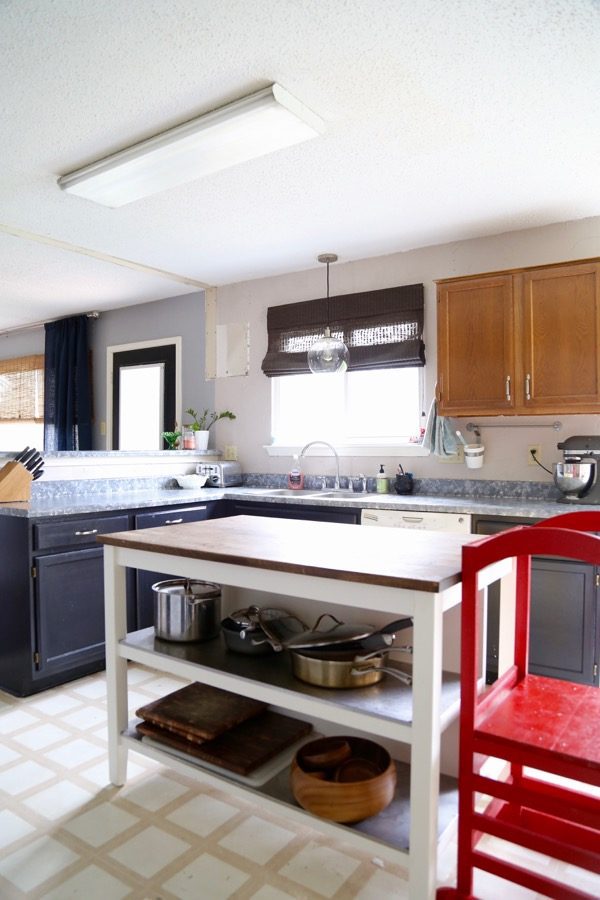
That lone little cabinet sitting on the wall all by itself has bothered me since the day we moved into the house. It made the room feel smaller, it looked strange all by itself, and I knew it had to go. When we painted the cabinets we chose to leave it alone. I knew that we would eventually get rid of it! So, it was the only unpainted cabinet. And it stuck out even more.
So, I don’t think I need to tell you that when it was time to finally take that cabinet down I was practically doing a happy dance. The room looked better pretty much the second we took it off the wall.
Step Two: Install Beadboard
I used beadboard planks for this project because they came from my mom and they were free. But typically when I work with beadboard, I use beadboard sheets! They come in panels of 4′ x 8′ and they’re really easy to cut down and install.
If you’re working with sheets, you’ll want to apply your Liquid Nails to the back, place the sheet in place, and use a nailer to install it. Sounds overly simple? It’s honestly that easy!
With the tongue and groove planks, it was easy, too! We started by drawing a level line across the top of the ceiling. Ceilings aren’t always level, so this helps ensure your planking is. Then, we nailed in the boards across the top row.
We decided to go with a staggered look similar to how you would install flooring. The top row started with a 32″ board, then the next row started with a 16″ board, and the third row started with a 24″ board. Then, we just repeated the pattern all the way down. This keeps the seams from looking too uniform and helps your eye to skim right over them.
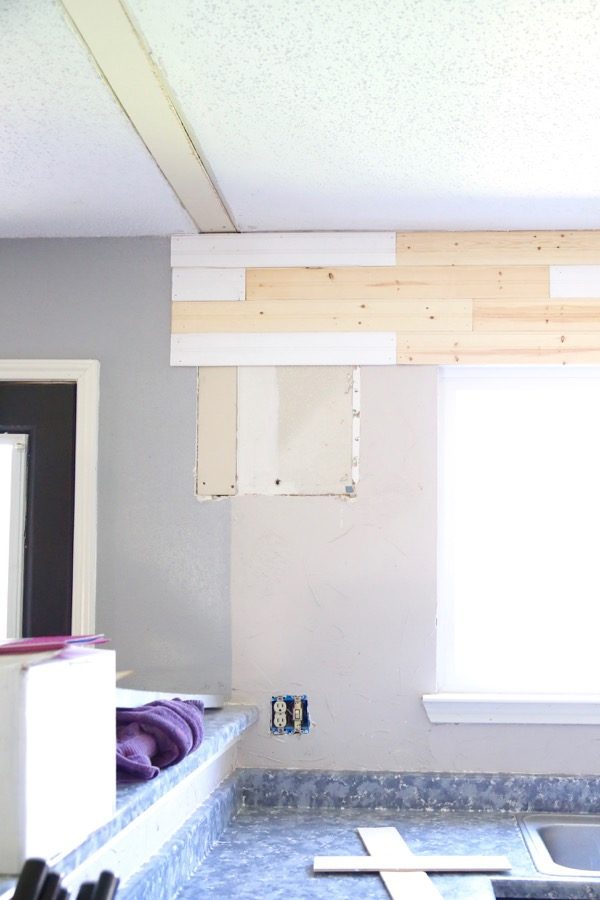
This works like a charm to cover up the ugly texture in our kitchen, so I’m really thrilled with that little bonus!
Step Three: Install Trim
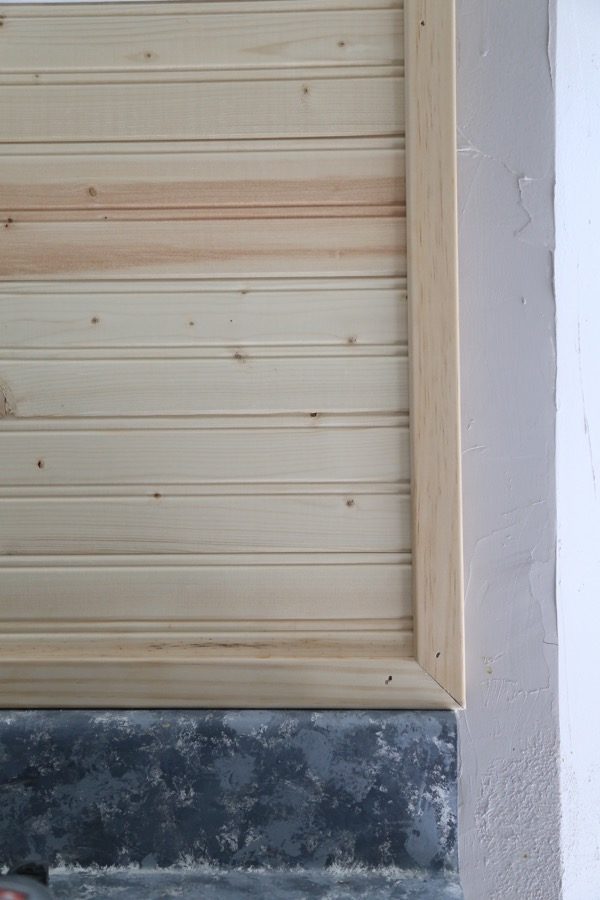
Once the boards were completely installed, we moved on to installing trim.
For the edges (both sides, top, and bottom) of the beadboard backsplash, we installed a simple trim piece that’s about 2″ wide. We cut a mitered edge so it would look nice and clean. This is just a really easy way to finish off the project and hide any rough edges.
We didn’t have any outlets or appliances (like a stove) to work around. But, if you do, you’ll just cut around them using a jigsaw.
Step Four: Caulk and Paint
With your beadboard kitchen backsplash installed, now it’s time to add the finishing touches. There will be cracks where your beadboard paneling meets, and lots of little nail holes. You’ll want to use caulk to fill in aaaaall of those little gaps. Just be careful not to get a lot of caulk in the grooves of your beadboard!
I primed my beadboard because some of it was raw pine. However, a lot of beadboard you find at Lowe’s and Home Depot comes pre-primed, so you may not need to worry about that. Then, I painted the whole shebang white (Olympic’s Flagstone to be specific).
I am truly so thrilled with how this turned out. I never thought I’d be into a more farmhouse kitchen but, the white beadboard backsplash just works. It’s a beautiful, clean look, and a super affordable option for a backsplash.
The moral of the story here, my friends, is that even if people think you’re crazy for wanting to try something a little different in your home, just do it. Most projects like this are relatively low cost and don’t require a ton of time, so why not just try? I’m so glad we took a chance on this DIY beadboard backsplash and Corey can’t stop talking about how it transformed the entire feeling of the kitchen – it feels brighter, bigger, and more open now!
I absolutely love how this looks and have wanted to do this in my kitchen on a couple of walls. Our theme is primitive country and I really believe it would be perfect. How does this hold up on the wall behind the sink with the moisture and possibility of water splashing on it? That would be a big concern for me.
As long as it’s painted (not raw wood) and you don’t let water just sit on it, it’ll hold up great!
This looks great and I’d like to try it! But…a question….my backsplash will also include my kitchen stove area. Do you think this would stand up to the heat? Especially when using the VERY hot self-clean?
I can’t imagine that it would be an issue, but I’m definitely not qualified to say for sure! Generally, there’s a bit of a space between the stove and the wall behind it, so I’d guess that space would be enough to allow for some ventilation. But, I’m no professional so I’d suggest doing a bit of research before you commit!
Was looking for a tutorial for installing beadboard, using beadboard sheets, to cover a plaster or drywall mud with a texture that looks horrid, and here you came. i didn’t want to sand or anything either, just cover the mess. Thanks for the inspiration!
Glad it helped!!
I am so impressed with your bead board back splash, I now know what I am going to do with our wall. thanks
Glad it was an inspiration, Maryann! I’d love to see photos when you’re done! 🙂
Great job,I think it looks amazing!
Thank you, Sharon!
I love this…..my husband keeps telling me I need to pick out tile for the back splash for when we do a DIY kitchen remodel…..but I’ve kept postponing it because I didn’t know what I wanted…..this would be so PERFECT. It’s a ranch style home, so it would go really nicely. We could update but still have that Texas ranch sort of feel to it at the same time. I can’t wait to see your open shelving, because that was already in our plans to do as well!
I think it would look great! We’re in love with it in our kitchen! And yes, the open shelving is one of my favorite things we’ve ever done – can’t wait to share!
Looks so good! I also like the dishwasher decorations 😉 #lifewithkids
Haha, yeah I considered moving them but it ALWAYS looks like that so I figured I’d keep it real. 😉
I did the exact same thing. My husband thought I was crazy too! Love it!
Thanks! Glad I’m not the only one – my mom kept trying to talk me out of it…it was pretty funny! Luckily, now that she’s seen it she loves it too!
This is a very cool look! Sadly, I don’t have the kitchen to do a similar project. But I’m definitely tackling a cabinet makeover soon, after seeing how much a coat of paint can make the room so different!
It will change your life! I can’t even get over how different our kitchen looks with a little bit of paint. 🙂