The New Powder Room Vanity
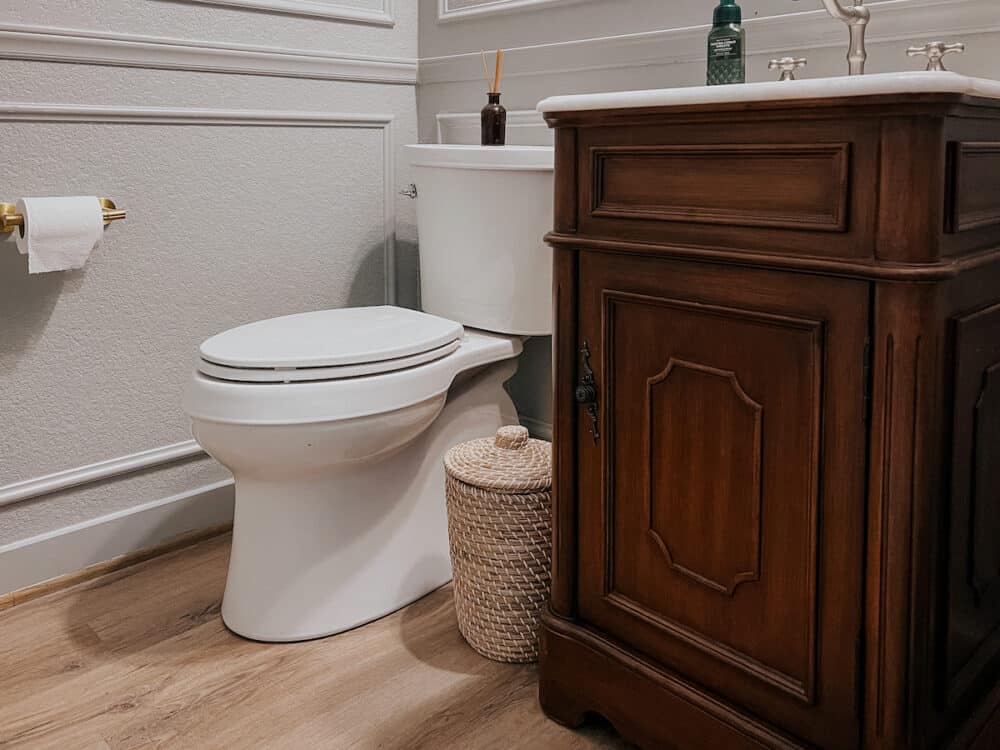
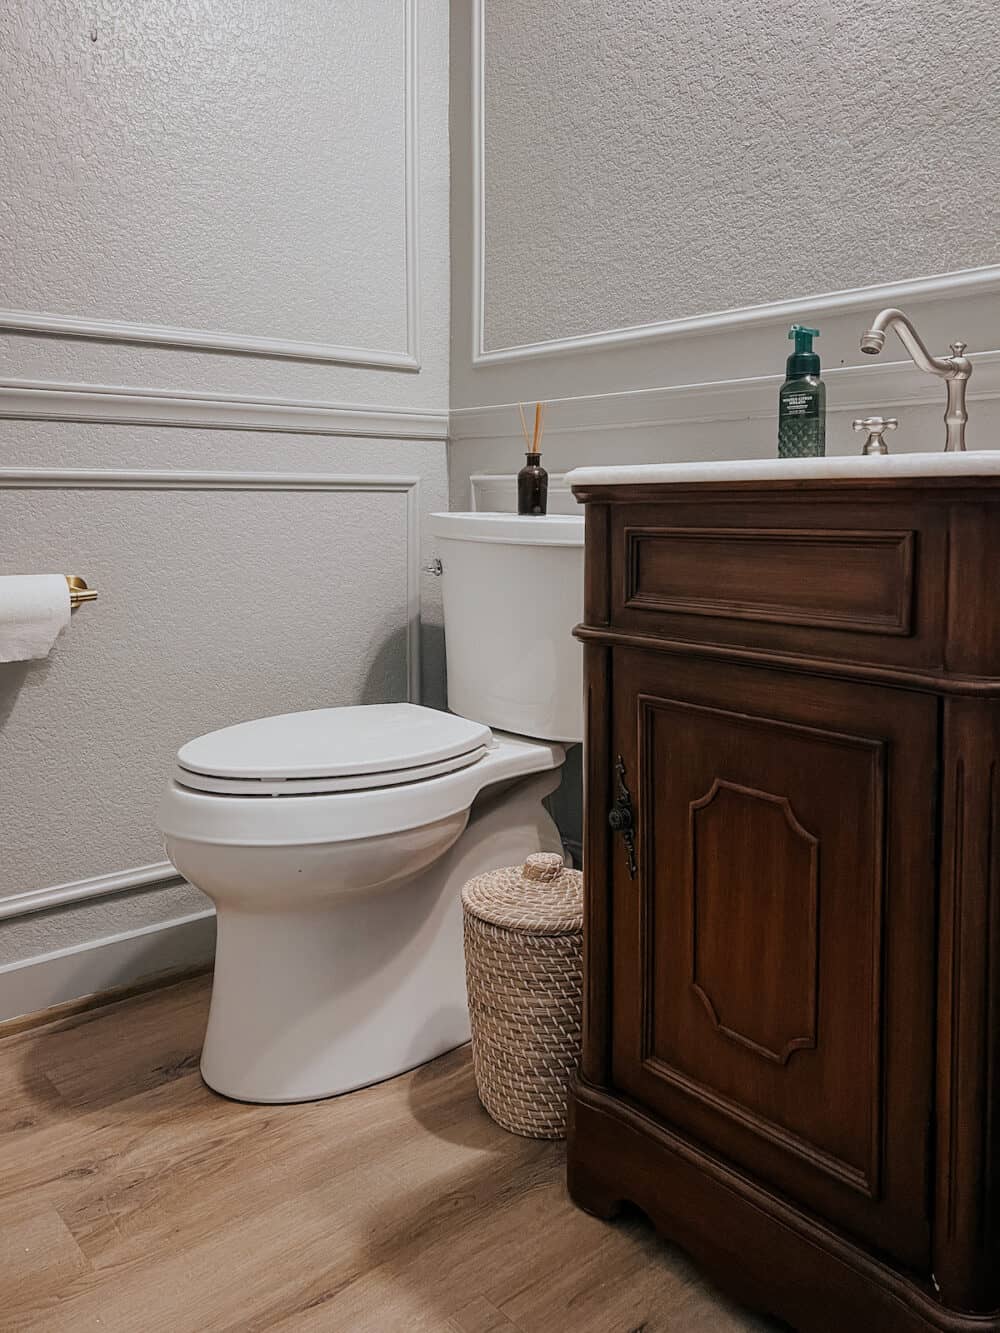
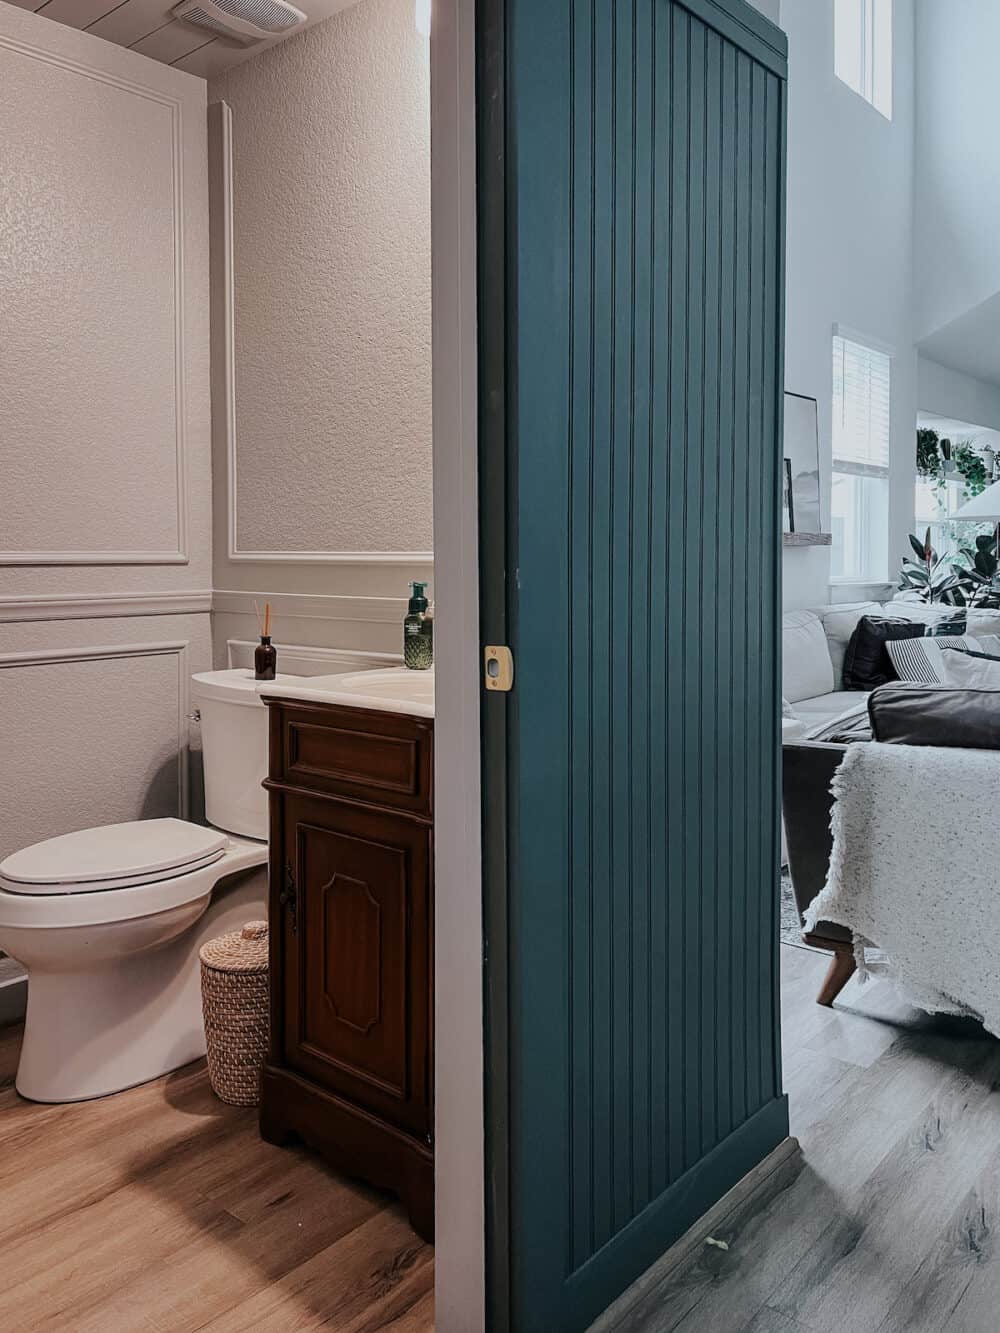
We’re one step closer to calling the powder room finished – I installed a new powder room vanity! And, I couldn’t possibly be more in love with it.

Before, we had a pedestal sink in this bathroom. I’ve honestly always loved the look of pedestal sinks, and have even considered installing them in bathrooms before. But actually living with one? Not my favorite. The lack of storage was pretty frustrating, and I constantly found myself wishing for a drawer or cabinet where we could stash toilet paper.I also wanted a little more counter space on the top. We barely had room for a container of soap!
So, needless to say, I’m really thrilled with the change.
I spent a really (really!) long time shopping around for vanities for this powder room. I was incredibly picky. On my list of must-haves?
My Powder Room Vanity Criteria:
It had to…
- Be about 21″ wide, no more. It’s a tight space!
- Be a wood tone, not painted.
- Have a traditional, almost vintage feel.
- Have some curves to it – there are enough clean lines in here already!
- Look like a piece of freestanding furniture.
- Not look like really cheap laminate wood.
- Have a cabinet to hold toilet paper.
- Oh, and it had to be under $500 or so because I’m on a budget.
It was a tall order. I browsed just about every website out there, went into multiple different stores to look at options, and felt like I was just about to give up when I found this one!
I think it’s safe to say this was the only vanity I found in all of my browsing that really checked all of my boxes. It’s from Wayfair, and it’s the Charlton Home Andriena 21″ vanity. Out of all the bathroom vanities I browsed, it was by far my favorite. As soon as I saw it, I couldn’t stop thinking about it.
And it’s here!

I’m head over heels in love with my new vanity. It’s perfect for this small powder room, and the wood really warms the space up. The traditional look really fits in with the picture frame molding, and it’s a freestanding vanity so it looks a little more elevated.
Basically, it’s perfect! I’m proud to show guests to this space now, which feels really great.
The Details…
Let’s break down some of the details of our new powder room vanity.
- It has a marble vanity top, so it’s a really durable material that also happens to be gorgeous.
- There’s storage space in the base of the vanity – it’s fully open with one removable shelf. Plenty of room for toilet paper and a few other essentials!
- Installation is incredibly simple, since it’s freestanding. Just slide it into place and install the faucet. I caulked around the top where the counter meets the wall, but that’s it!
- It comes with the hardware on the cabinet door, and I really like it for now. I often change out hardware on furniture like this, but I don’t see myself switching this one out anytime soon!
Most vanities (including this one) don’t come with a faucet. I knew I wanted something vintage-feeling for this, but I debated the finish for a long time. I really want to mix the metals in this bathroom, because I think if we do all brass, it’ll fall flat. Corey didn’t love my first choice of polished chrome, so we ended up landing on this brushed nickel faucet. It’s beautiful, has exactly the lines I wanted it to have, and finishes it off perfectly.

It can be tricky to make small bathrooms like this feel special. When you’re working in small spaces, it can feel like every single decision makes a huge difference! I’ve definitely put a lot of pressure on myself to get it “right” with this powder room, and so far I’m really happy with how it’s coming together. This vanity was the perfect solution for bringing in some warmth and storage to this bathroom, and I’m feeling so much inspiration for the next phase of the project.
What’s left? I still need to…
- Add a mirror (hah!)
- Replace the light
- Add art on the walls
- Add some finishing decor pieces (hand towels, some greenery, etc.)
- (Possibly) Add a rug
And that’s it! I’m in no rush to get to this last phase of the project, though. We’ll get there in good time!
Sources + Projects
- Wall Color: Motor City by Clare
- Shiplap ceiling tutorial
- Wall trim tutorial
- Vanity
- Faucet
- Toilet (if ever there was a toilet I’d recommend with my whole heart, THIS IS IT!)

New to your blog. Lots of things in common, including living in an Austin suburb. I too have a pedestal sink I want to replace with a vanity. Do you have step by step instructions on how to do the work? Or a VERY easy tutorial? I am inspired by your blog but I’m terrified to spend money on tools/supplies and flop or do subpar work in my own house. I’m picky, broke, but willing to learn.
Hi! Any vanity you purchase should come with detailed directions – that’s what I always follow when I do it. I promise, it’s not too hard at all!