Adding Trim to the Powder Room Walls
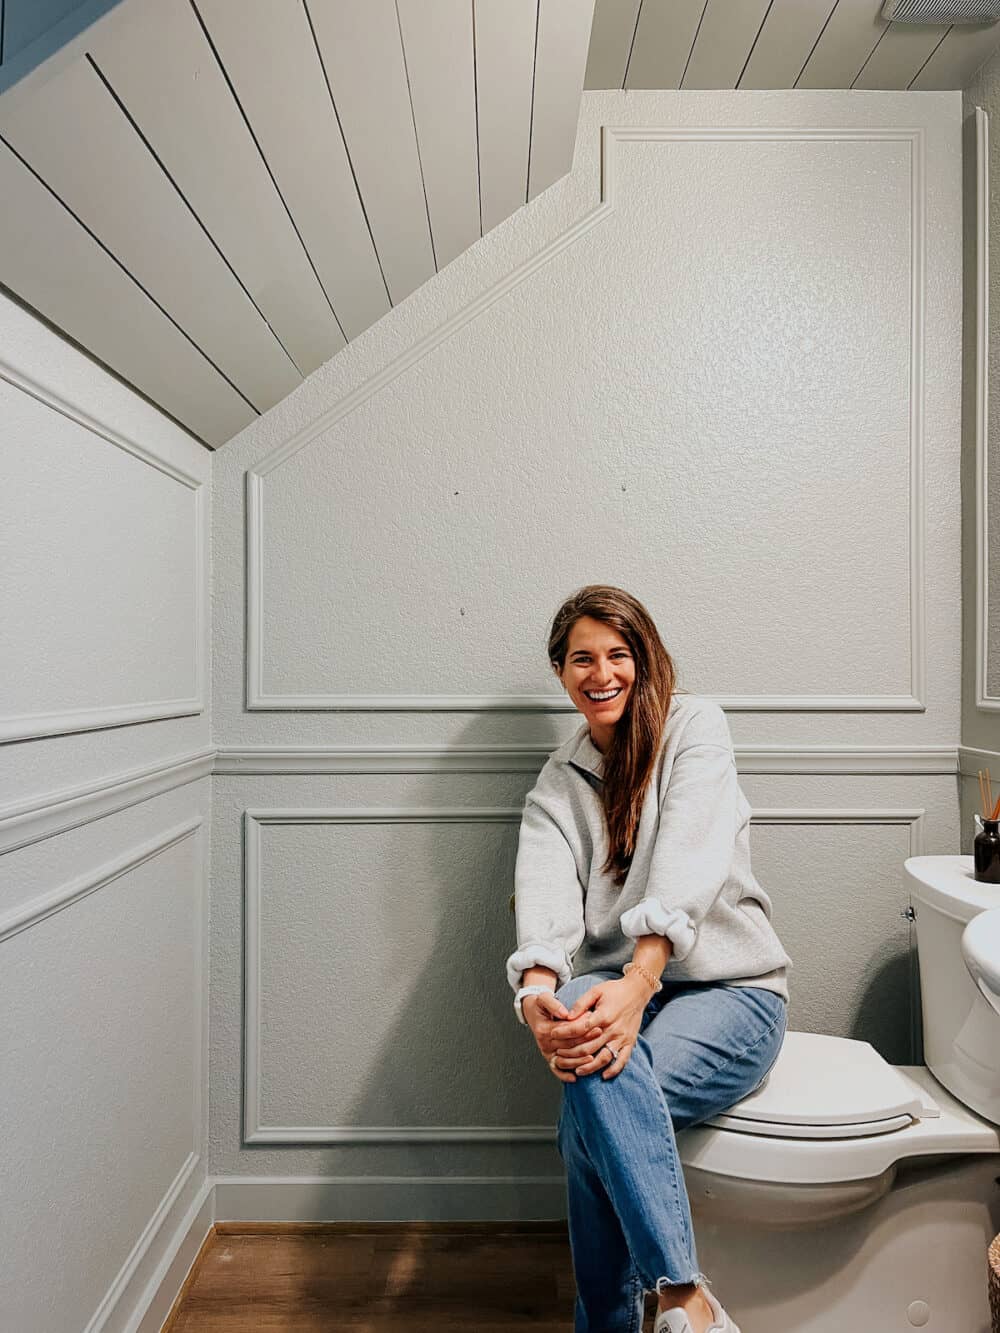
Y’all! The powder room walls are done and I couldn’t be more thrilled. This little space has been on a bit of a journey over the last few months, but we’re finally on the right track and it feels oh so good. Are you ready to see the big reveal?!
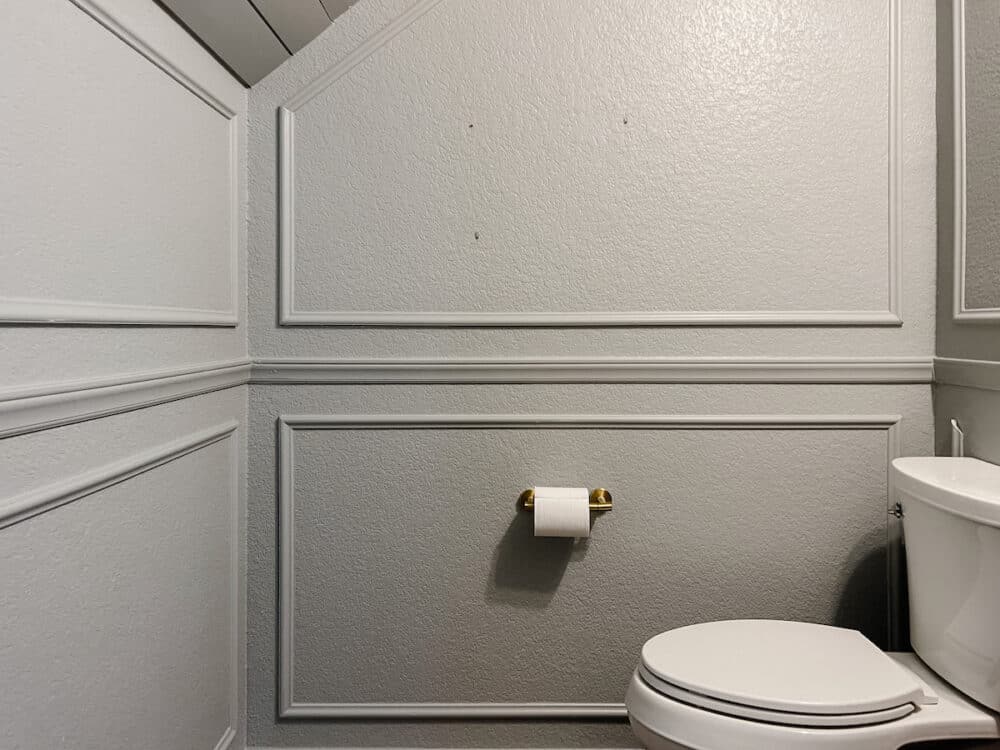
I mean…can you even handle it?!
Let’s take a step back and recap the process so far. This little powder room is under our staircase, right off the living room – many of you didn’t even know it existed for the first few years we lived here, because I never showed it. It was the last remaining room in our house that hadn’t been touched at all, and there wasn’t much to show.
Here’s a little reminder of the before:
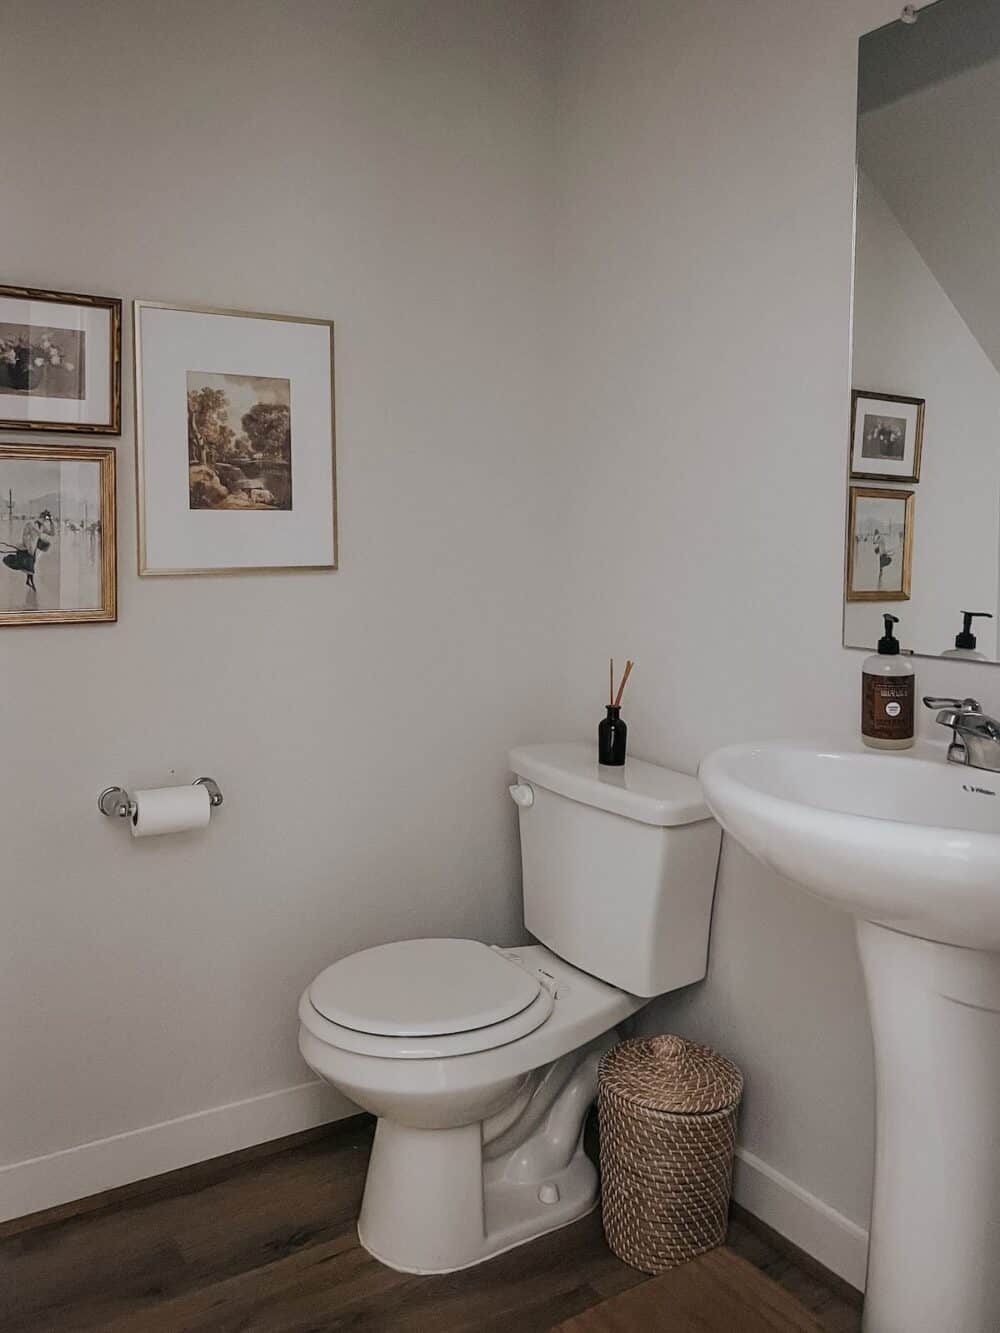
Back in December, I painted the powder room walls. Almost immediately upon painting it, I knew I had chosen the wrong color. It was too dark for the space, it wasn’t the vibe I wanted, and it was much too close to the color of our entryway.
So, I repainted. Sometimes you just get it wrong and you’ve gotta start over!
Last week, I installed a shiplap ceiling in the powder room, and then adding this picture molding was the final touch for the walls. I’m head over heels in love with how it turned out, and I’m so excited to be able to call it done.
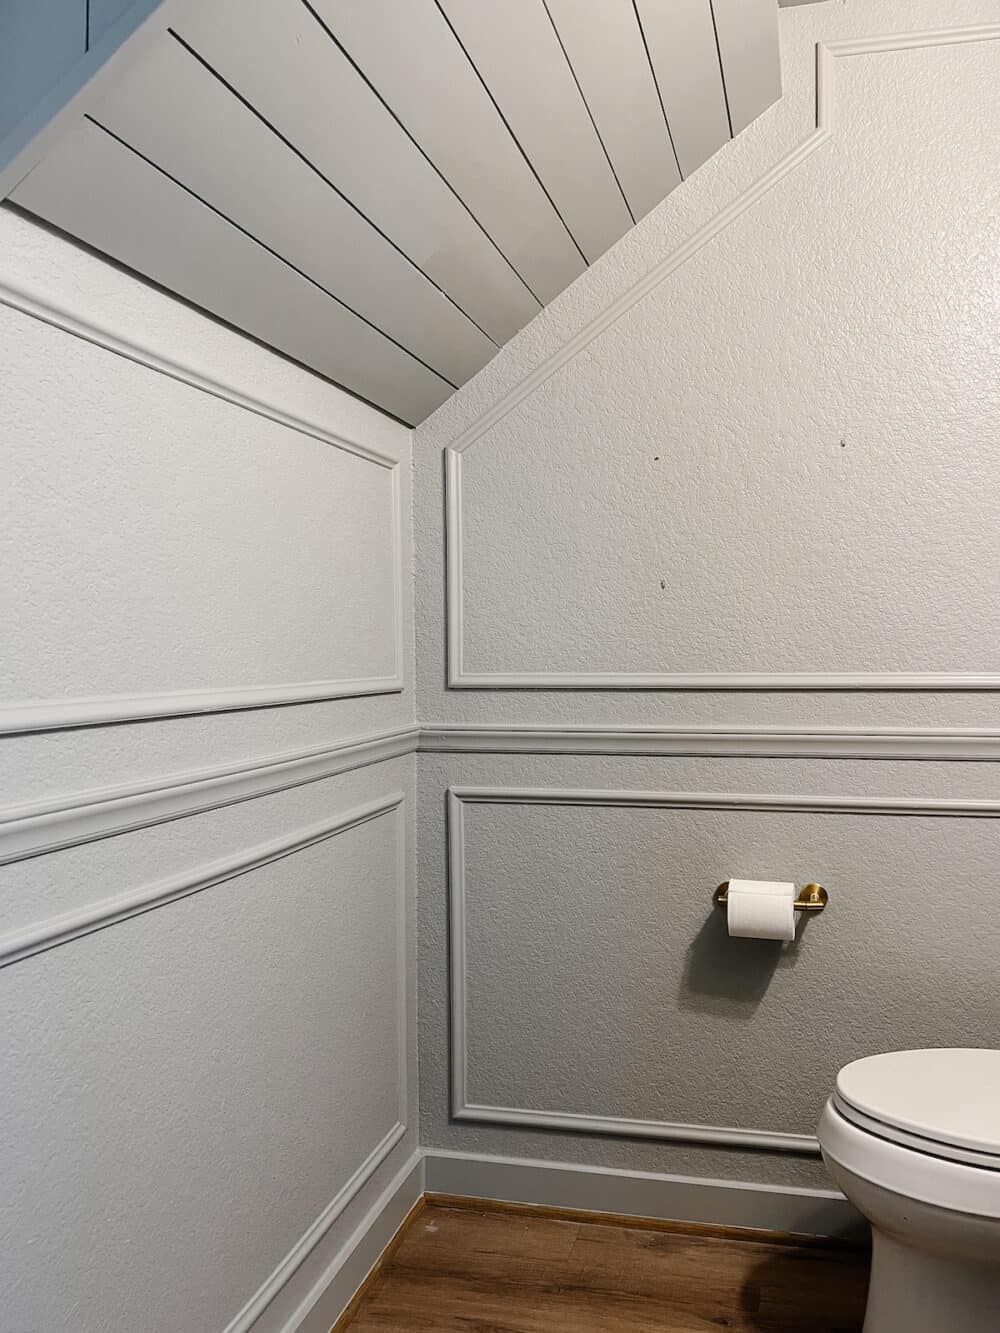
Adding Trim to the Powder Room Walls
Planning + Prep Work
Deciding what kind of trim to do on the walls in our powder room was not a short process. I originally wanted to shiplap the entire room, including the walls. While I stand by the fact that it would have been gorgeous, it also would have been pretty expensive. I ran through a few other options mentally before I landed on picture frame molding.
This is the same type of trim that we have in our bedroom, and I love how it ties in together. Repeating trim elements throughout your home is a great way to create a cohesive look. Plus, when you know what you like it’s just easy to do it again!
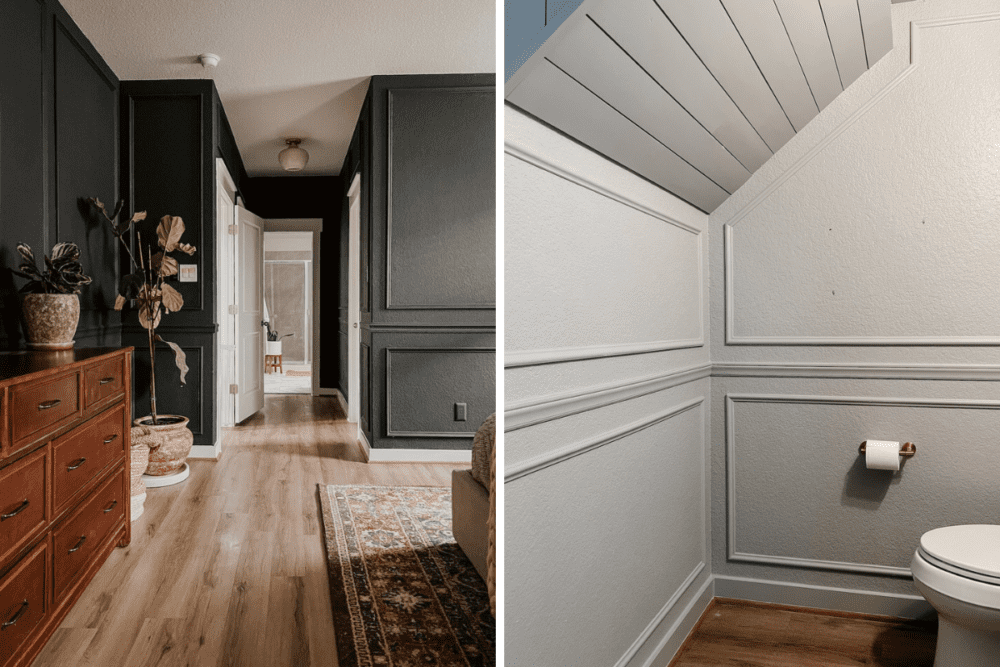
Side note: Doesn’t this make you think about how good a shiplap ceiling would look in MY room?!
The first thing you need to do when you’re planning out picture frame molding is decide on the sizing of your boxes. Work one wall at a time and decide how many boxes you want per wall. It can be really helpful to use painter’s tape to tape off your design before you start installing!
I ended up going with just one large box on the top and bottom of each wall. There are a few reasons for that:
- It uses less wood, so it’s cheaper!
- In a small space, it’s less visually busy.
- It frees up space for me to hang more art!
Installing Trim in the Powder Room
I’m not going to go into detail on the step by step process of installing picture frame molding in the powder room because I’ve already got a super detailed picture frame molding tutorial!
Below, I’m linking several posts from the archives that will be useful to you if you’re embarking on a project like this!
Related posts
Here’s a Few Tutorials…
In those posts, you’ll find has details on everything from installing picture frame molding to using the tools you’ll need. If you have a question about anything in this process, I can pretty much guarantee you’ll find the answer there!
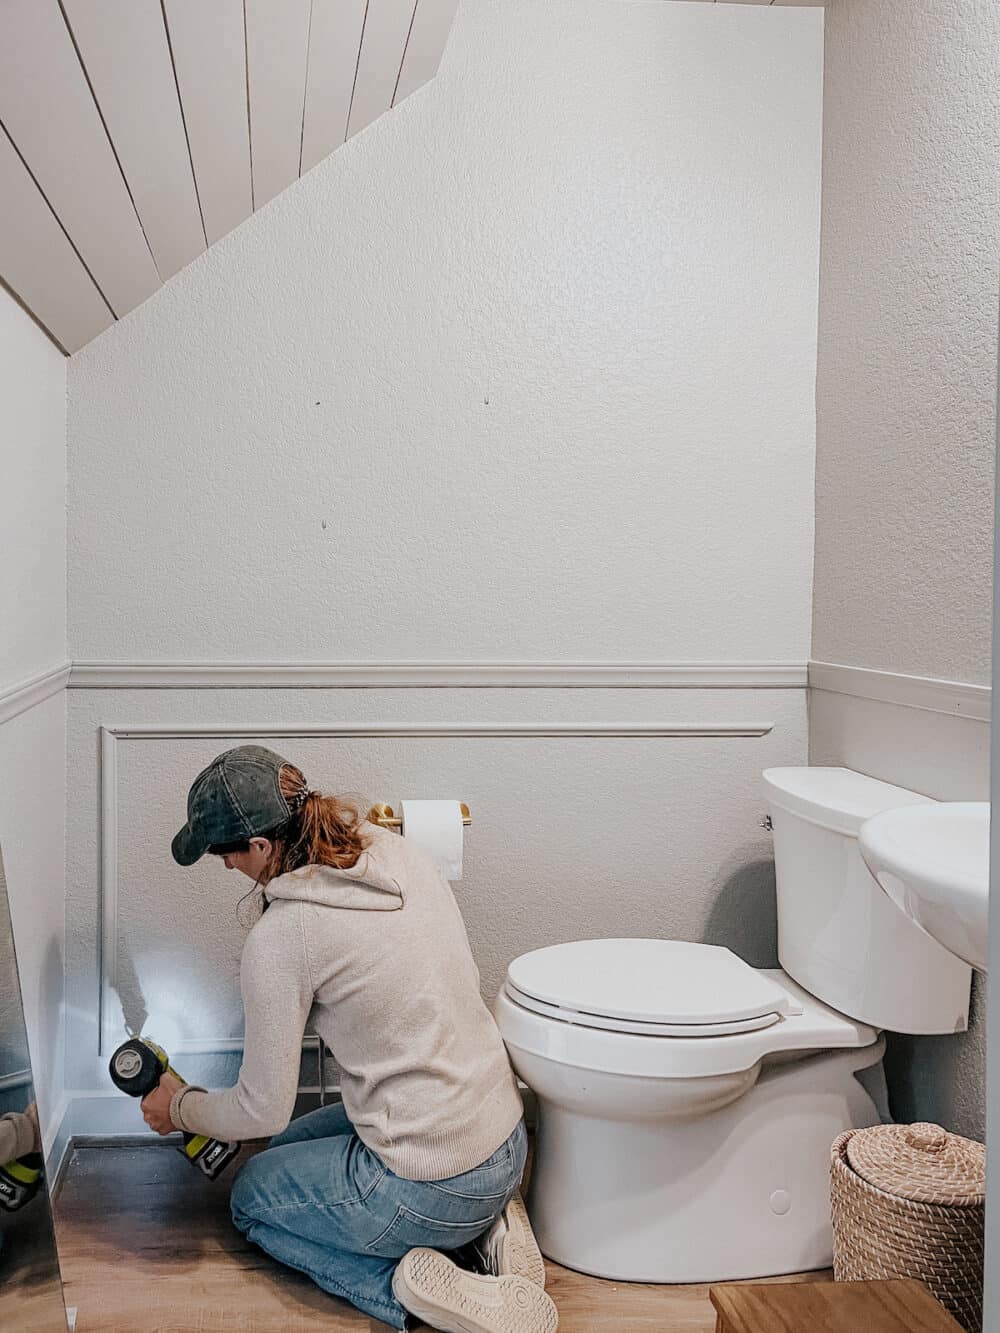
This time around, I used a spacer block rather than measuring the spacing for each box. Why I didn’t do this before, I couldn’t tell you. It made things go SO MUCH FASTER and I 100% recommend it.
One unique thing I got to deal with in here that I didn’t come across when I was working in my room is the angles. It adds a little layer of difficulty when your boxes need to be angled, but if you use an angle finder, move slowly, and make a few practice cuts, you can do it.
Frequently Asked Questions
What Trim Did You Use?
I went with PVC trim for this space – it’s so easy to work with and so much more affordable than wood!
I used this PVC trim for the chair rail, and I used base cap molding for the boxes!
How Much Did it Cost?
I know this is the question on everyone’s minds. How much does it cost to install picture frame molding?!
Here’s a rundown of the costs:
total
cost
- Chair rail trim: $40
- Base cap molding: $70
Keep in mind, I already had the tools, caulk, nails, and paint on hand for this project. If you don’t have those things, it will add to your total cost!
A Reminder of the Grand Plan
You might remember that when I shared a mood board for this space, I told you it wasn’t going to be an “all at once” makeover. I think we so often expect to see places completely flipped inside of a weekend, thanks to HGTV (and, let’s be honest, Instagram!), but this is real life!
That being said, I feel like I have to point out that this is still coming together shockingly fast! I was able to get the shiplap and the wall trim done within about two weeks, working on and off. I have one more large project on my agenda before I take a little break from working on it, and I’m really excited to share that with you next week.
You can click here to be taken to the post with the mood board for the powder room. Most of it is not set in stone, because I’m taking this one step at a time. But, it’ll give you an idea of the direction I’m headed in!
Expect one more powder room update this month, and then we’ll probably take a bit of time off to focus on other things. But, that doesn’t mean it’s done – far from it! I still have big plans for this room, but not everything comes together all at once. Sometimes you’ve just gotta make changes one Tiny Tweak at a time (wink wink, nudge nudge).
