IKEA TARVA Hack With Rust-Oleum Chalked Paint
We’re finally back in Darya’s room and things are getting exciting, y’all! Today, I’m sharing how I made over an IKEA TARVA dresser with Rust-Oleum Chalked Paint to give her a gorgeous new piece of furniture that will look amazing with her wallpaper!
If you missed the first post on Darya’s room, we started off by adding a board & batten wall treatment and some beautiful floral wallpaper. Things got put on hold for a while because life got busy, and now we’re ready to wrap things up in here!
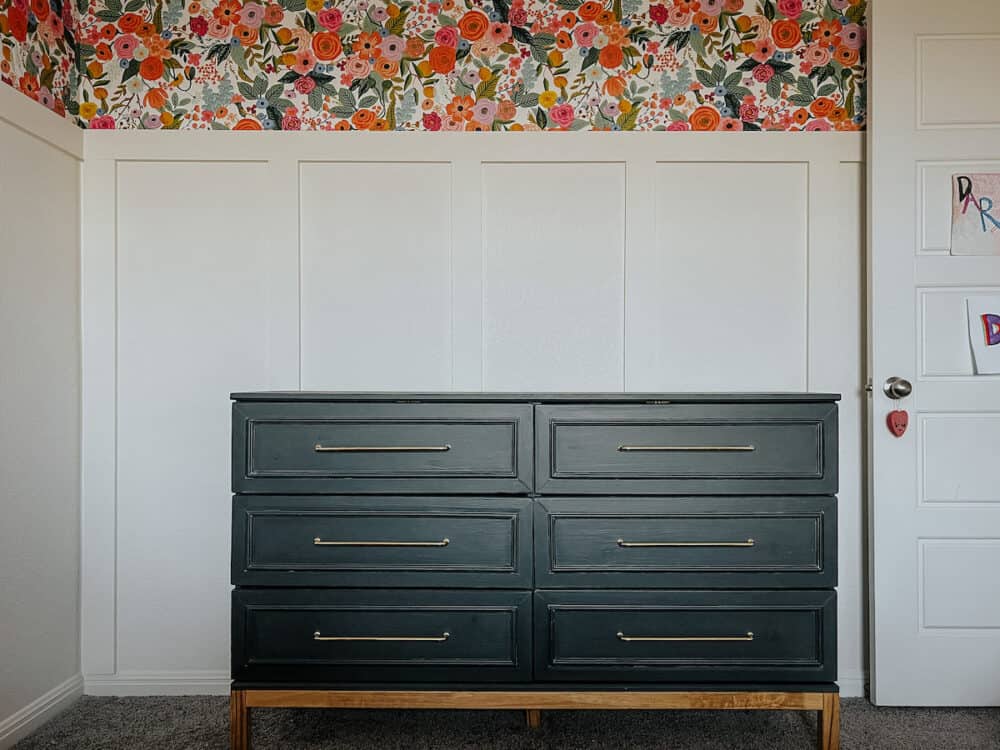
And we’re starting with this beauty.
This post is sponsored by my friends at Rust-Oleum.
Would you believe me if I told you that this was originally a super plain, raw wood, no embellishments TARVA dresser from IKEA? Because…it’s kind of hard to believe!
Today I’m going to walk you through what I did to take it from totally bland to this. And you might be surprised to find it’s easier than you expect!
ikea tarva makeover with rust-oleum chalked paint
First of all, let’s talk a little about Rust-Oleum’s Chalked Paint and why I went with it for her room. A lot of thought went into this decision, and I’m really happy with how it turned out!
I’ve used Rust-Oleum’s Chalked Paint once before, in spray paint form. I used it to make these adorable fall pumpkins. The texture of the paint is great, and I loved how velvety and unique it was. I knew it would be really fun to use on a piece of furniture! So, I was really excited to try this out.
why chalked paint?
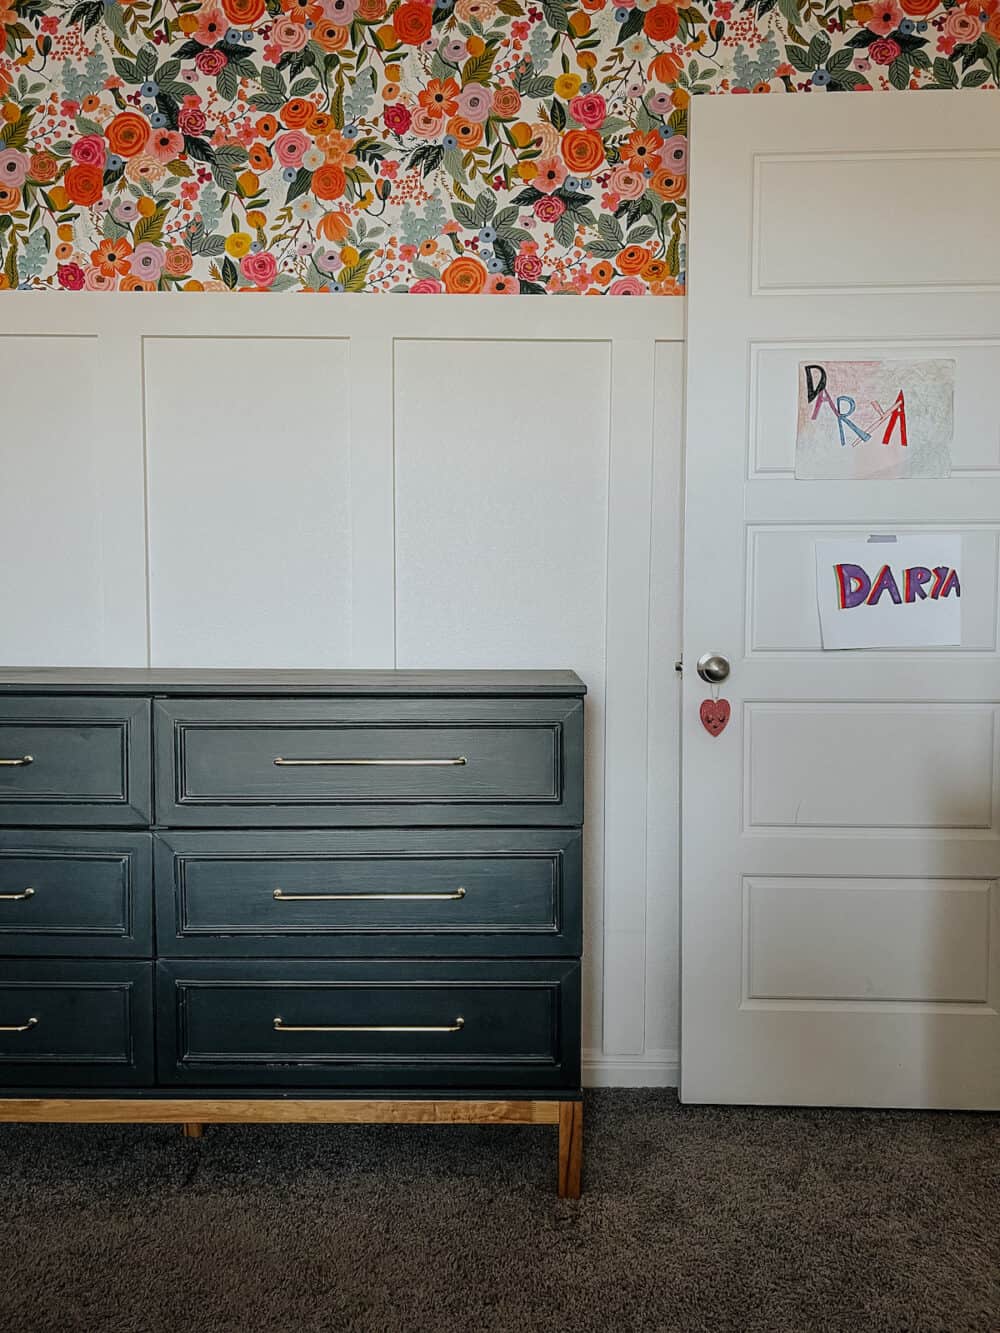
I knew that Chalked paint would be a great fit for Darya’s room for a few reasons. Her bed (which is staying) is a white, ornately-carved bed. It’s super traditional and feminine feeling. We chose black paint for the dresser because we wanted to balance out all of the super feminine touches in this room. Also, we felt like it would be a color that would last her forever. The only concern? A straight black would feel really jarring against all of the lighter colors and florals in this space. We didn’t necessarily want a high-contrast look!
Rust-Oleum’s Charcoal Chalked Paint is a reeeeally deep gray – not quite black, but not far from it. And the texture is exactly what we needed to soften things up. There’s something about the chalky texture of the dresser that helps it fit into the room a little bit better and feel like it belongs, rather than sticking out.
We’ll, of course, still plan on incorporating a black or charcoal color elsewhere in the room to help balance it out even more. But, just the small difference of choosing Chalked paint over plain latex made a huge difference. It helps this dark dresser feel right at home in this super feminine bedroom!
And, we helped warm up the color even more by bringing in a wood tone on the bottom. Her room doesn’t have any wood touches yet, so this was definitely needed. It creates a really nice balance between modern and traditional that I love!
Of course, we also added some trim to the dresser to help it relate nicely to her carved headboard, but I’m getting ahead of myself. Let’s get to the tutorial!
Assembly + Painting

The dresser assembly was really straightforward – just follow the instructions from IKEA! If you’re planning on painting the dresser all one color (which I’ve done more than once before), it’s fine to go ahead and assemble the whole thing and then paint it using a sprayer. It’s fast and easy and really simple.
But, if you’re doing a two-tone look like this or something a little more complicated, it can help to add finishes as you go. I assembled the box of the dresser up until I got to the point of adding the base and legs on. Then, I stopped to stain the base and legs and paint the dresser box. This helped make sure I didn’t get any stain where there should be paint (or vice versa) and was far easier than waiting until it was assembled.
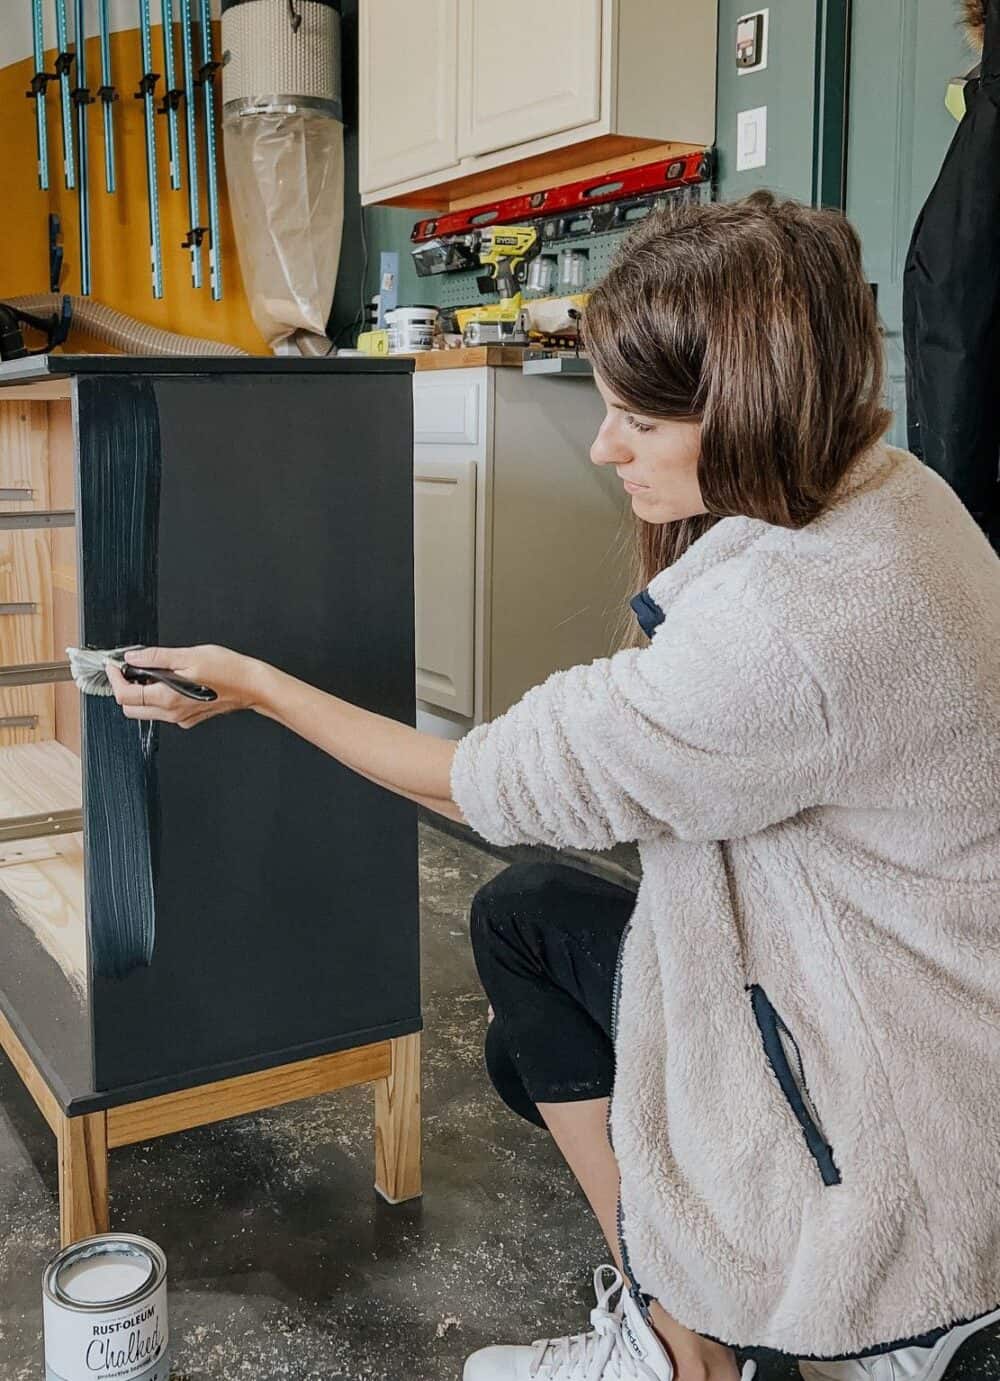
Rust-Oleum’s Chalked Paint should be applied with a paintbrush, so that’s what I did here. You want a little bit of texture in the paint, and a roller would ruin all of the charm! Just make sure to make really long brush strokes as you’re working. And, be really careful not to overwork the paint. If you go over it too many times, the brush strokes will be really obvious and create more of a shabby look that you might not want!
trim detail on the drawers
Probably my favorite touch we added to the dresser is the trim detail on the front. We specifically picked the TARVA because of how customizable it is! I really wanted to add some detail to the drawer fronts that would help the dresser feel a little less modern. It has super clean lines as it is, and might feel out of place with all of the curves and flowers in Darya’s room.
So, I used these lattice boards and this pretty, curved trim to add a border around each of the drawers. I simply cut all of the trim to length with mitered corners, put the lattice on the outside, and then added the more ornate trim inside it. In my head, I thought it was going to look great – but when I saw it actually come together I was still surprised by how much I adored it!
It’s the perfect added detail that softens the harsh lines of the dresser without taking it too traditional. I love, love, love it.
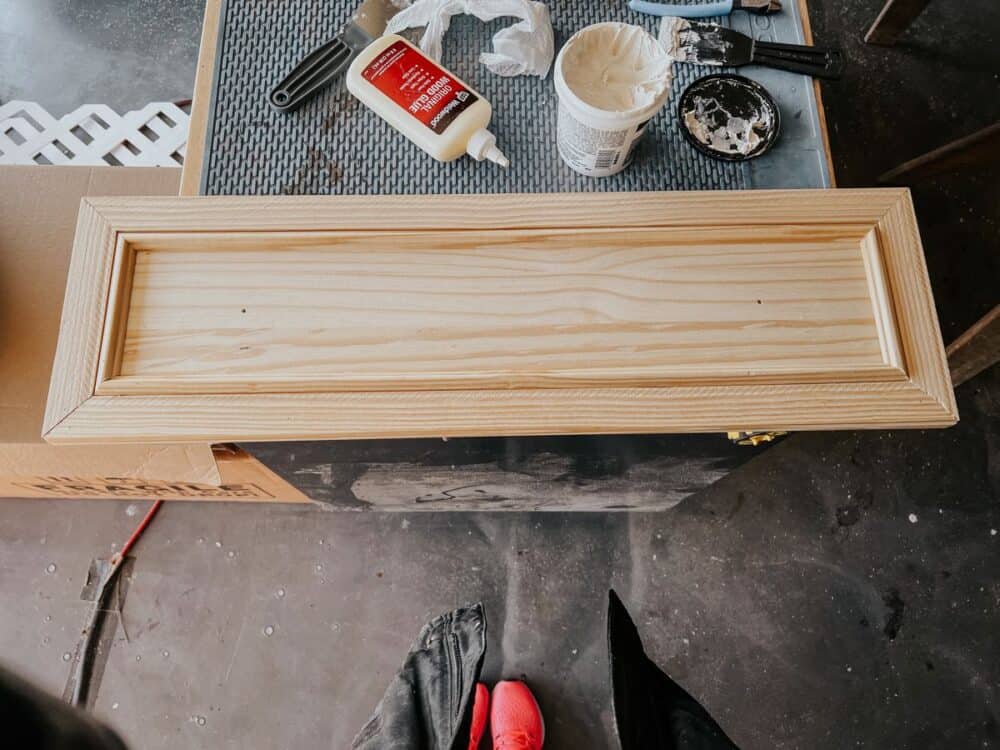
I added the trim using wood glue and pin nails (click here to learn how to use a nailer!). Once it was all installed, I used wood filler to fill in all of the corners, as well as the holes for the knobs. We planned on doing something a little more exciting than the plain wooden knobs the dresser comes with!
After all of that dried, I sanded down the excess wood filler. Then, I painted the drawer fronts to match the dresser. I didn’t assemble the drawers at all until all of this was done, and that really made it so much easier.
After I finished painting and sealing the drawer fronts, I added these drawer pulls (using this handy hardware jig to make it easier).
Once everything was done, the drawer fronts looked a little something like this:
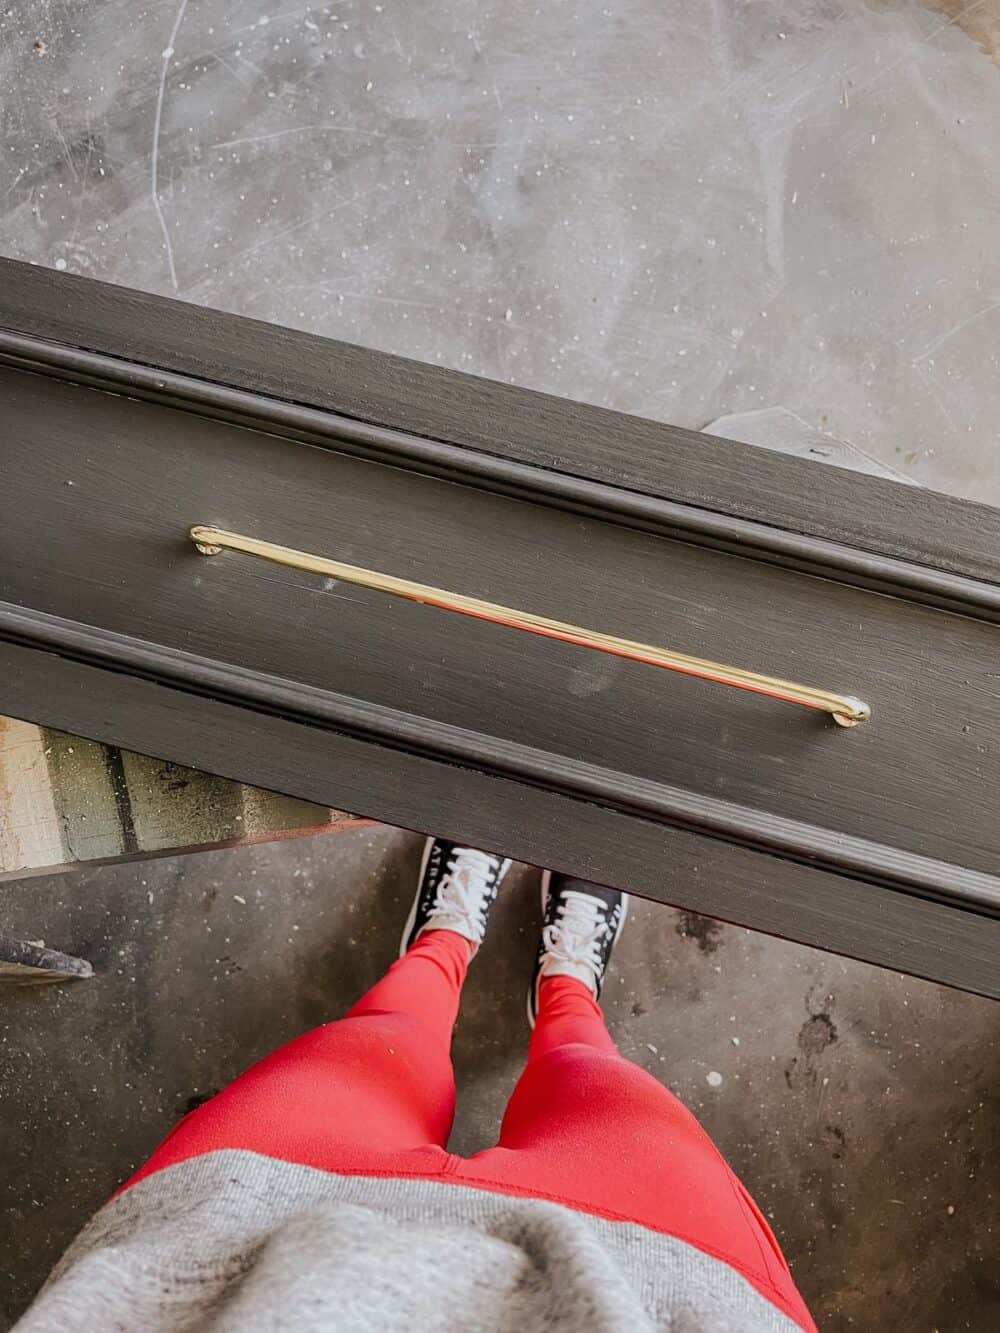
Are you swooning? Because I’m swooning.
sealing the dresser
A really important step when you’re working with Chalked paint (or honestly, any paint), is sealing it. Rust-Oleum makes a sealer specifically formulated to go with their Chalked Paint, called Chalked Matte Clear Protective Top Coat. So, that’s what we used here!
I love that it doesn’t take away from the texture of the paint at all, or add too much gloss or shine. It just deepens the color a bit and makes it feel finished. It’s the perfect final touch and helps ensure that this dresser will last Darya for years and years to come!
the finished dresser
I was really (really!) excited to get it all in place and see how it looked in Darya’s room. Despite how much time I had spent thinking through all of the design decisions, I have to admit I was still really nervous. Black felt like such a bold choice for this space! I was worried we’d put it in the room and it would stick out like a sore thumb.
But thankfully….it fits right in.
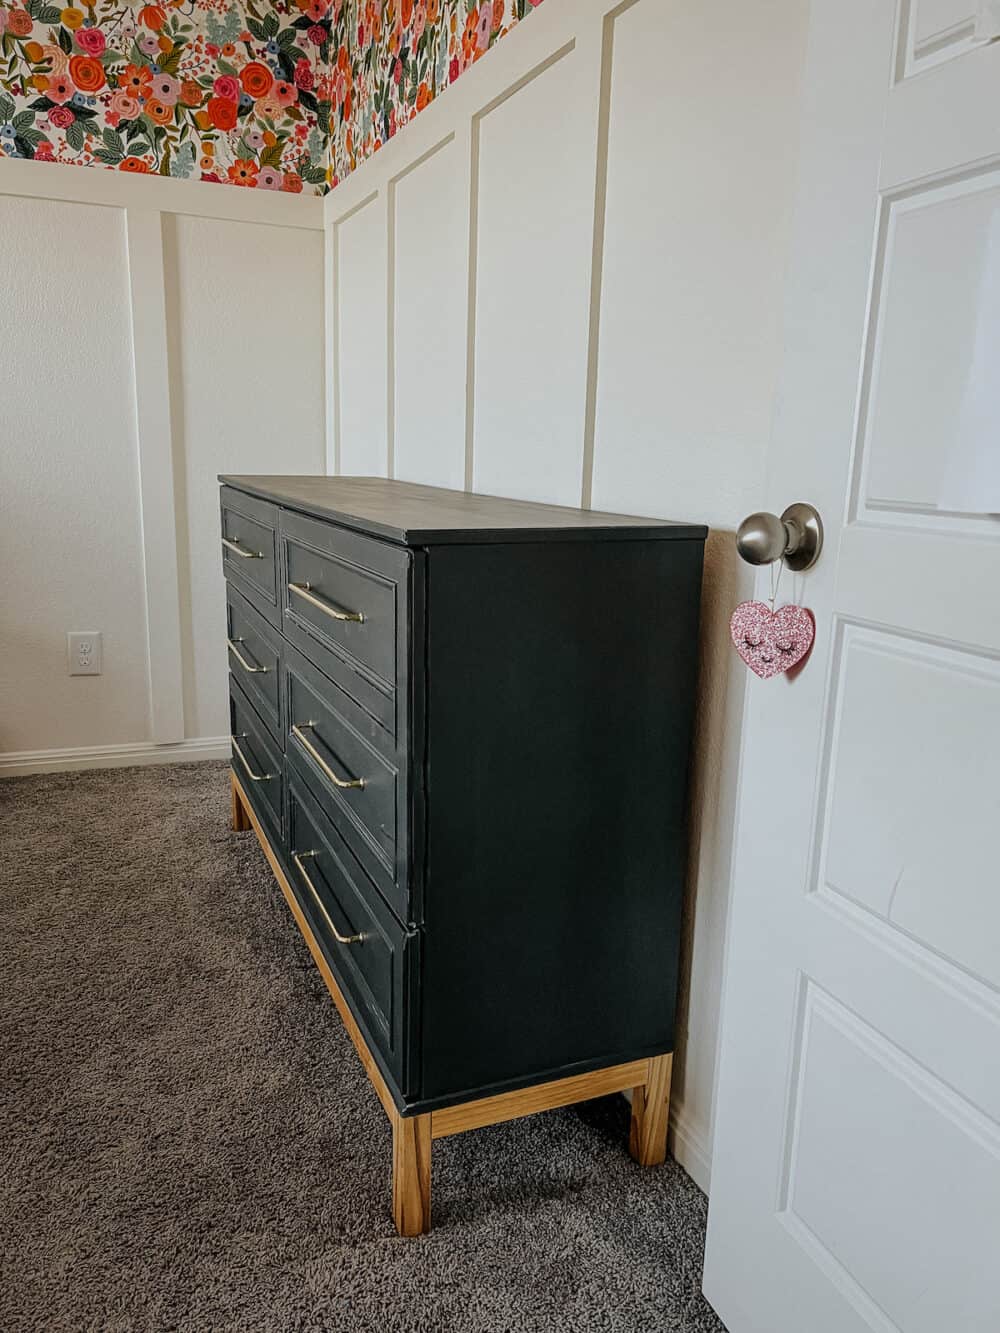
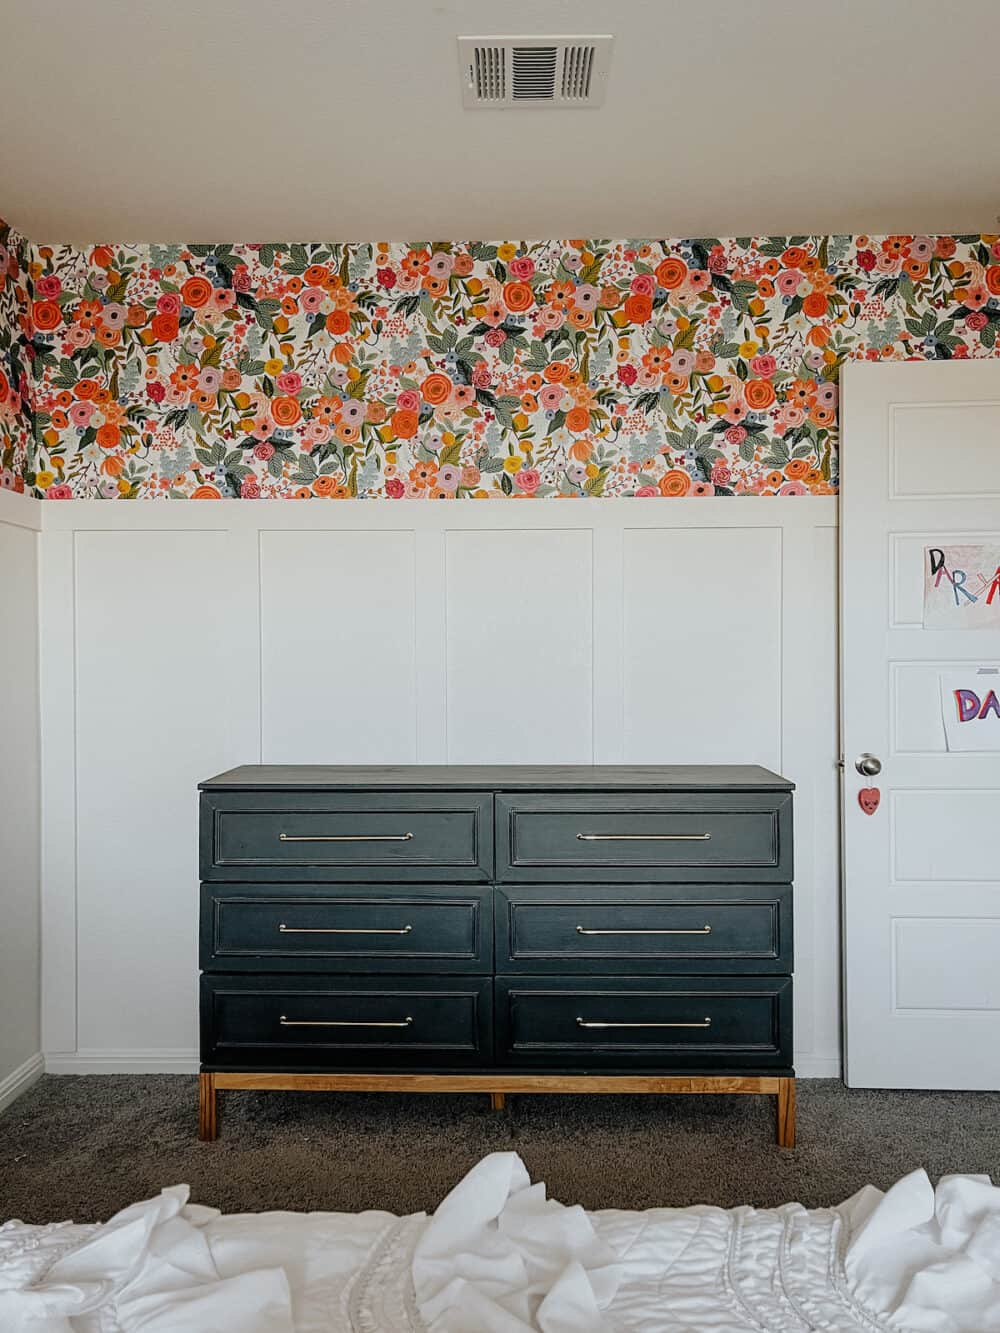
I can’t get over how great this dresser looks in her room! And, I’m still a little in shock that I did that! There’s something about a good IKEA hack that feels so incredibly satisfying, you know?!
The only thing left in her room is some finishing touches, like a rug, curtains, and art. Oh, and a hanging egg chair because that was her most important request.
Stay tuned for the reveal in a few weeks when we wrap things up! And, in the meantime, click here to learn more about Rust-Oleum’s Chalked Paint. The color options are beautiful, and I’m really truly in love with the texture it adds to anything you use it on!
