How to Use a Nail Gun {Power Tools for Beginners}
Are you wanting to learn how to use a nail gun? Today, I’ve got a full guide for you!
It’s been some time since I did a deep dive into a power tool, hasn’t it?!
A couple of years back I started this series called Power Tools for Beginners. I did detailed tutorials on specific power tools to help you feel confident trying new projects. And today, it’s time to chat about how to use a nail gun!
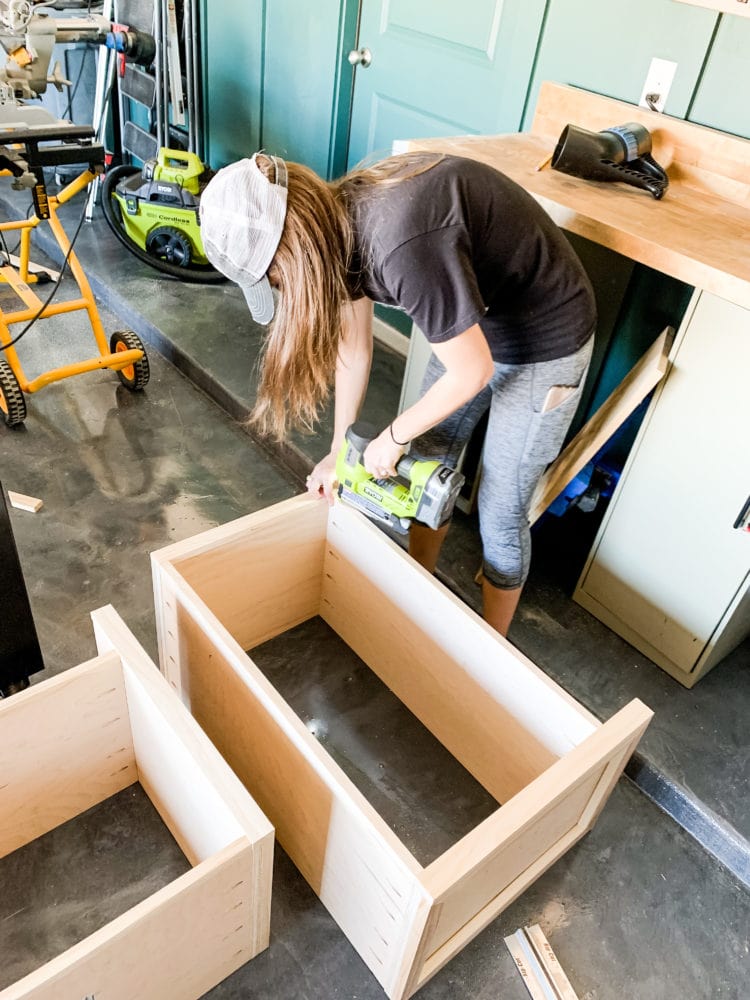
Nail Gun Basiscs
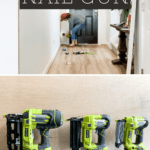
There are lots of different types of nail guns. Here’s a little run down of the most commonly-used ones:
- Brad Nailer (great for smaller trim and molding and more lightweight projects)
- Finish Nailer (used for larger finishing pieces like trim, molding, and baseboard)
- Pin Nailer (used to drive tiny pin nails that leave almost no trace behind!)
Within those general types of nail guns, you also have corded options, cordless options, and pneumatic nail guns (which use air compressors). They’re generally powered by electricity, compressed air, or a battery.
Personally, I prefer cordless nailers. I love not needing a power source, and they’re just so simple for a beginner DIYer. But, most pros prefer pneumatic nailers, so it’s definitely a personal preference!
Different nail guns can handle different gauges of nails. So, be sure to check which nails your specific gun needs before you start a project.
How to Use a Nail Gun
The basic how-tos of using a nail gun are pretty much the same no matter what type of nail gun you’re using. So, I’m going to do a general overview that should cover you no matter which type one you choose!
Note: Please read the manual that comes with your specific nail gun. Do not solely rely on this tutorial when using a nail gun. This is intended to be an overview to get you comfortable with trying out the tool and to be used as a reference guide. But, for specific details about your tool, you’ll need to read the manual!
Parts of a Nail Gun
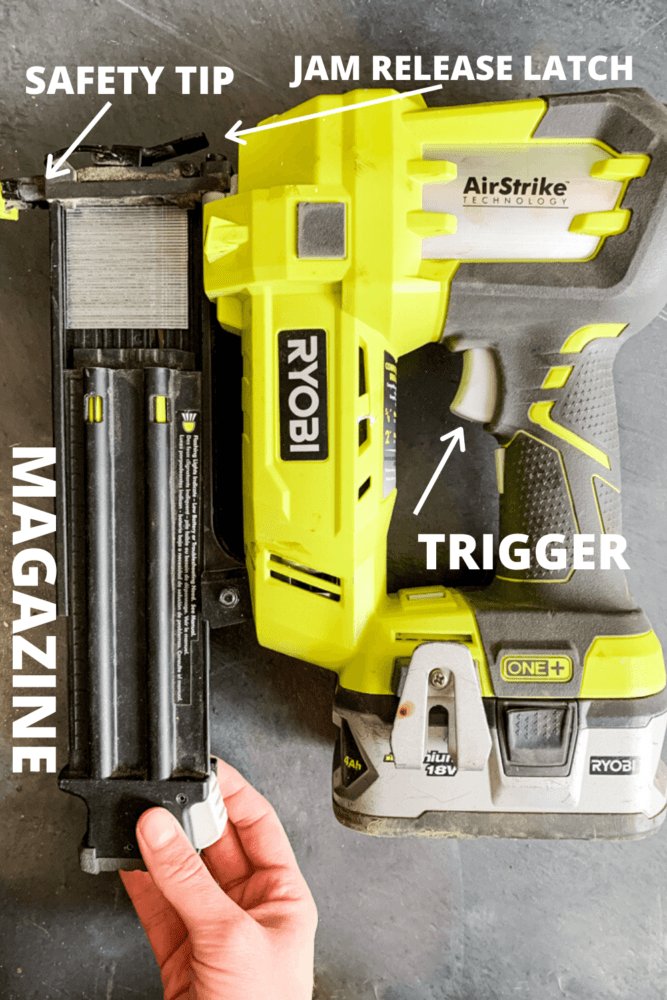
- Safety tip: Most nail guns have a tip on the end that needs to be pressed down in order to fire a nail. This means that even if you accidentally pull the trigger before you’re ready, the gun won’t fire unless it’s pressed up against something. This helps prevent nail gun injuries! Pin nailers typically have a different safety mechanism since they’re meant for more delicate projects. Pressing too hard can damage thin trim!
- Magazine: This is the long chamber on the front of the nail gun that holds the nail strips. There’s usually a release button on the bottom that allows you to add more nails to the gun.
- Trigger: This is what fires the nail gun! On brad and finish nailers it’s generally just a trigger, but on pin nailers there will be an additional lever to pull down before hitting the trigger. This is the safety.
- Jam release latch: If a nail gets jammed when you’re trying to fire it, you’ll want to use this to open up the top part of the nailer and help you get it free!
Using a Nail Gun
Using a nail gun is really as simple as loading it up, holding it against the wood, and pulling the trigger!
Start by releasing the magazine to make sure you’ve got enough nails loaded up for your project. Once you’ve closed it back up, you can double check the settings. There is generally an air pressure dial somewhere on the top of your nail gun that will determine the nail depth. If you’re working with it for the first time, I recommend shooting a couple of test nails into a scrap piece of wood. This helps you to see what air pressure is going to give you the best results. You want the nail to go all the way in without sticking out, but not so far in that it creates a giant hole.
Once you’ve got your settings adjusted, hold the gun at a 90-degree angle to your project, press down so that the safety tip retracts, and pull the trigger! For many projects, you’ll also want to use wood glue to help hold things in place. This especially applies if you’re working with a pin nailer!
And that’s it!
P.S. Don’t forget your safety glasses!
How Do I Hide the Nail Holes?
Once your project is complete and you’re moving on to painting or staining, you’ll want to be sure to cover up any visible nail heads or holes.
Wood putty is generally your best bet for covering up nail holes. I love this stuff! Simply use your finger to smoosh some into the nail hole (that’s a technical term), allow it to dry, then sand it and finish as usual!
Make sure when you’re purchasing your wood filler that you purchase the right type for what you plan to do – make sure that if you’re staining it says that it’s stainable (and that it’s a similar color to your wood), and that if you’re painting, it’s paintable.
What If the Nail Doesn’t Go All the Way In?
Sometimes, despite your best efforts at adjusting the pressure to make sure your nail goes all the way in, you end up with a nail head poking out.
No worries, it’s easy to fix!
You just need to grab a nail setter (we have several different sizes for different gauge nails, but you could get away with having just one), press the tip against the nail head and gently tap the other end with your hammer until the nail goes all the way in.
Bam – problem solved!
And that, my friends, is everything you need to know about how to use a nail gun!
I hope this tutorial was helpful and gives you a little bit of confidence to jump in and try something new.

Loved this tutorial and will definitely read the rest! my next purchase- Brad nailer!👍 thank you
Yay! So glad it was helpful!