Darya’s Tween Girl Bedroom: Part 1
Last year, I helped my friend Parisa give her younger daughter, Dylan, a quick room makeover. It was so much fun to tackle a little girl’s room for the first time, so when she mentioned that her 9-year-old, Darya, was wanting to make some changes in her room, I was all over it.
We spent a lot of time talking with Darya about what she wanted for her room, and she was really wanting it to still feel fun and bright and feminine but a little more grown-up than it was. Parisa really wanted something that would grow with her and hopefully last into her high school years.
I thiiiiiink so far we’re nailing it.
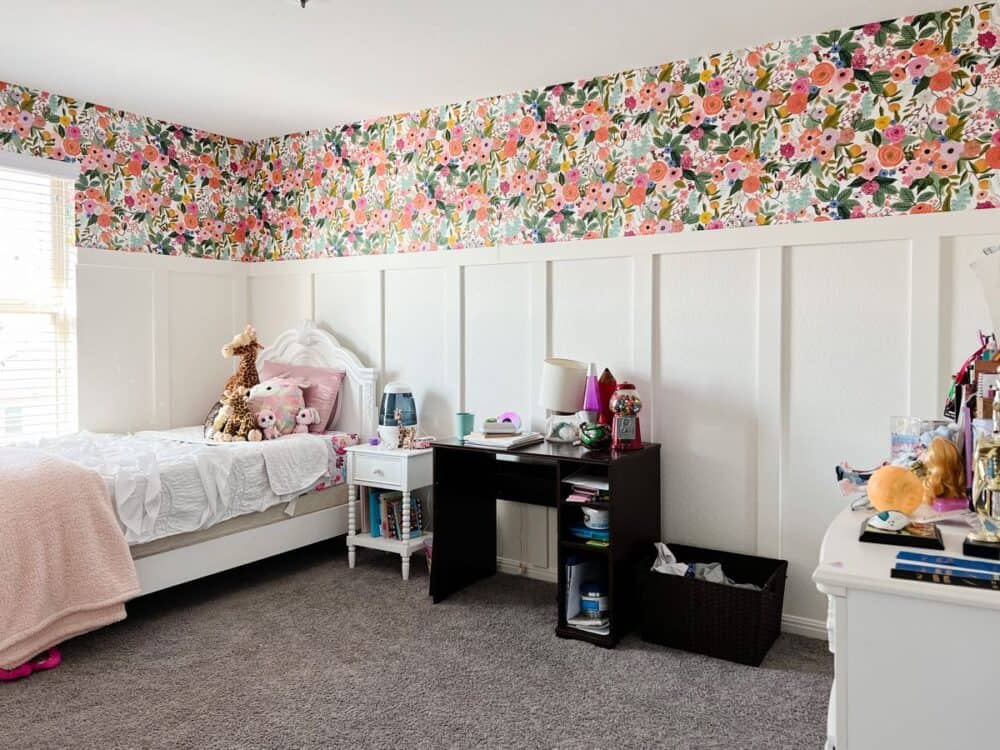
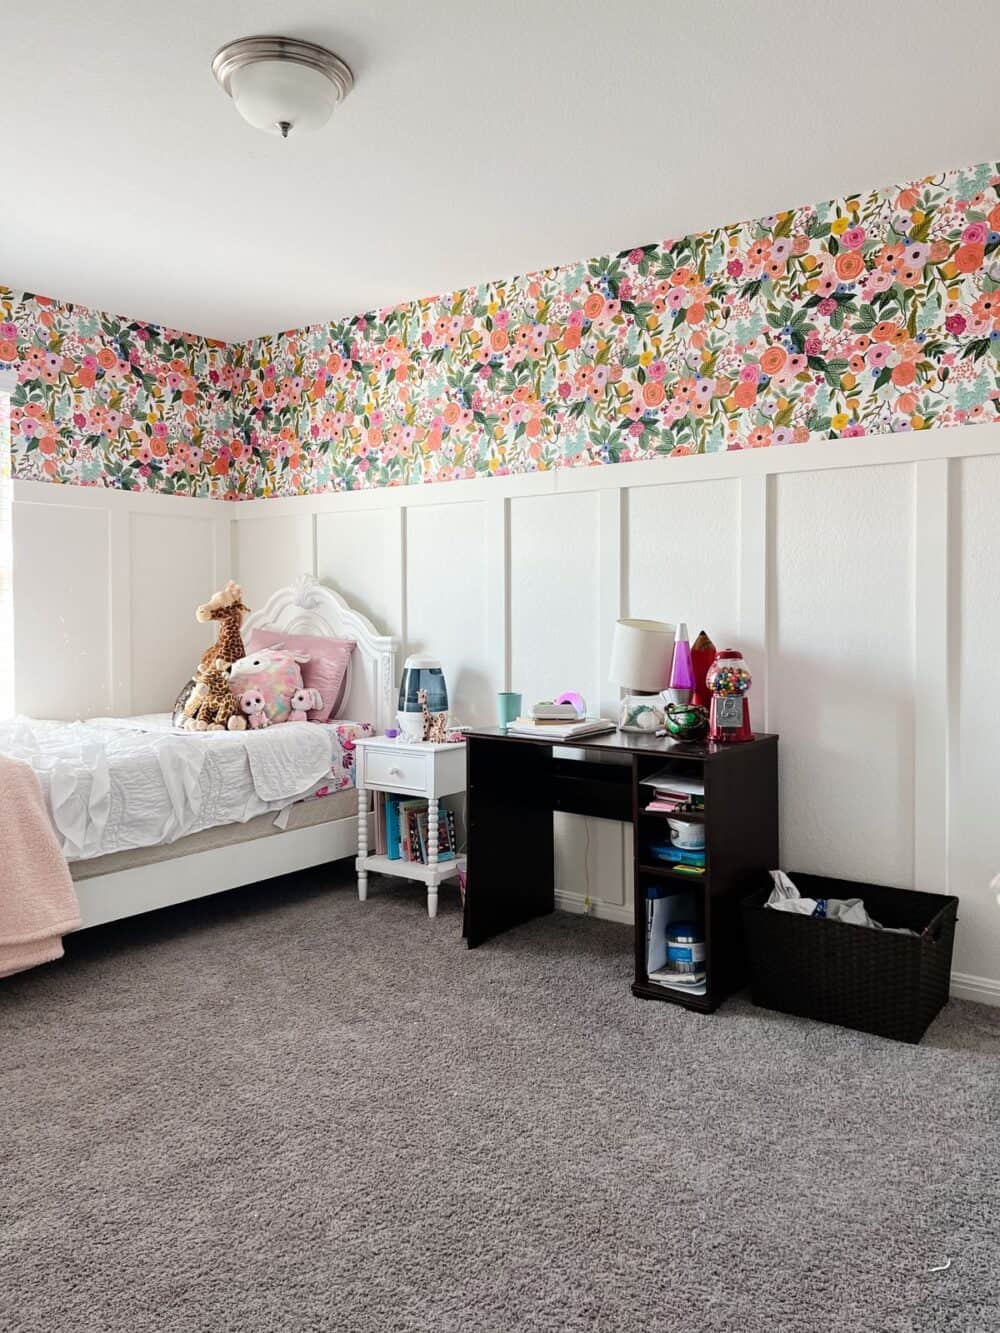
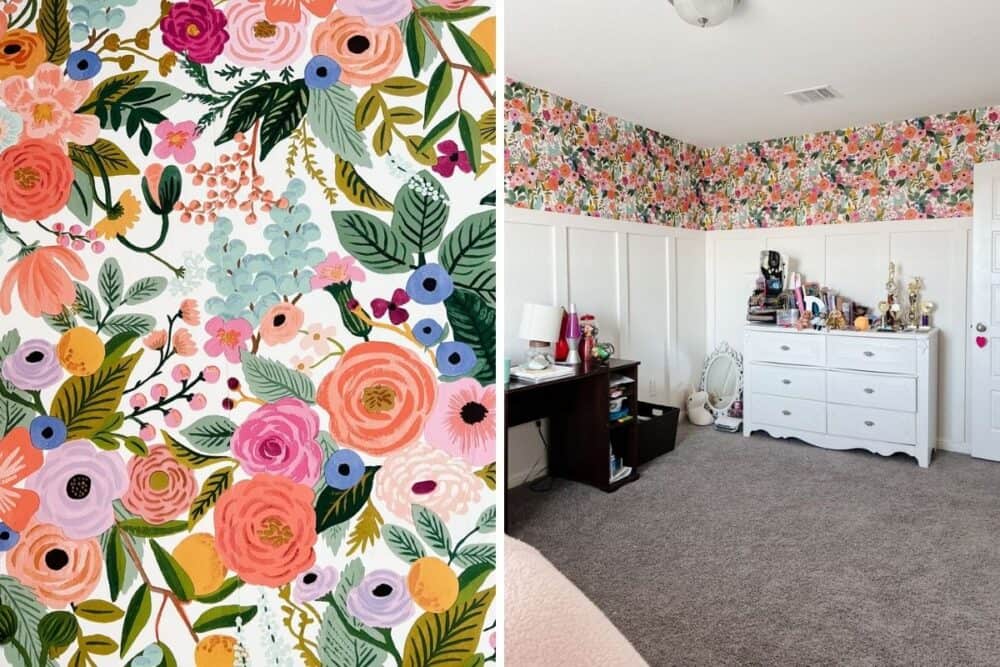
Last week, we finished phase one of this bedroom makeover, and I’m really thrilled with how things are looking! We installed board and batten about 2/3 of the way up the room and then added this gorgeous Rifle Paper Co. wallpaper above it (the website says it’s a different brand, but it’s definitely Rifle Paper Co.!). The entire room feels bigger and taller, and I can’t stop swooning over how it’s all coming together.
I wanted to take a moment today to answer a few frequently-asked-questions about her room and the process…and, of course, give you a peek at what’s coming next!
Board & Batten Walls
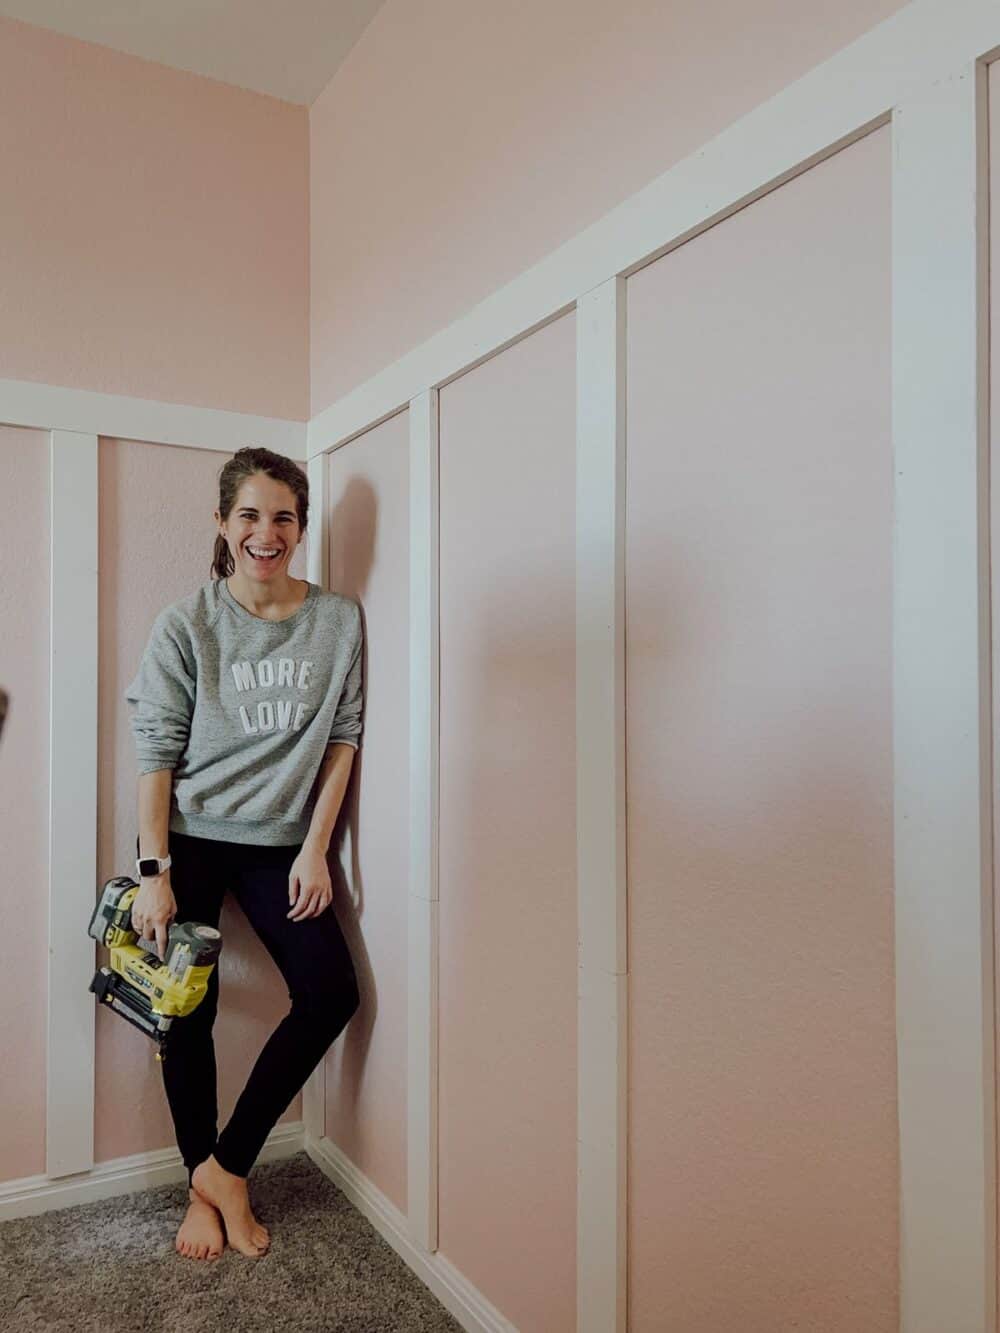
Let’s start with the board & batten – I’ve installed it a bunch of times before, and it’s one of my favorite quick and easy wall treatments!
I installed the top row of the board & batten 5′ above the baseboards. There’s no rhyme or reason to why we chose that height, it just felt right! Generally speaking, if you’re doing a wall treatment that won’t go all the way up the wall, it looks best to split the room into thirds. So, if you want it low, 1/3 of the wall is a good height. If you want it taller, 2/3 is good.
If you want to learn more about how to install board and batten, this post has a really detailed tutorial!
Installing Wallpaper
The wallpaper is, of course, the star of the show here!
Parisa and Darya really wanted something bold and fun for the wallpaper. We spent a lot of time shopping around for wallpaper that would be the perfect mix of girly and bright but not too “young” feeling. Darya is solidly into the tween stage of life and wants her room to feel a little more grown up.
We landed on this beautiful Rifle Paper Co. wallpaper, and it’s the perfect fit! It’s bright and girly and really bold, but it feels like a print that even I wouldn’t mind having in my own room. She really loves it, so I feel pretty confident it’ll grow nicely with her over time.
We ordered three rolls of wallpaper, and that was a good amount for this room (I’d guesstimate the room is about 13’x10′). We had quite a bit leftover of the last roll, but two definitely wouldn’t have been enough.
I’ve talked about installing wallpaper several times on the blog, so here are some tips and tricks if you’re wanting to give it a try:
- This post has a detailed, step-by-step tutorial for how to install wallpaper
- And this post has a few extra tips and tricks I learned my first time doing a full room.
The biggest thing to remember when installing wallpaper yourself is that there will be some mistakes and imperfections. Wallpaper installation is something that takes years and years to perfect, and you can’t be expected to be a pro on your first (or even second or third) try. Just go with the flow and be flexible, and you’ll be amazed at how little you notice the imperfections when all is said and done!
So, what’s next?
Now that the walls are done, it’s time for the fun part – bringing it alllllll together!
We’ve got a long list of things we’re going to be bringing into the room to update it from here. Let me walk you through our plans.
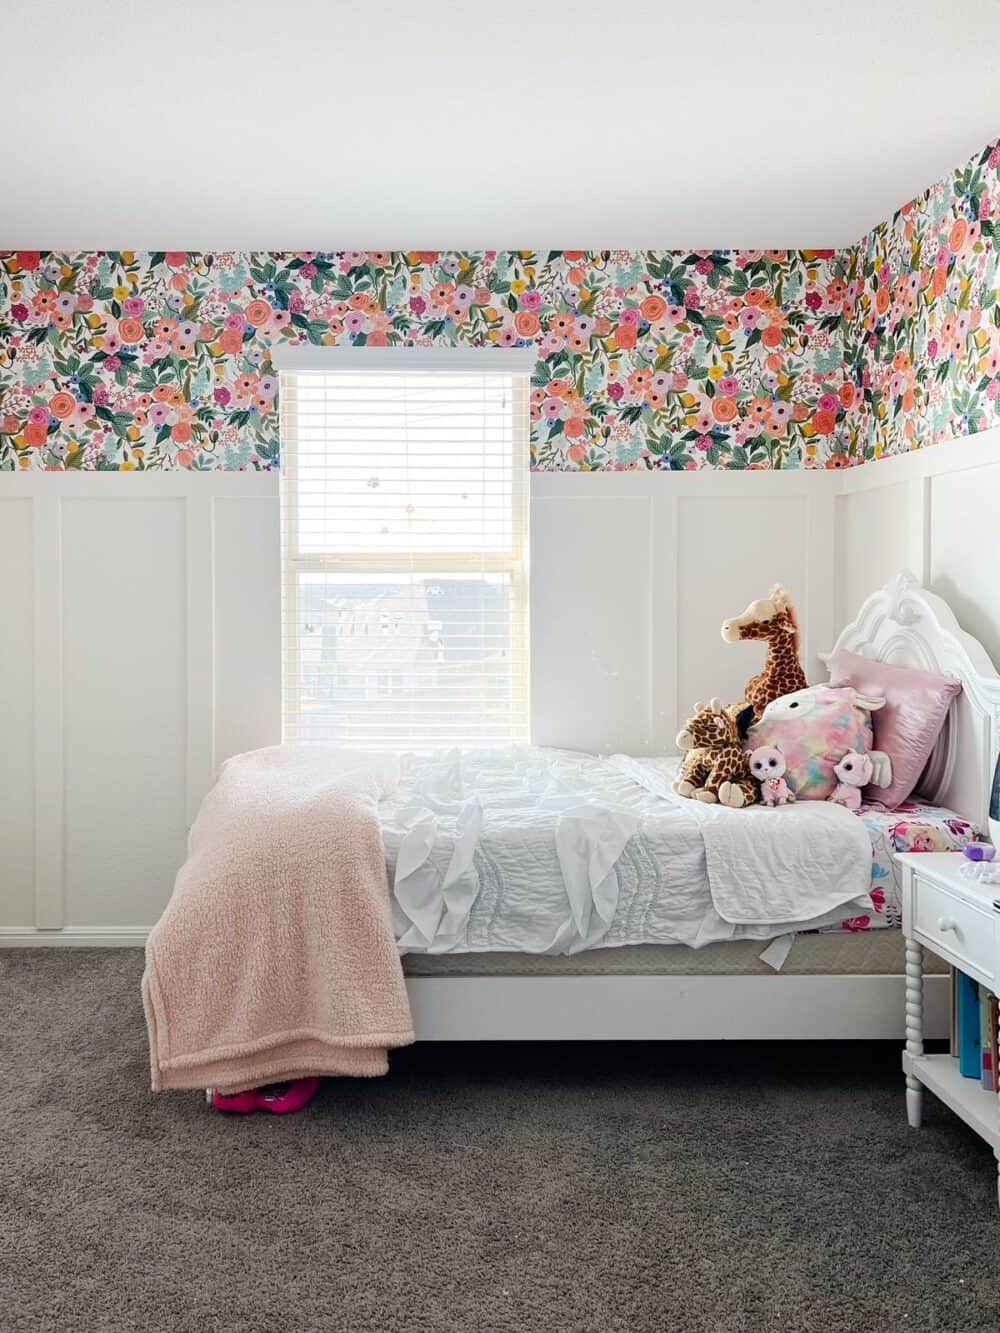
- The bed is the only furniture piece that’s staying. We love how classic it is, and the lines of it really play nicely with the wallpaper.
- We’re getting a new desk, probably this gorrrrrgeous green one from IKEA!
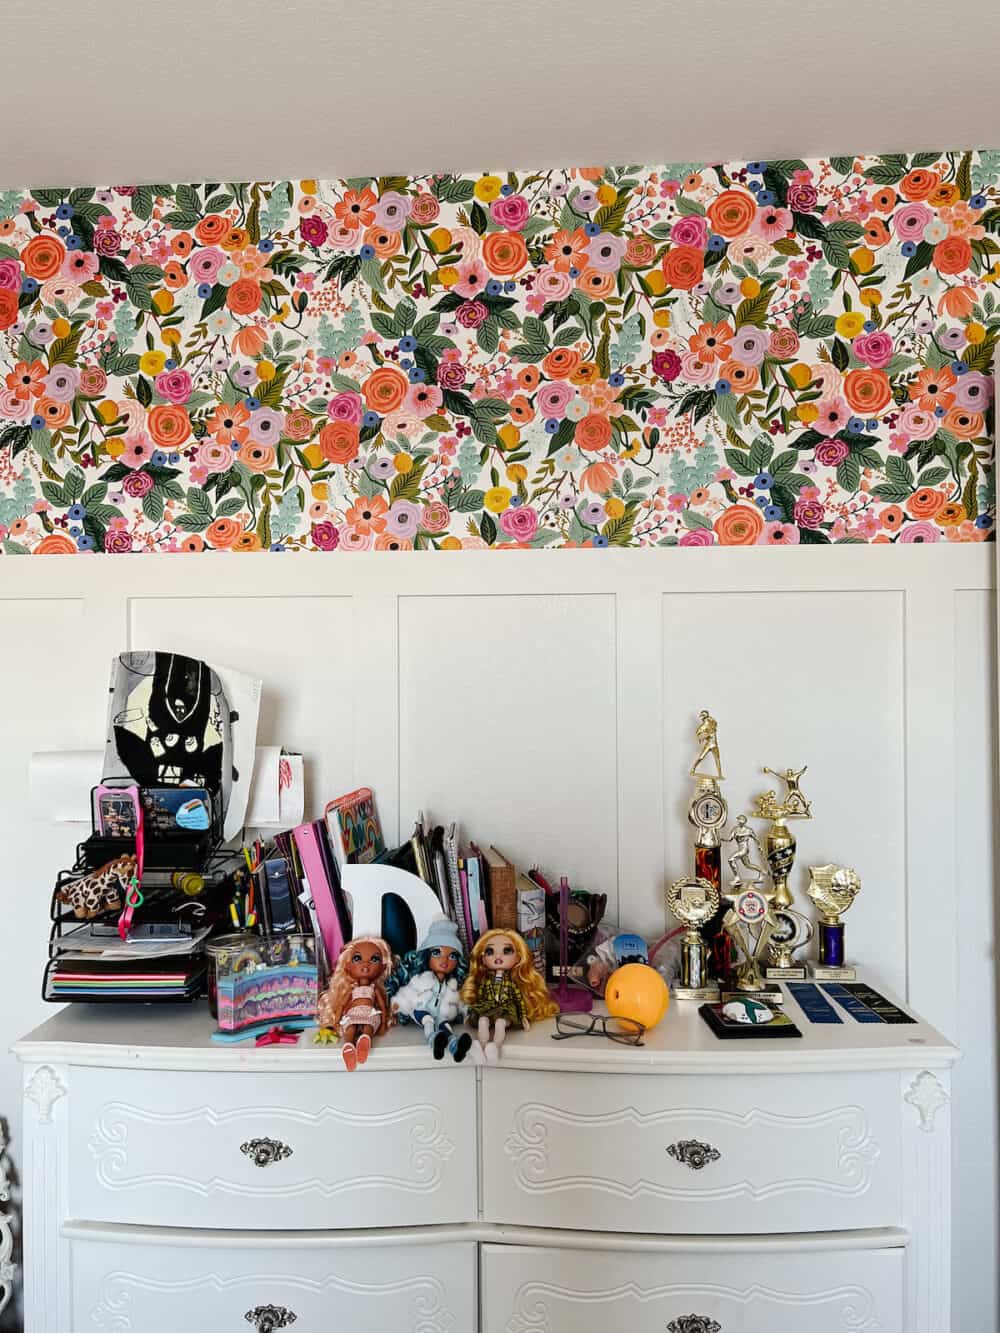
- The dresser is also getting replaced, and we’re going to be using a TARVA from IKEA. It’s a perfect blank slate for just about anything. And, if I’m being fully honest, we have no idea what we want to do with it yet. So, stay tuned for that DIY project once we narrow down our choices and make a decision.
- Darya’s biggest request for the room is an egg chair, so we’re definitely going to be creating a cozy little reading corner for her somewhere in the room.
- We’re bringing in a rug, a new light fixture, and some curtains for lots of texture in the room. I think these three pieces will be some of the biggest difference-makers in terms of how the room feels, and I’m really excited to get them in place!
- And finally, I want to figure out a good way to hang a few things on the wall. Darya has a beautiful mirror, a really cute unicorn wall hanging, and a few other things that I think need to go on the walls – I just need to figure out the best way to make that happen. Ideally, I’d love a gallery wall above the dresser, but I’ve never done something like that on top of board and batten, so I need to do a bit of research. Should be simple enough, though!
And I think that’s it! It’s safe to say this room will look completely different from how it looks even now when we’re done, and I’m reaaaaally excited to dive into the next phase!
