How to turn ANYTHING into a Planter
It never fails that when summer rolls around, I get the urge to fill my life with ALL THE PLANTS. I love a creative planter, so today I’m sharing a few simple ways to create planters out of just about anything you can think of.
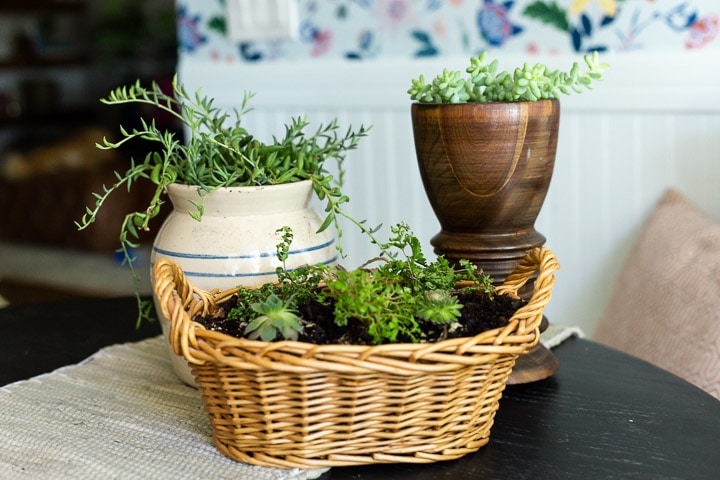
It’s Thrift Shop Challenge Day!
I’m so, so excited to be here for another round of the Thrift Shop Challenge. I host this little challenge seasonally with a few of my best blogging friends, and it’s genuinely one of my favorite posts to write each season. We challenge each other to head out to our local thrift stores and find something that needs a little love and give it a total makeover to share with you.
The hope is that we’ll encourage you to remember that decorating your home doesn’t have to be expensive or difficult. Sometimes a cheap find at your local Goodwill is just as good (or better!) than anything you can find at the pricey home stores.
If you want to catch up on the past challenges, here’s what you may have missed:
- Fall 2018: Making Over Rusty Metal Bar Stools
- Winter 2019: Metal File Cabinet Makeover
- Spring 2019: DIY Faux Marble Table Makeover
And today, I’m sharing a really fun (and super simple) project with you for our Summer challenge – can you believe it’s almost been a full year of the Thrift Shop Challenge already?!
Here are all of the hosts of this season’s Thrift Shop Challenge
- Making Manzanita – Boho Style Cabinet Makeover
- Green With Decor – Repurposed Plant Stand
- Small Stuff Counts – Painted Tin Canisters
And with that, let’s dive into the project!
How to turn anything a planter
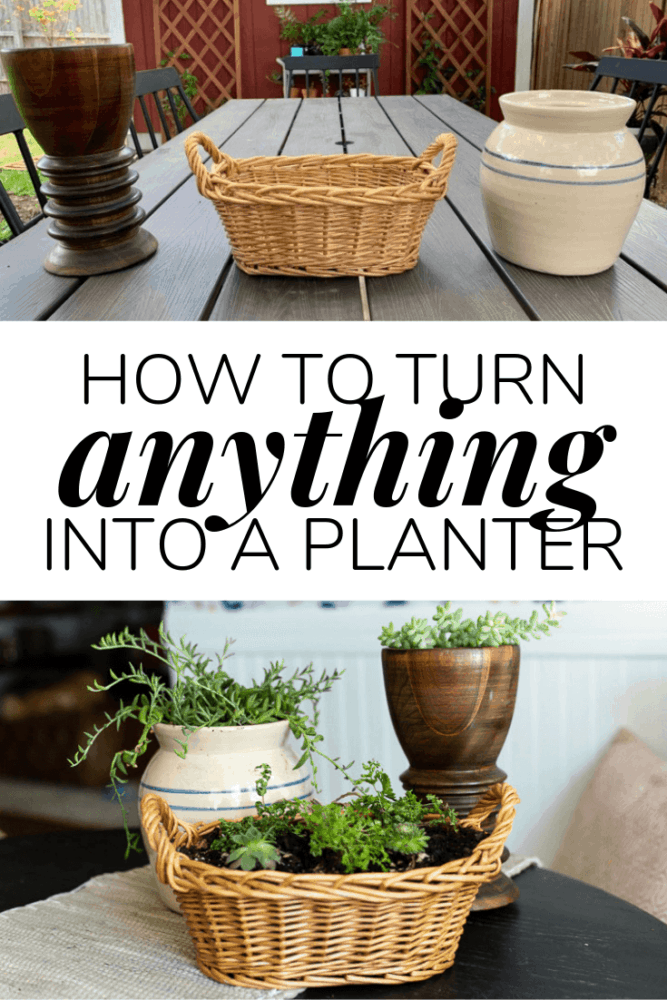
Today I’m going to show three incredibly simple methods for how to turn anything you find at the thrift store into a cute decorative planter for your home. Basically, as long as you can fit a plant in it, you can turn it into a planter!
It almost feels silly to share an actual tutorial for these, because it really is the simplest thing ever. But, my hope is that it’ll inspire you to try something out of the box when it comes to the plants around your house! There’s nothing better than having a really cute planter that you created yourself and that you know no one else has, right?!
So, here are my three so-easy-it’s-silly methods for turning just about anything into a planter.
Method one: Add liner to wood or porous vessels
First up, let’s take a cute little basket and turn it into a planter. This is the method you’ll use for anything that has holes in it, or that can’t really be exposed to water.
Materials:
- Coco liner (alternatively, you could use plastic poly sheeting, read on to see which is best for you)
- Small rocks
- Soil
- Basket or other vessel
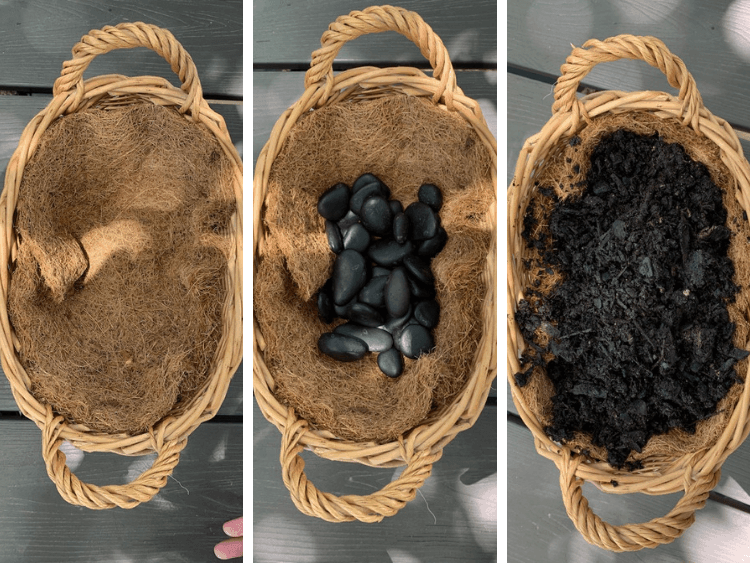
Your first step is to line the container with your liner of choice. Since I was using a basket, I went with the coco liner and just set it in place. This is not going to hold the water in the basket so it should only be used in a vessel that can get wet. I just used it to hold all of the dirt in place and help prevent the basket from getting as wet. If I was working with a wood planter or anything that I didn’t want to get wet on occasion, I would have gone that route instead.
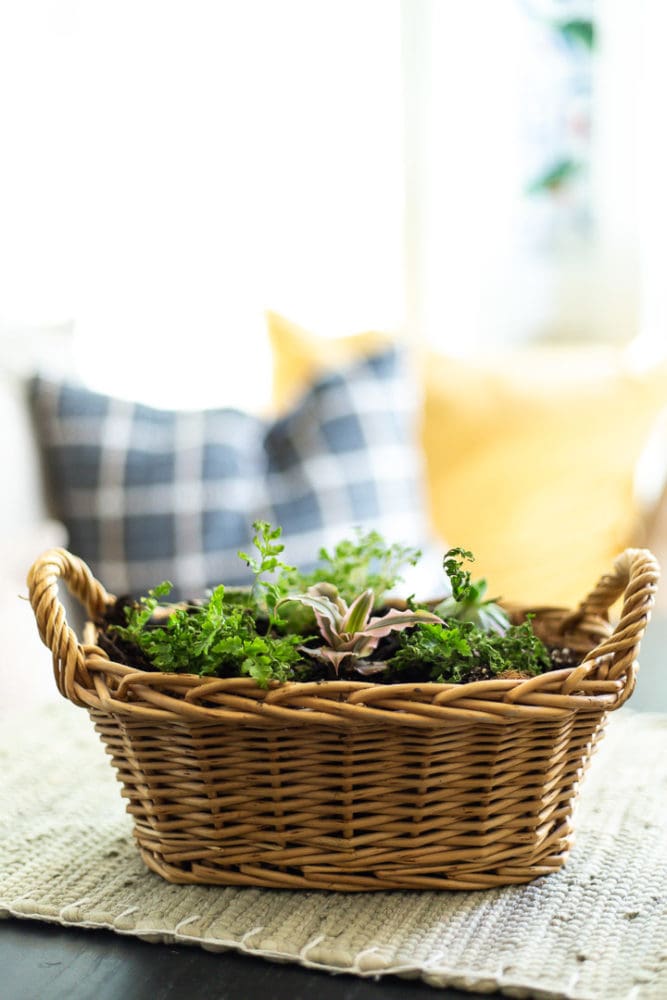
Once you’ve got your liner in place, add a couple of inches of rocks to the bottom of the planter (to allow for drainage), and then fill the planter with soil. Then, plant as you normally would!
Method Two: Just Add Rocks!
Next up, this is just an even simpler version of the last method. If you’re working with a vessel that can handle the water and won’t get leaky on you, all you need to do is make sure that the water can drain properly!
Materials:
- Small rocks
- Soil
- Non-porous vessel
Now, I’ll point out that theoretically you could drill a hole in the bottom of your vessel if you want. I was working with a glass vase and I was worried it might break if I took a hole saw to it, so instead I just stuck to the rocks. All I did was fill up the bottom with some leftover rocks and soil, and then I planted my plant in the top!
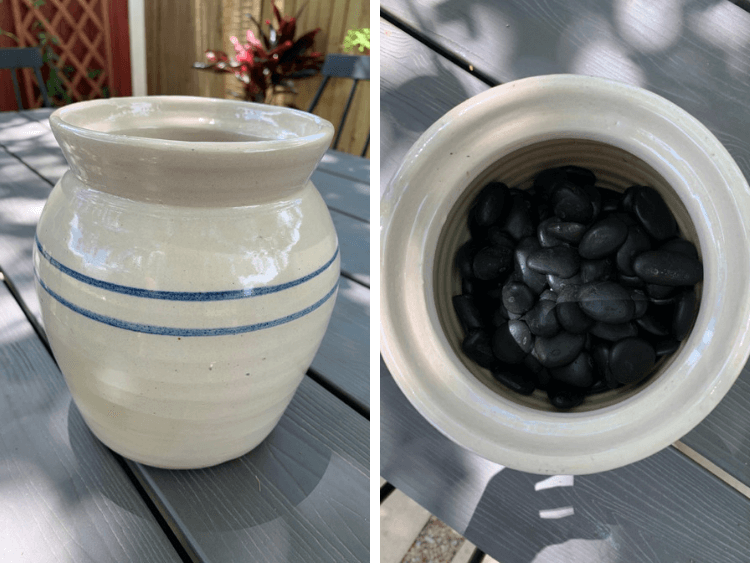
As long as your water has at least a few inches of rocks at the bottom where excess water can go (or, a hole for it to drain out of), you’re ready to plant in it!
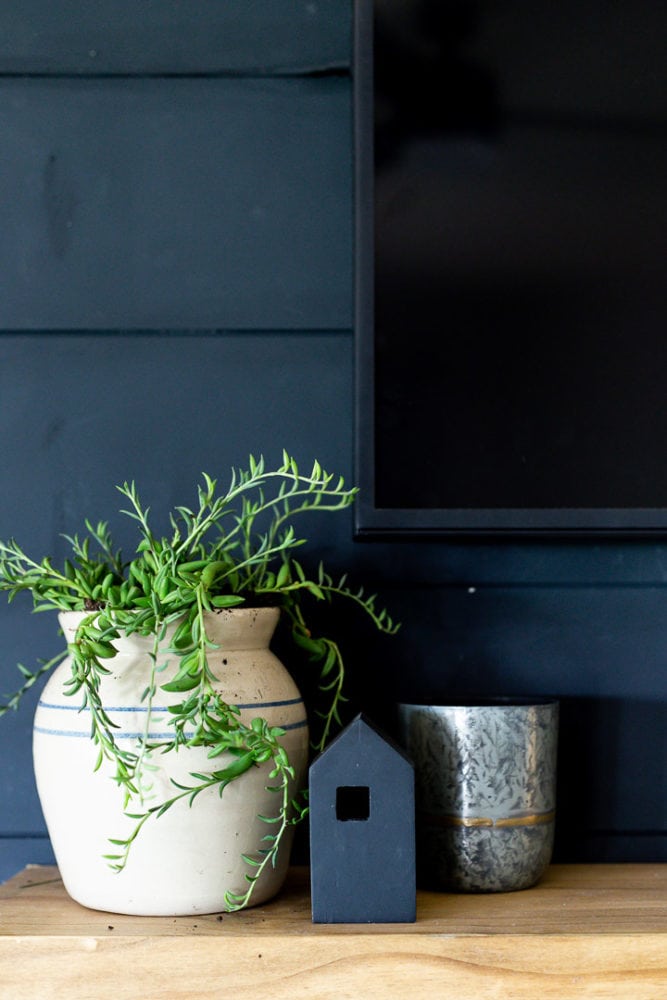
Method Three: Fake it!
The last method is even easier than the first two, if you can believe it. This method is perfect for smaller vessels or ones that you may eventually want to use for something else.
The method? Just take the plastic pot that your plant came in a plop it into place!
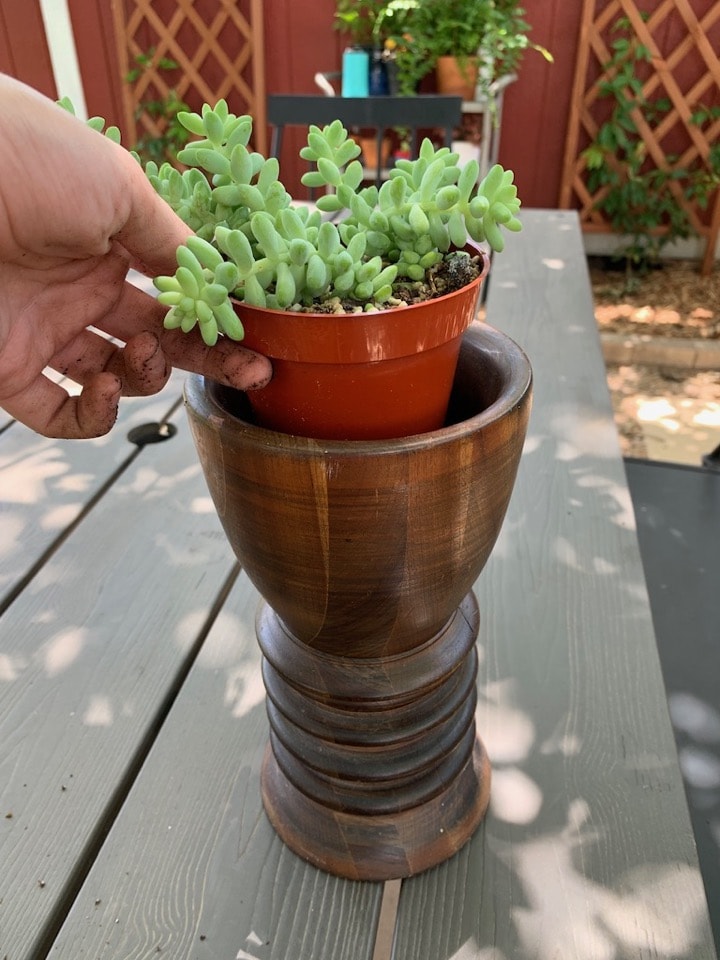
I honestly hadn’t originally planned on including this as a method, but I was testing out the size of the plant I got in this little wooden vessel and I realized that it was the perfect size to just sit in the opening without doing anything else! I felt a little silly that I didn’t even think of trying it, so I figured I might not be the only one who might forget this is a possibility.
Keep in mind that your plant may not be able to handle this forever – if you have a fast-growing plant, it could eventually outgrow the container it comes in and need repotting. But, that’s a great time to swap it out for a new plant!
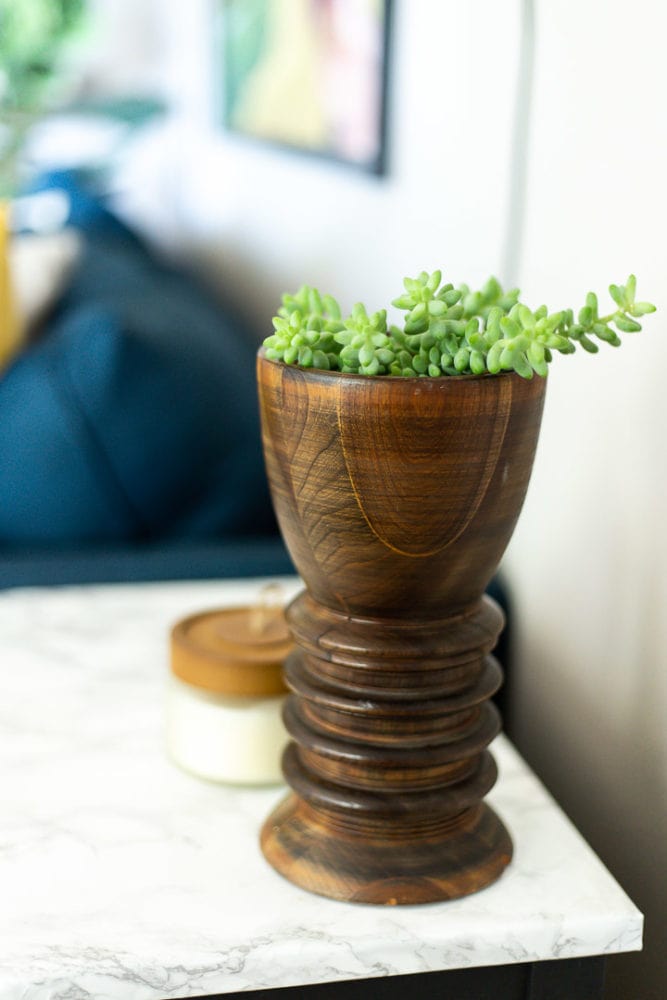
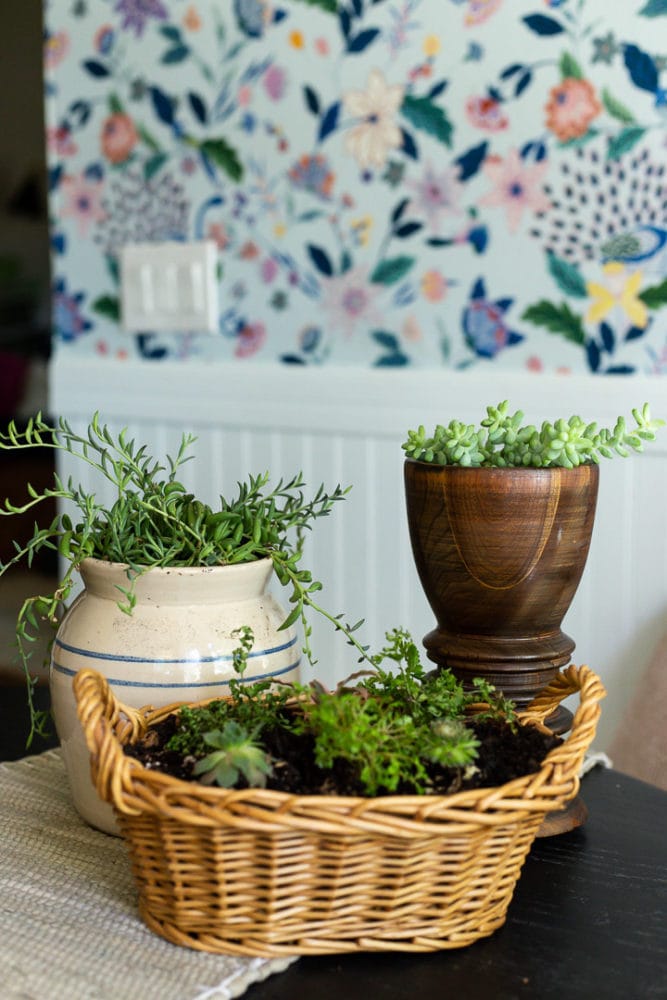
And that, my friends, is everything you need to know about turning anything you come across into a planter! This would work really well for cute bowls or teacups, any basket you find, or just about any cute little decor piece that you can think of!
Be sure to check out the posts from all of my co-hosts, and if you have a thrift store makeover you’ve done recently, let us know! We LOVE to see what you’re working on, so tag us on Instagram or use the hashtag #thriftshopchallenge to share – your projects can be new or old, big or small.
Happy thrifting, my friends!

Thanks for this post. My mind is racing with the possibilities.
These are so cute – and so simple, the best kind of project! I really love the basket. Thanks for organizing such a fun challenge!
Thanks! I love a simple project, too!
SO cute! I love them all. I would never think of turning a basket into a planter, but it really seems pretty easy. Great ideas girl! 🙂
Thanks, Chelsea!