
DIY Black Beadboard Walls {Bathroom Renovation Week 5}
Last updated on May 6th, 2019 at 10:50 am
We’re almost done, friends! This week we’re chatting about the major shift we made in the plans for this bathroom and how we installed DIY black (BLACK!) beadboard walls!

UPDATE: Wanna see the full reveal? Click here for the finished bathroom!
Can I let you in on a secret?
When this renovation started, I had no idea that we would end up with black beadboard paneling on the walls. In fact, I would have laughed if you had told me that because I was so set on all-white walls in here.
The best laid plans, right?!
Let me catch you up. We’re currently renovating our kid/guest bathroom in just 6 weeks for the Jeffrey Court Renovation Challenge, and it’s week five. You can click right here to see all of the other rooms, and to vote for us to WIN the grand prize (please vote!).
If you haven’t been following along so far, here’s what you’ve missed:
- In WEEK ONE, we revealed all of the before photos for the bathroom, along with the plans.
- WEEK TWO was all about demo – we ripped out basically everything but the bathtub (and walked you through how we got it done).
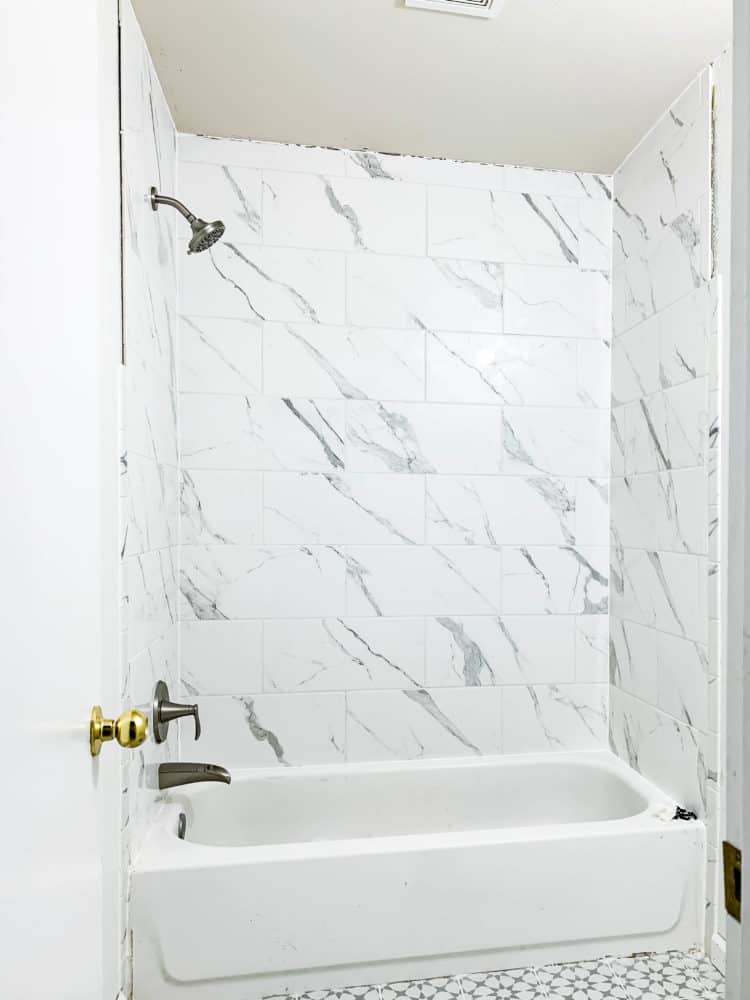
- In WEEK THREE, we finally got to the fun part – tiling! I got everything tiled this week, but nothing was grouted yet so it was all still looking a little sketchy.
- WEEK FOUR was last week, and things were coming together – the tile was grouted and I had started patching the walls…but they weren’t looking great, which is what led me to this week.
Here’s a quick video to walk you through the week and all we accomplished. If you’re reading this in a feed reader, you may need to click through to the post to see it. Or, you can just click right here to watch it over on YouTube.
DIY BLack beadboard paneling
So, how did we end up here?
My favorite part about renovations is that sometimes things just take you to unexpected (but wonderful) places. You really just have to roll with the punches and be ready take on just about anything.
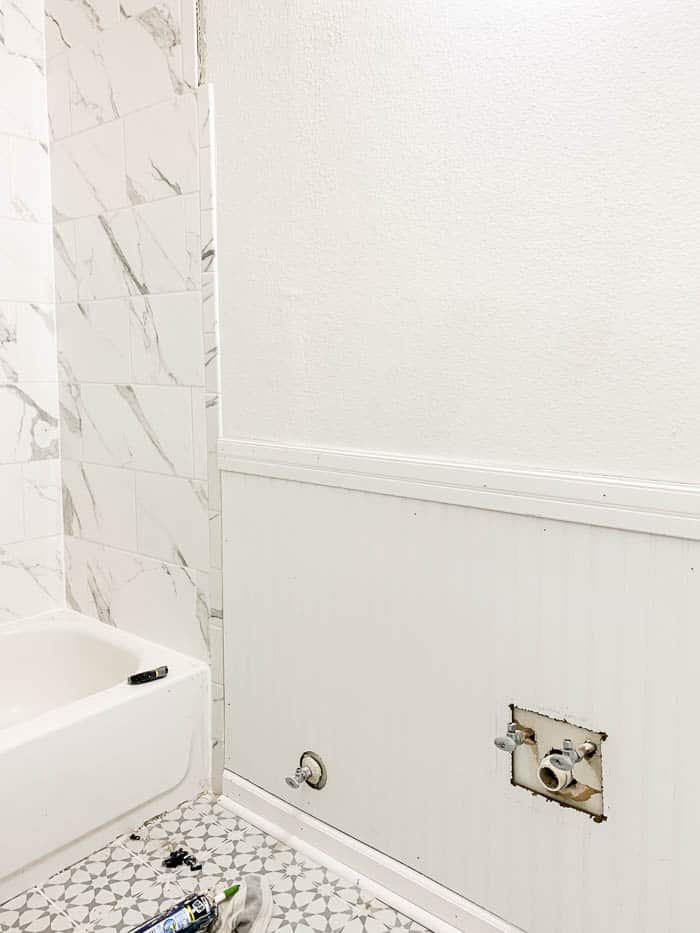
We’ve installed drywall a few different times before, and we’ve never really had a problem with it, but this bathroom gave us all sorts of issues. The walls were wavy to begin with, there were places where the existing paint was flaking and peeling back, and there were several holes in the walls that had nothing to do with us (like next to the vanity and near the baseboards).
It was basically a hot mess. Once I started working on patching and re-texturing, it quickly became apparent that more of the walls would be patched than not. It was worst on the bottom half of the walls (that’s where the holes were!), so after spending the better part of a day trying to get things looking good, I stepped back to take in the room as a whole.
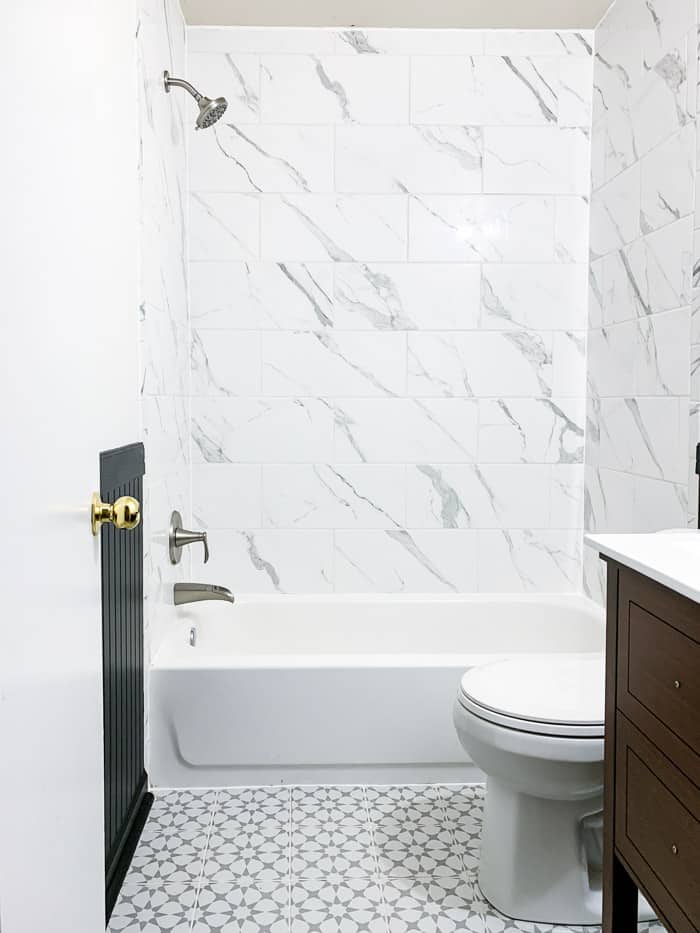
The first thing that struck me was that, while I loved the bright and airy feeling, the room really felt almost too white. I love a nice bright room, but this one needed something to ground it. I started tossing around ideas and my first choice was to do vertical shiplap halfway up the walls and paint it a dark color. But, we didn’t have enough left over from our fireplace project and we didn’t have enough room left in our budget to buy more (or enough time in our schedule to DIY our own). So, I considered beadboard. We recently installed it in our entryway, and we already have some in our dining room, so it seemed natural to continue it in here.
And, of course, it needed to be painted black. It just felt right.
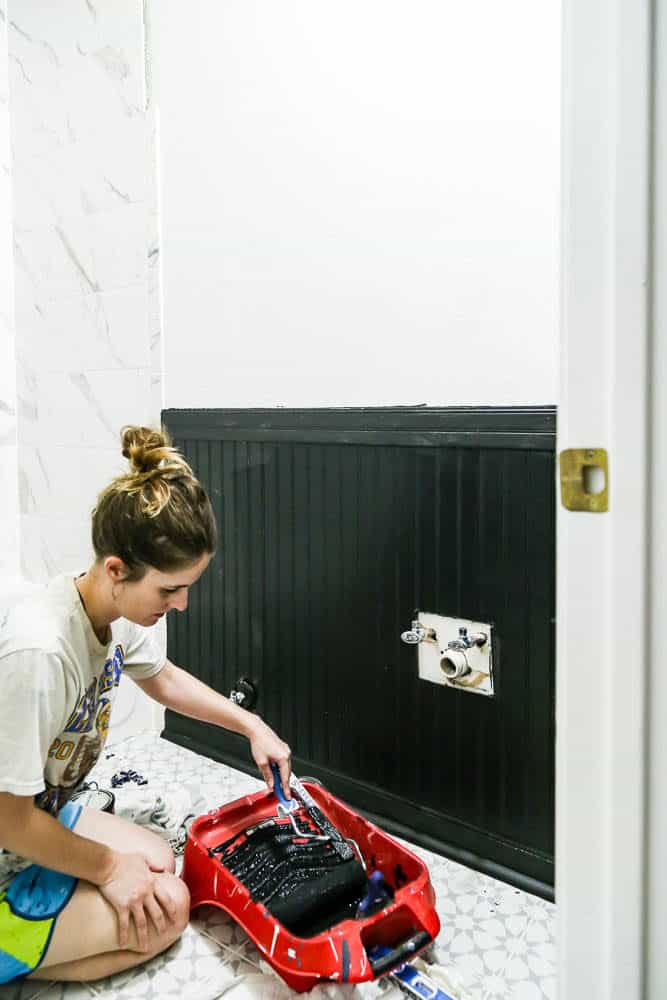
Sometimes when it comes to designing a room it’s all about the gut feelings. You can’t describe why you feel like something needs to be done in a room, but you just know the room won’t be complete without it. This was one of those times. And I’m so, so glad I listened to my gut on this one.
This project added an extra two days to my schedule (one day to install the beadboard and one day to caulk and paint it), but it was 100% worth the extra time!
installing a toilet & Vanity
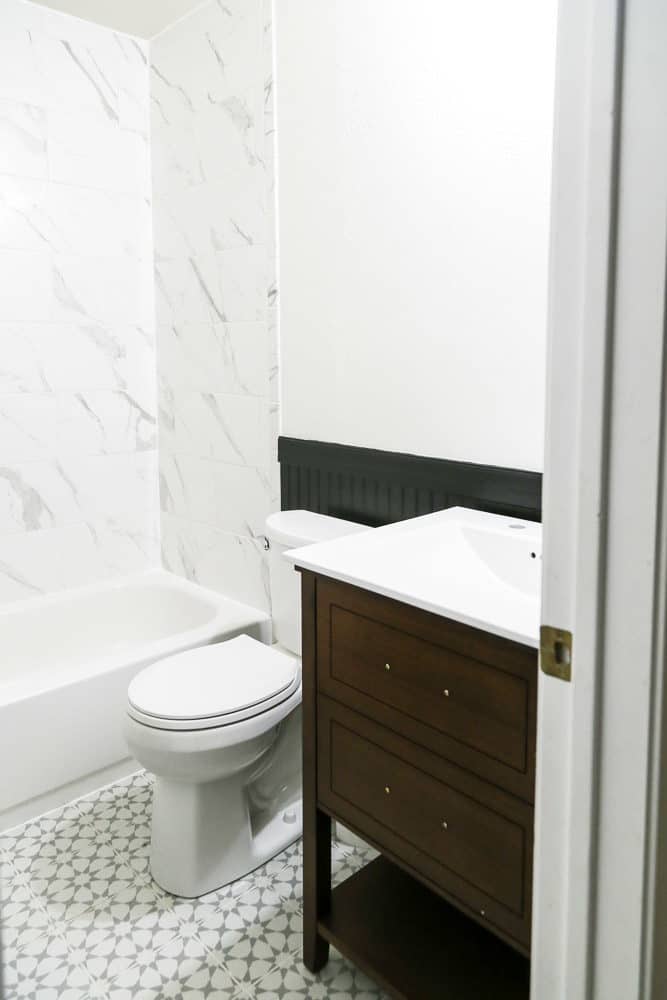
Once the beadboard was installed and painted, the tile trim pieces were installed and grouted, the tub and shower were caulked, and the tub was patched (more on that in this week’s video), it was finally (FINALLY!) time to start installing things!
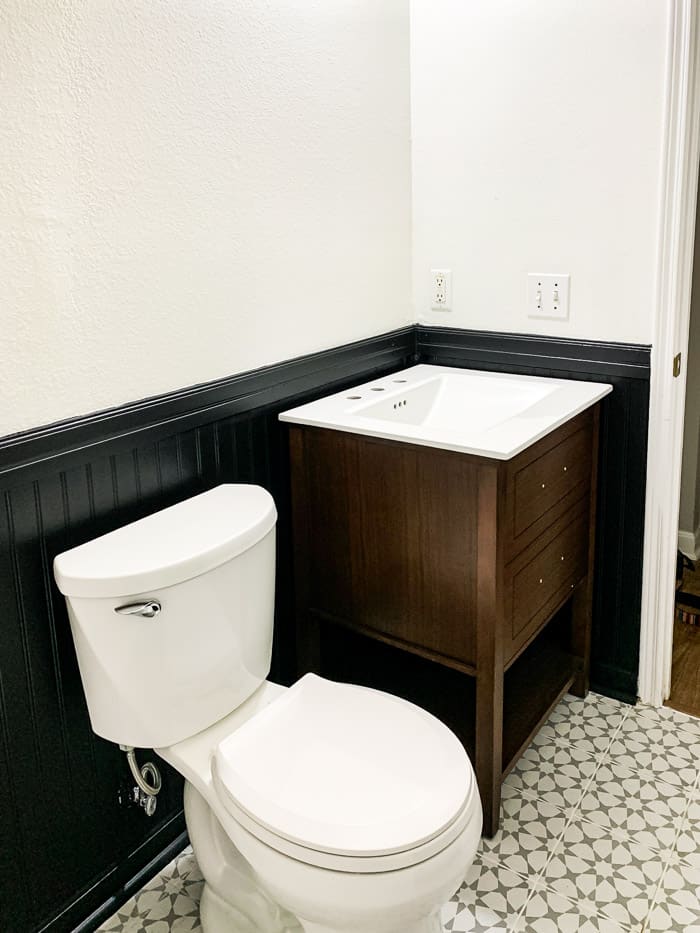
Jackson and I were both doing happy dances as Corey installed the new toilet in here. We’ve all been sharing our bathroom for weeks now and it feels so luxurious to have two toilets again!
After the toilet was installed, it was time for the new vanity. We chose this one based mainly on the criteria that we wanted it to be freestanding (and not look like a regular cabinet), we wanted it to be wood-toned, and we didn’t want to spend a fortune on it. It checked all three boxes, so it was the winner!
As a reminder, here are the sources for everything else in the room so far:
- Shower tile
- Floor tile
- Shower + bathtub fixtures
- Vanity
- Beadboard paint color: SW Tricorn Black
- Wall paint color: HGTV for SW Iconic White
And with that, we wrapped up the week feeling (for the first time) like we might actually finish this thing in time!
Next week is the BIG REVEAL, and here’s what’s left on the to do list:
- Install vanity faucet
- Hang mirror
- Replace light
- Caulk around toilet & tub fixtures
- Install open shelving over the toilet
- Install towel rod/toilet paper holder/robe hooks
- Replace light switch and outlet
- Accessorize!
It’s a long list, but I feel like I can handle it. Things are coming together, and I’m so so excited to share with you what the room looks like when it’s all done.
Be sure to head over to Jeffrey Court today to see all of the other incredible rooms and, of course, please oh please vote for us!