
How to Demo a Bathroom {Bathroom Renovation Week 2}
Last updated on May 7th, 2024 at 02:24 pm
Welcome to week two of our DIY bathroom remodel! Today, we’re chatting about how to demo a bathroom and taking a peek at the progress we’ve made so far.
Ever have a really bad day and just want to come home and smash things up with a hammer?
Or, ever just want to smash things up with a hammer even though you didn’t have a bad day?
That’s why demo day is the best. You have permission to just go nuts on a room in your house and it’s the only time that it’s actually a good thing to break stuff.
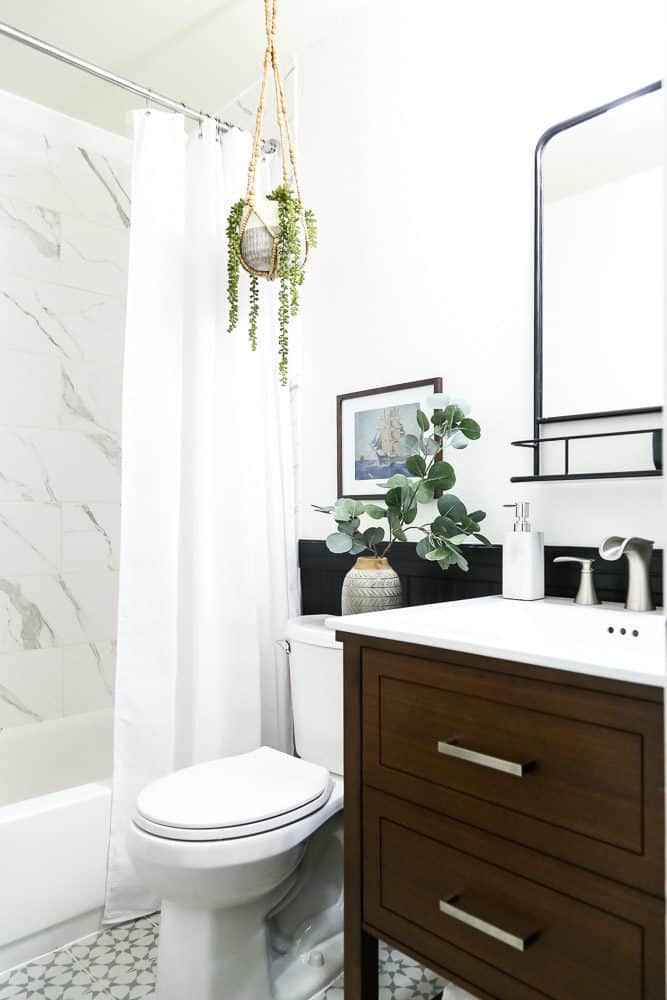
Welcome to week two of our bathroom renovation! If you missed the news last week, we’re currently renovating our kid/guest bathroom. I’m so excited to get this bathroom updated so I can stop cringing when guests need to use it. And I can’t wait to take you along on the journey!
The Full Bathroom Renovation
- Week One: The Before
- Week Two: Demo (You are here!)
- Week 3: Tiling
- Week 4: Shower details
- Week 5: The walls
- Week 6: THE REVEAL!
This week, it was all about the prep work. We’re replacing everything in the bathroom except for the bathtub, so it aaaaaaall had to go. I’ll dive into details down below, but first, allow me to suggest that you watch our Bathroom Renovation Log for this week. You’ll get to see all of the behind the scenes stuff, like how Jackson helps out and why Corey smashed the vanity to pieces.
Note: If you’re reading this in a feed reader, you may need to click over to the post to see the video. Or, you could just click here to watch it on YouTube.
Bathroom Renovation Log: Week 2
So, what all did we accomplish this week?
- We removed all of the shower tile
- We removed the toilet
- We removed the vanity & mirror
- We removed the trim work on the walls and baseboards
- We had a plumber prep the pipes for new fixtures
- We (mostly) cleaned up after ourselves!
You’ll note that at this point in a renovation, it starts to feel like you’re moving backwards, not forwards. I mean, the room actually looked better before we got started! But, just trust the process and know that it’ll all be better in the end!
How to Remo a Bathroom
I won’t pretend to be a pro here. I’ve only demolished two bathrooms before, but this is a pretty straightforward process that ANYONE CAN DO. Do you hear me, there in the back? You can do this! So, I want to walk you through our process to hopefully make it seem a little less overwhelming.
I recommend having the following supplies on hand:
- Heavy duty garbage bags
- Work gloves (these are my favorite!)
- Protective eyewear
- Face masks
- Plastic drop cloths
- Painter’s tape
- Rotary hammer drill (more on that in a second)
- Hammers / mallets
- Pry bar
- Utility knife
- Buckets / soap (for cleanup)
- Broom & dustpan
- Mop
- Shop vac
Step One: Remove Anything Freestanding
Before you do anything you’ll want to take out the shower curtain, the trash can, all of the towels, etc. Remove every single thing in the bathroom that isn’t bolted down!
This is also a great time to go through the things in the bathroom to determine if you want to actually put all of it back. You know I’m a big fan of decluttering. So, I’d suggest taking the time to go through everything that was in the bathroom and discard anything that is no longer necessary!
Step Two: Remove Trim, the Mirror, Etc.
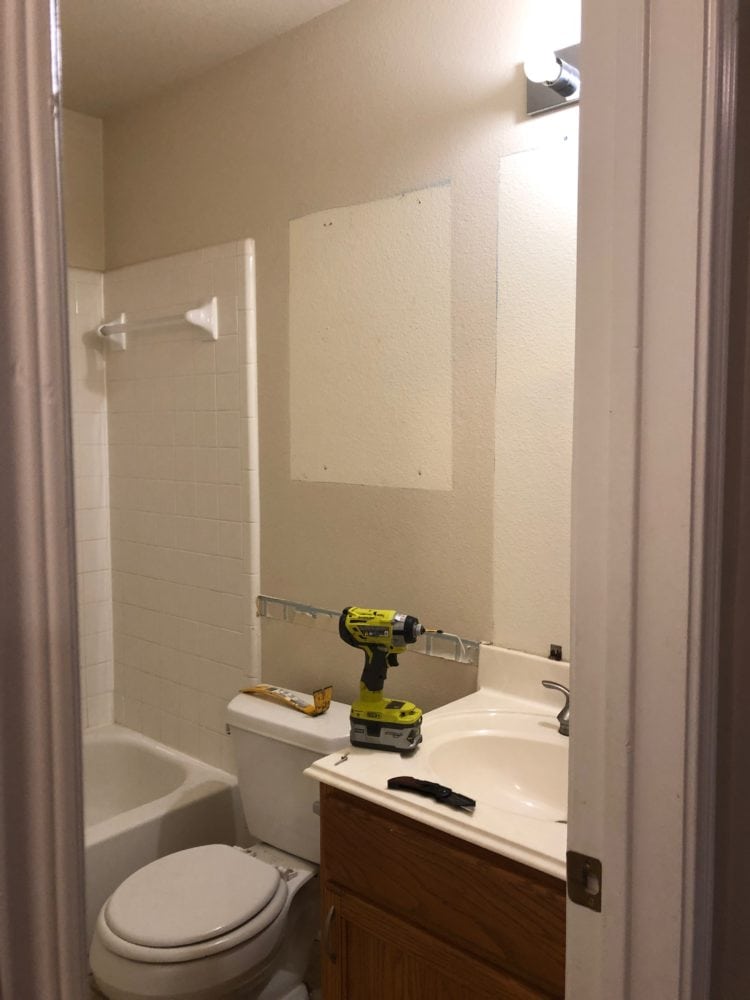
As you demo a room, you basically want to start with the easiest things to remove and work your way up to the hardest things. So, your next step will be to remove the baseboard and any trim on the walls. Then, remove the mirror.
To remove the trim, just run a sharp blade along the top and bottom to loosen up the caulk. Then, pry it away using a pry bar (or really, anything you can squeeze in there. Sometimes the back of the hammer works fine!). You can see this process in closer detail in the video.
Most builder-grade mirrors are very easy to remove. Just take out the screws at the top in the little pieces that hold the mirror into place, and have a hand ready to stop the mirror from falling! We’ve found that most of the time the mirrors aren’t actually glued to the wall and those screws are the only thing holding them up.
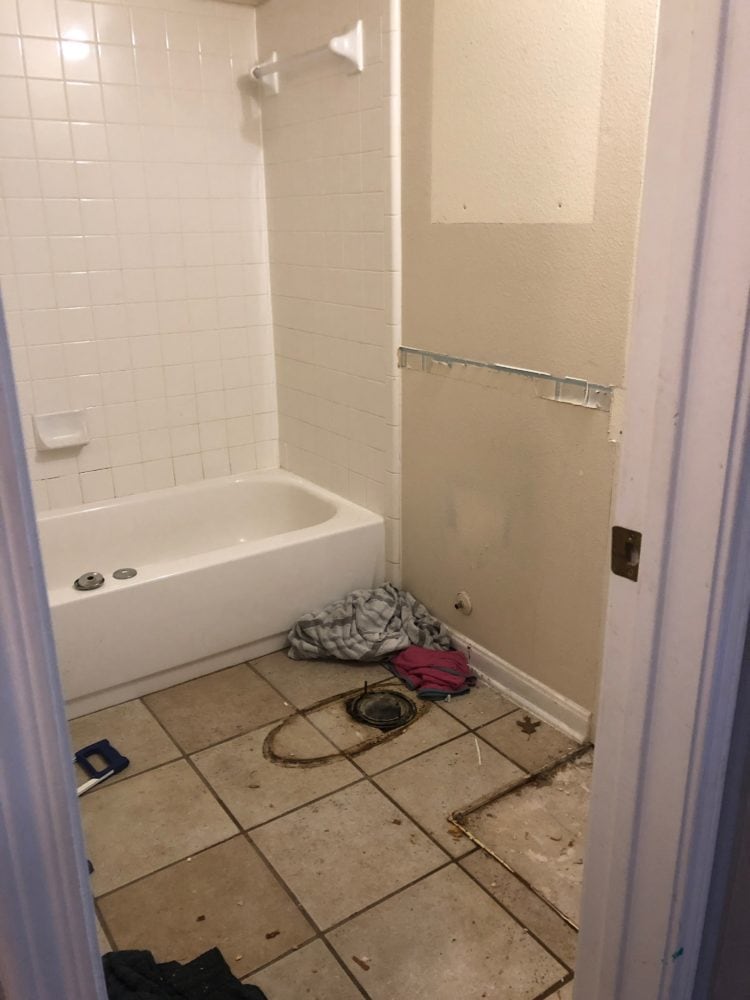
Step Three: Remove the Toilet
Can we take a moment to acknowledge how nasty that tile under the toilet was?
So, so glad to have that gone.
I won’t get into all of the details of exactly how to remove a toilet – but you can find a ton of tutorials online (here’s one from Home Depot) and it’s a pretty simple process.
Be sure to cover up the hole under the toilet as you continue to work on the room – the last thing you need is tile shards flying down there as you demo!
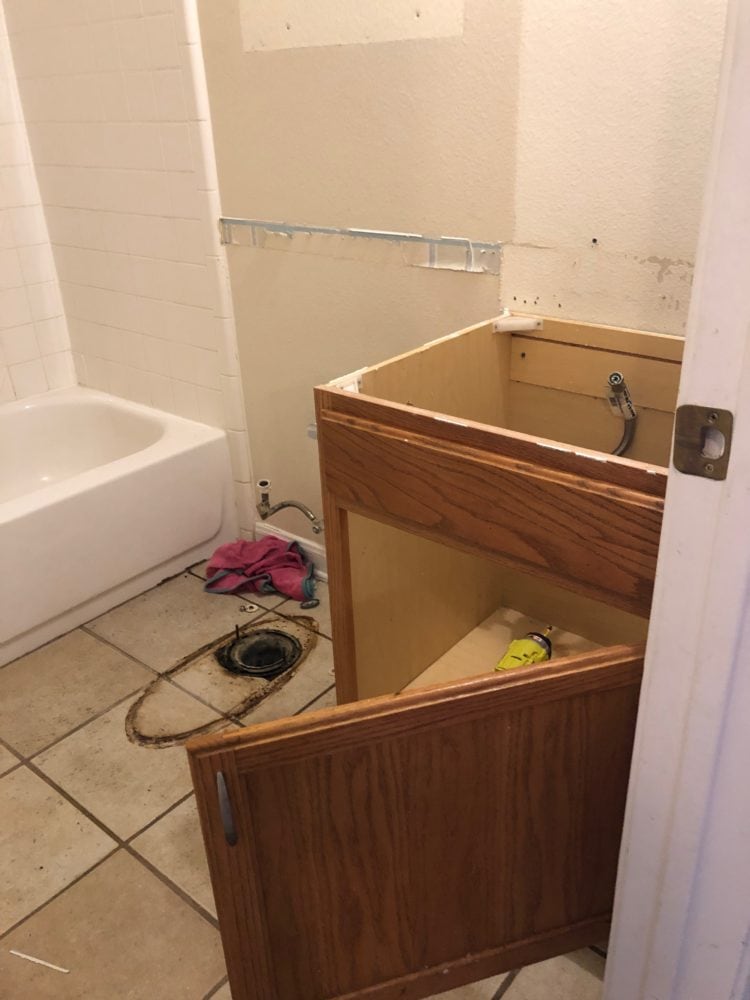
Step Four: Remove the Vanity and Sink
Next up, the vanity and sink get removed. Again, I don’t want to elaborate too much on the details (I’m no plumber!) but this tutorial is really thorough and should guide you in the right direction. You’ll remove the vanity top and sink first, then the cabinet should be pretty simple to remove after that.
You might note that our bathroom didn’t have tile at all under the vanity. This is relatively common, so it’s something to keep in mind if you’re planning on keeping your floor tile. Thankfully, we’re ripping all this flooring up soon so it doesn’t matter either way.
Step Five: Demo Tile
Nooooow comes the really fun part – you get to start smashing things up!
Once all of the basics have been removed from the room, you’re ready to get started on the tile. Prepare yourself for a physically exhausting and very messy job.
Be sure to use plastic drop cloths to cover the vent in your bathroom. This way, the dust doesn’t accidentally end up all over your house. You can also cover any doorways, if you want to be sure the tile dust doesn’t end up anywhere else. You should also cover up the bathtub and anything else that’s staying in the room. Oh, and you’ll also want to plug up the tub drain so no tile remnants end up in there!
There’s really no one correct way to remove tile – basically, as long as you get it off the wall and floor you’ve done it right! But, here’s how we do it:
Removing Floor Tile
For floor tile, we’ve always just rented a rotary hammer drill from Home Depot. It’s about a zillion times faster than prying each tile up by hand, and it’s a lot more effective too. You can use this to break up the tiles as well as the mortar underneath, so as long as you’re thorough you should be able to get the flooring underneath completely smooth!
Of course, this really only works if you’re working with a concrete subfloor. We’ve worked with both (in our old home, the second floor had plywood subfloor), and this is by far the easier method. If you’ve got a plywood subfloor, you’ll probably need to just use a hammer and your pry bar to peel the tiles up. Or, do what my brother in law did last time we needed to demo and just smash the heck out of them.
He said it was a great way to get his workout in!
I don’t have a photo of this part of the process because it’s the last thing remaining on our demo to-do list. We hit a snag with the plumbing and ended up having to call someone out to fix a couple of things (we wanted to raise the shower head and had a small leak in the toilet pipes) so that pushed us back a little. We’ll get that done in the next day or so, then it’s on to tiling!
Removing Wall Tile
When I’m demoing tile on the wall, I usually just take a big hammer or mallet and get smashing.
I just do a combination of whacking at the tiles to loosen them up, then using the back of the hammer to pry them off the wall. This is the part that’ll really wear you out, so just prepare for that if you’re working on a big surface area.
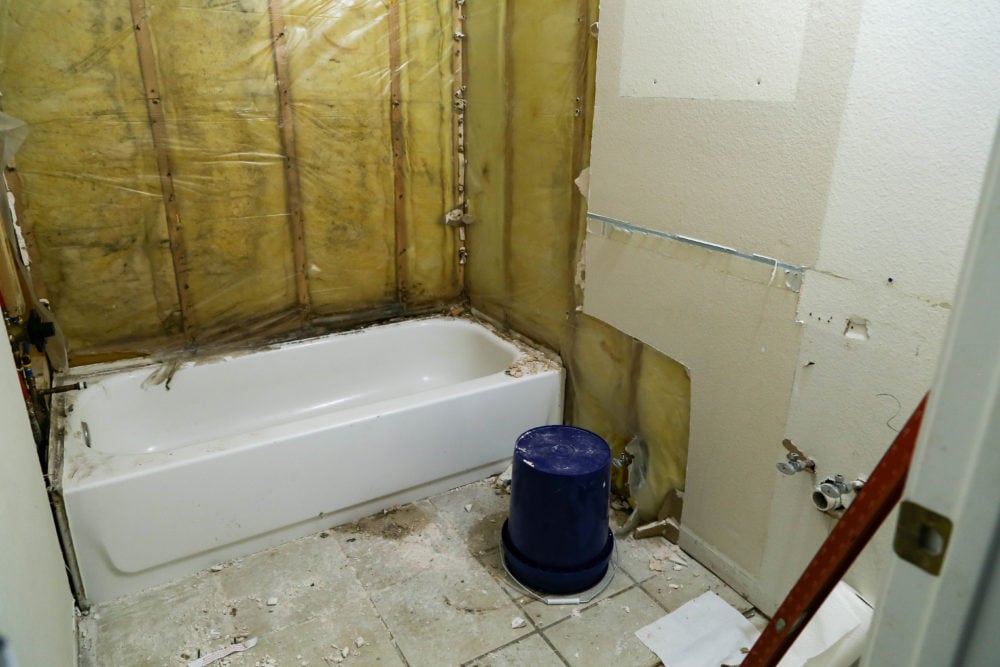
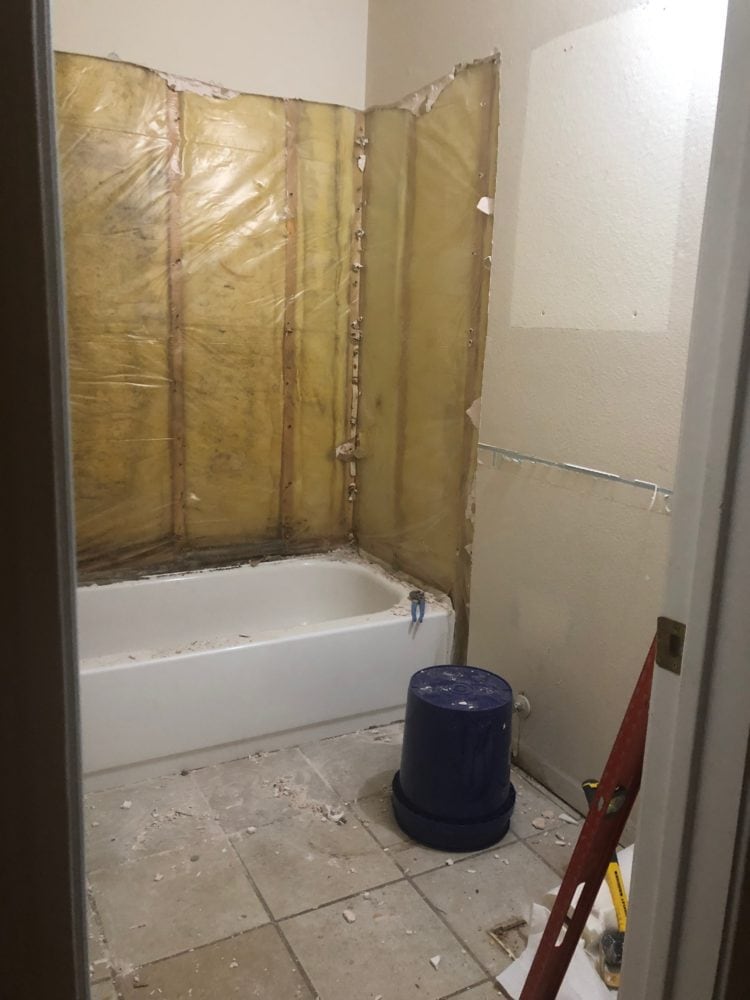
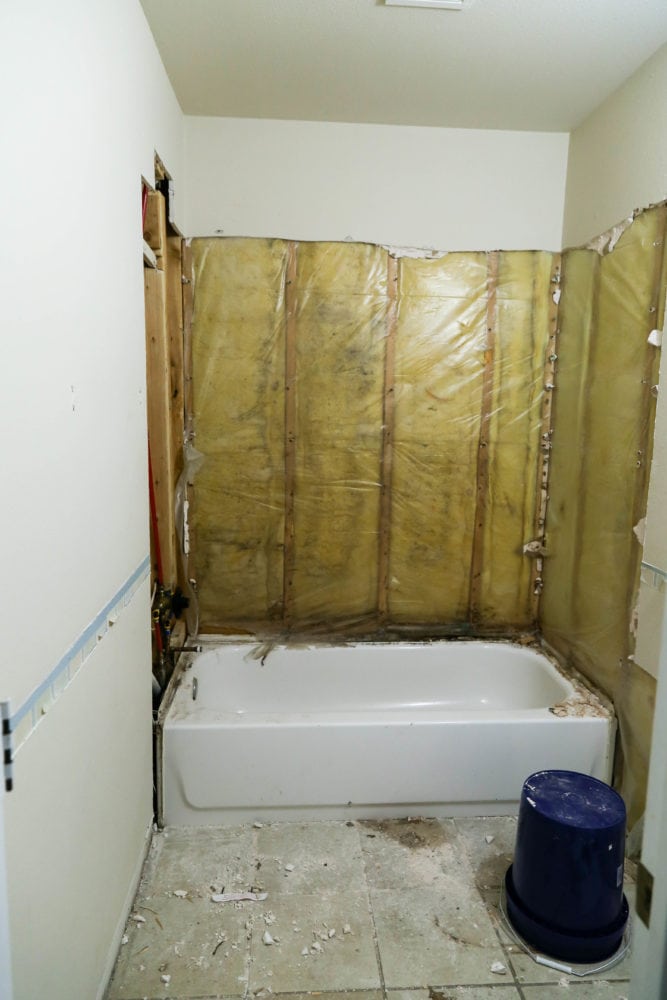
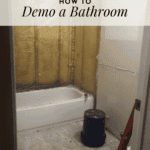
However, this time we decided to take a different route – since we were removing the backerboard anyways and had no desire to try and save anything, Corey pulled the entire walls down from the start. You can see in the video, he cut along the tile line before he started (so he didn’t end up removing all of the walls), then smashed up the tile and just pulled it off.
We had a strange situation where there were two layers of backerboard installed (why?!), so that’s why you see him remove the wall twice in the video!
Step Six: Clean It Up!
Of course, the least fun part of any demo job is the clean up.
You’ll start by removing all of the tile bits from the room (wear gloves and use a heavy duty garbage bag!), then double-check to be sure you’ve removed all of the mortar from the floor and it’s totally smooth.
Once we’re done removing the floor tile, I’ll also go ahead and wipe down the walls (gotta get that toothpaste off!), sweep out the tile dust, and give a quick cleaning to the bathtub. Obviously, the tub is just going to get messy again when you start tiling, but it’s best to take care of it as you go rather than letting the grime build up.
Ask me how I know.
This is also the time to replace any plastic backing or insulation that needs replacing (as you can see above, some of ours was moldy thanks to improperly-sealed walls).
And there you have it – you’ve demoed a bathroom! Congratulations. Go grab a big ol’ drink and take a break…you’ve earned it.
Thanks for the tips! My wife and recently demoed our bathroom and re-referred to this post a lot! One thing we are super glad that we did though was to get a dumpster rental delivered. It helped a ton with the clean-up process. Thanks again for the help!