Guest Bathroom Renovation REVEAL
The big day is here! It’s finally time to reveal our guest bathroom renovation, and I’m so, so excited to show you how we totally transformed this space in just six weeks.
It’s finally the big day where I get to show you how we completely and utterly transformed our guest bathroom in just six weeks. This was a huuuuge makeover. I’m beside myself with excitement to show you all the exciting changes!
Here’s What Has Happened So Far:
- In WEEK ONE, we showed you all the before photos.
- In WEEK TWO, demo began.
- In WEEK THREE, we started tiling.
- In WEEK FOUR, we got things grouted, got tub and shower fixtures installed, and decided to completely pivot our design plan in the room (nothing like a last minute change of plans!)
- In WEEK FIVE, I showed you our new black beadboard walls.
And that brings us to today. Week six. The big grand finale.
Are you as excited as I am?!?!?!!
If you want to see the space in live action, here’s the video reveal! It’s been really fun to do a video diary throughout this renovation. I hope you enjoyed watching it.
Video Tour of the Guest Bathroom
Guest Bathroom Renovation Reveal
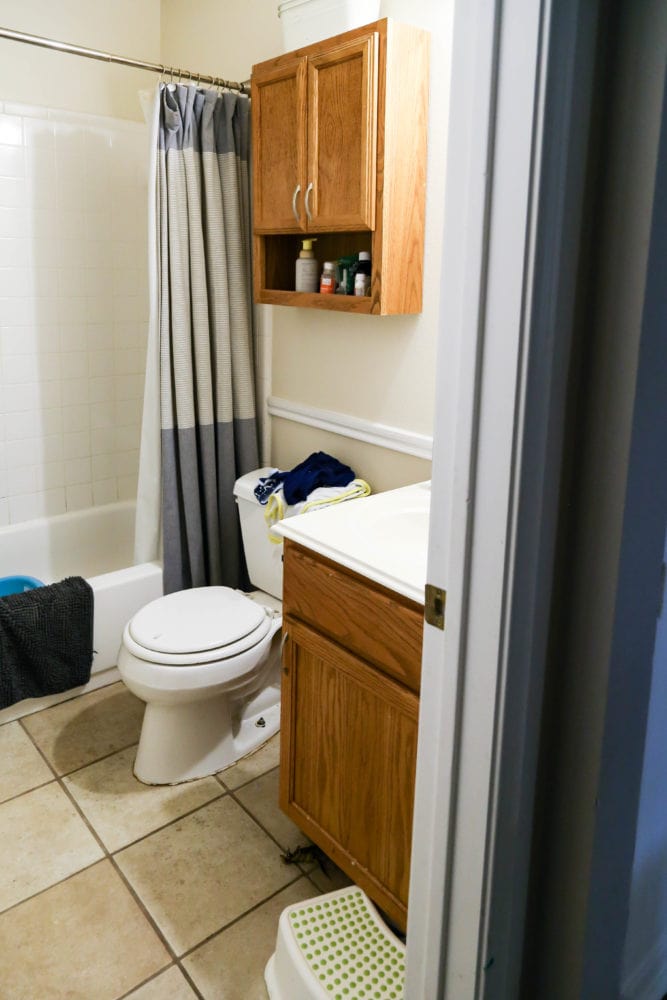
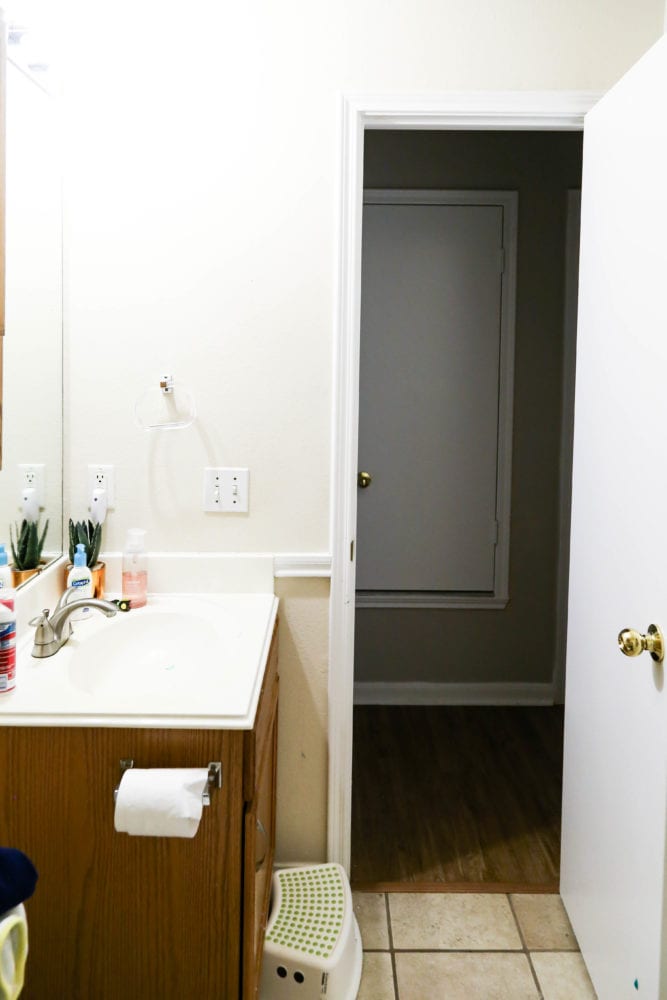
Before we dive into all of the gorgeous after photos, let’s take just a moment to walk down memory lane. Before we started this renovation, here’s a reminder of what the bathroom looked like:
And now? After just…
- six weeks
- new tile
- a new toilet
- a new vanity
- some black beadboard
- and lots of other mini projects along the way…
…we’ve got a whole new space!
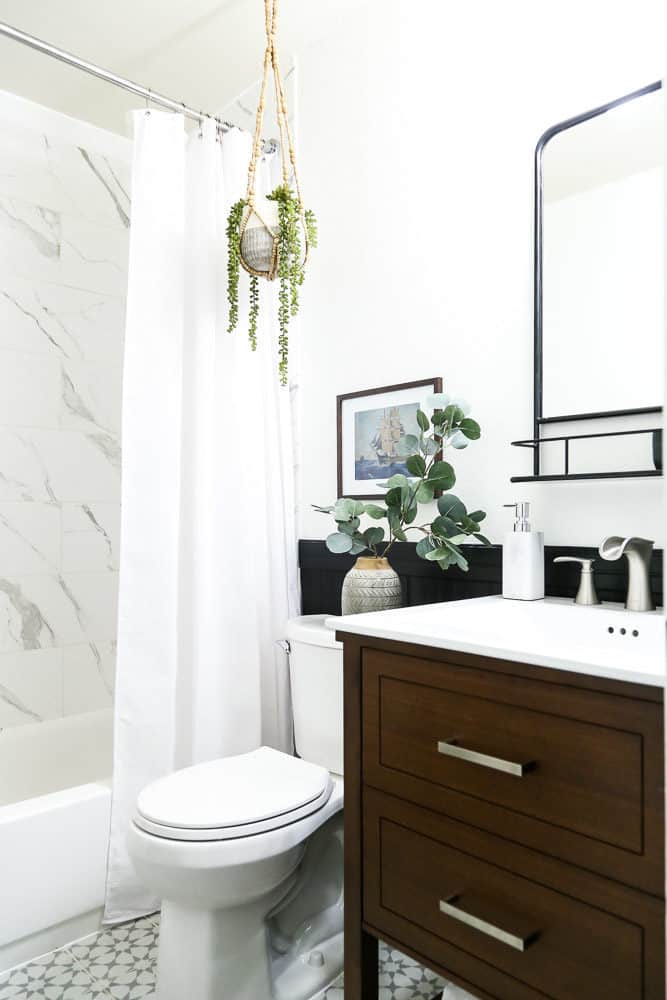
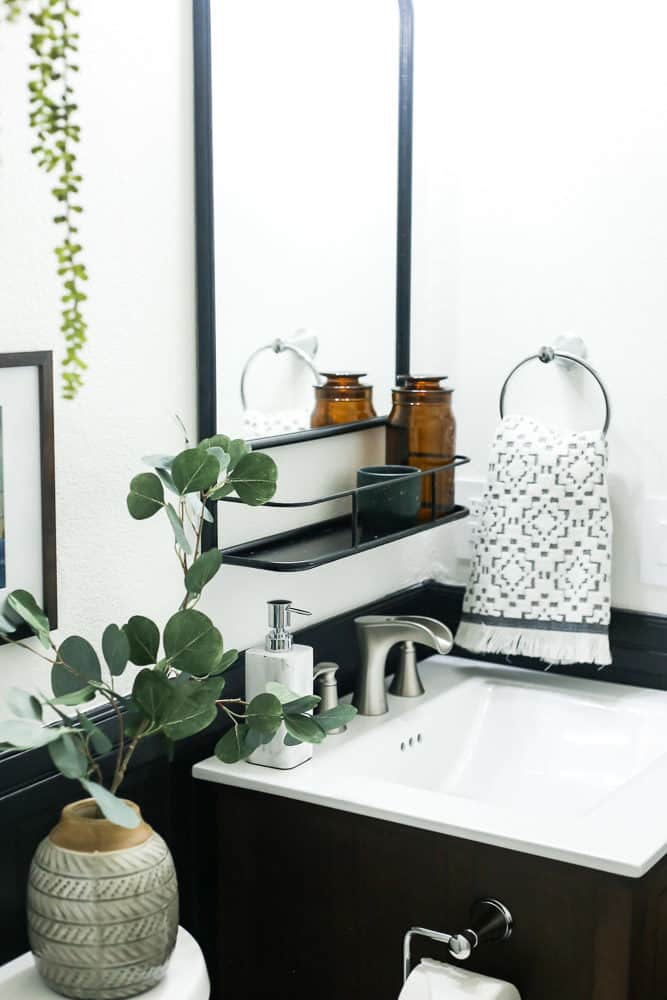
Y’all, I’m not even really sure what to say here. I feel like the pictures speak for themselves. I love how this bathroom turned out! I’m just so excited that I have this space in my house!
I’ll include sources for everything below – don’t worry – but let’s chat about a few of my favorite details.
The Tile
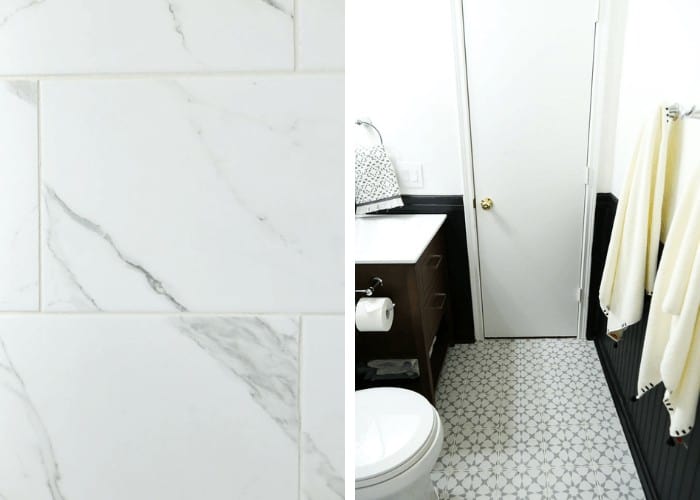
I have wanted to renovate a bathroom with some large-scale tile for years. So, it felt good to finally be able to do that for this renovation. This 6X18 tile feels so incredibly luxurious. It looks just like marble, and makes my heart sing every time I walk past the bathroom.
If you’re working with a small space, I highly encourage you to choose a large-scale tile. And also to make sure you tile all the way to the ceiling. These two tiny little details go a really long way to make this space feel so much more spacious than it really is! I can’t get over how much higher the ceilings feel now. I don’t know why it’s not just standard to tile to the ceiling. It’s a small change, but it makes a massive impact on the room as a whole.
The floor tile is, of course, another favorite. I had originally planned on using something a little more muted in here. But, Corey is always pushing me to add some color and pattern, so we chose to go with this really beautiful 7X7 tile. I’m glad we did! I think the pattern adds some really fun drama to the room, and it helps it feel a little less stuffy. It is our kids’ bathroom, after all! I think it plays perfectly with the marble-y tile on the shower, and I love that it adds some fun to the room without overwhelming the small space.
The Fixtures
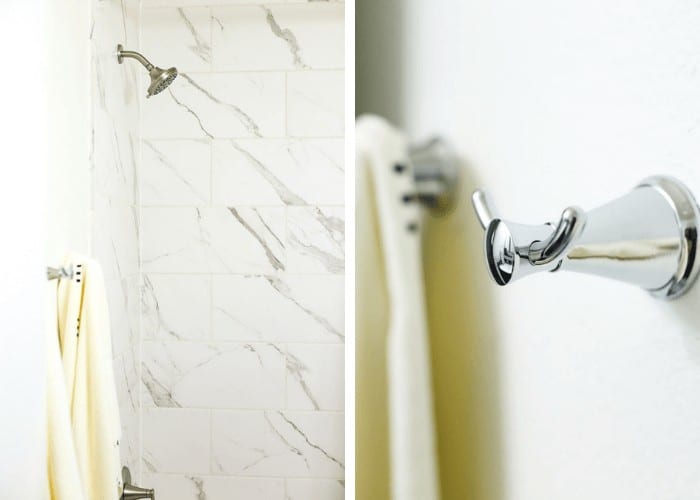
I love, love, love the sleek lines of the Jaida Collection faucets that we used throughout this room. I think they were a great finishing touch.
When you’re choosing finishes for a bathroom, it can be easy to run into decision fatigue by the time you get to picking things like tub and sink faucets, but these little details can make or break the room! There are just so many beautiful options out there these days, and there’s absolutely no reason to go with boring fixtures when you can have something that’s this beautiful.
You can find the Jaida Collection sink faucet that we used here and the tub and shower fixtures that we used right here. I love the non-smudge finish, the pretty curved lines, and the fact that they don’t just blend into the background of the room – they’re unique and stand out on their own!
We also used Pfister finishes for the towel ring, robe hooks, and toilet paper holder (they’re all linked below). Again – don’t ignore these details! I know that in the middle of a bathroom renovation it can feel exhausting to make even more decisions about these small things that don’t seem all that important, but they all add up to a huge impact within the room as a whole, and if you take the time to choose the right finishes you’ll be so, so glad you did.
The Accessories
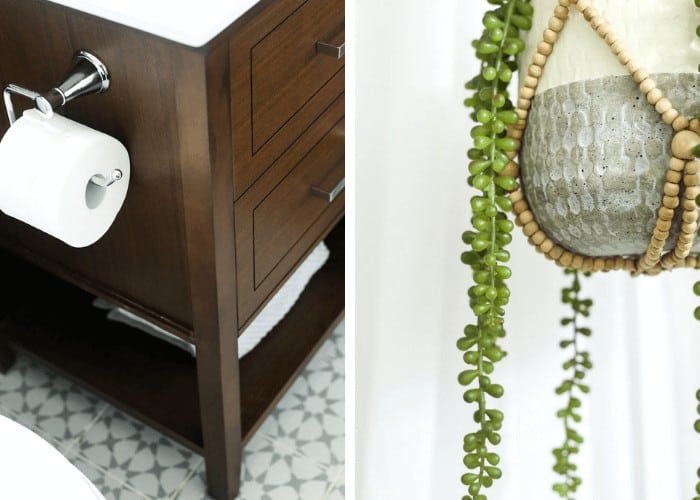
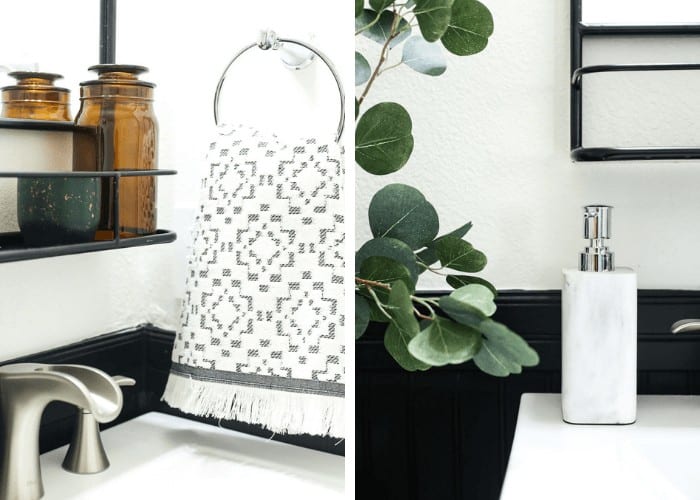
Accessorizing this room was so fun, and where I felt like things really started to come together. Obviously, I really love the bones of the room, but where this space really shines are the details!
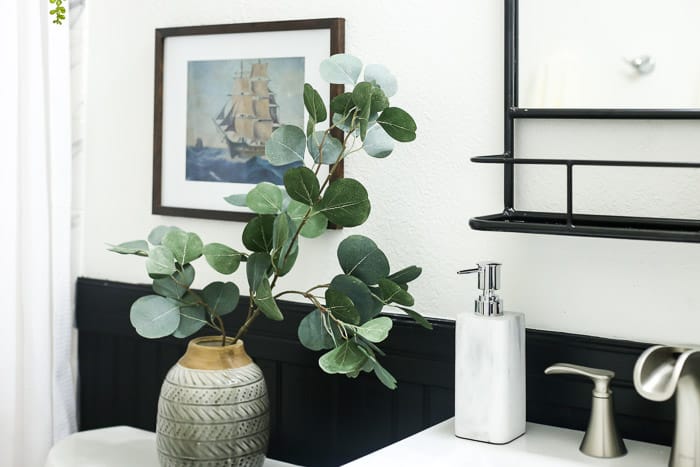
First up, I want to talk for a moment about the art that I hung above the toilet. To be honest, it wasn’t a part of the original plan, and when I found it, it made me (once again) pivot my direction for the design of this room a bit. I found this print on Juniper Print Shop when I was scouting out some art to hang above our sofa. I immediately stopped in my tracks the moment I saw it, because this print looks almost identical to a painting my grandmother had hanging near her front door.
You see, my grandmother loved to paint, and her home was filled with her beautiful artwork. When she passed away, most of the art I really loved was claimed by other family members, so I can enjoy it when I visit their homes but I don’t actually have any of her artwork in my house. When I saw this print that looks so similar to my grandmother’s painting, I knew I had to have it in my home and it just felt right to incorporate it in here.
This piece really set the tone for styling the rest of the room – I wanted it to be the real star, so we skipped the shelving we had originally planned above the toilet and just added a small hanging plant above the print.
The vanity mirror adds a little bit of (much needed) storage, and when it’s not all styled and pretty the shelf will likely hold Jackson’s toothbrush and toothpaste. I love the functionality of the little shelf, and I think it’s a cute detail too.
Also, let’s just all take a moment to soak up this bathroom and how clean it is. Jackson hasn’t actually started using it yet, so I’d guess I have approximately 24 hours before it’s completely wrecked and never to be this clean and shiny again.
It was nice while it lasted!
Renovation Wrap-Up
It has been such an honor to participate in this season of the Jeffrey Court Renovation Challenge, and I genuinely had the best time – although, I’m certainly glad it’s over! I need a nap!
Thank you so much for all of your kinds words, cheering us on, and voting for us along the way. Don’t forget to vote for us one final time this week – I still have my fingers crossed that we’ll pull off a win!
I’m going to include links to all of the sources for this room below, but please do let me know if I miss anything or if you’d like more information about any part of this renovation! I share these projects because I hope to encourage and inspire you to tackle something scary in your home – I’m no professional, I don’t have formal training, but I do have a passion for making my house into a home I love, and I’m stubborn enough to just figure it out as I go!
Guest Bathroom Sources
- Shower Tile
- Floor Tile
- Vanity
- Sink Faucet
- Shower Rod
- Shower Curtain
- Bath/Shower Faucets
- Mirror
- Robe Hooks
- Toilet Paper Holder
- Towel Ring
- Art Print
- Hanging Plant Holder
- Planter
- Faux Succulent
- Faux Eucalyptus
- Towels
- Wall paint color: HGTV for Sherwin Williams Iconic White
- Beadboard paint color: Sherwin Williams Tricorn Black

I love the floor, the natural touch and how sophisticated this bathroom looks. You did a great job!. I found another article which also has some really good tips for narrow bathrooms https://blog.mykukun.com/top-5-creative-narrow-bathroom-ideas-design-tips/
I love all of it. That is one sexy faucet! The floor tile is right in line with what I am going to use when I redo my bathroom. You guys should be proud of all your hard work!
Great job!! It turned out amazing!! 💕
Thank you so much, Angela!